How to Make a Greeting Card on Adobe Illustrator
Greeting cards are still used in this ‘technological’ word to express your gratitude for someone, to wish them good luck, or to simply congratulate them. With a few simple steps, you yourself can create one of the cutest Greeting Cards for your loved ones and get them printed through easy printing online shops like Staples. I designed a simple card on Adobe Illustrator, and here is how you can follow these super easy steps to make a card on your own.
- Open Adobe Illustrator to an empty workspace. Depending on which version of Adobe Illustrator you are using, while some of you might see the following option as soon as you open the program, or you would have to manually open this window by clicking on ‘File’ in the top left corner and pressing the options for ‘new’. The main purpose here is to add the dimensions of the card you are about to make. The size obviously depends on you. If you want it to be small, the normal size is 5 by 7 inches, which is what I have used for this example. The card size can go up to 24 inches or even more f you want to make a larger version.
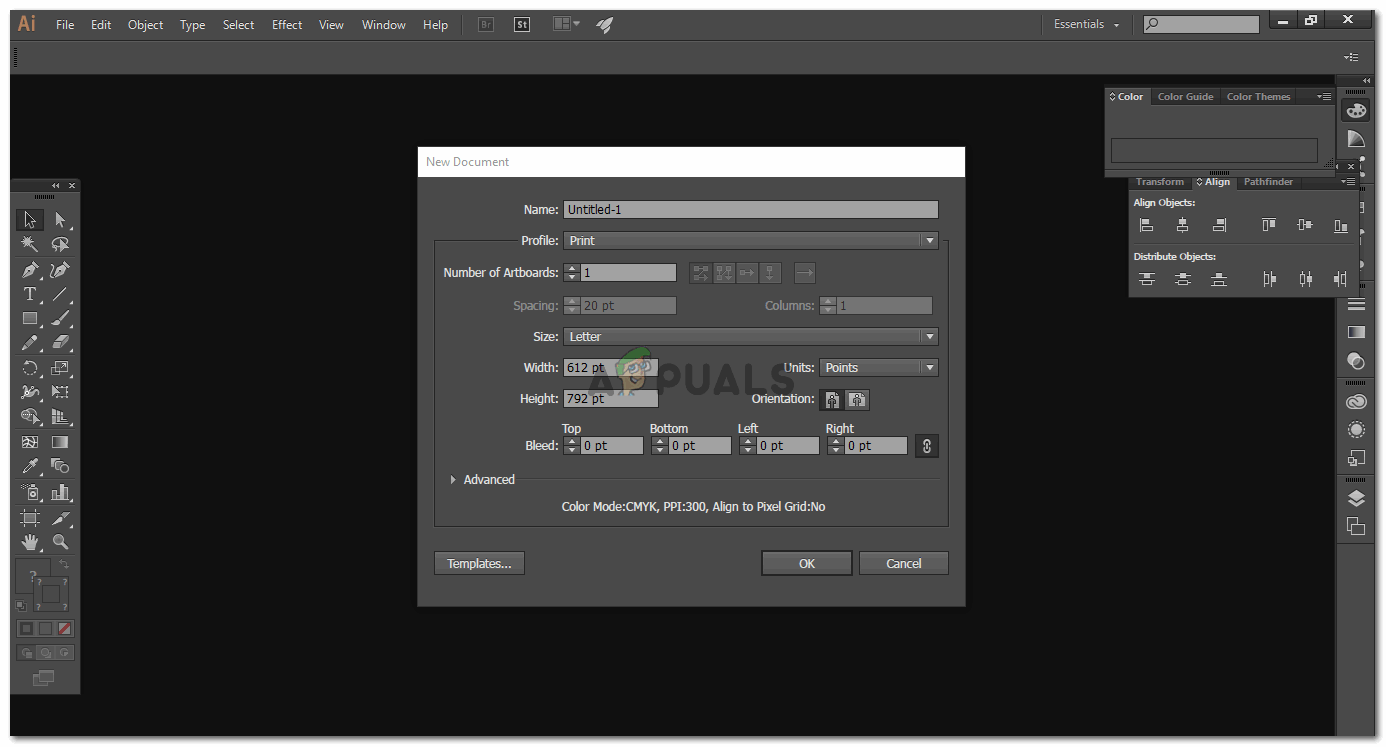
If you are OK with the default settings, you can even go ahead with these dimensions, but, if you want to change these, it is totally up to you. 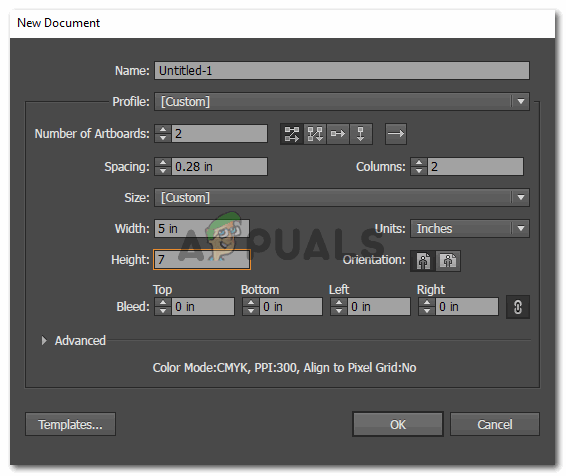
I have to make the outer and inner part of the card. So for this, I will be needing two artboards so that I can work on both simultaneously. Since your card will be in the horizontal orientation, choose the one next to the chosen one in this image. (I changed the orientation after I made this file.) - On my screen appear two artboards. I will use on one artboard to make the front and back of the card, which by the way will come on one artboard. And the inner part of the card will be designed on one artboard so that when we print these on one sheet, they will get printed on the front and back of one single sheet.
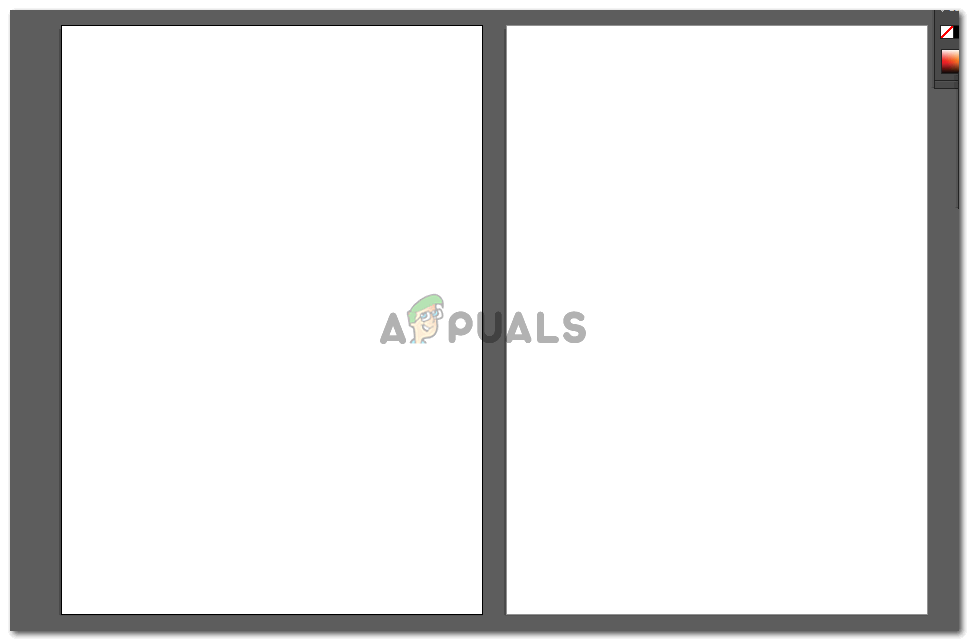
These are the two artboards we shall be working on. Now since you selected the horizontal orientation earlier, your artboards will appear in that orientation only. - When you select the artboards, you will see options on the top toolbar to show the center marks on the artboard, click on the ones which you want to be visible.
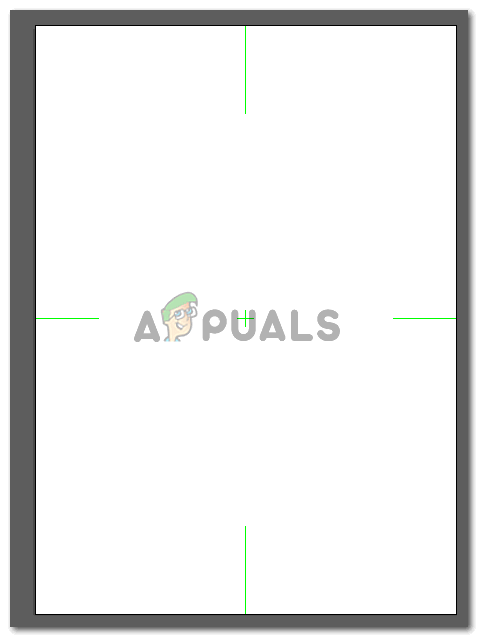
I enabled the artboard makes to make sure everything is perfectly aligned to the parts and center. - For starters, if you want a certain color for your background, use the rectangular shape tool on the left toolbar to create a rectangle in your required color. I chose pink randomly as it matched the flower that I will be adding to the card front.
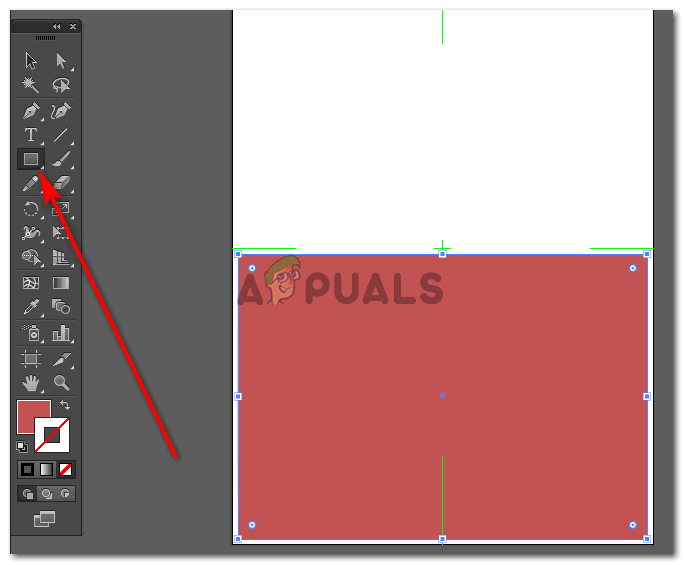
Draw the shape as you like for the background. If you don’t want a color, you can also leave the background without a fill color because the paper on which you will be getting this printed would be white in color, and white could be a perfect background fill as well. - I changed the orientation in this step. You won’t be needing to change the orientation since you chose a horizontal in the first place. I also added another shape over the rectangle just to add more design to my work. You can use your creativity and design the card as you like. Once I was done with the background, I dragged and dropped a flower that I had downloaded from the internet. If you are good at drawing your own flowers, you might as well do that.
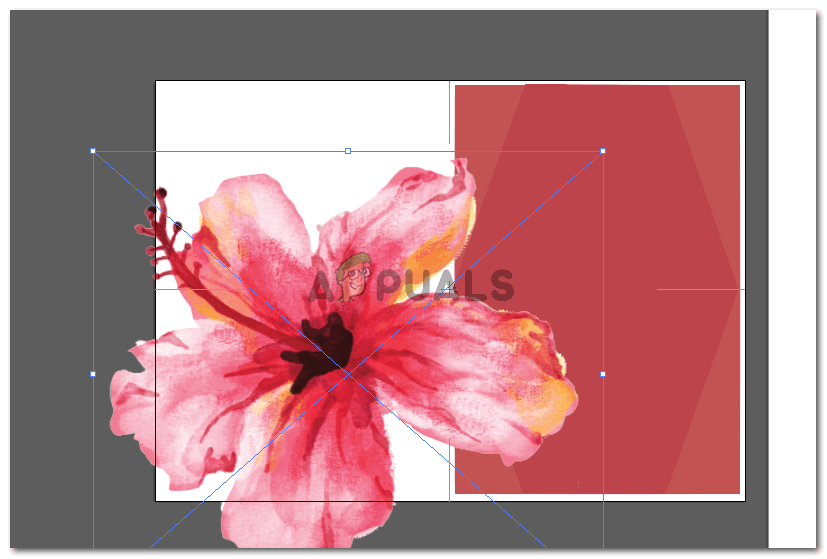
after dragging and dropping the image to be used on the card, I will transform it according to my requirements. - I reduced the size of the flower to fit the front of the card perfectly. I also created a copy of the flower and sent it to the back of the original flower so that it looks more dense.
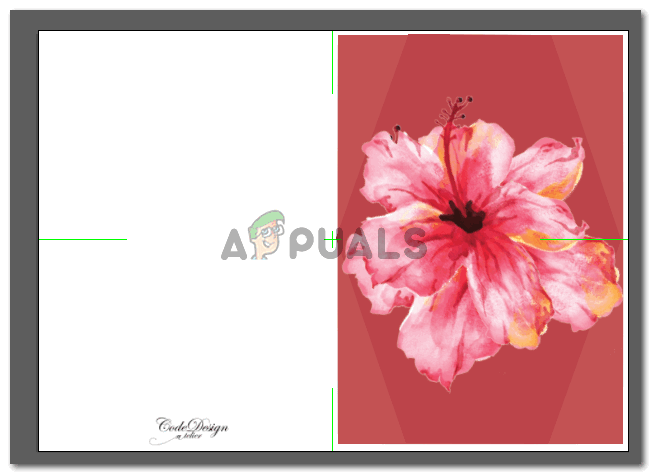
Placing the image where it is meant to be. I wanted to keep it in the center of the front page, so I placed it there using the enter marks I initially enabled for my artboard - You can even add your name in place for the logo to let people know that you made it. One side of the card is almost completed. Now, moving on to the inner side of the card, where we are going to add some text.
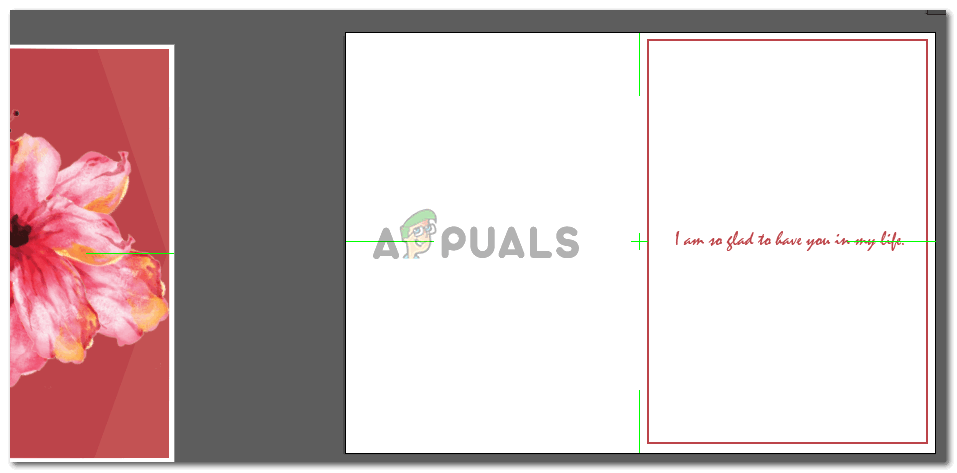
This is the easier side as you just have to add some text here. Adding a shape to create boundaries is optional. You can add these, and even if you won’t, the card would look just as amazing either way.


