How to Make a Flyer in MS Word?
A flyer, is something like a brochure or a pamphlet. These terms are used somewhat for the same kind of a leaflet which has enough information regarding a certain product or business that is using the flyer as a marketing device to help inform people about their product. It is not only used by businesses but is also used by schools to help children learn in a more creative way.
There are two ways to make a flyer/a pamphlet. Depending on how much information you nee on your flyer, you can divide the page accordingly. Mostly, to make a foldable flyer, you must divide the page into three columns so that you can easily fold the page in to three sections. Here is how you can do it manually.
First Method of Making a Flyer
- Open MS Word on your computer and click on Page Layout as shown in the picture below. Page Layout is the option where you can divide your page into three or more columns. The flyers that I have seen are mostly in three columns. Folding one flap above another and making it equal to the size of one column.
Open MS Word to a blank document - Change your page Orientation to a Landscape. The reason why we do this is to have enough space on the page to fold it, as well as enough space for text to be added. If you are working on a Portrait orientation, you won’t be able to bring so many folds to your flyer. You can do that if you want your flyer to have just two columns. But then, it won’t be a flyer, it will be more of a booklet or leaflet.
Locate the tab for ‘Orientation’ 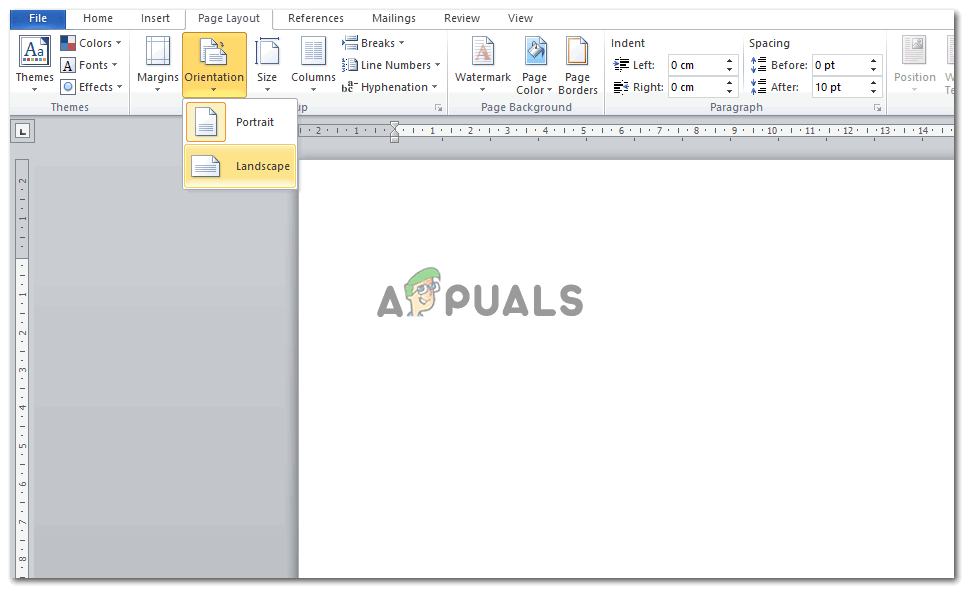
Clicking on ‘Orientation’ will lead you to two of these options. For the example in this article, I have chosen Landscape Landscape gives more room for decoration and other formatting techniques to make the flyer look appealing to the eye.
- Now, select the column tab, and choose the number of columns you want your page to be divided into. If you want your column to have more than three columns, click on the ‘more columns’ tab right at the end and add the number of columns you want your flyer to have.
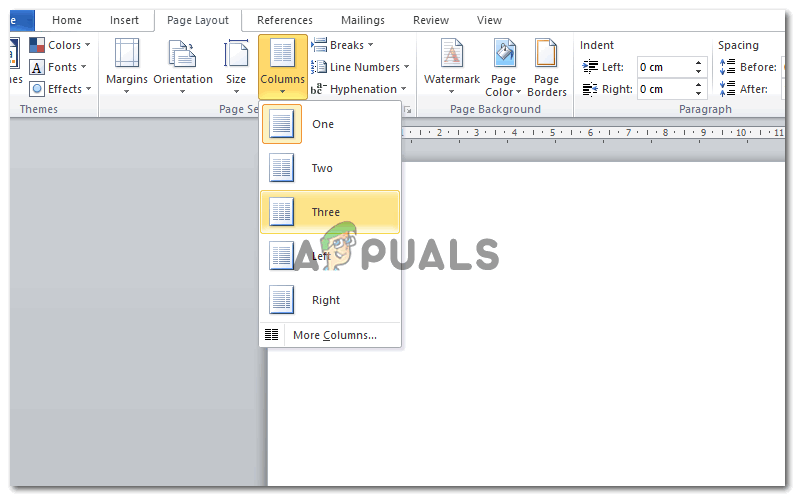
Select the number of columns you want your flyer to display. It can be as many as you like. Depending on your information - After adding the columns, your page will look like this. I added the border just to show how you can keep the margins. As you are making a fold-able flyer, you need to be sure which side will come in the front, and which will come at the back. And according to that, you will add the text. If you do otherwise, there are chances that the text on your flyer won’t make sense as the columns will not be in order. So follow the sections, as mentioned in the picture below.
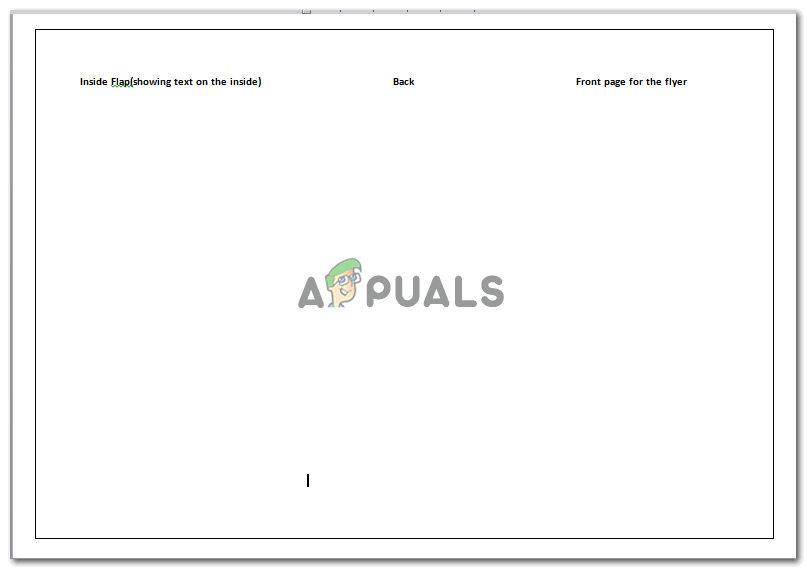
After selecting three columns, this is how your page will be divided into three. 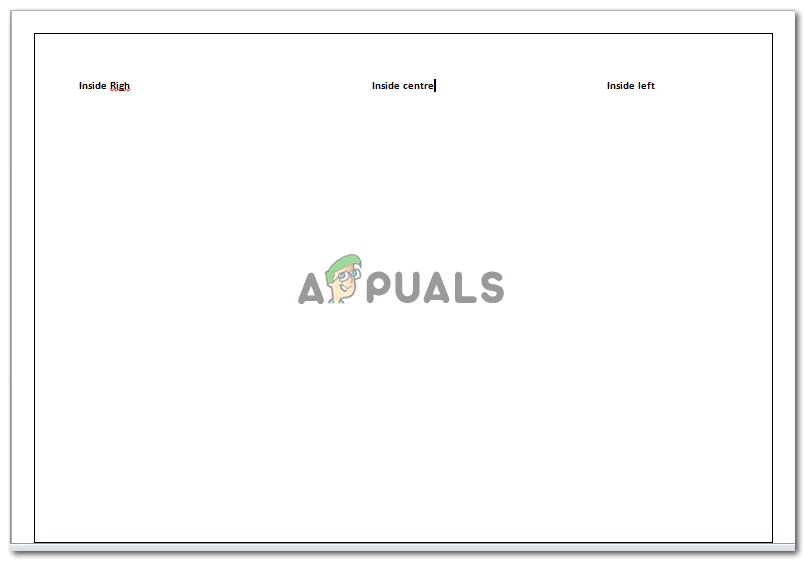
The inside of your flyer
Second Method of Making a Flyer
This is probably an easier method of making a flyer, as you are given a ready to edit format by MS Word. All you have to do is edit the existing formatting, add your own text and add images from your library, and your flyer is ready. You don’t have to worry about the columns,as the format has already adjusted that for you. Now here is how you can make this flyer.
- When you open MS Word, you have to click on the ‘File’ tab in the left corner.Next, find new in the options that FILE shows, and click on new. This will lead you to the various templates MS Word has, including an option for Brochures. You can choose and download the format.
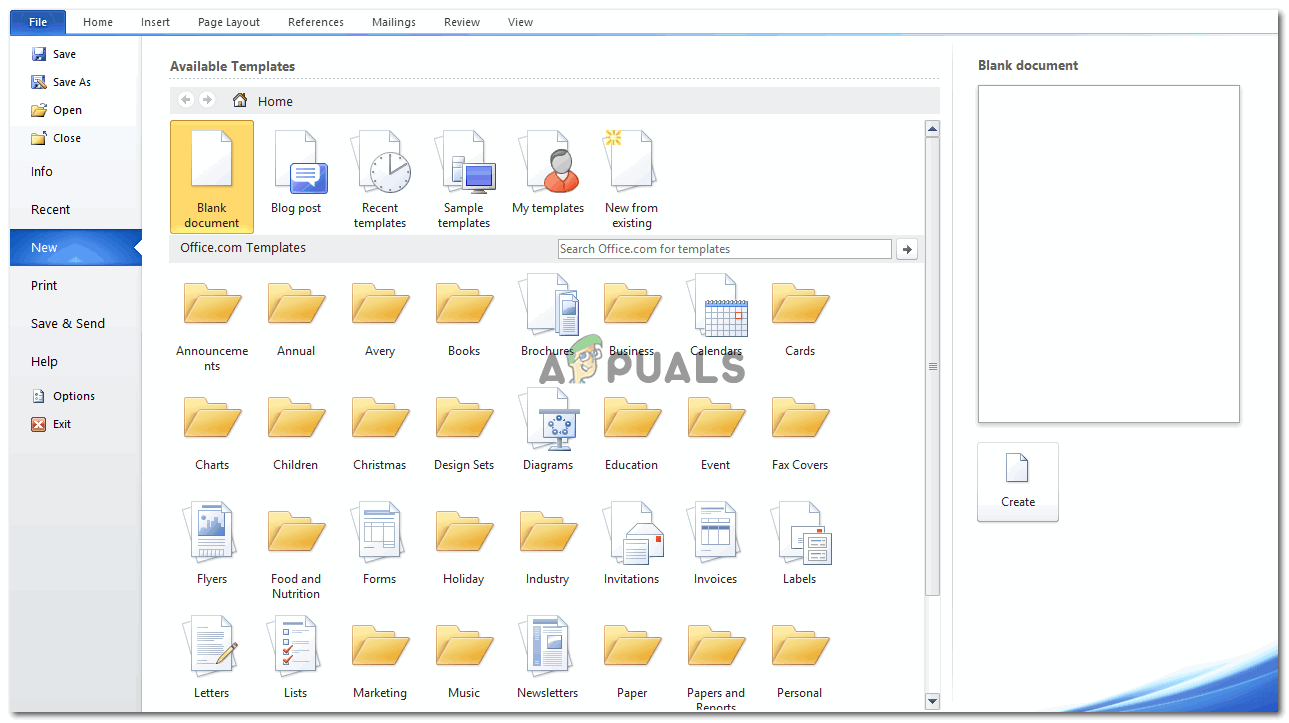
File>New>( find the format of your choice from the options provided by MS Word. - When you click on brochure, an option to download it will appear on your right.
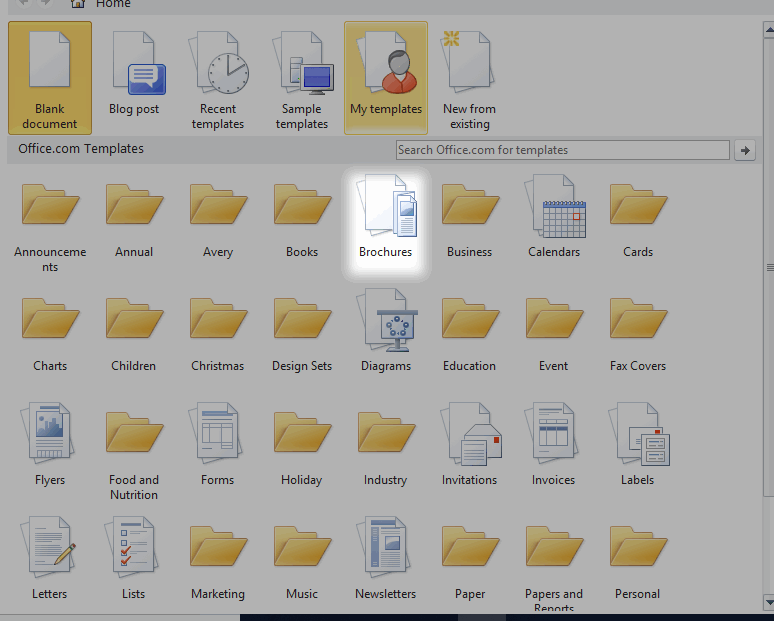
I chose Brochure - Clicking on download will make your page look like this. This means that the format is being downloaded on your computer.
This is how your screen should look when you click on downloading for a certain template on MS Word - Your format is ready now just how it appears on your screen. You can edit it. Add your text in the place where you want to make that text appear. You can switch your front page with a picture of your choice. And, you can also add your logo at the back in the space provided for it. The text that is written on this template also guides you on how you can edit the flyer.
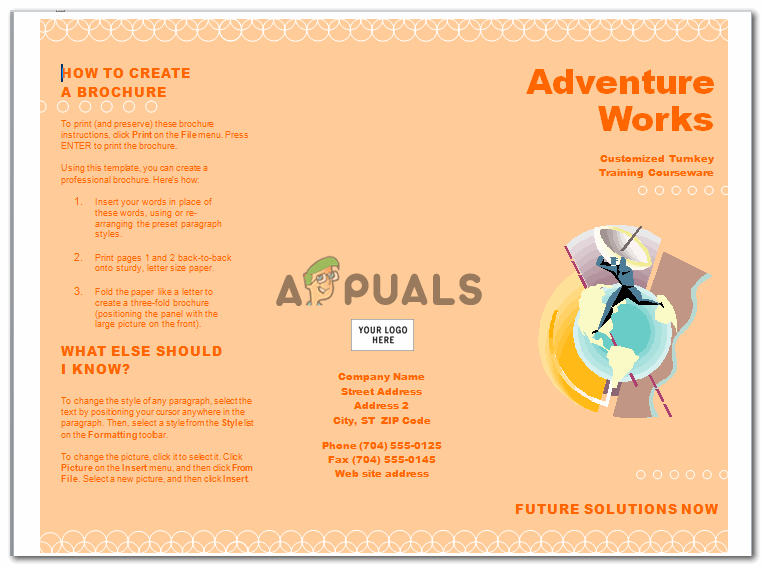
The front page, and the sections as per the division of the columns 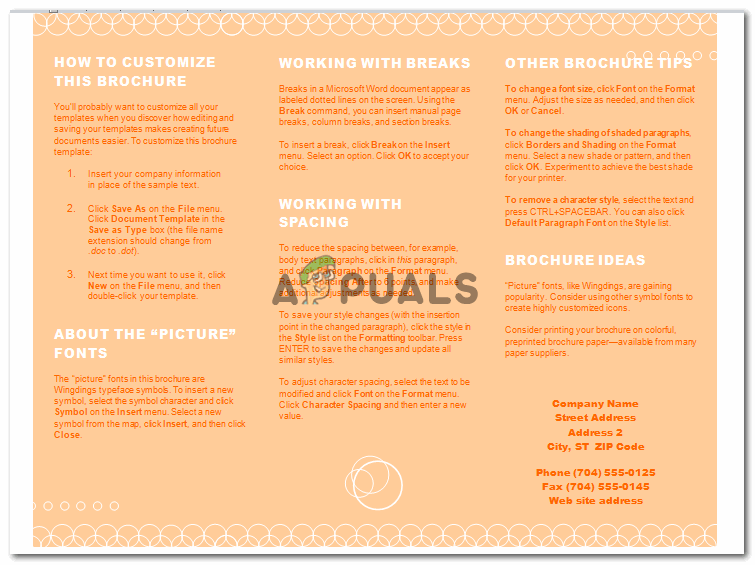
The inside of your flyer/brochure.


