How to Make a Brochure on Google Docs
Brochures can be made on Google Docs as well. It has a very different variety of templates for all sorts of documents in comparison to MS Word. Just how we make a brochure on MS Word, we can do that for Google Docs as well. With a few key differences and changes in patterns, you can make a pretty good brochure for yourself.
There are two ways to make a brochure. One is by using an already existing template on Google Docs. And the second way of making a brochure on Google Docs is by manually dividing the page using a table or columns. Both the ways to make a brochure are pretty easy. The template, however, has more design to it which makes the brochure look completely different than the one you would manually make. But, if you have a creative edge for making documents, and have the needed graphics, you might as well make the manual one even better by adding the needed graphics and making the brochure better than a template one.
Here is how you can do both steps by step.
Making a Brochure Using a Template
- Open your Google Docs to a blank document.
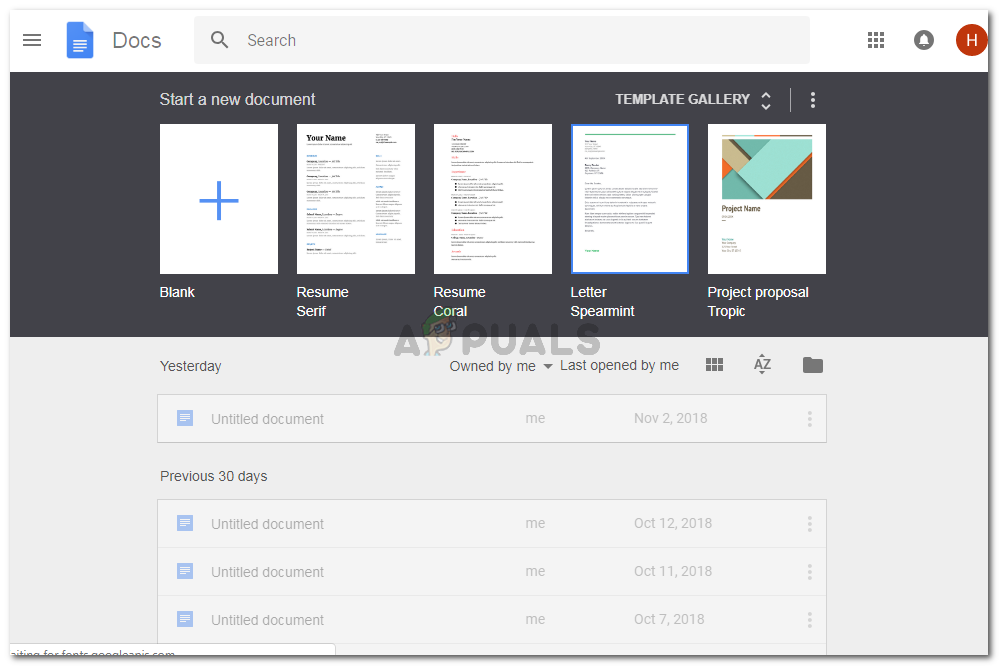
Opening Google Docs to finally start working 
Blank Document - Once you have opened an empty document, go to the File tab on your page as shown in the picture below. Bring your cursor to the tab which says ‘New’ with an arrow to the right, this will automatically extend the option for new, where you must locate the tab for ‘From Templates’.
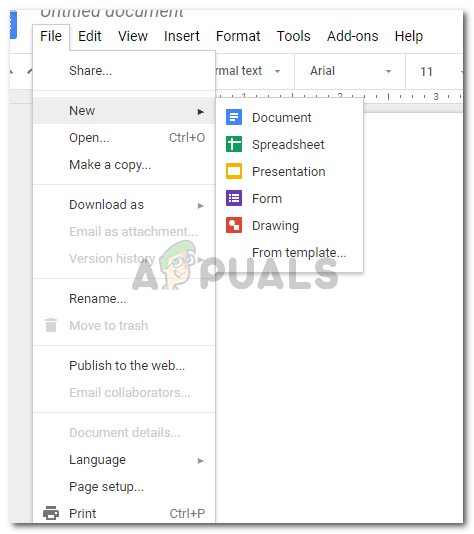
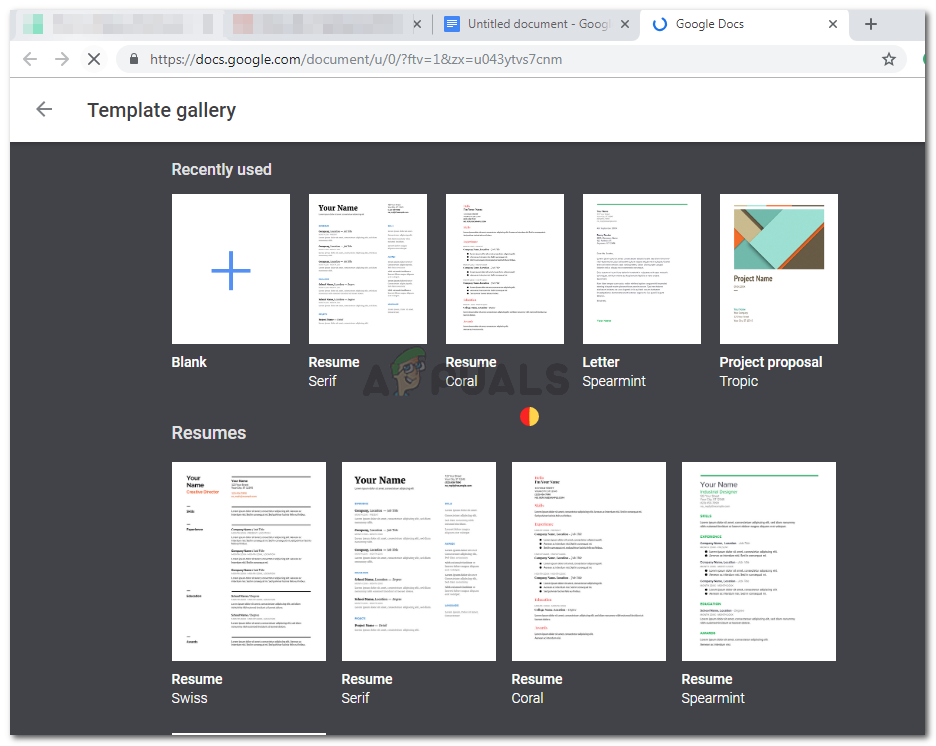
File>New> From Templates - Clicking on ‘From Templates’ will open a new tab on your browser. Here, you will be given a large variety of templates to choose from. Recently used, resumes, work, legal and more sub-types. If you scroll down on the same window, you will find templates for Brochures.
Opening a new document 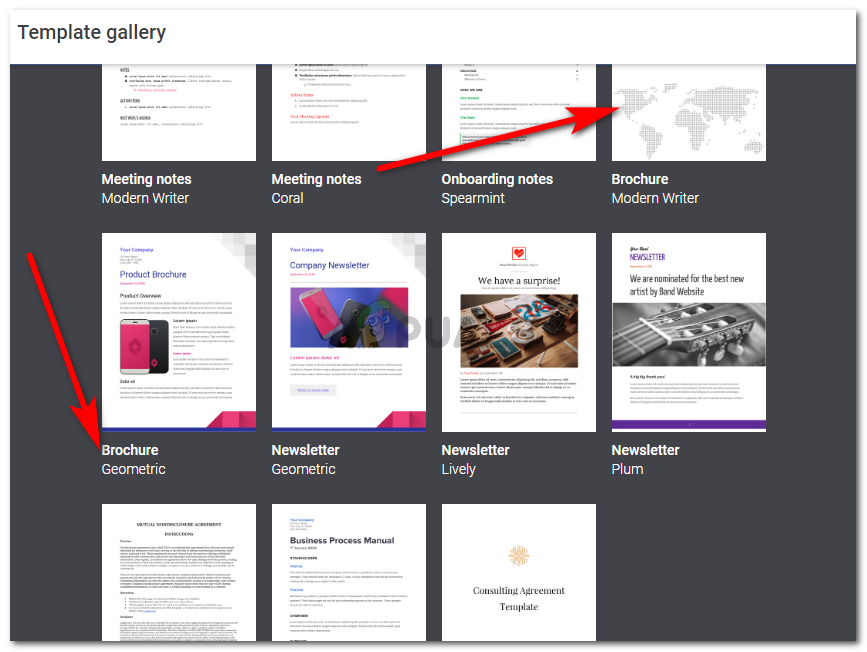
Different templates for a brochure on Google Docs There seem to be only two templates for a brochure on Google Docs, so choose the one that fits your requirements the best. I chose the one for Modern Writer, the one on the right.
- Click on the brochure template of your choice and your document gets revamped like this.
Your template has been added to the document. All set to get edited. You can click on the formatted text of the document and replace it with your text. You can add pictures, change the colors, and the font, it is all up to you. The purpose of the template is to give you an idea of how you should place everything on your brochure. It provides you with different spaces, different text sizes and more ideas of how you can use different text and colors to make your brochure look more appealing to the eye.
Making a Brochure Manually on Google Docs
- Open a blank document on Google Docs.
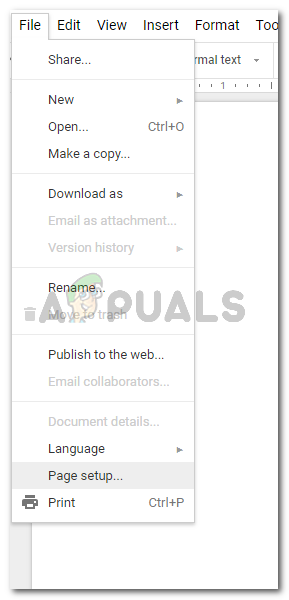
Blank Document - Click on File, and locate the tab for ‘Page Setup’ as shown in the picture below.
File>Page Setup… Page Set up will help you change the orientation of your page, you can change the dimensions, and you can also add a color to the background.
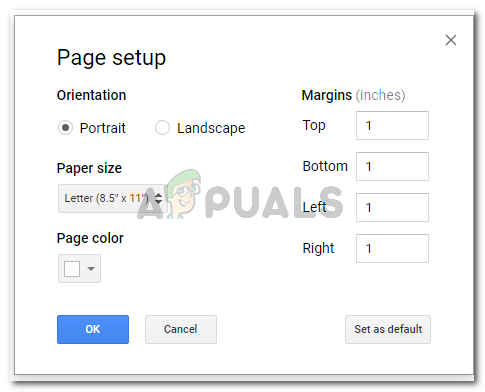
Page Set up options for your document These are the settings I changed for my page.

Set your page up according to your requirements - Now that your page is in Landscape mode, you can now add columns to it or simply add a table to divide the page into columns.
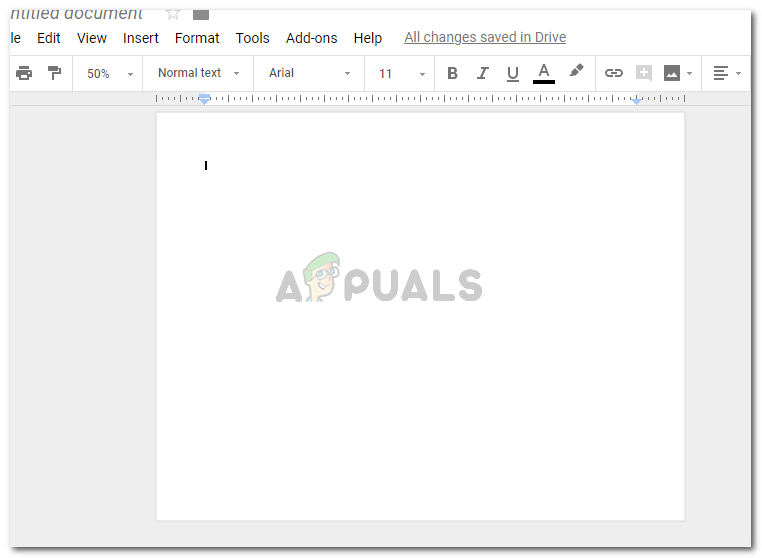
Your page in landscape orientation - To add a table, go to Insert and bring your cursor to the tab which says ‘Table’ and has an arrow sign. This will further bring more options for the number of columns and rows you want in your document. Select 3 by 2 as you have to make a brochure where there will be text on the front as well as the back of the page.
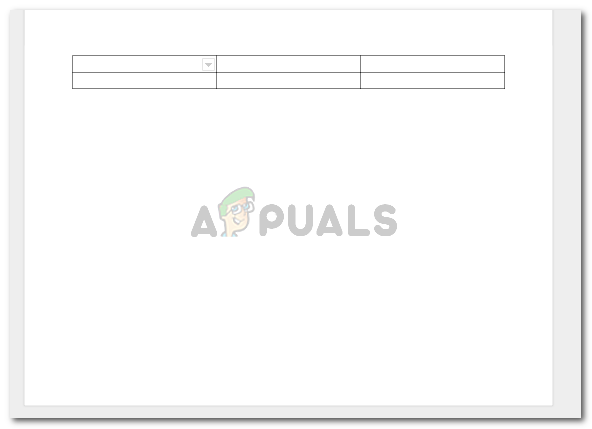
Draw a table to divide your page into sections - Selecting the columns will make a table on your document.
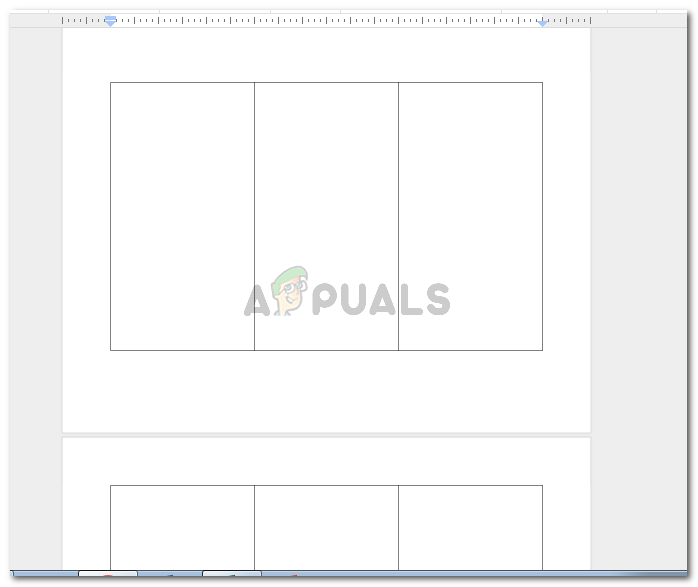
You created a table for your document Now you will use your cursor to drag the table and extend it to the next page. This way, you will have a 3 by 1 table on two pages. As shown in the picture below.
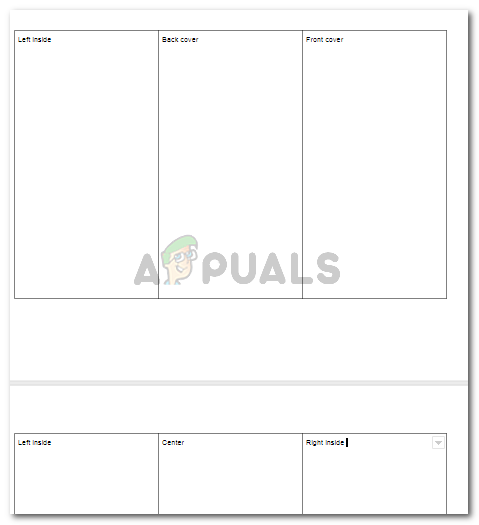
Drag and expand the table - Now which column represents what side of the brochure can be a bit confusing when you are making a brochure for the first time. So I have labeled the columns in the picture below. You can use this as a simple example for your brochure when making it manually. If you want, you can use a paper to make a brochure and visually see which side is for what. This will really aid you.
Sort your columns the way it is done in this picture


