How to Make a Banner on Adobe Illustrator
Adobe Illustrator has to be one of my favorite software to work with especially when designing something as big as a banner. The reasons for this are very obvious, The colors of Illustrator are so clear, and appear so nice without the pixelation, what else would any designer want in their design.
While banners cannot be limited to the marketing sector, where business make banners for their product and display them. Individuals like making banners for their parties and related events too. For instance, making a congratulations banner for a graduation party or for new parents. Using a banner to send out a message could be a great idea. Here is how you can make an amazing banner on Adobe Illustrator using the following easy methods. The design obviously can differ depending on your creativity, I am just giving you the basic guidelines for the tools which you can use to make a banner.
- Open Adobe Illustrator and fill in the details for dimensions for your artboard. Since it is a banner, you need to be very sure about the size of the banner. The design cannot be printed on a larger scale if the design has been made on a smaller scale. I have used 12 inches for my banners width and 48 inches for the height. If you want to make something smaller than this size, you are always free to customize the settings accordingly.
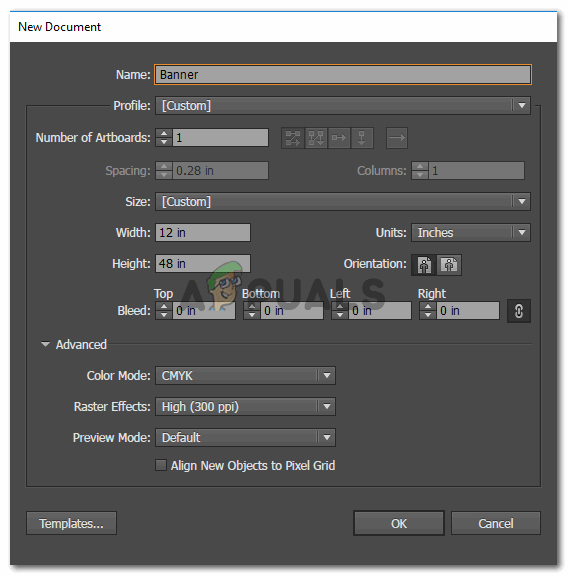
Adding the details. Make sure you use the right height and width settings. You can manually measure a piece of cloth if you want to be sure of what the banner size would be in actual. - This is what your banner artboard will look like. Now note, that banners are not always in the horizontal orientation. They can be in the vertical orientation as well. So if you choose either of the two, all if really good.

My banner artboard which I will be working on. - The tools on the left side, give you many options for tools which can be used to make anything at all. For instance, I thought of making a decorative banner on this artboard to make the banner look more interesting. Now there are two ways to go about this. I could manually draw the banner myself using the pen tool on the left, which is the which is the third tool on the left bar which looks like a pen. This could be a long process, require more of your time and attention and there are more chances of errors if you are a newbie. Or, an alternate way of making a banner on my banner, is to use the line tool and add a stroke which looks like a banner. Yes, that is possible on Adobe Illustrator. For this, you will have to choose the line tool from the left toolbar first.

Click on this icon. This is the line tool. You can draw lines on your artboard using this tool. - Before I created a line on the artboard, I used the top panel for tools, which showed me more options for the line tool. Here, in front of the heading for stroke, you will find these two options for the stroke, Uniform, and Basic. You need to click on the downward facing arrow for Basic. This will now show you all the strokes which you can use instead of the basic type of stroke. Now when you open this panel, you will not find many options here. For better and more interesting options, you need to click on the tab that looks like a bunch of books, this is the library.

Library for stroke types which be a very helpful tool in making your strokes different, whether it is the line tool or the shape tool - Click on the downward facing arrow on this tab and you will find an extended list of strokes to choose from. Arrows, Artistic and there’s a long list to choose from. For banners, you will have to go to the option that says ‘Decorative’, and from another extended list that appears, select ‘Decorative Banners and Seals’.
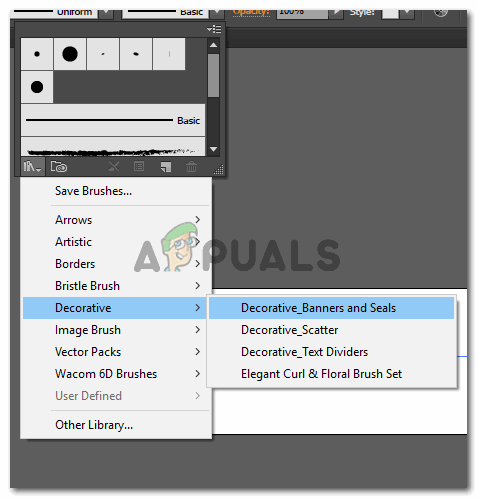
Decorative banners and seals. - The minute you click on this option, a small window will open which will show you the collection for banners and seals on Adobe Illustrator. You can choose any of this and use it for your design.

I randomly selected any to just show you how you could use it. - You can adjust the size of the stroke to increase or decrease the size of the purple banner that appears on your artboard now.
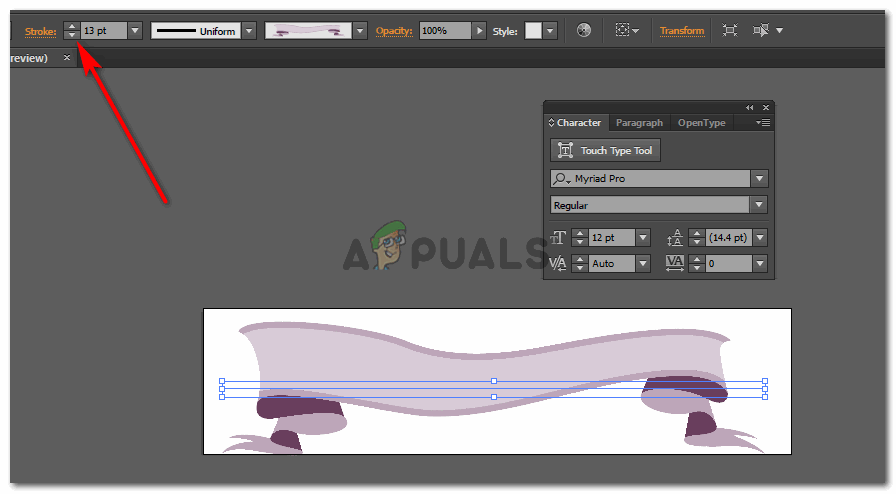
Use the points of stroke to adjust the stroke. Increase the number would widen the stroke as shown in the image - Add whatever text you have to add, using the Text tool, which is a big T on the left tools panel. Once you have added the text, an icon for Warp will appear on the top right corner of your screen. Use that, experiment and see which kind of warp looks the best on your text. Warp basically adds a curve to your shape or text.
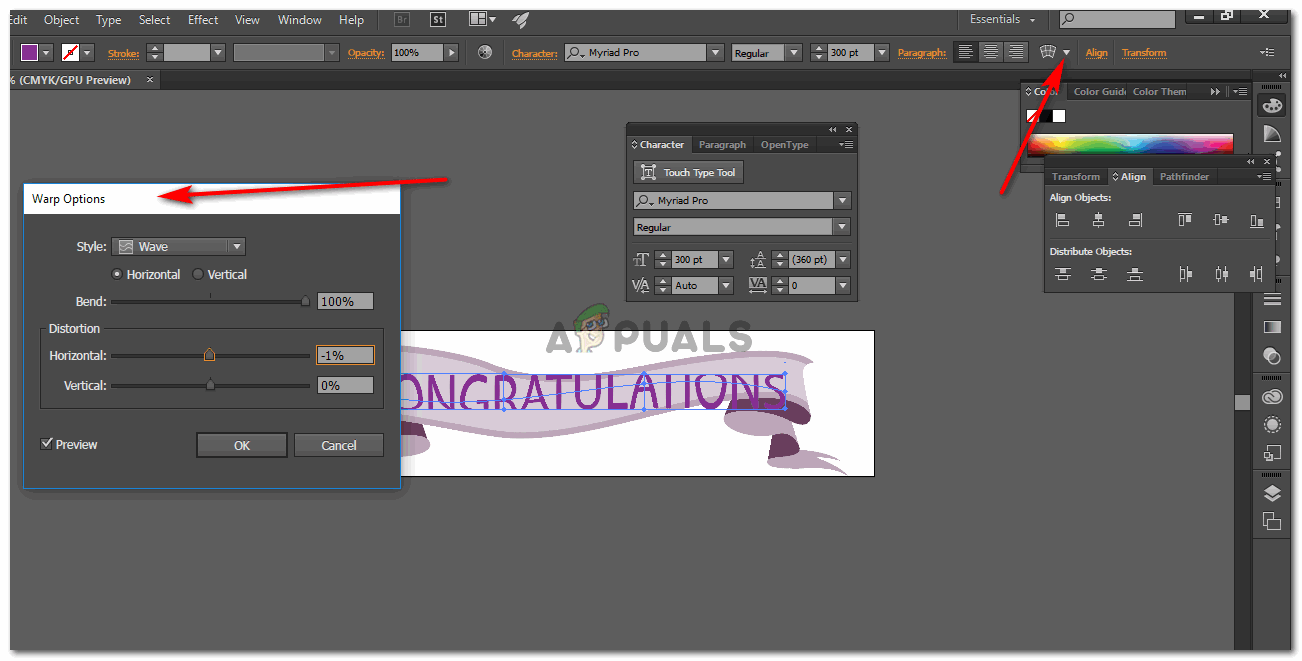
Warp the text as you like. - Your banner is ready.

Congratulations banner


