How to Lower Your CPU Temperature
High computer temperatures are a very common issue. When more processes are asked of your CPU, the clock of the CPU is turned up to allow more calculations per second to be made. A higher frequency will also mean more electricity will pass through the circuits, causing more heating of the CPU. So the more processes demand CPU time, the hotter the CPU will be.
Next to CPU usage, cooling is a factor that can cause a higher or lower CPU temperature. The better the cooling used, the lower the CPU’s temperature will be at high performance. If the temperatures get too high, the system becomes sluggish and the overheating parts are likely to get fried. Most CPUs and GPUs are not meant to go over 100OC. They are therefore fitted with a shutdown mechanism when these temperatures are exceeded. If the system is driven beyond this temperature, it will shut down suddenly as if a plug was pulled and display blue screen with a high temperature error. While many MBs do auto-shutdown when overheating; getting to that point often inflicts small damage that may build up over time, and constantly operating near that limit will do the same. It is best to steer clear of the limits.
The CPU can still run fairly okay in excesses of 40OC but basically, the lower the temperature, the better the performance of your CPU and GPU. The core (the temperature of the air enclose in the casing of your CPU is also monitored and it is essential that it should not go beyond 32OC otherwise if will hinder cooling of other parts. It will be like blasting the parts with hot air.
Keeping your CPU/GPU temperature low
There are so many ways to keep your computer temperatures low. You could buy a more powerful fan with more revolutions per minute (rpm) which translates into more air flow thus cooling the CPU. There are also more advanced fans that use liquid cooling. By passing a liquid over the heat sink, more heat is carried away and therefore cooling the CPU. Another method is to use a forced intake fan coupled with an exhaust fan. The forced intake brings in more cool air and the exhaust fan takes out the hot air. A cooling pad can be used in place of the intake fan.
The methods above all have one thing in common. They all need you to dig into your pockets and get new hardware. For a laptop, they can be even impossible to use. If you use your computer to render graphics, stream videos, play video games among other power hungry operations, the computer is likely to overheat and shut down after throwing a blue screen. Below, we have prepared a guide on how to lower your computer temperatures without need for new hardware.
Method 1: Increase airflow
Taking off the hot air and bringing in cool air is what cools the computer. Keep the PC in an open area with the exhaust and intake fans facing a fairly good direction of airflow.
For most laptops, the intake is usually placed at the bottom or at the back or both. If you don’t have a cooling pad handy, often it will make a noticeable difference if you can just put something underneath the laptop to give it a little space between the bottom of the laptop and the surface on which it’s sitting. Even just a couple of pencils under the corners can improve air flow enough to keep it from overheating.
If you are going to use your CPU for extremely heavy operations, you can open the case at the side (or at the bottom for some laptops) to allow better airflow during such demanding times.

Method 2: Keep your computer clean
One of the major reasons a computer overheats is due to dust build up and clogging of air vents. Clean your fans regularly. You can do this by blasting compressed air into all air vents and if you are able to open your casing, do it on the motherboard as well since charges in the dust particles can lead to short-circuiting and thus overheating.
Make sure you do this while your computer is shut down and the AC and battery have been removed. While blowing into the fan, make sure it does not spin too much because it might get damaged if it is spun beyond the intended revolutions per minute (rpm).
Method 3: Manage the space and cabling in the computer
Hindrance to airflow as we have mentioned causes overheating. Take some time to open the side of your computer and lay down the cables as neatly as possible and increase the air space in the computer, especially around the processor and GPU. Hot air will no longer be trapped in the computer, leading to better cooling.
Method 4: Use thermal paste
If the machine is older and the CPU thermal paste is dirty or dry, it lacks the ability to conduct heat off the GPU or CPU properly. Thermal paste is usually placed in between the heat sink and the heating surface (CPU or GPU). It may be worth your efforts to pull the heat sink off the processor and reapply some thermal paste. Make sure to clean off all old thermal paste before applying the new to avoid irregular heat transfer. Also make sure that the heat sink is firmly bolted over the CPU or GPU.
Method 5: Undervolting the processor
This is a little more complicated than other methods. Undervolting is a process which reduces the excess “voltage” given to the CPU using software. This is widely used as a cooling solution. Undervolting is said to NOT compromise performance at all. Underclocking and overclocking (clock speeds) is what is responsible in regards to performance. We recommend undervolting to anyone with enough confidence and knowledge to do so. The benefits easily outweigh the risks.
- Download and install these utilities:
RMclock v.2.35 – (CPU clock utility) from here
ORTHOS CPU Loader – (Used to stress the CPU and test for stability) from here
HWmonitor – (To monitor temperatures. Choose between 32/64 bit on top left corner) from here

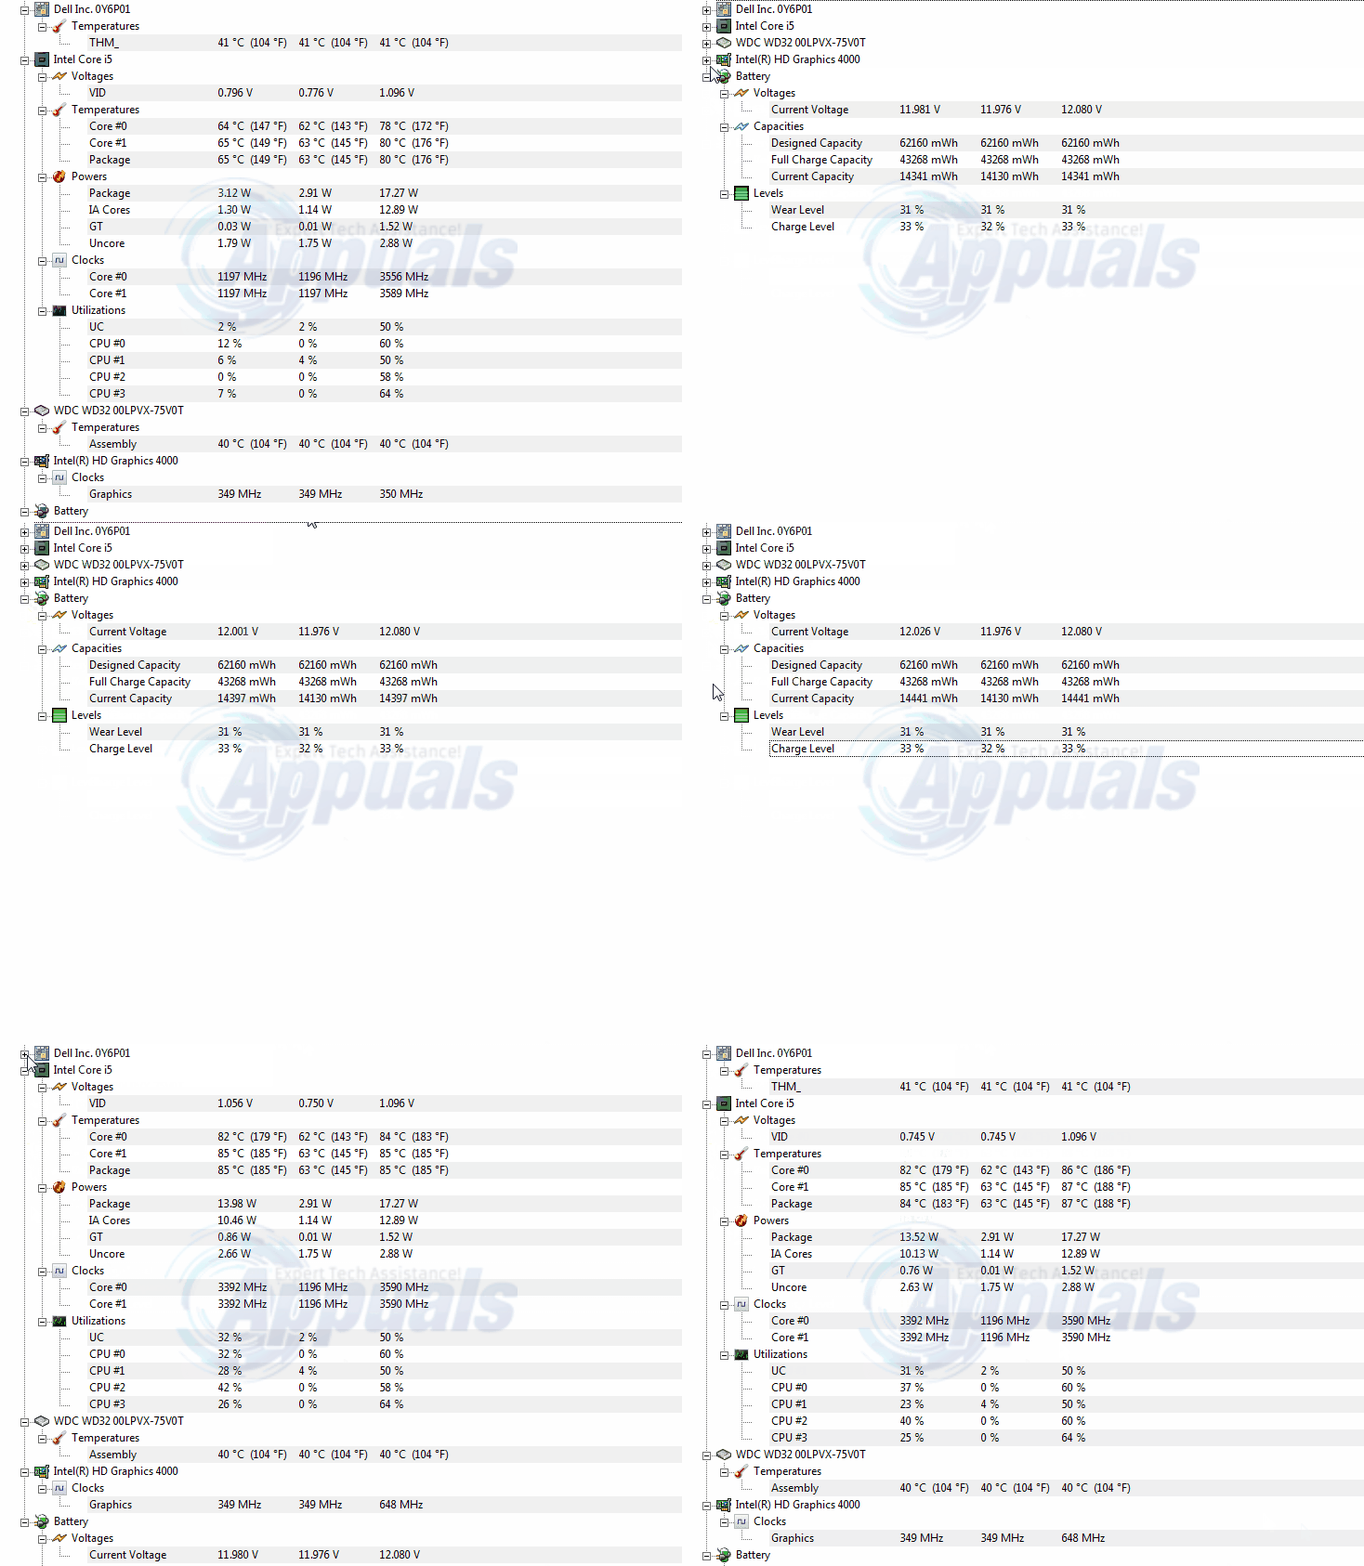
- Run ORTHOS CPU Loader. This handy program will simulate full CPU load for both cores. Click on the Start button and let it run for 10mins. Watch the temps shoot up to about 70-90Oc on HWmonitor. Once it is done stressing the CPU for 10mins, stop the program and record the maximum temp.
- Run RMclock. Click on the “Advanced CPU Settings” tab. The latest version of RMclock should automatically detect your CPU. If it doesn’t then click on the “Mobile” radio button near the bottom and tick “Apply these settings at startup”. Now hit the Apply button. If it asks you to restart the program, do so. After it has restarted go to the “CPU info” tab. Double check it is showing the correct processor you have. On this page you will also see a lot of digits moving up and down about your CPU.
- Double click on the Profile tab then click on “Performance on Demand” sub-profile.
- – Tick “Use P-State Transitions” for both AC Power and Battery
- – Tick all the index boxes possible, Make sure to scroll down and click the others
- – Click Apply when all done.
- *AMD users need to tick P-State Transistors for a better undervolt
- Head back to the Main Profile page…. Change the current profile in the drop down box to “Performance on Demand” for both AC Power and Battery. Make sure all the index boxes are ticked. Uncheck “Auto Adjust intermediate-states VID” near the bottom and hit the Default button. Your factory voltages should now show up. Click Apply.
- In the main profile page, you will see different multipliers and voltages. Start lowering the highest multiplier’s voltage. Always click Apply so the new voltage can take effect then do the stability test below. Keep doing this every time you lower the voltage.
- Open ORTHOS and HWMonitor again.
- Go to the “CPU info” tab of RMclock (you can also watch the temps and stats here).
- Set the test type to “Small FFTs – stress CPU” to concentrate the test to the CPU.
- Run ORTHOS stress test for 45mins or more
- If it doesn’t crash when the stability test is done then you can go lower. We suggest lowering by .025v at a time till it BSOD (Blue Screen of Death) or gives a warning error.
- If you get a blue screen – then you have reached your limit and the voltage is too low. Once it restarts from the BSOD, it should revert to the last stable voltages. Keep a record of the good/bad voltages on paper.
- If you get a warning or hardware error from ORTHOS – Your voltage is also too low. Raise your voltage and try again.
- Once you have found your unstable voltage, we suggest raising the voltage up by 2 steps. This will put a safe margin away from your unstable voltage to ensure stability. Most people are able to achieve .150v to .250v less than their default voltages for the highest multiplier. It all depends on your processors tolerances.
- To make the most out of Undervolting, you can also lower the other multipliers to its optimum voltages.