How to Install Notepad++ Spell Check Plugin
Notepad++ is a free text and source code editor which is most commonly used by Developers. This is an advanced version of the default Notepad application in Windows and allows users to edit source codes and perform tasks simultaneously by opening multiple tabs. However, it lacks spell check and auto-correct features.
What is a Spell Checker Plugin?
Spell Checkers are programs that are used to auto correct and check spellings in a given document/file. This makes it easy to proofread documents.
Before you move on toward the solution of this article, you can look into your Plugin Manager in Notepad++ and check the list of available plugins to find any Spell Check entry. Also, if you don’t have any Plugin Manager on your Notepad++, then you can add it by checking our other “How to Install Notepad++ Hex Editor Plugin” article (Step 1).
But if you don’t have any Spell Check Plugin in Plugin Manager (just like most of the users), then you can move towards the solution for adding it manually.
Adding DSpellCheck Plugin from GitHub
Official distributors removed many plugins after the Notepad++ version 7.5 due to Ads. Just like the Plugin Manager was removed from Notepad++, all the available plugins inside the Manager were automatically removed because there was no possible way to install them. DSpellCheck was included in the installation process of Notepad++ older versions but was also removed recently. Even though it’s removed from both, the installation and Plugin Manager, you can still add/install the DSpellCheck Plugin manually by following the steps below:
- First, you need to go to this GitHub link: DSpellCheck
This contains the installation files which are updated with new versions containing fixes from time to time. - You can choose the 32bit or 64bit zip file and download it
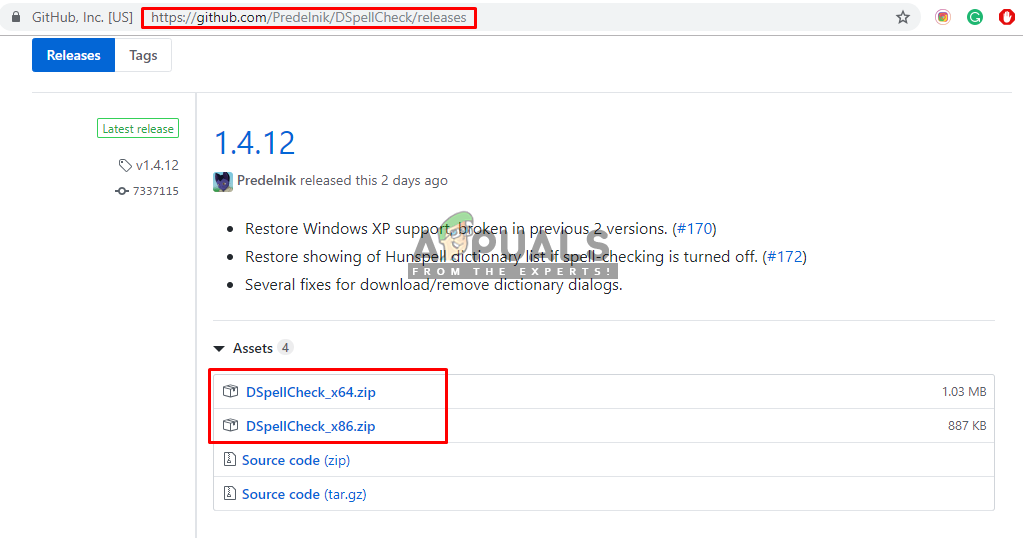
DSpellCheck Plugin on GitHub - Now Extract the downloaded zip file using WinRAR and open the extracted folder
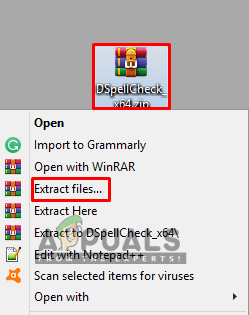
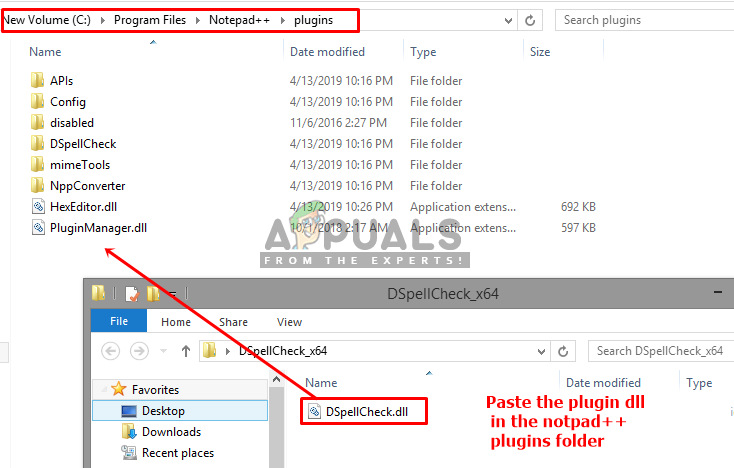
Extracting the rar file - Copy the “DSpellCheck.dll” file from the folder
- Locate the Notepad++ Plugins folder:
C:\Porgram Files\Notepad++\plugins
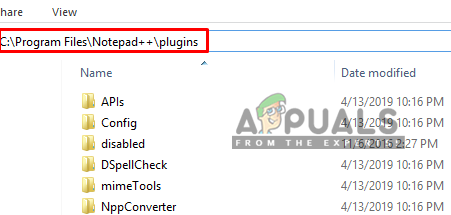
Location of Notepad++ - Open it and Paste the copied DSpellCheck.dll file here
Paste the downloaded dll in the Notepad++ plugins folder - When you are done, restart your Notepad++
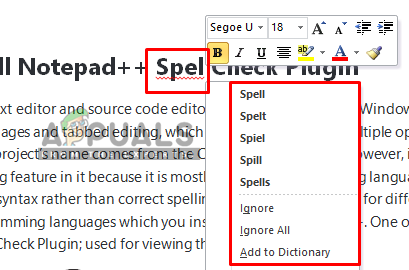
- Then click on Plugins menu, move the cursor over the DSpellCheck in the list and select “Spell Check Document Automatically”
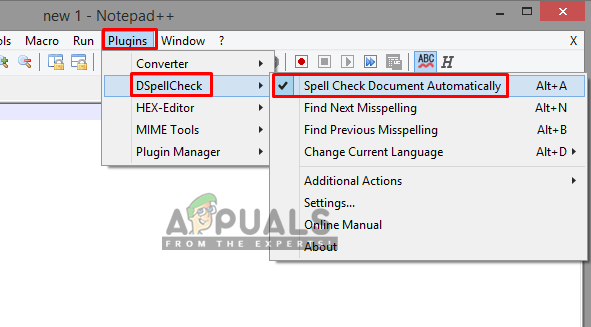
Turning on the spell check automatically - Now you can type or open any text file and check for misspellings.
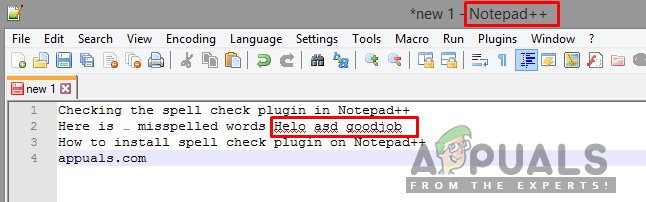
Spell check working in Notepad++


