How to Install Fonts with SkyFonts on Windows
Google Fonts is already a great library of free, open-source fonts that you can use on both commercial and personal projects. But until recently, keeping track of the latest font additions was a pain because there was no syncing feature that would keep you updated with the latest changes and additions to your favorite fonts.
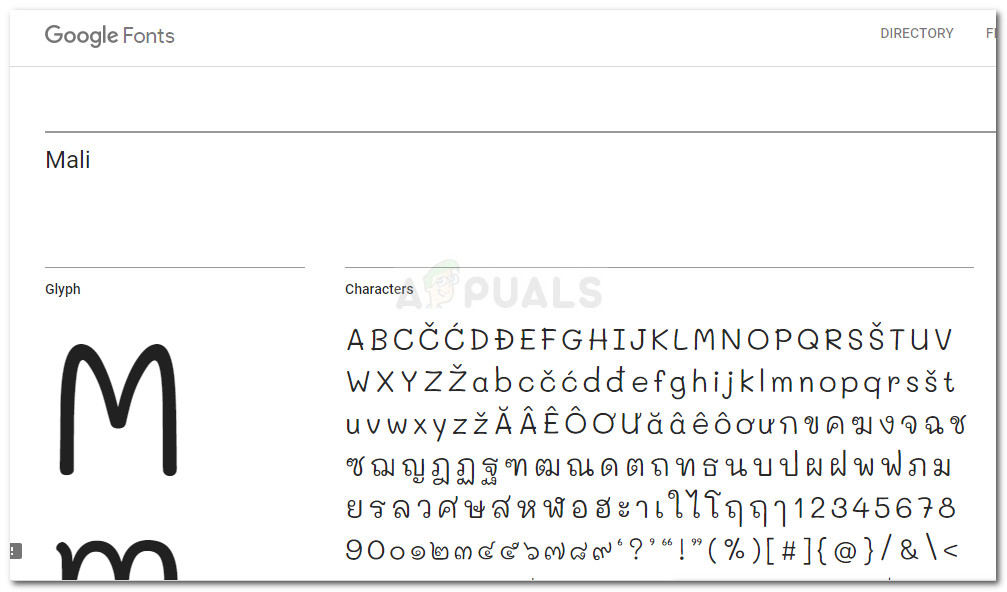
Luckily, this has changed for the better since Google has partnered up with SkyFonts. This not only lets you install the vast Google Fonts library on your Windows PC, but it also allows you to keep your fonts synced – what I mean by this is that every time a new character or symbol is added to the font, Skyfonts will automatically update it on your device.
Keep in mind that once you install a font on your device using Skyfonts, you will be able to use that font with all your installed applications including Photoshop, Illustrator, Corel or any other graphics-related application.
How to install Google Fonts on Windows using SkyFonts
Just in case you’re a font enthusiast and could make use of this new Google – SkyFonts partnership, we have put together a guide that will help you install the SkyFonts on your PC. We’ll even show you how to install and deploy a font that you download through Skyfonts.
Here’s a quick guide on installing and using SkyFonts:
- Visit this Microsoft Official link (here) and download the Microsoft .NET Framework 4.6 by clicking the Download button. This is needed by SkyFonts in order to function properly.
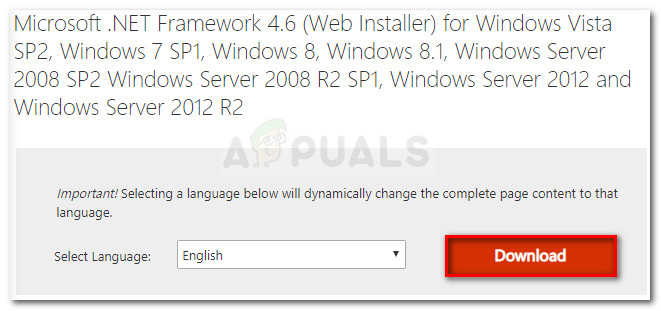
Downloading Microsoft .NET framework 4.6 - Open the framework installation executable and follow the on-screen prompts to install it on your computer. Once the installation is complete, restart your machine.
- At the next startup, visit this link (here) and click on the Install SkyFonts button. Then, click on Download Skyfonts to download the archive containing the installation executable.
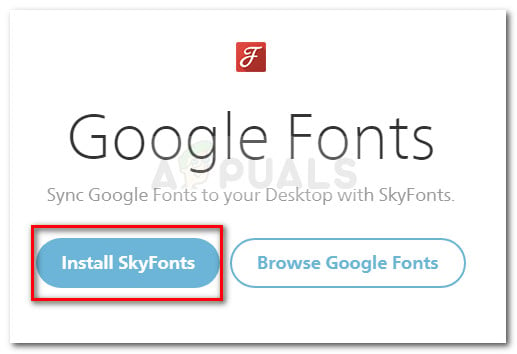
Downloading Skyfonts installation archive - Extract the installation executable somewhere accessible using an extraction tool like Winrar, WinZip or 7zip.
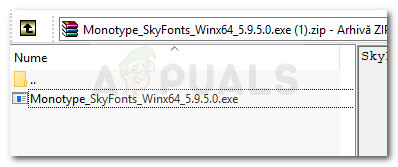
Extracting the SkyFonts installation executable - Open the executable that you’ve just extracted and made sure that the box associated with Monotype_SkyFonts is checked. once you do so, click the Install button.
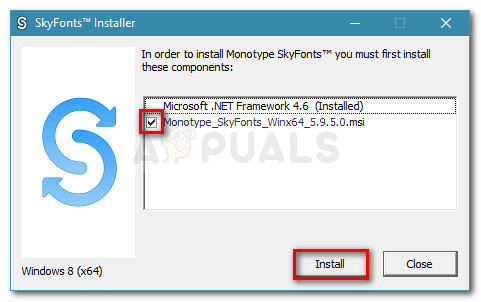
Installing Skyfonts - Wait until the process is complete. When prompted by the SkyFonts setup, click Next to proceed.
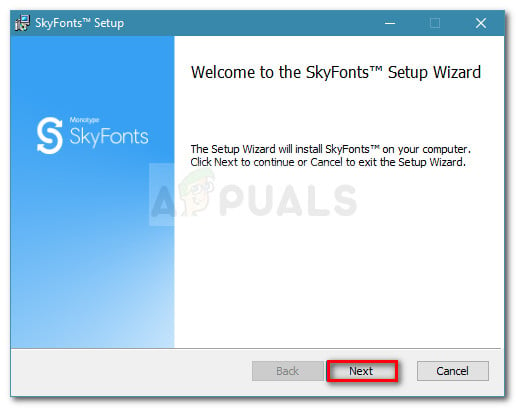
Click Next at the first SkyFonts wizard prompt - Agree with the EULA by checking the two boxes under the License Agreement. Then, hit the Next button to proceed.
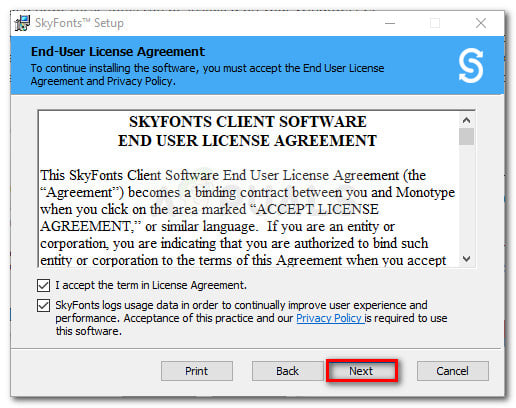
Agree with SkyFont’s EULA and hit Next to proceed - Choose an appropriate location fo Skyfonts, then press Next again.
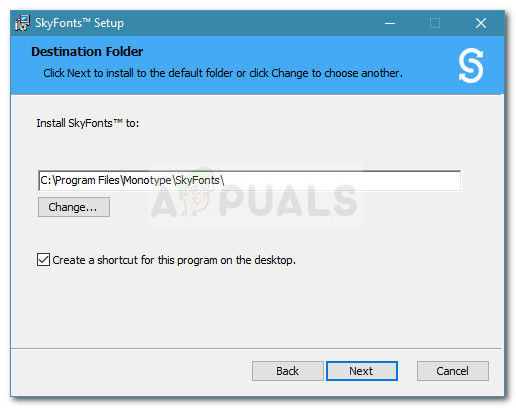
Choosing the installation location of SkyFonts - Finally, hit Install to kickstart the installation process of SkyFonts.
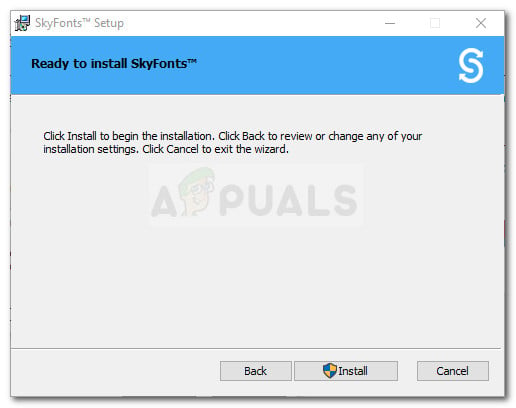
Starting the installation of Skyfonts - If prompted by the UAC (User Account Control) press Yes to accept the installation. You might also be prompted again at the end of the installation.
- Hit Finish to close the installation wizard and launch Skyfonts.
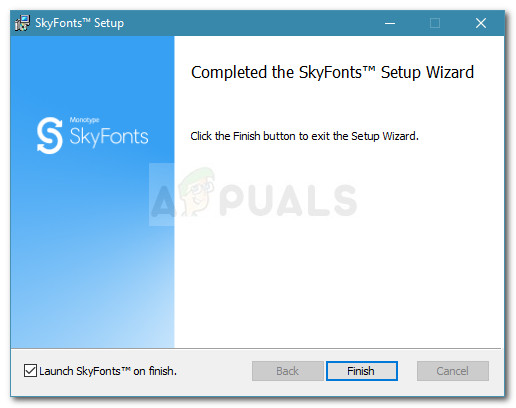
Click Finish to close the installation wizard - Wait until the SkyFonts app is activated on your device. It might take over two minutes.
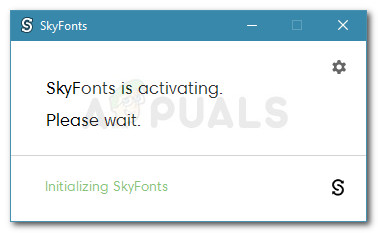
SkyFonts is activating on this PC - Next, you will be asked to select a font provider. We recommend Fonts.com, but you can choose a different font provider or even skip this step entirely. But keep in mind that unless you choose a font provider and create an account with them, you will not receive shrinking updates with the fonts that you use.
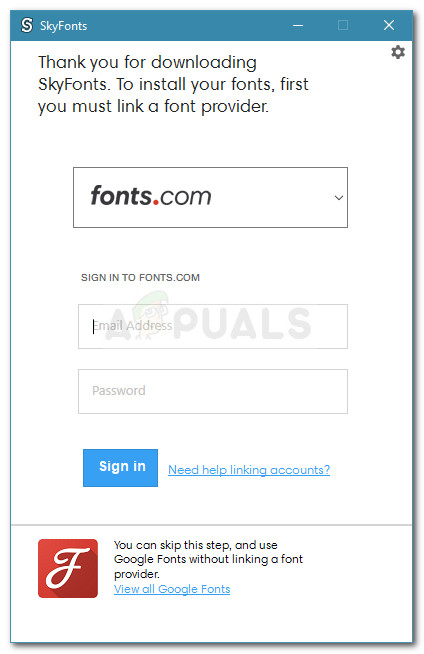
Choosing the font provider and inserting the account credentials - That’s it. Now you can begin installing fonts on your computer with one click. To do so, go to Fonts.com or another font provider and click the SkyFonts drop-down menu associated with the font that you’re trying to download. From there, simply click Add and the font will automatically appear inside your desktop SkyFonts client.
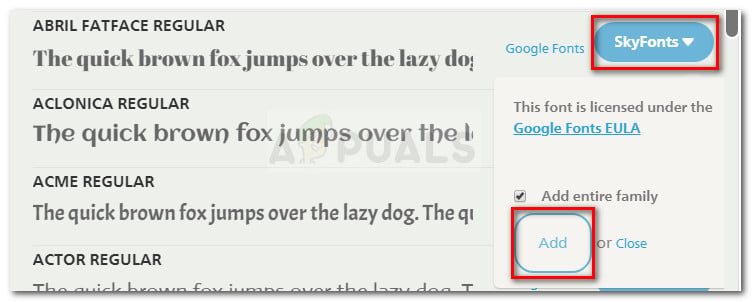
Adding new fonts to SkyFonts - Now that the font has been added, it will appear on any application you have installed on this PC. The app should automatically scan for updates periodically, but you can also force this by going to the settings menu and clicking on Sync fonts.
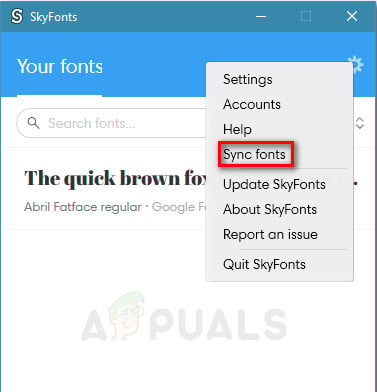
Syncing fonts with Skyfonts


