How to Increase Memory on Chromebook
The primary selling point for Chromebooks till now has been that they are affordable. Chrome OS is a very light operating system, and can run smoothly on the most low-end machines. Chromebooks are cheap because they run on low-end hardware. The RAM on these machines ranges from 2GB on the lowest-end models to 4 GB on decently priced Chromebooks.
While 2 GB of RAM might be enough for day to day use, we all have those days when we just need our computers to manage a dozen or more tabs with background processes without having to worry about it. The low-end Chromebooks lack the hardware to be able to support such processing.
Thankfully, with a small hack that we will show you today, you can give your Chromebook extra RAM to power you through all those extra tabs.
In order to get extra RAM on your Chromebook, we use zram (or compcache), which basically turns a part of your internal storage into RAM. This extra zram compensates for your device’s lack of memory, and helps the system handle multiple background processes. With swap memory, a persistent concern is that it will damage the SSD by making extra rewrites. However, zram is different from traditional swapping, and does not cause additional writes to your SSD. Hence, this method is perfectly safe and will not harm your internal hardware at all.
Before we get into the tutorial, please note that this is an experimental feature. You must try it at your own risk. I must add that I have tried this multiple times in the past, and I have faced no issues at all.
Adding ZRAM
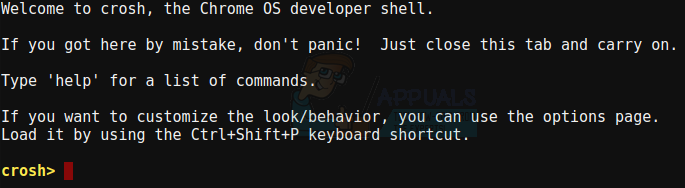
First, open the Crosh terminal by pressing Ctrl + Alt + T inside Google Chrome. A terminal will open up in a new tab, and it will look like this.
All you have to do is type this command in the terminal :
swap enable 2000
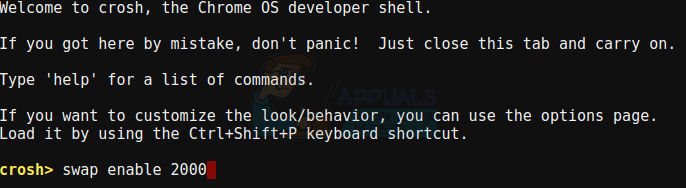
This will add an additional 2 GB of zram to your Computer (while taking away 2 GB of local internal storage). 2 GB is the recommended size suggested by Chrome OS developers, but if you wish, you can also swap a different amount. If you can only afford to swap 1 GB, the command will look like this
swap enable 1000
Type the command and press ENTER. Then, you must reboot your Chromebook for the changes to take place. Once it restarts, your Chromebook will have an additional 2 GB of RAM to fall back on.
Disable ZRAM
This additional RAM will not be reset if you restart your Chromebook, and will only convert back to internal storage if you execute the disable command, which is –
swap disable
Again, restart your Chromebook for the changes to take place, and you will have that memory back as internal storage.
It is really as simple as that. While this feature is still experimental, you can freely use it when you need your Chromebook to run on beast mode, and disable it when you are done. This is really an extremely useful tweak that all Chromebook owners should know of.
If the date on this article is right (July 2017), then it was written a couple of years too late. Zram is enabled by default in ChromeOS, and has been for more than a year (or two). Also, I would point out that the only storage Zram uses is the system’s ram. It essentially borrows part of the system’s ram to create a virtual storage device in ram which it then uses as swap. The advantage of this “swap disk” is that the data is compressed as it is written to it and it performs much faster than any other sort of storage (though its not persistent, the ram disk is recreated each time the system is restarted).