How to Fix Witcher 3 Crashing on PC
The Witcher 3: Wild Hunt is an action role-playing game which is published and developed by CD Projekt. This is an ongoing series of games which have left quite a footprint in the digital world.

Despite the popularity of the game, we came across a specific issue where the game crashed during the gameplay or cinematics. After the game crashed, there wasn’t any type of error message and the user was redirected back to the Desktop. This becomes frustrating because there no error message at all and the cause of the issue isn’t determined as well.
In this article, we will go through all the causes as to why this issue occurs and the workarounds involved to solve the problem.
What causes Witcher 3 to Crash?
After analyzing all the user reports and experimenting on our computer, we concluded that the issue occurred due to several different reasons ranging from software problems to hardware issue. Some of the reasons as to why you might experience this issue are but not limited to:
- Video card/hardware overheating: This probably one of the most popular causes we came across. If your video card or any other hardware is overheating, the computer to fix the issue crashes the game.
- Corrupt/incomplete installation: If your installation is somehow corrupt or has its files missing, you might experience the abrupt crashing. Verifying the game files might help and fix the issue.
- NVIDIA Streaming Service: Even though the streaming service offered by the graphics giant is one of a kind tool, it is known to cause conflicts with the game even if you are not using it and cause it to crash.
- Mods: Mods make the gameplay all more fun in Witcher 3 but like all shortcomings of every mod, this isn’t an exception. If the mod conflicts with your game at any point, it will crash.
- Steam Cloud Saves: Steam Cloud Saves is a feature offered by Steam to save your gameplay on the go. This service saves your file periodically; this very action is known to cause conflicts with Witcher 3 and cause it to crash.
- Overclocking: Overclocking is ‘the’ tool to increase your juice from your PC. However, it is also known to make the system unstable and cause it to crash without any apparent reason. Disabling the action usually solves the issue.
- Corrupt graphics card drivers: The graphics card is the main driving force in playing the game on your computer. If its drivers are in any way not in sync with the hardware, your game might crash in between.
- Overlay in GOG Galaxy: GOG Galaxy is a game collection platform just like Steam and its overlay is known to cause issues with Witcher 3. Disabling the overlay works here.
- GPU Connectors: The GPU is connected to your main motherboard through different connectors. These connectors, if loose, might not transmit the information properly and hence cause problems in the operation of the game.
- High graphics settings: If you have very high graphics settings but don’t have the proper PC for handling them, you will experience several issues and the game might freeze/crash.
Before we start with the solutions, make sure that you are logged in as an administrator and also save your work beforehand as we will be restarting your computer frequently.
Pre-requisite: System Requirements
Before we start with the solutions, you should first check whether your computer even meets the system requirements of the game.
Wild Hunt Minimum System Requirements
CPU: Intel CPU Core i5-2500K 3.3GHz / AMD CPU Phenom II X4 940

RAM: 6 GB

OS: 64-bit Windows 7 or 64-bit Windows 8 (8.1)

VIDEO CARD: Nvidia GPU GeForce GTX 660 / AMD GPU Radeon HD 7870

PIXEL SHADER: 5.0

VERTEX SHADER: 5.0

FREE DISK SPACE: 40 GB

DEDICATED VIDEO RAM: 1.5 GB
Wild Hunt Recommended Requirements
CPU: Intel CPU Core i7 3770 3.4 GHz / AMD CPU AMD FX-8350 4 GHz

RAM: 8 GB

OS: 64-bit Windows 7 or 64-bit Windows 8 (8.1)

VIDEO CARD: Nvidia GPU GeForce GTX 770 / AMD GPU Radeon R9 290

PIXEL SHADER: 5.0

VERTEX SHADER: 5.0

FREE DISK SPACE: 40 GB

DEDICATED VIDEO RAM: 2 GB
It should be noted that you should have at least the recommended system requirements to play the game smoothly.
Solution 1: Verifying Integrity of Game Files
Before we try technical troubleshooting methods, we will first check whether you have a valid game installation or not. We came across several cases where the game files were either corrupt or had incomplete installations. Users might experience this issue if an update process was interrupted or the game files were moved between folders.
In this solution, we will open Steam and use the built-in function to verify the integrity of game files. If the application finds something, it will be replaced.
Note: If you are using another publishing software to play the game, you should perform similar steps in it as well.
- Open your Steam application and click on Games from the top bar. Now select Witcher 3 from the left column, right-click it and select Properties.
- Once in Properties, click on Local Files category and select Verify Integrity of Game Files.
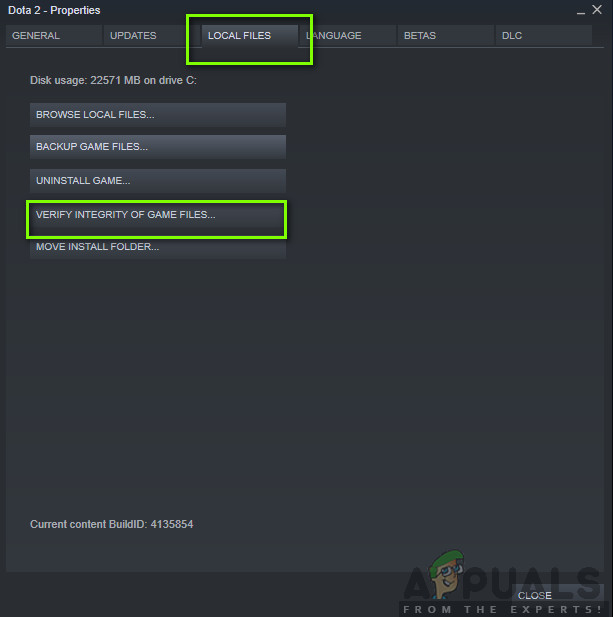
- Now, wait until the process is complete. Restart your computer after the verification is complete and launch Witcher 3 again. Check if the crashing issue is resolved.
Solution 2: Changing the priority of the game
The priority of a process or applications tells the computer the importance and whether it should be given precedence over others when allocating resources. Be default, the priority of all applications is normal except system processes. If Witcher 3 isn’t getting enough resources, it will crash indefinitely. In this solution, we will navigate to the task manager, search for The Witcher 3 process and then change the priority to High Priority and see if this works for us.
- Launch Witcher 3on your computer. To go to the Desktop while the game is still running, press Windows + D. Press Windows + R, type “taskmgr” in the dialogue box and press Enter.
- Now click on the tab of Details, locate all the entries of Mordhau and Since Witcher 3’s primary launcher is Steam itself, you must change its priority as well.
- Right-click on each entry, hover over set priority and set it either to Above Normal or High.

Changing the priority of the game - Do this for all your entries. Now Alt-tab to your game and start playing. Observe if this made any difference to the crashing problem.
Solution 3: Disabling NVIDIA Streamer Service
NVIDIA Streamer service comes bundled with the latest graphics cards released by NVIDIA. It runs as a background service on your computer all the time and comes into play when you are streaming using NVIDIA’s application. We saw that this service conflicted with Wither 3 a lot and cause several issues including the crashing. In this solution, we will navigate to your Services and disable the service manually.
- Press Windows + R, type “services.msc” in the dialogue box and press Enter.
- Once in Services, search for the entry of NVIDIA Streamer Service. Once you locate it, right-click on it and select Properties.
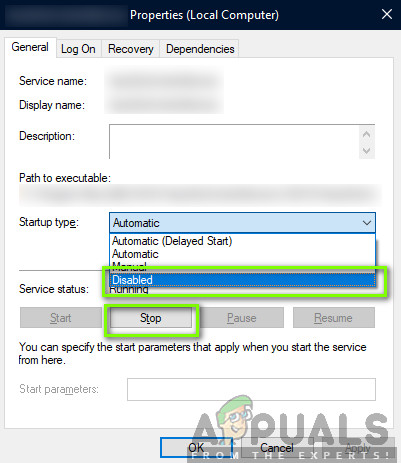
Disabling NVIDIA Streamer Service - Once in the properties, click on Stop to stop the service and select startup type as Manual. Save changes and exit.
- Now try launching Witcher 3 and see if the crashing issue is resolved.
Solution 4: Disabling Steam Cloud Saves
The Steam Cloud is a platform which allows games and users to save their progress and data over the Steam cloud so whenever a user logs into the client, the client automatically downloads and updates the progress and preferences. This is a pretty nifty feature which makes Steam more preferable to other engines but is also known to cause several issues.
In this solution, we will navigate to the Steam settings and turn the synchronization off.
- Launch Steam as an administrator and click on Library present at the top.
- Now, all the games will be located at your left-side panel. Locate Witcher 3, right-click on it and select Properties.
- Once in properties, click on the Updates tab and uncheck the option of Enable Steam Cloud Synchronization.
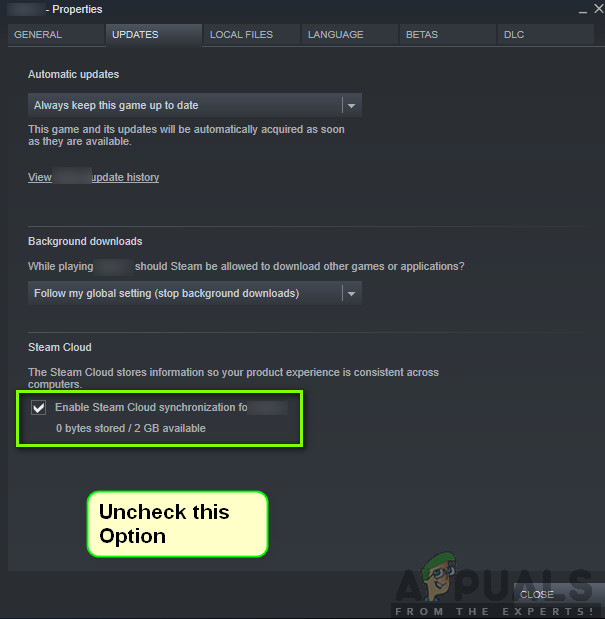
Disabling Steam Cloud Saves - Save changes and exit. Restart Steam and launch the game. Check if the issue still occurs.
Solution 5: Disabling VSync
Vsync (Vertical Sync) allows users to synchronize the frame rate of the game with the monitor refresh rate for better stability. This feature is embedded in Witcher 3 and is usually enabled by default. Even though this mechanism is quite nifty, it is known to cause issues with the gameplay and induce crashing.
In this solution, we will navigate to the settings of the game and disable the option.
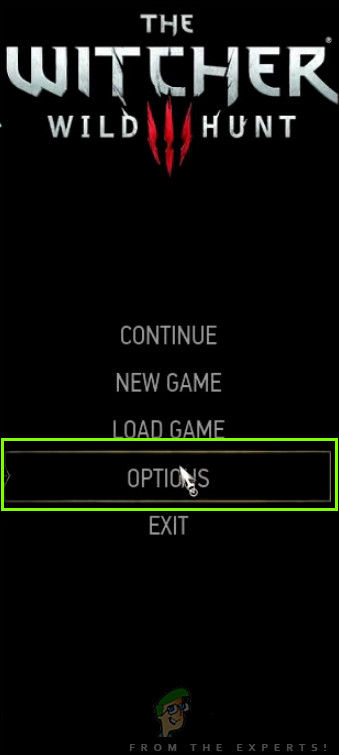
- Launch Witcher 3 and click on Options from the main menu.
- Now, click on Video and then select Graphics.
Witcher 3 Options - Once in Graphics options, click on VSync and turn the option off.
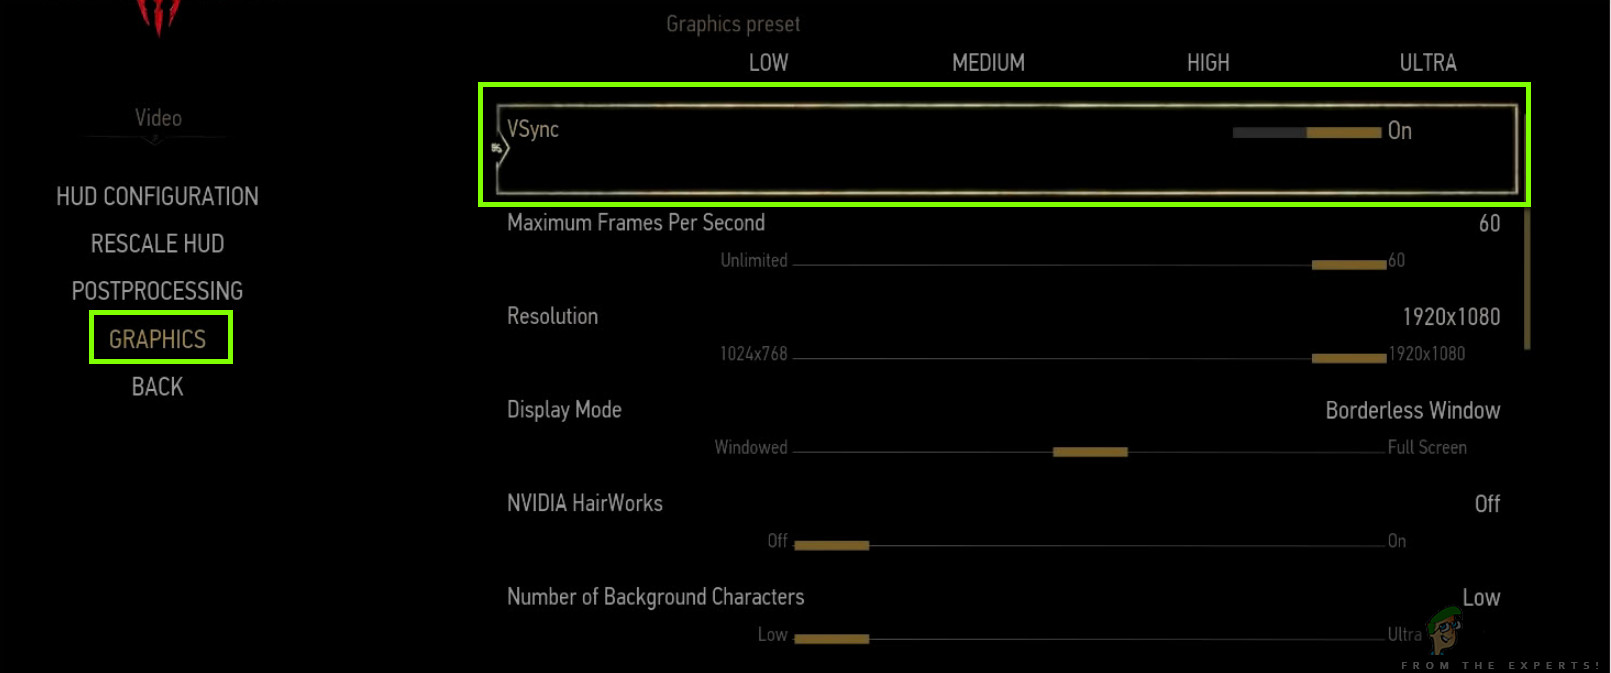
Disabling V-Sync – Witcher 3
Note: You can also tweak other graphics settings from here if this doesn’t work.
- Save changes and exit. Restart Witcher 3 and see if the issue is resolved.
Solution 6: Disabling Frame Rate Cap
Witcher 3 also provides an in-game option which allows you to set the maximum frame rate. However, even though this allows you to manage your frame rate, it causes issues with the game. In this solution, we will navigate to graphics settings and remove the cap.
- Navigate to Graphics settings using Options in the main menu as we did in the last solution.
- Once in graphics, look for the option of Maximum Frames Per Second. Move the slider to unlimited.
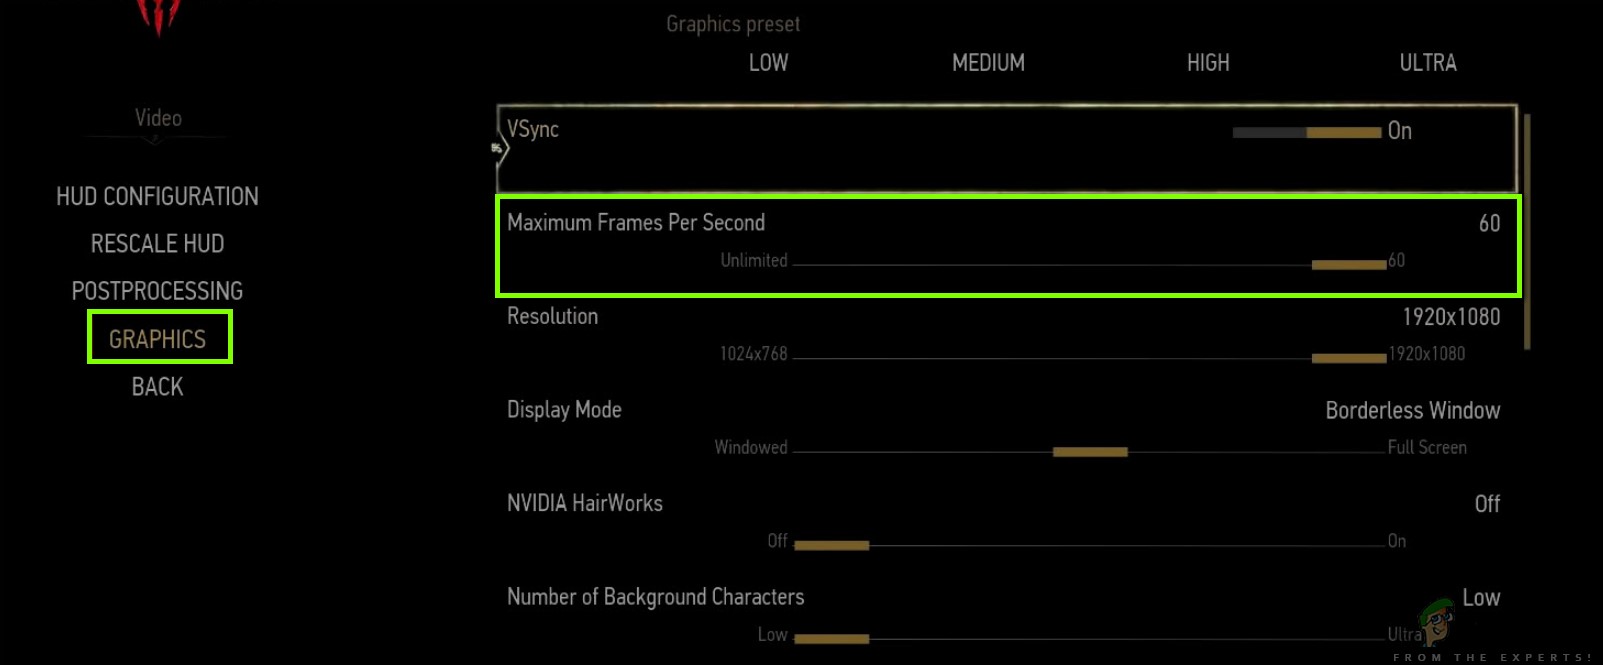
Disabling Frame Rate Cap - Restart the game and check if the issue is resolved for good.
Solution 7: Playing in Full Screen
Another thing to try before we jump into more technical methods is changing the game type to Fullscreen. It seems that the borderless window causes more load on the CPU as the Desktop is also running in the background. In this solution, we will navigate to Witcher 3 settings and tweak the changes.
- Navigate to Graphics Settings using Options from the main menu as we did earlier.
- Now, click on Display Mode and set the option to Fullscreen.
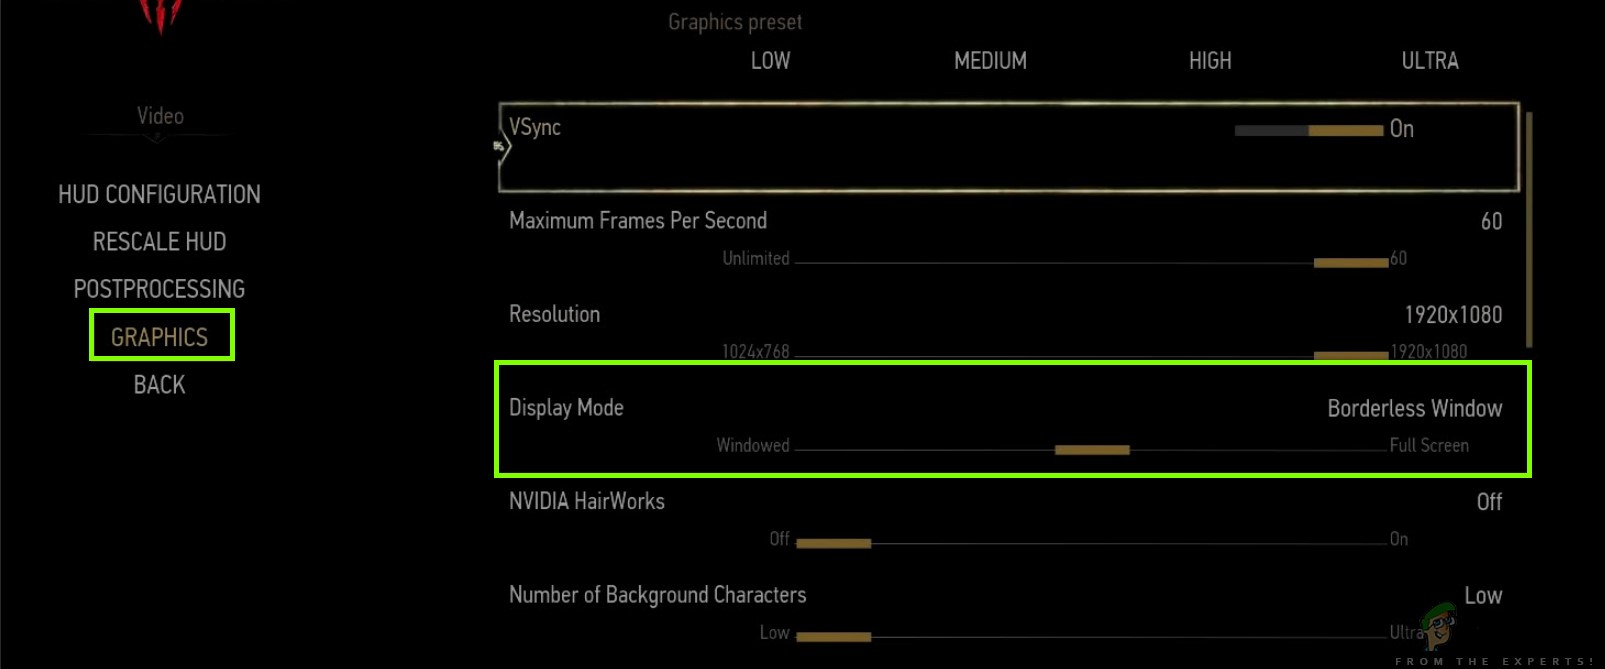
Playing in Full Screen - Save changes and exit. Restart the game and check if the crashing issue is resolved.
Solution 8: Disabling Overclocking
All high-end PC builds nowadays have the option of Overclocking which can help in outputting more juice than what your specifications already have. Overclocking means running the graphics card/processor faster than its default clock speed. When this occurs, the hardware reaches its threshold temperature in a while. The computer detects this and reverts to the normal clock speed until the hardware cools off. When the hardware is cool enough again, the clock speed is increased again.
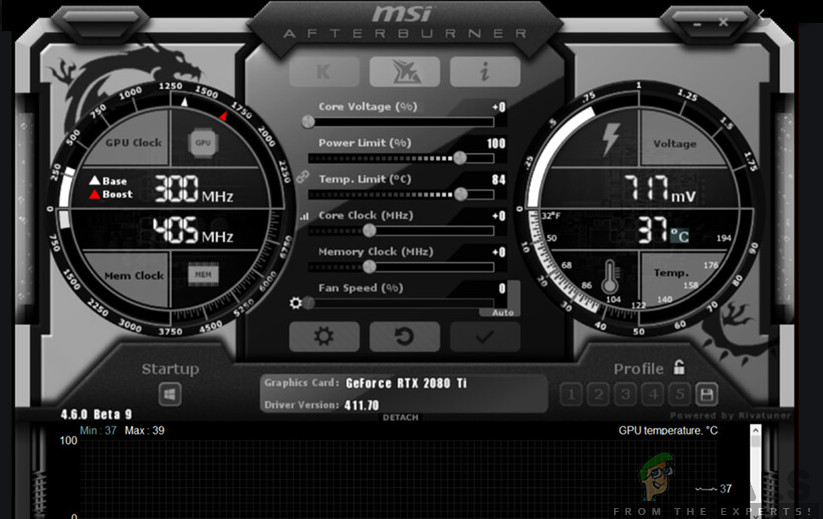
This act increases your computer’s performance a lot and helps if you don’t have a powerful computer with good processing/graphics capability. The thing to note here is that not all games support overclocking in their mechanisms. The same is the case with Witcher 3. Hence you should try disabling all overclocking on your computer and then try launching the game. If things go well, you will not experience the crashing anymore.
Solution 9: Disabling Mods
Mods are third-party plugins which are meant to enhance the experience of users by changing the graphics a little bit and adding more features than the stock game. This gives players a whole new level of customization to create a better and enjoyable gaming environment. However, since Mods are third-party, they are known to conflict with the game’s very engine and cause several issues.
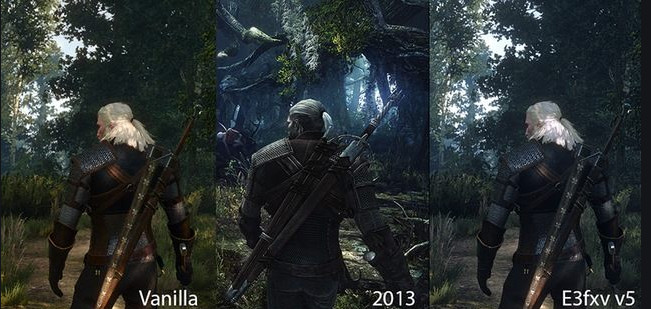
Also, if the mod’s version and the game’s version are not in sync with each other, the game will crash whenever the mods try to change something in the game. Hence, in this solution, you should try disabling all types of mods on your computer and then see if the issue gets solved. Consider copy-pasting the mod content to another location until we complete the troubleshooting process. After removing the mods, restart your computer and check if the issue is resolved.
Solution 10: Checking for Overheating
Computers often get overheated when they used extensively or when they are performing heavy computations. Similar cases were seen to occur with Witcher 3. It seemed that whenever the computer overheated, the users were given no warning of any such and the game automatically crashed.
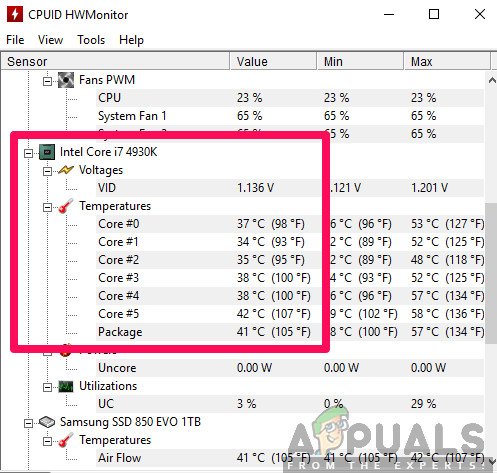
Here, you should check your components whether the cooling system is indeed working properly and dust isn’t blocking anything. You can also download temperature checking utilities and measure the temperature when the game is running. Make sure that no components (especially the graphics card) are overheating.
Solution 11: Checking Connectors:
Another thing to try is making sure that the connectors connecting the graphics card, RAM, etc. are properly connected with the hardware. This was a very common occurrence with various users. If the connection is not stable, the data will not be transmitted properly and hence, your game might crash.
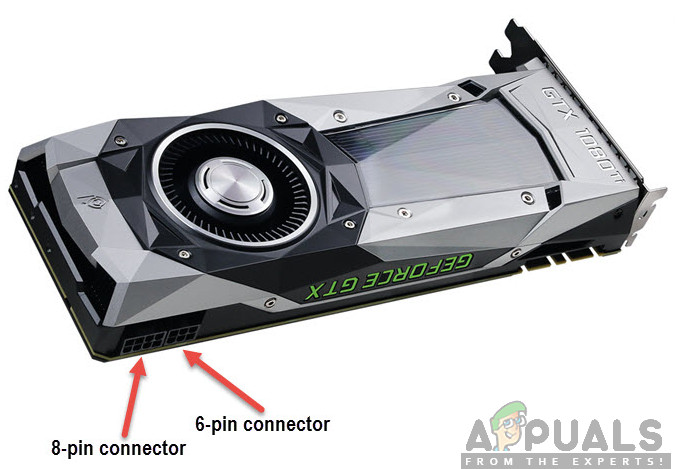
You can even try placing the hardware on other connectors and see if this fixes the problem at hand. Press the hardware gently into the connectors to make sure.
Solution 12: Updating Graphics Drivers
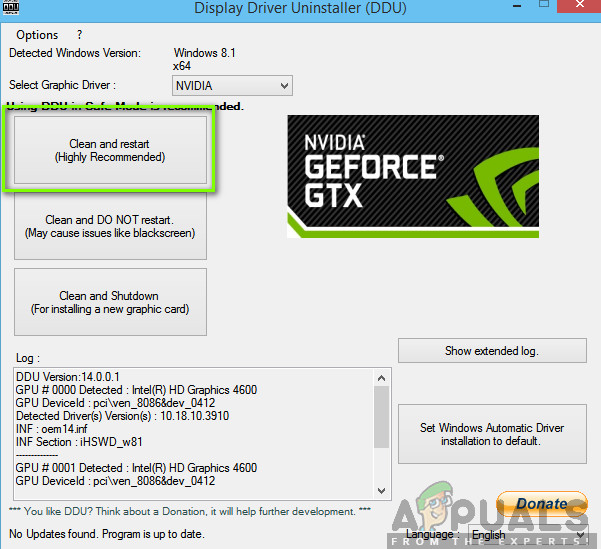
If all the above methods don’t work, there is a possibility that you don’t have correct graphics drivers installed on your computer. Drivers are the main components which facilitate the interaction between the game and the hardware. If the drivers are outdated or corrupt, the game might not display correctly and cause lagging. In this solution, we will first remove the current drivers using DDU and then install fresh copies.
- Download and install DDU (Display driver uninstaller) from its official website.
- After installing Display Driver Uninstaller (DDU), launch your computer in safe mode. You can check our article on how to boot your computer into safe mode.
- After launching the DDU, select the first option “Clean and restart”. This will uninstall the current drivers completely from your computer.
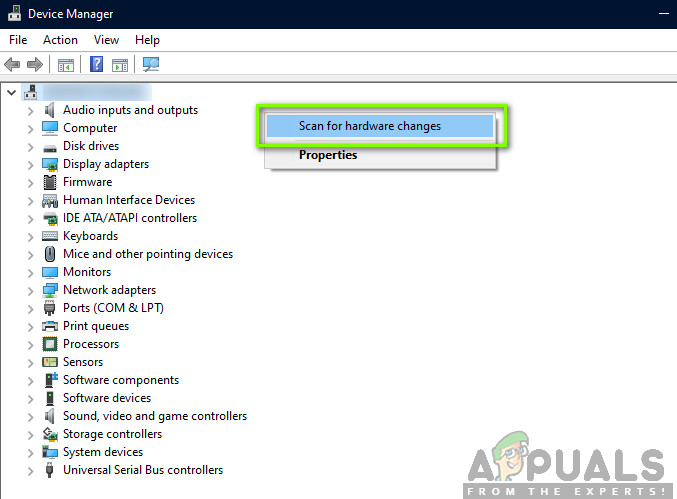
- Now after the uninstallation, boot your computer normally without safe mode. Press Windows + R, type “devmgmt.msc” in the dialogue box and press Enter. Right-click on any space and select “Search for hardware changes”. The default drivers will be installed. Try launching the game and check if this solves the problem.
- In the majority of the cases, the default drivers will not work for you so you can either install the latest drivers through Windows update or navigate to your manufacturer’s website and download the latest ones.
- After you have installed the drivers, restart your computer and check if the problem is solved.
Note: Also consider uninstalling NVIDIA GeForce Experience from your computer. This is known to cause issues. Also, we saw several cases where rolling back the driver fixes the problem. Make sure that you try it.


I fixed the same Witcher 3 freeze problem after trying everything I could possibly think of (applying any settings, game reinstall, windows reinstall, downclock, more power to GPU…). The “fix” is to remove Nvidia drivers completely and install 378.78. For AMD users – no idea. Maybe try installing drivers from 2017 too?