Fix: Windows Upgrade Error Code 0x80070003 – 0x2000D
Microsoft keeps on updating the Windows 10 by pushing out updates now and then. At this point, we all are aware that Windows 10 will not be replaced by any other operating system from Microsoft. In place of a whole new operating system, the development team releases a new build of the Windows 10 with much more features now. However, performing an upgrade does not necessarily go smooth for every user.
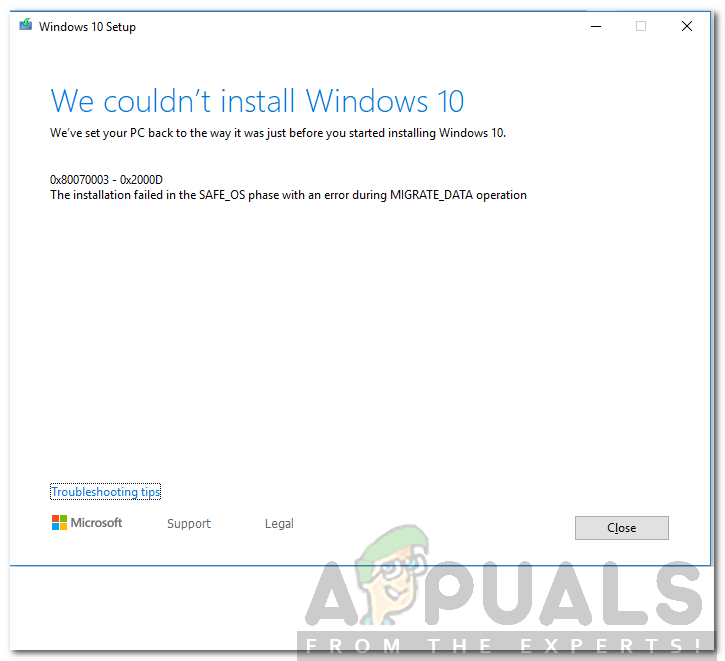
The error code 0x80070003 – 0x2000D is no exception to that. While trying to upgrade to the build 1809 or the new 1903, you might face the said the error message. The error message pops up while users try to upgrade their systems using the Media Creation Tool. This can be caused by certain applications installed in your computer system or occasionally, the background services can be held guilty. So let’s begin.
What causes the Error Code 0x80070003 – 0x2000D?
Since the error message pops up while using the Media Creation Tool, we examined many user reports and found that the issue is often due to the following factors —
- Third-Party Applications Installed: The issue, sometimes, seems to be caused by various third-party applications that you have installed on your system. This includes third party VPNs or anything of the sort that intervenes with your internet connection. Other than that, if you are using any software for locking your files, that might also cause the issue.
- Background Services: Another factor is the interruption of the background services with the upgrade process. This might include a background service of any antivirus software or whatever that meddles with the process.
- Insufficient Space: Lastly, the issue can also occur due to insufficient space for the respective upgrade. In such a scenario, you will have to free up some space so that the upgrade process can complete.
Getting into the solutions, not all of them may work for you are they are scenario-dependent. Therefore, make sure you try all of them to ensure a quick resolution.
Solution 1: Uninstall Third-Party Applications
After reading the causes, you probably know that the issue can be due to the third-party applications on your system. However, don’t worry, you don’t have to uninstall every third-party application as you might have a whole bunch of them. What you have to do is check what applications on your system are meddling with your internet connection or the upgrade process itself. What you are looking for are VPNs, third-party antivirus software or anything that can be put in the same category. To do this, follow the given steps:
- Press the Windows Key to open up the Start Menu.
- Type in Control Panel and open it up.
- Click ‘Uninstall a program’ under Programs.
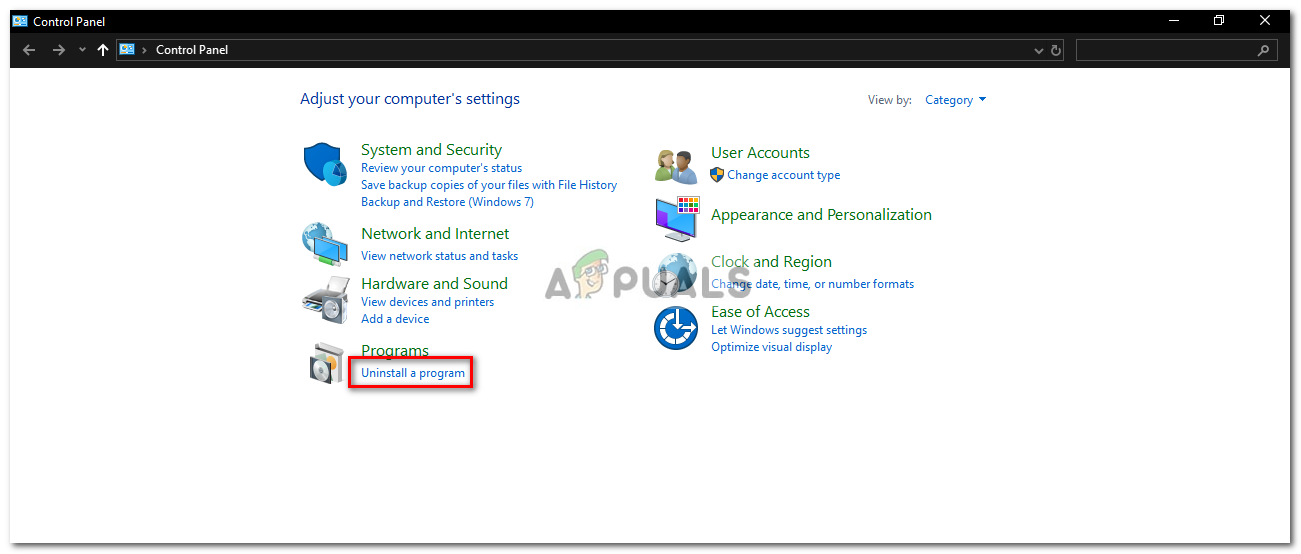
Control Panel - Locate the culprit programs and double-click on them to uninstall.
- Restart your system and then try upgrading.
Solution 2: Disable BitLocker
If you are using BitLocker to encrypt your files, make sure you have disabled it before initiating the upgrade. In case you are using a third-party application instead of BitLocker, do the same for it as well. Here’s how to disable it:
- Open up the Start Menu by pressing the Windows Key.
- Type in BitLocker and hit Enter.
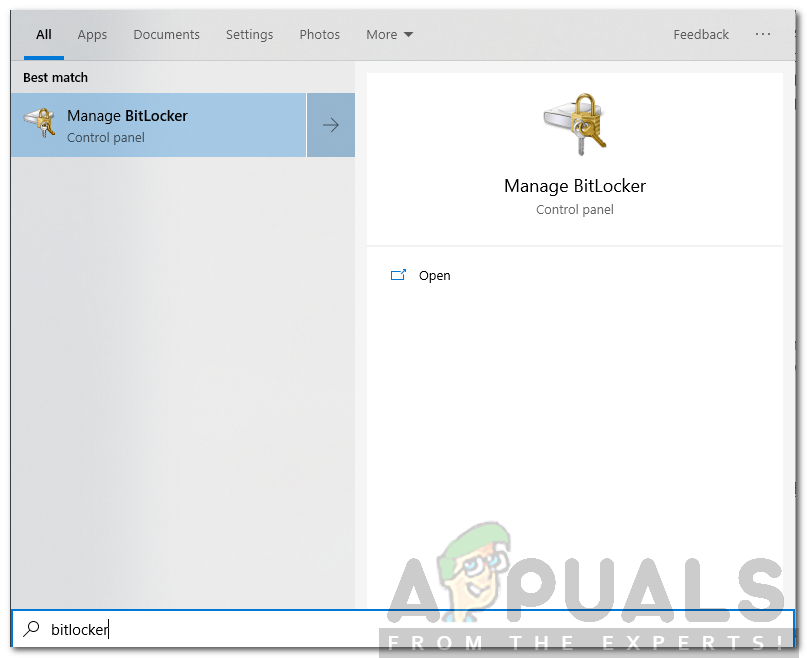
Searching for BitLocker in the Start Menu - This will take you to the BitLocker window. There, you will be able to either suspend BitLocker or disable it.
- Choose Disable.
- Once done, start the process again.
Solution 3: Perform a Clean Boot
If the above-mentioned solutions do not work out for you, then chances are that the issue is being caused by the background services. In such a case, you will have to perform a Clean Boot. A clean boot is booting up your operating system with only important files and services. This will get rid of the background services and you will be able to upgrade your operating system peacefully.
Please refer to this guide published on our site to learn how to perform a clean boot in Windows 10.
Solution 4: Check Available Space
Finally, if the issue persists, then, what you have to do is make sure that you have enough space for the upgrade. If your system partition (the drive where Windows is installed) is low on space, you will have to delete all the extra stuff you have in there to free up some space. By doing so, the upgrade will have sufficient space to finish smoothly.


