How to Fix Windows Update Error 0xc1900201?
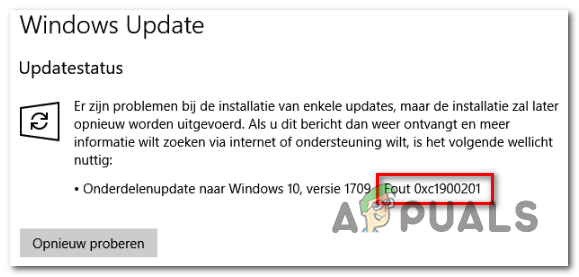
Several Windows users have been encountering the 0xc1900201 error code when trying to install a security update either via the built-in updating function or via the Windows 10 Update assistant app. Most affected users are reporting that the error code is accompanied by the error message ‘Something went wrong’ or ‘You can contact Microsoft support for help with error. The issue seems to be exclusive on Windows 10.
What’s causing the 0xc1900201 Windows Update error?
We investigated this particular issue by looking at various user reports and by trying out the different repair strategies that were recommended by tother affected users that have been able to resolve the issue. As it turns out, there are several different scenarios that might trigger this particular error code. Here’s a shortlist of potential culprits that might be responsible for the 0xc1900201 error:
- Windows Update is stuck betweens updates – Under certain circumstances, this particular error code might occur due to a bad Windows update that is stuck in a limbo state. In some cases, this problem can glitch out the whole WU component, preventing the user from keeping their OS version up to date. In this case, you should be able to resolve the issue by running the Windows Update troubleshooter to automatically identify and take care of the issue.
- Glitched WU component – If the user can’t install any new updates (not just one), it’s likely that one or more WU components have glitched out and are halting the updating operation. If this scenario is applicable, you should be able to fix the problem by resetting all WU components (either with the automated agent or manually via an elevated CMD prompt).
- OS was previously cloned – As it turns out, this problem is very common in situations where the user previously migrated their operating system from an HDD to a newer SDD format. The inconsistency happens due to a validation attempt that fails due to the hardware modification. In this case, you can resolve the issue by using Registry Editor to modify the value of PortableOperatingSystem.
- System File corruption – In rare circumstances, you will face this issue due to some kind of system file corruption that ultimately affects the updating Components. In this case, you can resolve the issue either by running a couple of built-in utilities capable of repairing the affected components (DISM and SFC) or by refreshing every Windows component (via a repair install or clean install).
If you’re also encountering the 0xc1900201 error and one of the scenarios presented above seem like they could be applicable, move down to the next section below for instructions on how to mitigate the issue. Down below, you’ll find a collection of potential fixes that other users in a similar situation have successfully used to get to the bottom of this issue.
If you want to remain as efficient as possible, follow the instructions below in the same order that we arranged them in (they are ordered by efficiency and severity). Eventually, you should stumble upon a fix that should resolve the issue regardless of the culprit that’s causing the issue.
Method 1: Running the Windows Update troubleshooter
In some cases, the 0xc1900201 error will occur due to a bad Windows update stuck in a limbo state or due to a glitched component that is halting the whole operation. If the issue is superficial, you should typically be able to fix the problem automatically by running the Windows Update troubleshooter.
If the issue is fairly common, it’s very likely that Microsoft already released a hot-fix for the issue. To take advantage of it, all you need to run is to run the Windows Update troubleshooter. What this tool essentially does is analyze all Windows Update components and recommend a viable repair strategy is the scenario is already covered by a hotfix.
Here’s a step by step guide on running the Windows Update troubleshooter in order to fix the 0xc1900201 error code:
- Open up a Run dialog box by pressing Windows key + R. Next, type ‘ ms-settings:troubleshoot’ and press Enter to open up the Troubleshooting tab of the Settings app.
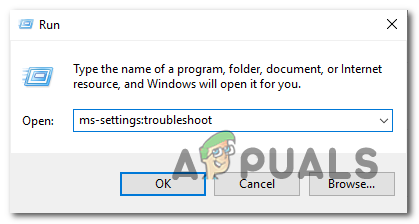
Opening the Troubleshooting tab of the Settings app via a Run box - Once you manage to get inside the Troubleshooting tab, turn your attention towards the right-hand section and navigate to the Get up and running section. After you manage to get past that menu, click on Run the troubleshooter.
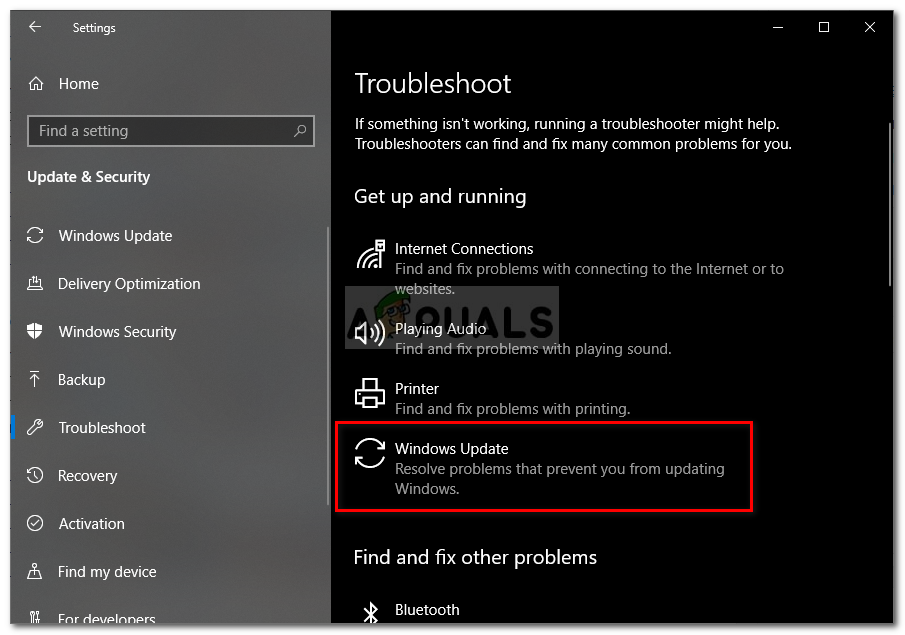
Running Windows Update Troubleshooter - After you manage to start the utility, wait for the initial scan to complete without interrupting. This first process is extremely important as it will determine whether any repair strategies that are included with the utility are actually applicable in your current situation.
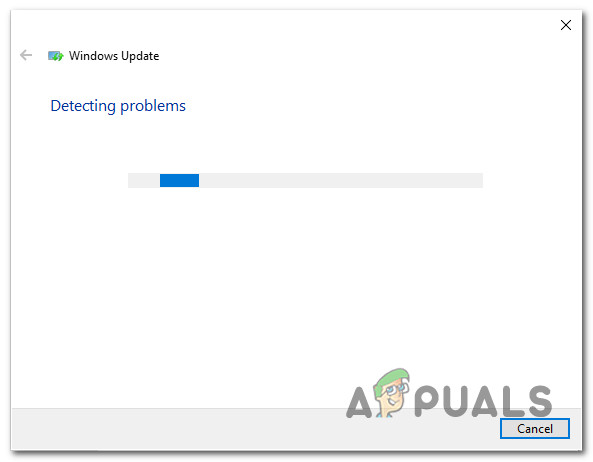
Detecting problem with Windows Update - If an included repair strategy is applicable for your particular issue, click on Apply this fix in order to enforce the repair steps on your machine.
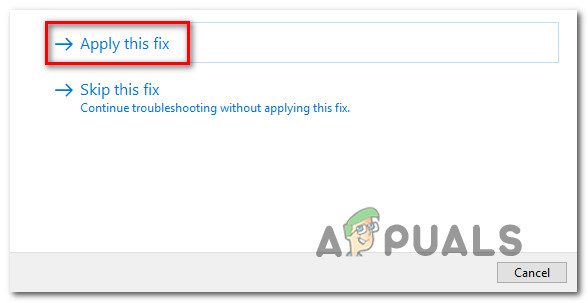
Apply this fix Note: It’s important to keep in mind that depending on the fix that gets recommended, you might need to perform some manual steps in order to apply the repair strategy that is recommended. But don’t worry, as step-by-step instructions will be provided inside the Windows Update troubleshooter tab.
- Once the fix is successfully applied, restart your computer and see if the issue is resolved at the next computer startup.
If the same 0xc1900201 error is still occurring, move down to the next method below.
Method 2: Resetting all WU components
If Windows Update troubleshooter wasn’t able to resolve the issue automatically, it’s entirely possible that you’re dealing with some kind of problem that cannot be resolved conventionally. If this scenario is applicable, it’s possible that the 0xc1900201 error is thrown because one or more Windows Update services are stuck in a limbo state.
Several Windows 10 users that struggling with the same error code have confirmed that they were able to mitigate the 0xc1900201 error entirely by resetting all Windows Update components involved in this operation.
When it comes to resetting all WU components, you have two ways forward: you either go the manual router and type a series of commands inside an elevated Command Prompt or you use the automated WU agent to complete this operation automatically.
Feel free to follow whichever approach is closer to your technicality level.
Resetting all WU components via the automated agent
- Visit this Microsoft Technet page (here) with your default browser and download the Reset Windows Update Agent script.
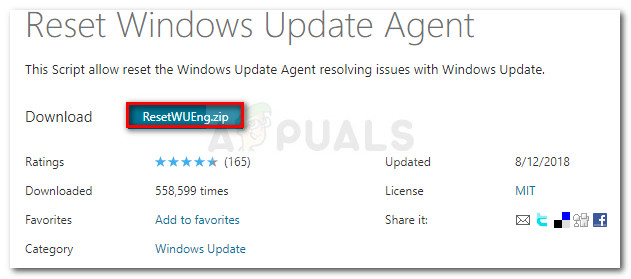
Download Windows Update Reset Agent - Wait patiently until the download is complete, then extract the zip archive with an extraction utility like WinRar, WinZip or 7zip.
- Once the contents of the archive are extracted, double-click on the ResetWUENG.exe, then follow the on-screen instructions to run the script on your computer. Keep in mind that during this process, all Windows Update components will be reset automatically.
- After the operation is complete, restart your computer and wait for the next startup to complete to retry the procedure again.
If you’re still encountering the 0xc1900201 error when trying to install a certain Windows Update, move down to the next method below.
Resetting all WU components via an elevated CMD prompt
- Press Windows key + R to open up a Run dialog box. Once you’re inside the Run box, then type ‘cmd’ inside the text box and press Ctrl + Shift + Enter to open up an elevated Command Prompt. Once you see the UAC (User Account Control), click Yes to grant administrative privileges.
Running Command Prompt - Once you manage to get inside the elevated Command Prompt, type the following commands in order and press Enter after each command to stop all essential WU services:
net stop wuauserv
net stop crypt
Svcnet stop bits
net stop msiserver
Note: As soon as you’ve finished running this commands, you will effectively stop the Windows Update Services, the MSI installer, the Cryptographic services, and the BITS services.
- Once all relevant services have been stopped, follow the next commands in order to rename the SoftwareDistribution and Catroot2 folders in order to avoid any instance of component corruption:
ren C:\Windows\SoftwareDistribution SoftwareDistribution.old
ren C:\Windows\System32\catroot2 Catroot2.old
Note: These two folders are responsible for storing temporary update files that are being used by the Windows Update components.
- After you manage to refresh the Catroot2 and SoftwareDistribution folders, run the following commands in order and press Enter after each one to re-enable the services that we previously disabled:
net start wuauserv
net start cryptSvc
net start bits
net start msiserver
- Restart your computer and wait for the next startup sequence to complete. Once the booting sequence is complete, attempt to install the update that was previously failing with the 0xc1900201 error and see if the issue is now resolved.
If the same problem is still occurring, move down to the next method below.
Method 3: Completing the migration of your OS from HDD to SSD
As it turns out, this particular issue can also occur in instances where the user previously migrated the operating system from an HDD to an SSD without clean installing (via cloning or similar procedure). If this scenario is applicable, most of your Windows components will run like before, but one component that is likely to be affected is Windows Update.
If this scenario is applicable, validation might not be successful, so you’ll see the 0xc1900201 error whenever you try to install a pending update. Several Windows users that were also struggling to resolve this problem have confirmed that they managed to fix it entirely by using the Registry Editor to modify the PortableOperatingSystem value to 0. Supposedly, this will change the status of your OS to permanent which will stop most validation issues that might occur after an operating system migration.
Here’s a quick guide on using Registry Editor to resolve the 0xc1900201 error:
- Press Windows key + R to open up a Run dialog box. Next, type ‘regedit.msc’ and press Enter to open up Registry Editor. When you’re prompted by the UAC (User Account Control), click Yes to grant administrative privileges.
- Once you’re inside the Registry Editor, use the left-hand side to navigate to the following location:
Computer\HKEY_LOCAL_MACHINE\SYSTEM\CurrentControlSet\Control
Note: You can either navigate there manually or you can paste the address directly into the navigation bar and press Enter to get there instantly.
- After you manage to get to the correct location, move over to the right-hand side and double-click on the PortableOperatingSystem Dword value.
- Once you’re inside the Edit DWORD (32-bit) value registry key of PortableOperatingSystem, set the Base to Hexadecimal and the Value data to 0 and click Ok to save the changes.
- Restart your computer and wait for the next startup sequence to complete.
- After the startup procedure is complete, repeat the action that was previously causing the 0xc1900201 error and see if the problem is now resolved.

If you’re still seeing the same error when trying to install a certain Windows update, move over to the next possible fix below.
Method 4: Running DISM and SFC scans
If none of the methods above have allowed you to resolve the 0xc1900201 error, it’s very likely that the problem is occurring due to some kind of system file corruption. This has been consistently reported by several Windows users, so we suspect that the problem might be triggered as a result of some type of system file corruption that is affecting important system files.
If this scenario is applicable, you should be able to fix the problem by running a couple of built-in utilities that are designed to deal with common Windows corruption instances: DISM (Deployment Image Servicing and Management) and SFC (System File Checker).
Keep in mind that while SFC is way better at repairing logical errors, DISM is much more efficient at dealing with WU dependencies that might affect the updating operation. Because of this, we encourage you to run both utilities in order to maximize your chances of getting the 0xc1900201 error resolved for good.
Here’s a quick guide on running both SFC & DISM scans from an elevated Command Prompt:
- Press Windows key + R to open up a Run dialog box. Inside the newly appeared Run box, type ‘cmd’ inside the text box and press Ctrl + Shift+ Enter to open up an elevated CMD command. After you see the UAC (User Account Control) prompt, click Yes to grant admin access to the CMD window.
Running Command Prompt - Once you’re inside the elevated CMD prompt, type the following command and press Enter to initiate an SFC scan:
sfc /scannow
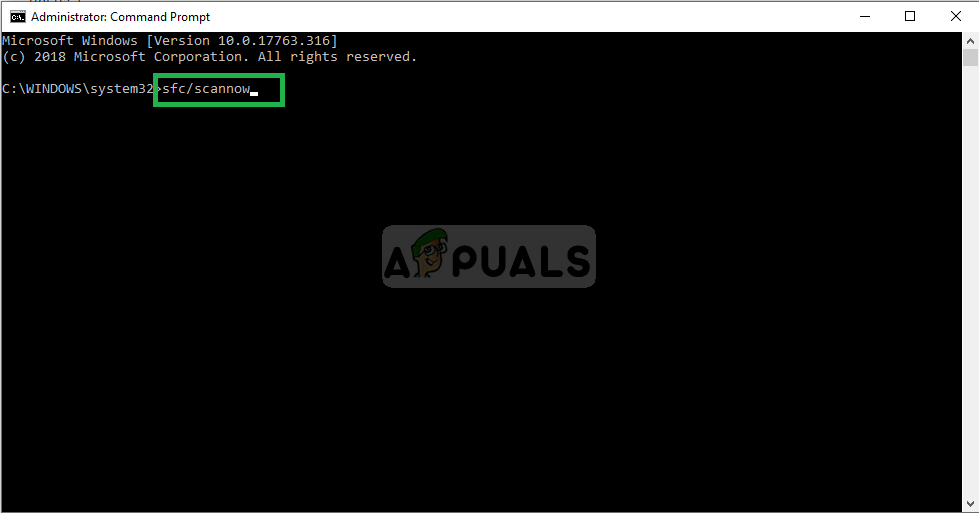
Running an SFC scan Note: Keep in mind that SFC uses a locally cached copy to replace corrupted instances with healthy copies. To ensure that you’re not leaving your system exposed to other logical errors, do not interrupt the utilities until the operation is complete.
- Wait until the process is complete, then restart your computer and wait for the next startup sequence to complete. Once this is done, restart your computer and wait for the next boot sequence to complete. Once the startup sequence is over, follow step 1 again to open up another elevated Command prompt.
- Once you manage to return to another elevated Command Prompt, type the following command and press Enter to initiate a DISM scan:
DISM /Online /Cleanup-Image /RestoreHealth

Restoring System Files Note: DISM requires a permanent Internet connection since it will use the WU (Windows update) component in order to download healthy copies that will later be used to replace corrupted instances. Due to this fact, you need to ensure that your Internet connection is not interrupted.
- Once the operation is complete, restart your computer and see if the Windows Update component is now fixed.
If you’re still encountering the same 0xc1900201 error when trying to install a pending Windows Update, move down to the final method below.
Method 5: Performing a repair/clean install
If the general system file repair that you performed above didn’t allow you to resolve the issue, it’s clear that you must be dealing with some kind of system file corruption that cannot be resolved conventionally. If this scenario is applicable, you should be able to fix the problem entirely by resetting every Windows component including every booting-related process.
When it comes to achieving this, you really have two ways forward:
- Clean install – This procedure is the easiest out of the bunch and doesn’t have any requirements. But the major disadvantage is that you will lose all your personal files unless you back up the data in advance.
- Repair install – A repair install is more tedious and will require you to own an installation media. The major advantage of going this route is that it will only touch Windows components. This means that all your personal files including games, applications personal media and even some user preferences will be left untouched.
Follow whichever method is closer to what you’re looking to get out of this procedure.


