How to Fix Windows Update Error 0x80246010
Several Windows users have been reporting that they are unable to install one (or multiple updates) using Windows Update. The error code that comes up is 0x80246010. The issue doesn’t seem to be exclusive to a certain WIndows version since the same error is encountered on Windows 8, Windows 7 and Windows 10.
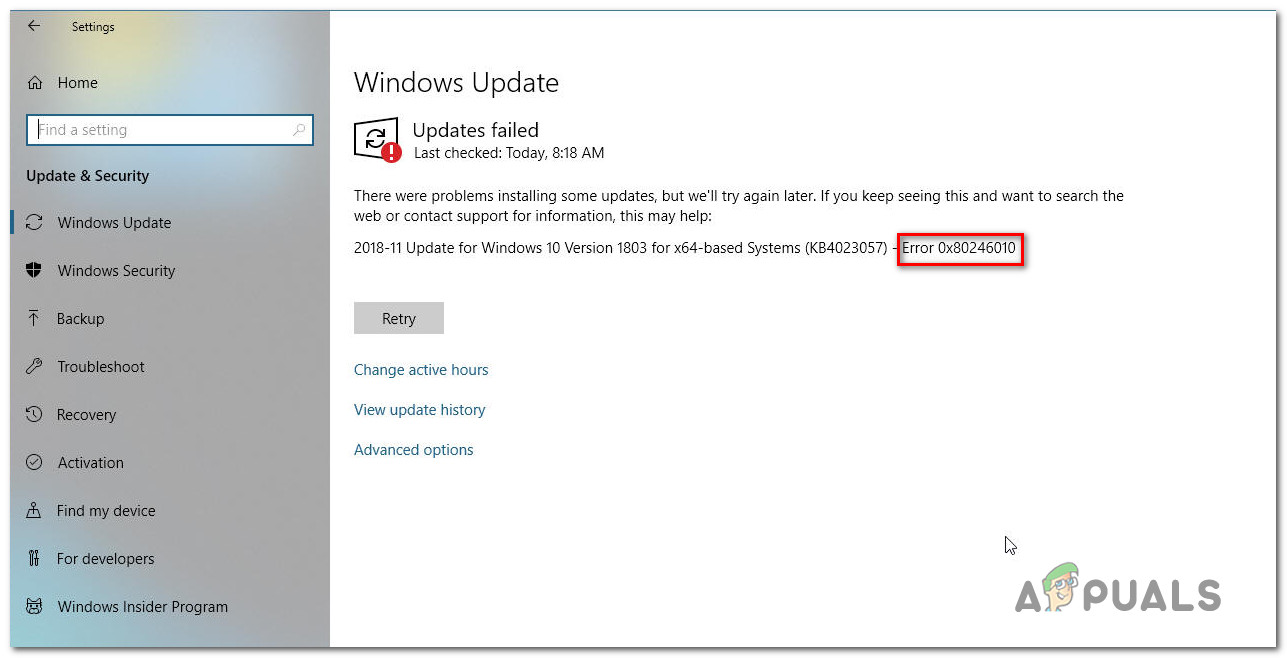
What is causing the 0x80246010 Error?
We investigated this particular issue by looking into various user reports and analyzing several fixes that are commonly being used to fix this particular issue. As it turns out, there are several potential causes that might produce this error code. Here’s a shortlist of potential culprits that might trigger the 0x80246010 error:
- Windows Update Glitch – Under some circumstances, this particular issue can occur because the updating component is trying to install an update that is not actually compatible with the system at hand. In this case, you should be able to resolve the issue by updating manually or by using the Windows Update troubleshooting utility.
- Essential WU services aren’t enabled – It’s also possible that you’re seeing this error code because some services used during this procedure are forcefully disabled. If this scenario is applicable, you should be able to resolve the issue by changing the startup type so that WIndows can call on them when needed.
- System file corruption – the WU component is also prone to being affected by System File corruption. In situations such as this one, the only viable fix is to reset the entire suite of WU dependencies in order to eliminate the culprit.
If you’re currently struggling to resolve the same error message and one of the scenarios above is applicable, this article will provide you with several different troubleshooting guides. In the next section, you’ll discover a collection of methods that other users in a similar situation have successfully used to get the issue resolved.
If you want to remain as efficient as possible, we advise you to follow the methods above in order since we ordered them by efficiency and difficulty. Regardless of the culprit that’s causing the issue, one of the potential fixes below should end up resolving the issue.
Method 1: Running the Windows Update troubleshooter
Before you try any other repair strategies, you should start by seeing whether your OS is not capable of resolving the issue by itself. Some users that we’re also encountering the 0x80246010 error have reported that they managed to resolve the issue by using the Windows Update troubleshooter to fix the issue automatically.
This utility is equipped with various repair strategies that will be enforced if a covered scenario is recognized. Here’s a quick guide on running the Windows Update troubleshooter:
- Open Run command by pressing the Windows key + R. Then, type “ms-settings:troubleshoot” and press Enter to open up the Troubleshooting tab of the Settings app.
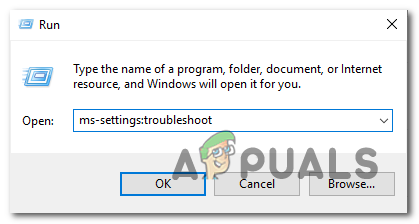
Opening the Troubleshooting tab of the Settings app via a Run box - Once you find yourself inside the Troubleshooting tab, scroll down to the Get up and running section, click on Windows Update, then click on Run the troubleshooter.
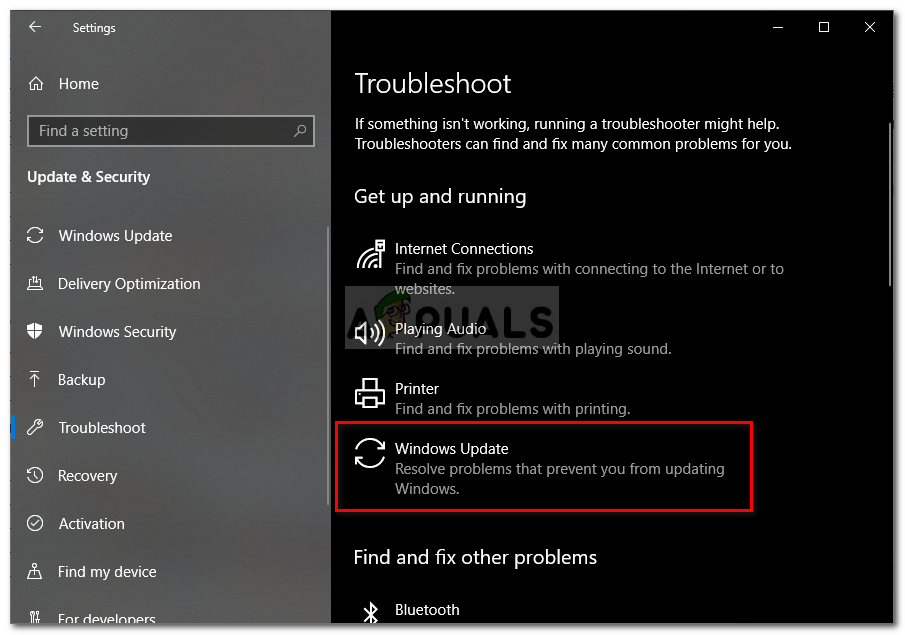
Running Windows Update Troubleshooter - Once the utility has been started, wait and see if the initial scan reveals any problem with the WIndows update component.
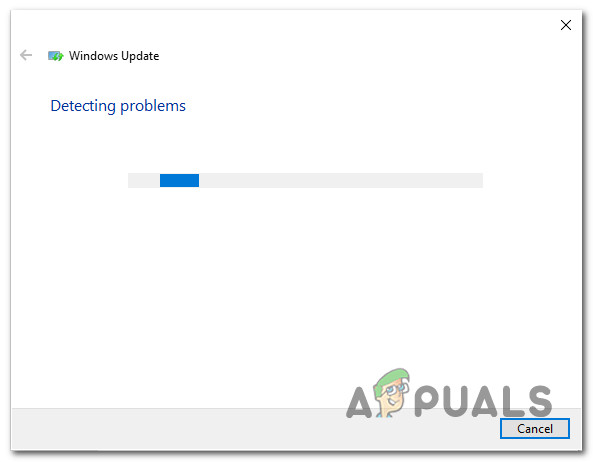
Detecting problem with Windows Update - If an issue is identified, click on Apply this fix, then follow the on-screen instructions to apply the recommended repair strategy.

Apply this fix for Windows Update - Once the repair strategy is applied, restart your computer and see if the issue is resolved at the next system startup.
Method 2: Updating manually via the Microsoft Update Catalog
If you don’t mind going the manual route, you can probably circumvent the issue altogether by installing the update that is failing manually. The most convenient way to do this is via the Microsoft Update catalog website.
Some users encountering this same issue have reported that the error code 0x80246010 no longer occurred while they used the manual method. Here’s a quick guide on installing the failing update manually:
- Visit the Microsoft Update catalog website on this link (here).
- Once you get there, use the search function in the top-right corner to search for the update that is failing when you try to install it conventionally.
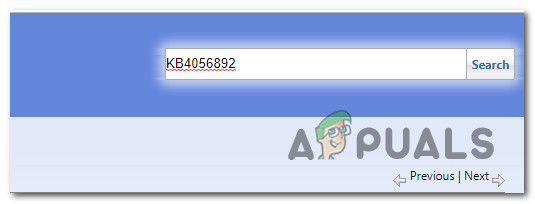
Searching for the update that you want to install manually - Once the results appear, look for the appropriate according to your CPU architecture and Windows version.

Choosing the right Windows Update - Once you manage to find the correct version, hit the Download button to start the downloading process.
- When the download is complete, double-click on the executable and follow the instructions to install the update manually.
- If the update installs successfully, restart your computer and see if the issue is resolved at the next system startup.
If you still encountered the error code 0x80246010 even when trying to install manually, move down to the next method below.
Method 3: Enabling all essential WU services
Another possible reason that can potentially cause the 0x80246010 error is that one or multiple services essential to the updating process are disabled. Several users finding themselves in a similar situation have managed to resolve the issue by ensuring that all essential services are enabled.
There are two different methods that you can follow in order to ensure that all WU services involved in the updating operating are enabled. Feel free to follow whichever guide you feel more comfortable with.
Enabling services via Command Prompt
This is hands-down the quickest and most effective method of ensuring that all essential services are enabled. Here’s a quick guide on enabling them via an elevated Command Prompt:
- Press Windows key + R to open up a Run dialog box. Next, type “cmd”, then press Ctrl + Shift + Enter to open up an elevated Command Prompt. If you’re prompted by the UAC (User Account Prompt), click Yes to grant administrative privileges.
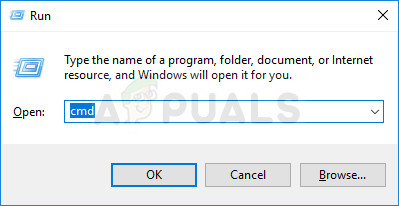
Running Command Prompt as an administrator - Once you’re inside the elevated Command prompt, type the following commands in order and press Enter after each one to set the Startup type of each service to Automatic:
SC config trustedinstaller start=auto
SC config bits start=auto
SC config cryptsvc start=auto
- After all these services have been adjusted successfully, restart your computer and see if the issue has been resolved once the next startup is complete.
Enabling services via GUI
If you’re not comfortable with using the CMD terminal, you can also enable the same services by using the Windows GUI (Services screen). The steps are more tedious that the terminal approach, but the results are exactly the same. Here’s what you need to do:
- Press Windows key + R to open up a Run dialog box. Then, type “services.msc” and press Enter to open up the Services screen.

Running the Services tool - Once you’re inside the Services screen, scroll down through the list of services and locate the Windows Module installer service. Once you see it, double-click on it to open up the Properties screen.
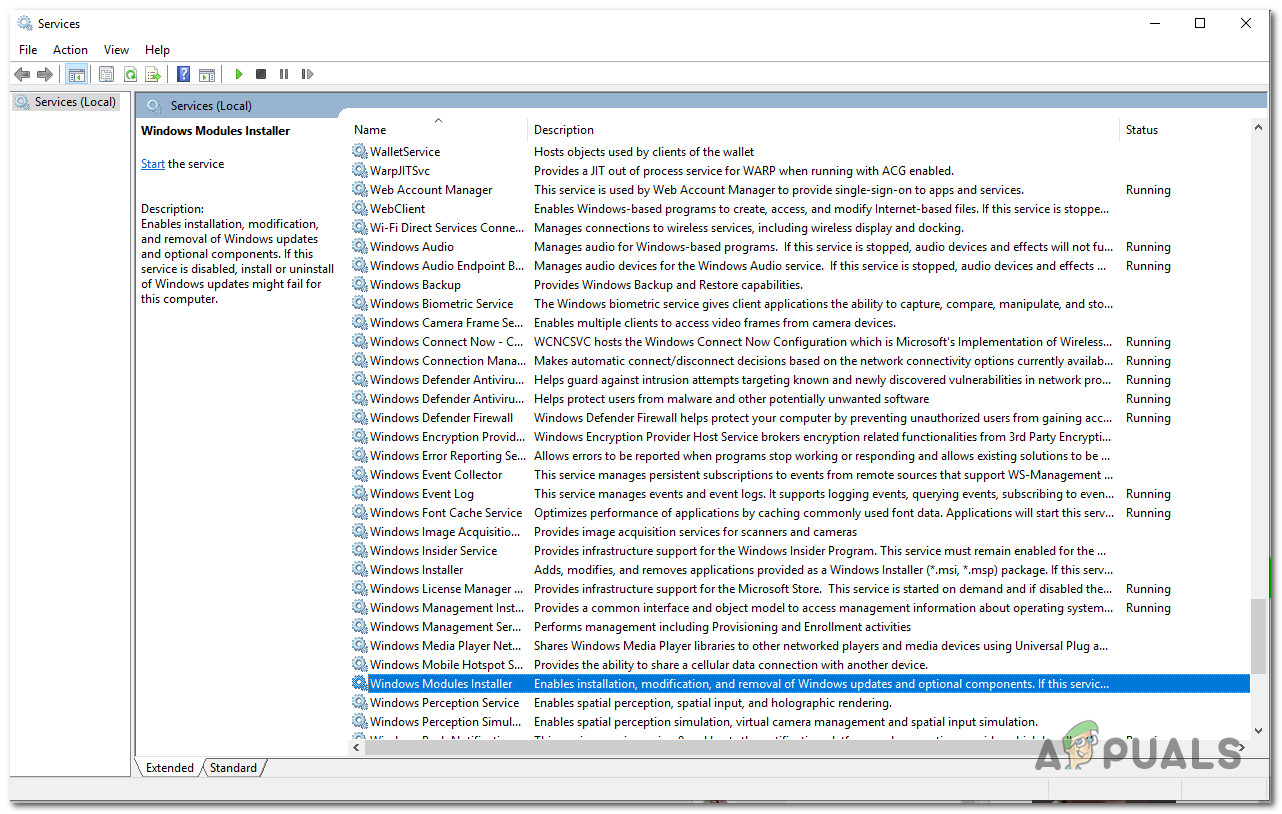
Accessing the Properties screen of the Windows Module Installer service - Once you’re inside the Windows Module Installer Properties screen, go to the General tab and change the Startup type to Automatic, then click on Apply to enforce the changes.
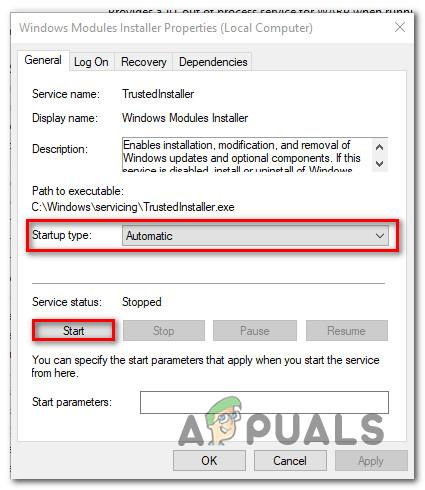
Making the required changes to the Windows Module Installer service. - Next, repeat steps 2 and step 3 with Cryptographic Services and Trusted Installer service.
- Once all involved services have been enabled, restart your computer and see if the issue has been resolved.
If this method didn’t allow you to resolve the issue, move down to the next method below.
Method 4: Reset all Windows Update components
If none of the methods above have allowed you to resolve the issue, chances are you’re dealing with a persisting bug having to do with the Windows 10 update components. t’s possible that one or more WU (Windows Update) components have become stuck in a limbo state. If this scenario is applicable, you will be able to fix the problem by resetting all WU components that are involved in the updating process.
Here are two different methods that you can follow in order to reset all Windows Update components:
Resetting WU via the WU Agent
- Visit this Microsoft Technet page (here) and download the Reset Windows Update Agent script.
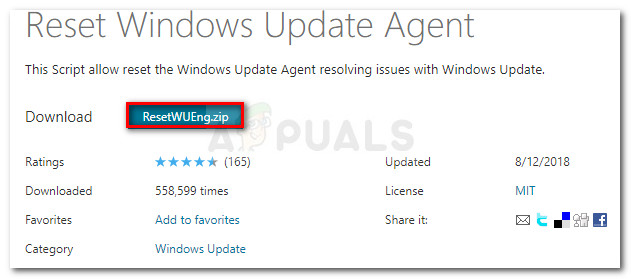
Download Windows Update Reset Agent - Once the download is complete, extract the zip archive with a utility like WinRar, WinZip or 7Zip.
- Double-click on the ResetWUENG.exe file and then follow the instructions to run the script on your computer. Immediately after you do so, it will reset all your WU components.
- When the process is complete, restart your computer and see if you’re able to install the failing update once the next startup sequence is complete.
Resetting WU via elevated CMD
- Press Windows key + R to open up a Run dialog box. Then, type “cmd” and press Ctrl + Shift + Enter to open up an elevated Command Prompt. When you see the UAC (User Account Control) prompt, click Yes to grant administrative privileges.

Running Command Prompt as an administrator - Inside the elevated Command Prompt, type the following commands in order and press Enter after each one to stop all WU related services:
net stop wuauserv
net stop cryptSvc
net stop bits
net stop msiserver
Note: These commands will stop the Windows Update Services, MSI Installer, Cryptographic services, and BITS services.
- Once all services have been stopped, run the following commands to clear and rename SoftwareDistribution and Catroot2 folders:
ren C:\Windows\SoftwareDistribution SoftwareDistribution.old
ren C:\Windows\System32\catroot2 Catroot2.old
Note: These folders are responsible for holding update files use by the WU component.
- Now that the folders have been cleared, run the following commands to re-enable the services that we’re previously disabled:
net start wuauserv
net start cryptSvc
net start bits
net start msiserver
- Restart your computer once again and see if the issue has been resolved.


