How to Fix Windows Update Error 0x80244007?
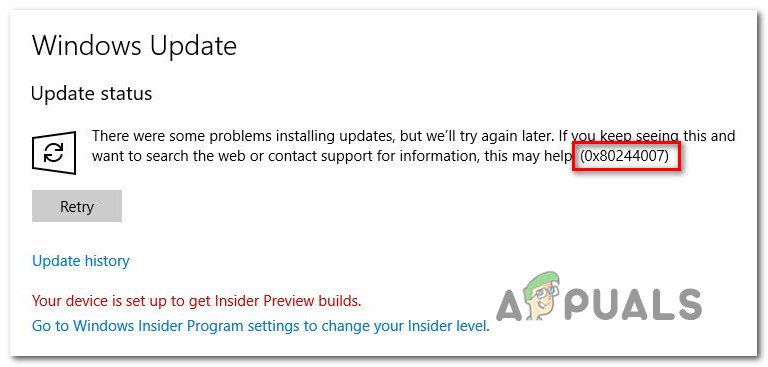
Several Windows users have been getting the 0x80244007 error code when trying to install certain updates using the WU (Windows Update) function. In most cases, affected users are seeing the ‘There were some problems installing updates, but we’ll try again later’ error message. As it turns out, this error code is more common on Windows 10, but there are some occurrences of it occurring on Windows 8.1.
What’s causing the 0x80244007 error code?
We investigated this particular issue by looking at various user reports and testing out different repair strategies that are commonly recommended by other affected users. As it turns out, several different causes might trigger the 0x80244007 error code. Here’s a list of potential culprits:
- Generic WU Glitch – As it turns out, this particular issue can happen due to a Windows Update inconsistency that is already documented by Microsoft. In this case, you might be able to resolve the issue automatically by scanning your system with the Windows Update Troubleshooter and applying the recommended repair strategy.
- System File corruption – System file corruption can also be responsible for this error code. WU (Windows Update) works closely with a lot of dependencies, a lot of different files might be triggering this error code. The most efficient way of investigating and fixing them in bulk is to run utilities capable of fixing logical errors and system file corruption (like DISM and SFC).
- 3rd party AV interference – An overprotective AV suite can also be responsible for the apparition of this error code. Several 3rd party scanners including Avast, McAfee, and Sophos are known to cause issues with the Windows Update component. If this scenario is applicable, you should be able to resolve the issue by disabling the real-time protection or by uninstalling the overprotective AV suite.
- Windows Update inconsistency – Another potential culprit that might end up triggering this error message is an inconsistency with the files involved in the WU process. If one of those is hindering your PC’s ability to update, you should be able to resolve the issue by resetting every Windows Update component from an elevated Command Prompt.
- Underlying OS corruption issue – In more severe cases, this problem can occur due to a widespread corruption issue that cannot be resolved conventionally. In scenarios like this one, the only viable fix is to refresh every component of your OS (either by doing a clean install or a repair install).
Method 1: Running the Windows Update Troubleshooter
Before you try out different repair strategies, let’s see if your operating system is not capable of resolving the issue automatically. If the issue you’re encountering is happening due to an inconsistency that’s already documented by Microsoft, chances are the fix is as simple as running the Windows Update troubleshooter.
The Windows Update Troubleshooter is a utility that contains a selection of repair strategies that can be automatically applied in case a covered scenario is uncovered. Several Windows users that were also encountering the 0x80244007 error code have reported that the issue was resolved after they ran this troubleshooter and restarted their computer.
Here’s a quick guide on running the Windows Update Troubleshooter to fix the 0x80244007 error:
- Press Windows key + R to open up a Run dialog box. Next, type “ms-settings-troubleshoot” inside the text box and press Enter to open up the Troubleshooting tab of the Settings app.
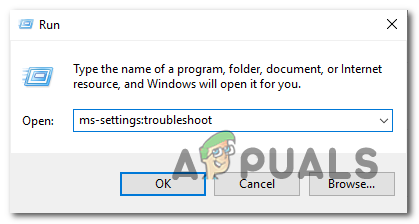
Opening the Troubleshooting tab of the Settings app via a Run box - Once you’re inside the Troubleshooting tab, move over to the right-hand pane of the Settings screen. Next, move down to the Get up and running section. After you get there, click on Windows Update, then click on Run the troubleshooter from the newly appeared context menu.
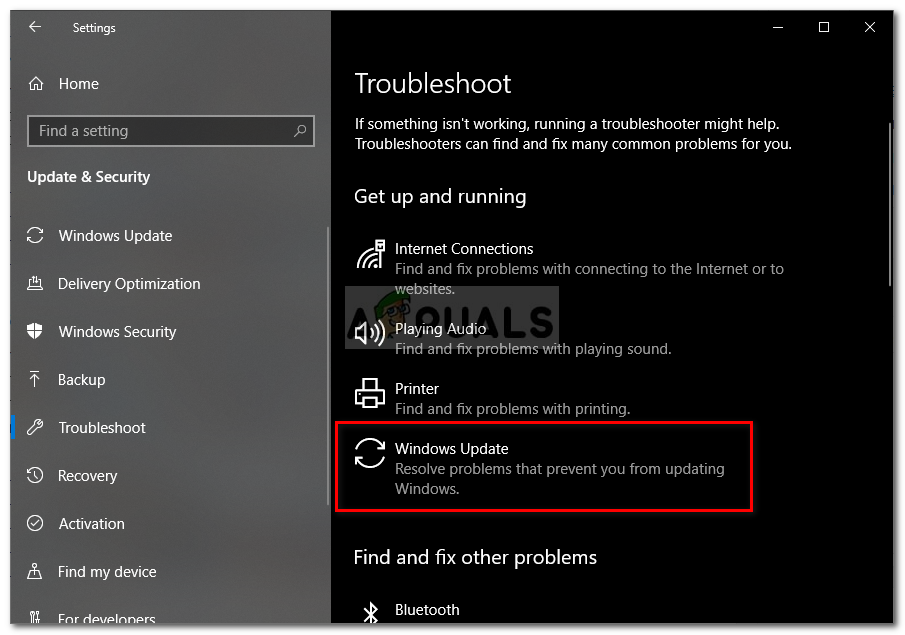
Running Windows Update Troubleshooter - After you manage to start the utility, wait patiently until the initial scan is complete. This procedure will determine whether any of the repair strategies included with this utility apply to your current scenario.
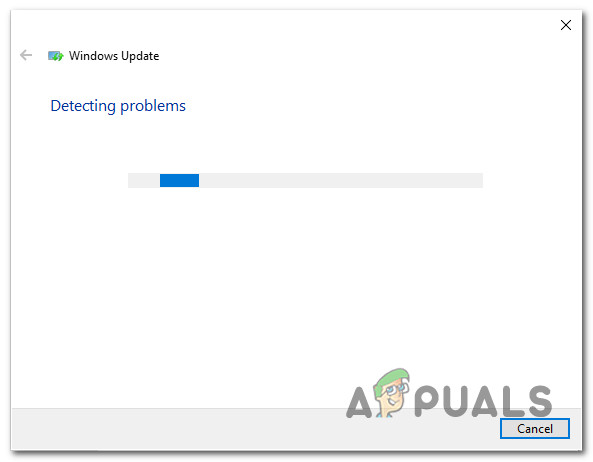
Detecting problem with Windows Update - If a viable fix is identified, you’ll see a different window and you will have the option to click on Apply this fix. Click it and then follow the on-screen instructions to enforce the fix. Keep in mind that depending on the issue that you’re encountering, you might be prompted to do some additional steps.
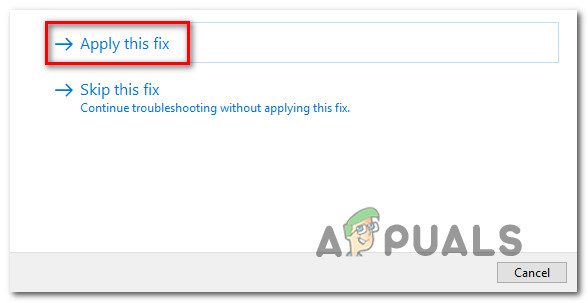
Apply this fix - After the fix is successfully applied, restart your computer and see if the 0x80244007 error is resolved by trying to install the update that was previously failing once the next startup is complete.
If you’re still encountering the same error code as the update fails, move down to the next method below.
Method 2: Running DISM and SFC Scans
If the first method didn’t work for you, the issue is likely facilitated by some kind of System File corruption. Since WU (Windows Update) works closely with a lot of dependencies, a lot of different files might be triggering this error code.
If this scenario is applicable, the most efficient way of resolving the problem is to run a couple of utilities capable of fixing both logical errors and system file corruption. SFC (System File Checker) and DISM (Deployment Image Servicing and Management) are both capable of doing this.
DISM uses a sub-component of WU to replace corrupted instances with healthy copies, while SFC makes use of a locally stored copy to do the same thing.
Since both utilities go about fixing corrupted instances in different ways, we recommend that you run both to fix the 0x80244007 error. Here’s a quick guide on doing this:
- Open up a Run dialog box by pressing Windows key + R. Then, type ‘cmd’ inside the newly opened text box and press Ctrl + Shift + Enter to open up a Command Prompt with admin access. When you’re prompted by the UAC (User Account Control) prompt, click Yes to grant administrative privileges.
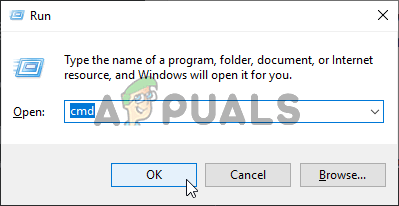
Running Command Prompt - Once you’re inside the CMD window, type the following command and press Enter after each one to initiate a DISM scan:
Dism.exe /online /cleanup-image /scanhealth
Dism.exe /online /cleanup-image /restorehealth
Note: This utility needs a reliable Internet connection to replace corrupted instances with healthy copies. The first command will scan your system, while the second will replace inconsistencies found with the first scan.
- After the scan is complete, restart your computer and continue with the next steps below.
Note: Even if no errors we’re reported in the final stage, you should still proceed with the next steps. - Once the next startup sequence is complete, follow step 1 again to open up another elevated CMD prompt, but this time, type the following command instead and press Enter to initiate an SFC scan:
sfc /scannow
Note: Do not interrupt this process after the initial scan is started. Doing so might expose your system to other logical errors that might trigger other similar issues in the future.
- As soon as the SFC scan is finished, restart your computer and see if the issue is resolved at the next system startup.
If the same issue 0x80244007 error is still occurring, move down to the next method below.
Method 3: Uninstalling overprotective 3rd party suite
As it turns out, another potential cause that might trigger the 0x80244007 error when you’re trying to install a pending Windows Update is an overprotective AV suite. According to several user reports, several 3rd party security suites have the potential of blocking the connection between the WU component and the external server. Sophos, McAffee, AVAST, Comodo and a few others are commonly reported for the facilitation of the apparition of this issue.
If you’re currently using a security scanner that you think might be responsible for this error code, you should be able to circumvent the problem either by disabling the real-time protection while the update is installed or by uninstalling the AV suite altogether and moving towards the built-in solution (Windows Defender).
First things first, you should start by trying to disable the real-time protection of your AV. This procedure will be different depending on the 3rd party client that you’re using. But, in most cases, you can do this by making use of the taskbar icon. Right-click on it and look for an option that will disable the real-time protection.
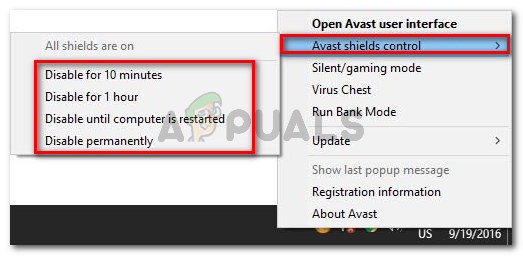
As soon as the real-time protection is disabled, attempt to install the update again and see if you can install the update without seeing the 0x80244007 error.
If the same issue is still occurring, you should uninstall the AV completely, remove any remnant files and restart your computer to see if the issue has been resolved. If you decide to do this, follow this article (here). Use it as a walk-through through the steps of installing your security program without leaving behind any leftover files that might still trigger the same issue.
If this method is not applicable or you’ve already followed the steps below to no avail, move down to the next method below.
Method 4: Resetting all Windows Update components
If the first 3 methods didn’t provide you with a breakthrough that allowed you to install the Windows Update without issues, likely, you’re dealing with a WU system file inconsistency that’s hindering your machine’s ability to update. If multiple updates are failing with the same error code, it’s even more evidence that this scenario is applicable.
In this case, you should be able to resolve the issue by resetting all Windows components and dependencies that are involved in this process. A few users that were also encountering this problem have confirmed that the steps below have allowed them to resolve the 0x80244007 error.
Here’s a step-by-step guide on resetting all Windows Update components manually via an elevated Command Prompt:
- Press Windows key + R to open up a Run dialog box. Once you’re inside the run window, type “cmd” inside the text box and press Ctrl + Shift + Enter to open up a Run dialog box. Once you’re prompted by the UAC (User Account Prompt), click Yes to grant admin access.

Running Command Prompt - Once you manage to get inside an elevated CMD prompt, type the following commands and press Enter after each command to stop all relevant WU services:
net stop wuauserv
net stop cryptSvc
net stop bits
net stop msiserver
Note: Once you run the commands above, you will have effectively stopped the Windows Update service, the MSI Installer, the Cryptographic service, and the BITS service.
- Once the services are disabled, run the following commands in the very same CMD window and press Enter after each command to rename the two folders responsible for storing temporary WU files:
ren C:\Windows\SoftwareDistribution SoftwareDistribution.old
ren C:\Windows\System32\catroot2 Catroot2.old
Note: By renaming these two crucial Windows Update folders, you’re essentially forcing your OS to create new folders that are not being touched by corruption. This procedure will end up resolving most instances of system file corruption that can be responsible for this problem.
- Once the two folders above have been renamed, type these final commands to re-enable the services that you previously disabled at step 2. But make sure to press Enter after each command (don’t run them all in bulk):
net start wuauserv
net start cryptSvc
net start bits
net start msiserver
- Attempt to re-install the update that was previously triggering the 0x80244007 error and see if the issue is now resolved.
If the same error code is still showing and you’re still unable to complete the installation of the update, move down to the final method below.
Method 5: Perform a repair install
If none of the potential fixes above have worked for you, you’re likely dealing with an underlying system file corruption issue that cannot be resolved with standard recovery procedures. In situations like this one, your best hope of resolving the issue is to reset every Windows component to ensure that your OS is free of corruption.
When it comes to refreshing every OS component, the easiest way is to perform a clean install. But keep in mind that this operation will also delete most of your files including app & game installation, user preferences and any personal media stored on the Windows drive.
If you want the damage-controlled approach, you should go for a repair install (in-place repair) instead. This procedure is a little more tedious, but it will allow you to reset every component of your Windows installation while allowing you to keep all your files (including apps, games, user preferences, personal media, etc.).


