How to Fix Windows Update Error 0x8024200B
Several Windows users have been reaching us with questions after being unable to install one or several different Windows Updates. Upon investigating the error using the Event Viewer, affected users have discovered that the error code is related to multiple printer drivers. As it turns out, the issue is not restricted to a certain Windows version since it’s confirmed to occur on Windows 7, Windows 8.1 and Windows 10.
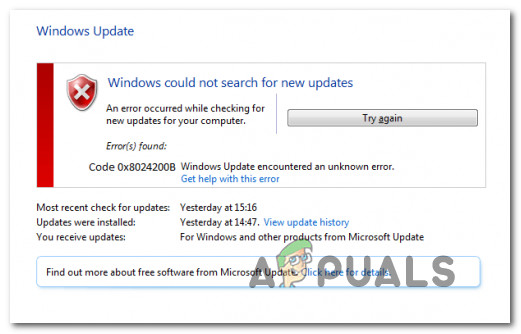
What is causing the Error 0x8024200b on Windows?
We investigated this particular issue by looking at various user reports and the repair strategies that they commonly used to fix this particular error message. Based on our investigations, there are several different possible culprits that might be responsible for this problem. Here’s a short list of scenarios that might lead to the apparition of the 0x8024200b error:
- Outdated printer driver – In most cases, this particular issue occurs due to an outdated printer driver that was incorrectly migrated when the user upgraded from an older Windows version to Windows 10. If this scenario is applicable, the issue can be resolved by using Device Manager to get rid of the incompatible printer driver.
- Windows Update corruption – It’s also possible that the issue is occurring after WU downloaded an update but some files belonging to it got corrupted before the updating component had the chance to install it on the machine. In this case, the only way to install the update is to effectively reset all Windows Update components manually or by using a script.
- Windows hotfix not installed – As it turns out, Microsoft released a hotfix to specifically target situations where users are migrating to Windows 10 from an older version and bring over an incompatible printer driver. The update should be installed automatically via WU. If your computer is not up to date, you should be able to resolve the issue by installing all the other pending updates to ensure that the hotfix is installed.
If you’re currently struggling to resolve the same 0x8024200b error when installing a Windows update, this article will provide you with several different troubleshooting steps. Down below, you’ll find a collection of repair strategies that other users in a similar situation have successfully used to resolve the error. Each of the potential fixes below is confirmed to be effective by at least one affected user.
If you want to be as efficient as possible, we advise you to follow the methods below in the order that they are presented since we ordered them by efficiency and severity. Eventually, you should discover a fix that will fix the problem regardless of the culprit that’s causing it.
Let’s begin!
Method 1: Running the Windows Update troubleshooter
Your first stop in troubleshooting this issue would be to test out and see if your Windows version is not equipped to resolve the issue automatically. Several affected users have reported that the Windows Update error 0x8024200b was no longer occurring after they ran the Windows Update troubleshooter.
This utility is equipped with a series of automatic repair strategies covering the most common scenarios that might break the updating function of Windows. It’s available on all the recent Windows versions including Windows 7, Windows 8.1 and Windows 10.
This troubleshooter utility will analyze the WU component as a whole to figure out if any functionality is affected. If it is, it will automatically recommend a viable repair strategy based on the type of issue that is identified.
Here’s a quick guide on running the Windows Update troubleshooter:
- Press Windows key + R to open up a Run dialog box. Then, type “ms-settings:troubleshoot” and press Enter to open up the Troubleshooting tab of the Settings tab.
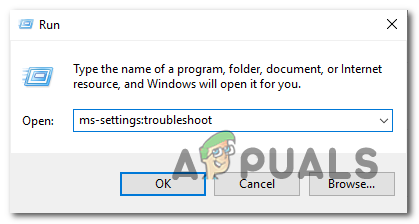
Opening the Troubleshooting tab of the Settings app via a Run box - When you’re inside the troubleshooting tab, move over to the right-hand pane and scroll down to the Get up and running category. Once you’re there, click on Windows Update and then click on Run the troubleshooter from the newly appeared context menu.
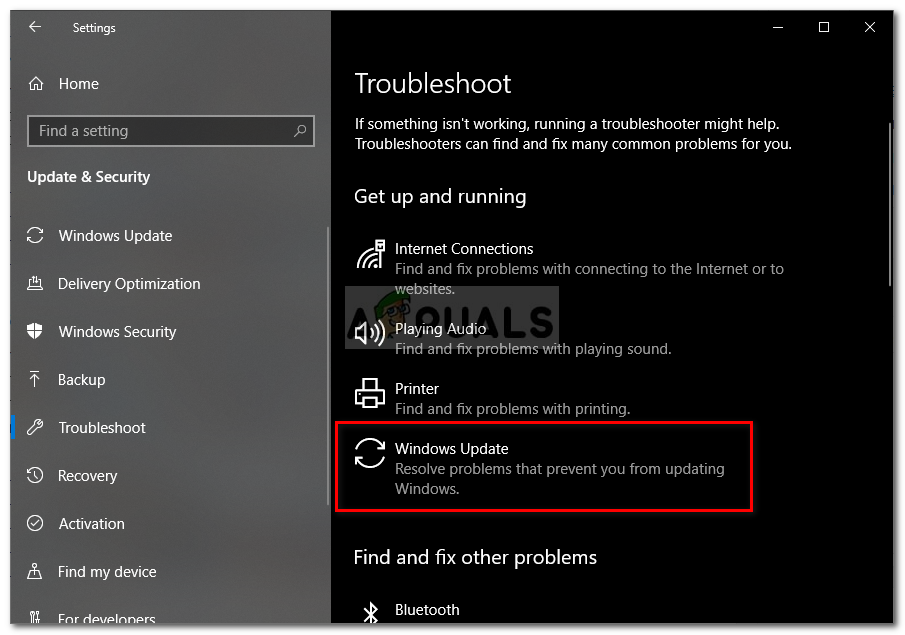
Running Windows Update Troubleshooter - Once you’re inside the Windows Update troubleshooter utility, wait until the initial scan is complete.
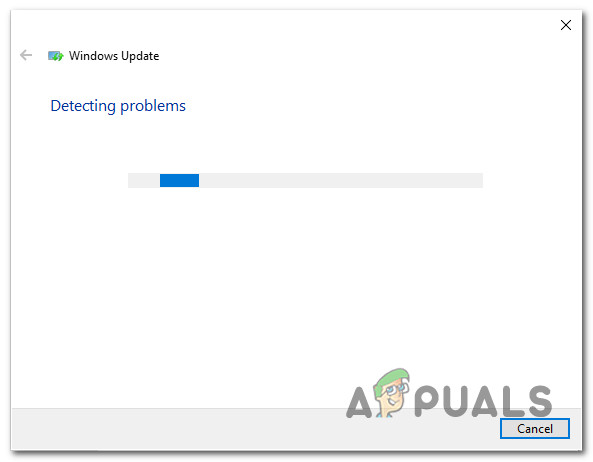
Detecting problem with Windows Update - If a problem that is already covered by a repair strategy is found by a utility, it will be automatically recommended to you. If this happens, all you have to do is click on Apply this fix, then follow the on-screen instructions to apply the recommended fix.
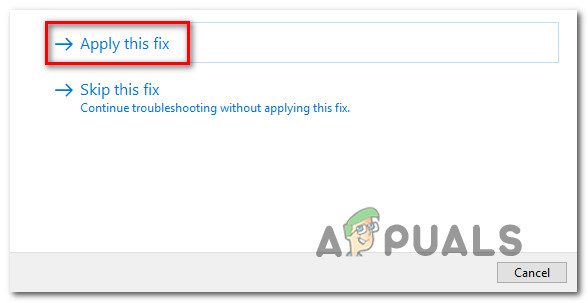
Apply this fix - When the repair strategy is enforced, close the troubleshooter and restart your computer.
- Once the next system startup is complete, repeat the action that was previously triggering the error code and see if the issue has been resolved.
If you still see the 0x8024200b error when you try to install the problematic update, move down to the next method below.
Method 2: Installing all Pending Windows Updates
As it turns out, in most cases this issue occurs due to some severely outdated printer drivers that made their way into a newer WIndows version. Most commonly, this occurs in situations where the user upgrades from an older Windows version to Windows 10 and the old drivers get migrated even though they are not fully compatible with the new operating system.
In some cases, this will end up causing frequent update failures until the issue is dealt with. Fortunately, since the issue is quite old, Microsoft has already released a hotfix for this issue. It’s included inside one of the critical updates delivered automatically through WU.
If you haven’t installed your pending updates, chances are you will be able to resolve the issue simply by ensuring that you install every pending update (except the one that is failing). Here’s a quick guide on how to do this:
- Press Windows key + R to open up a Run dialog box. Next, type “‘ms-settings:windowsupdate” and press Enter to open up the Windows Update tab of the Settings app.
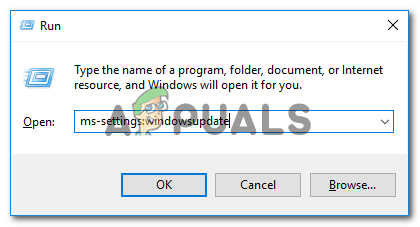
Opening the Windows Update screen Note: If you don’t have Windows 10, use the “wuapp” command instead.
- Once you manage to get inside the Windows Update screen, start by clicking on Check for update (from the right-hand pane).
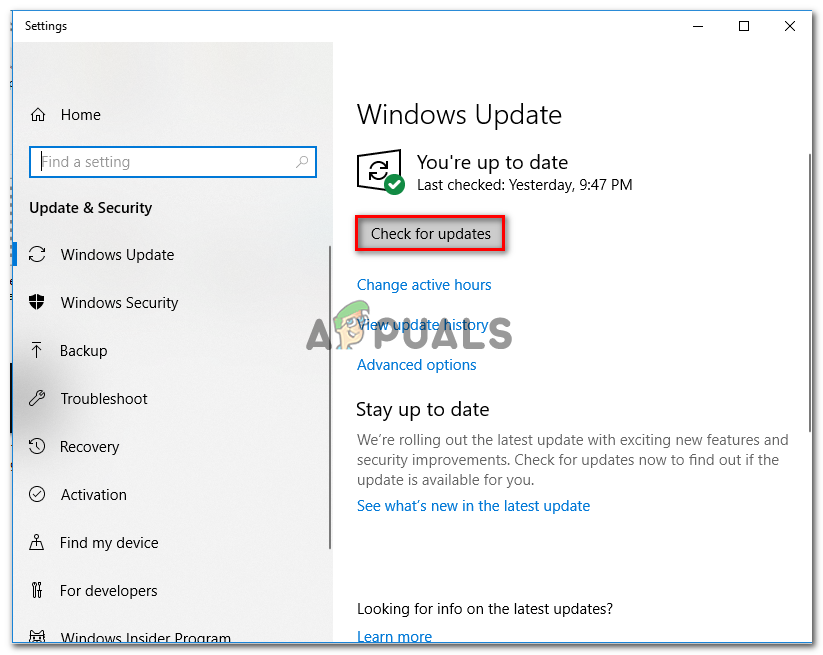
Installing every pending Windows update - Follow the on-screen prompts to install every pending update (leave the update that is failing last)
- If you have multiple updates pending, you might be prompted to restart before every update is installed. If this happens do so, but make sure to return to this screen at the next startup sequence and install the remaining updates.
- Once every pending update is installed, restart your computer and see if the issue is resolved at the next startup by trying to install the update that was previously failing
If you’re still encountering the 0x8024200b error when you’re trying to install the problematic update or you’re machine was already up-to-date, move down to the next method below.
Method 3: Uninstall any Unknown Printer Driver
If installing every pending update along with the hotfix for the issue didn’t make the 0x8024200b error code to go away, you might be able to fix the issue indefinitely simply by removing the problematic printer driver using Device Manager.
A couple of users struggling to fix the same issue have reported that the 0x8024200b error code was no longer occurring and the update installed normally after they removed the ‘Unknown Printer’ device from the list of Printers inside Device Manager. This will end up uninstalling the incompatible driver that is triggering the issue, thus eliminating the software conflict.
Here’s a quick guide on uninstalling the printer driver responsible for the 0x8024200b error code:
- Press Windows key + R to open up a Run dialog box. Then, type ‘devmgmt.msc” and hit Enter to open up the Device Manager utility.
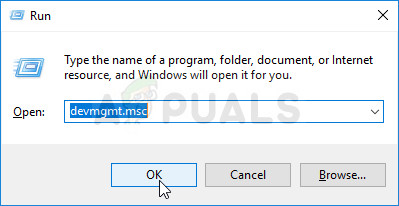
Running Device Manager via Run box - Once you’re inside the Device Manager, scroll down through the list of installed devices and expand the drop-down menu associated with Printers (or Print queues).
- Inside the Printers (Print queues) category, see if you manage to spot an incompatible driver. In most cases, it will contain an exclamation sign near the icon and it’s named “Unkown Driver“.
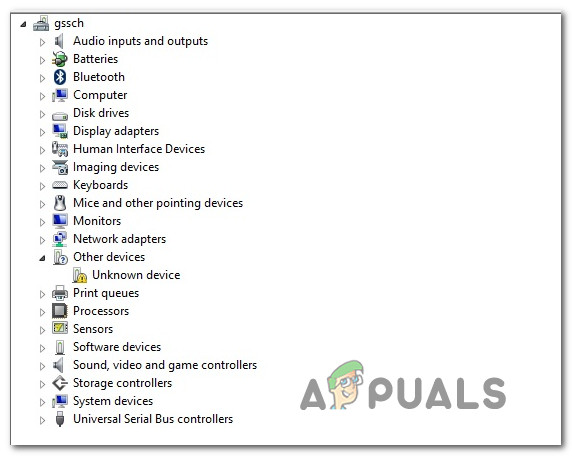
Identifying the incompatible driver Note: You might also be able to find the incompatible device under Other devices.
- Once you manage to identify the culprit, right-click on it and choose Uninstall device to get rid of the conflict.
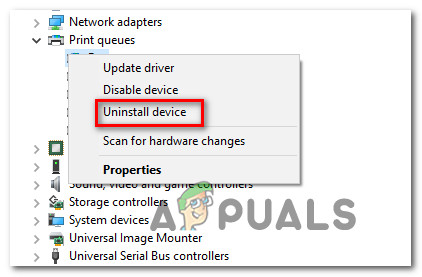
Uninstalling the incompatible driver - Once the incompatible driver is removed from your list of incompatible devices, restart your computer and see if the issue is resolved at the next system startup.
If the same 0x8024200b error code is still occurring, move down to the next method below.
Method 4: Resetting the Windows Update Components
Based on our investigations, the 0x8024200b error code is also encountered in situations where the Windows Update (WU) component has downloaded an update successfully but it has somehow become corrupted before the updating component had the chance to install it.
In situations like this, the only viable fix is to reset all Windows Update Components involved in the updating operation and delete (rename) the folders that store the temporary update files. Several affected users have reported that the issue was resolved completely after they followed a series of steps that allowed them to effectively reset all WU components.
You can achieve this in two different ways – you can either use a pre-created script that will perform all required operations automatically or you can do it yourself from the terminal. We featured both approaches, so feel free to follow whichever guide is more appealing to you:
Resetting WU from a Command Prompt window
- Open a Run dialog box by pressing Windows key + R. Inside the run window, type ‘cmd’ and press Ctrl + Shift + Enter to open up a Command Prompt with administrative privileges. Once the User Account Control (UAC) prompt appears, click on Yes to grant admin access.
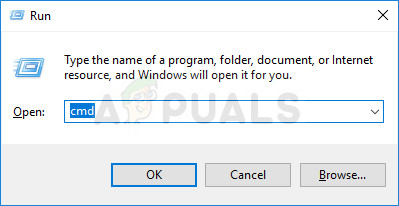
Running Command Prompt - When you’re inside the elevated Command prompt, paste or type the following commands in whichever order, but make sure you press Enter after each row to stop all Windows Update-related services:
net stop wuauserv
net stop cryptSvc
net stop bits
net stop msiserver
Note: At this step, we’ll stop all services involved in the Windows updating operations: Windows Update Services, MSI Installer, Cryptographic services, and BITS services
- Once all the relevant services have been prevented from running, type or paste the following commands and press Enter after each to rename the two folders (SoftwareDistribution and Catroot2) used by WU:
ren C:\Windows\SoftwareDistribution SoftwareDistribution.old
ren C:\Windows\System32\catroot2 Catroot2.old
Note: By renaming these folders, we’ll force the OS to create new folders that are not tainted by corruption.
- Once the two folders have been renamed, run the following commands in whichever order and press Enter after each one to re-enable the same services that we previously disabled at step 2:
net start wuauserv
net start cryptSvc
net start bits
net start msiserver
- Once the services are re-enabled, restart your computer and see if the issue is resolved at the next system startup.
Resetting WU using a WU Agent script
- Access this Microsoft Technet page (here) to download the Reset Windows Update Agent script.
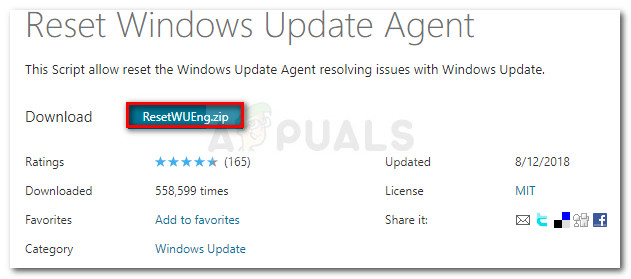
Download Windows Update Reset Agent - When the download is complete, use a utility like 7Zip or WinZip to extract the contents of the ResetWUEng.zip.
- Once the archive is extracted, double-click on the ResetWUENG executable and follow the on-screen instructions to run the script that will reset all your WU components.
- After the process is complete and you get the success message, restart your computer and check if the issue is resolved at the next system startup.


The link to the Reset-WindowsUpdate.ps1 powershell file is dead. It’s also not at the Microsoft Docs Code Samples. However I have a backup copy of the file here.https://gitlab.com/-/snippe…