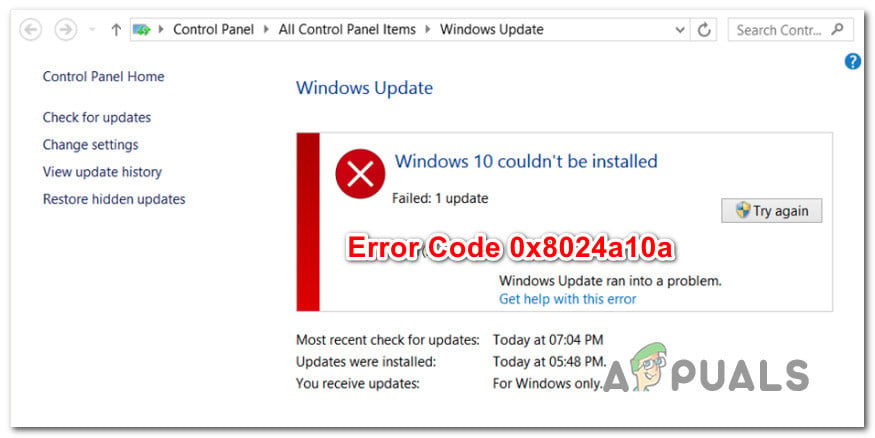
How to Fix Windows Update Error Code 0x8024a10a?
Several Windows users have been reaching us with questions after being unable to install one or more pending Windows update. The error code that comes up is 0x8024a10a. For most affected users, this issue started occurring after an unexpected machine shutdown or after another botched update. This problem is not exclusive to Windows 10 as it’s also confirmed to occur on Windows 7 and Windows 8.1.
What is causing the Windows Update Error 0x8024a10a?
We investigated this particular issue by looking at various user reports and the repair strategies that other affected users have successfully deployed to fix this particular error message. As it turns out, multiple potential culprits might be responsible for this error message. Here’s a shortlist of scenarios that are capable of triggering this error code:
- Corrupted Windows Update client – One of the most common causes that will trigger this error message is a corrupted dependency used during the updating process. If this scenario is applicable, the most efficient fix is to run the Windows Update troubleshooter.
- Vital WU service is turned off – Another potential scenario where this error code will be thrown is an instance where not all Windows Update services essential to the updating process are turned on. In this case, you will be able to resolve the issue by running a series of commands in an Elevated Command Prompt to change the startup type of each involved service.
- 3rd party service/app interference – It’s also possible that a 3rd party application or service is what’s creating the updating error. In this case, the most efficient way of resolving the issue is to achieve a clean boot state and install the pending update while there’s no 3rd party interference whatsoever.
If you’re currently looking for ways to resolve this error message, this article will provide you with several troubleshooting steps that might just fix the issue for you. Down below, you’ll discover a collection of methods that other users that were also struggling to resolve the 0x8024a10a error code have successfully deployed.
To remain as efficient as possible, we advise you to follow the methods below in the same order since we ordered the fixed by their efficiency and difficulty. Sooner or later, you will stumble upon a fix that will resolve the issue for you.
Method 1: Running Windows Update troubleshooter
Before you try anything else, you should start by seeing if your operating system is not capable of resolving the issue automatically. All recent Windows versions will include a selection of built-in utilities that are capable of taking care of several known issues automatically.
The Windows Update troubleshooter contains dozens of suitable repair strategies that can be enforced automatically to resolve the most common issues that will stop updates from installing. If you’re lucky enough and your problem is already covered by one of the repair strategies included with Windows Update troubleshooter, then the steps below will resolve the issue automatically.
Here’s a quick guide with what you need to do to fix the 0x8024a10a error code using the Windows Update troubleshooter:
- Press Windows key + R to open up a Run dialog box. Then, type “ms-settings:troubleshoot” and press Enter to open up the Troubleshooting tab of the Settings app.
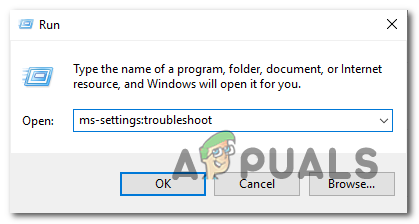
Opening the Troubleshooting tab of the Settings app via a Run box - Once you manage to get inside the Troubleshooting tab, move to the right-hand section and scroll down to the Get up and running section. Next, click on Windows Update, then click on Run the troubleshooter.
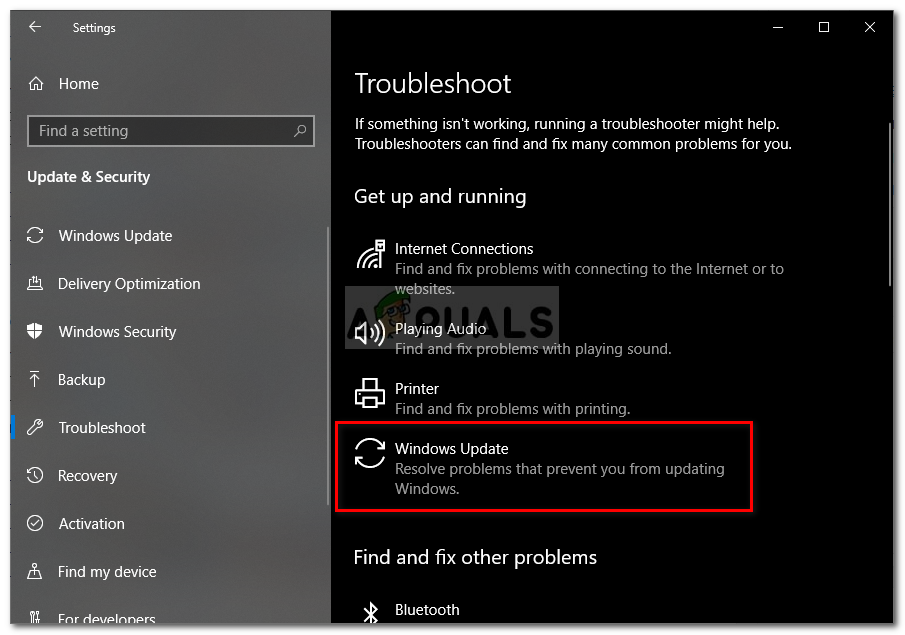
Running Windows Update Troubleshooter - Once the Windows Update troubleshooter utility is active, wait patiently until the initial scan is complete. Make sure you don’t interrupt the process since this is the part where the utility determines if any of the included strategies apply to your particular scenario.
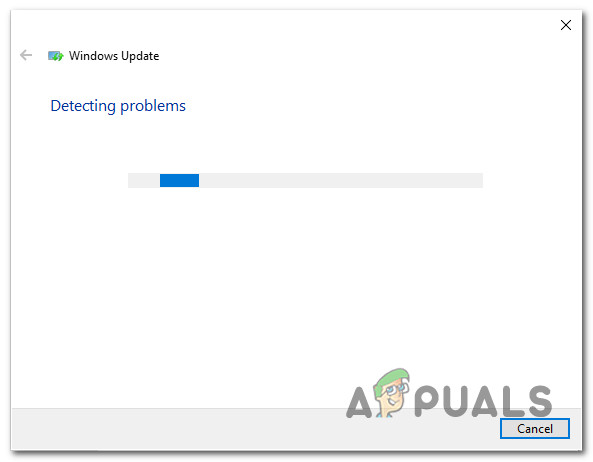
Detecting problem with Windows Update - If a fix applies to your problem, click on Apply this fix to enforce the repair strategy that is compatible with the issue.
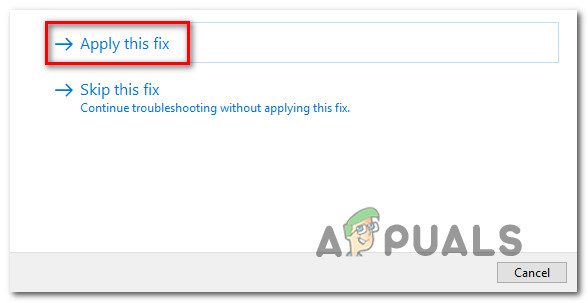
Apply this fix - Once the fix is applied, restart your machine and see if the issue is resolved at the next system startup.
If you’re still seeing the 0x8024a10a error code even after running the Windows update troubleshooter, move down to the next method below.
Method 2: Start all relevant Windows services
As it turns out, the 0x8024a10a error code can also occur in instances where some essential WU (Windows Update) services are prevented from running. This is not the default behavior, so it might either be caused by manual user intervention or by an optimizing software that turned off these services to improve system performance.
If this scenario is applicable to your particular situation, here’s a quick guide on enabling all services used by Windows Update:
- Press Windows key + R to open up a Run dialog box. Next, type “cmd” and open Command Prompt with admin access by pressing Ctrl + Shift + Enter. If you’re prompted by the User Account Control window, click Yes to grant administrative privileges.
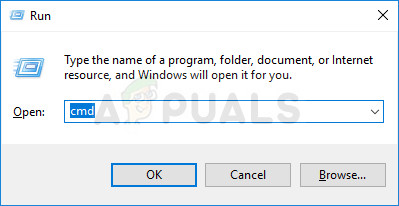
Running Command Prompt as an administrator - Once you’re inside the elevated Command Prompt, type the following commands in order and press Enter after each one to set the Startup Type of each service to Automatic:
SC config trustedinstaller start=auto
SC config bits start=auto
SC config cryptsvc start=auto
- After each service has been started accordingly, restart your machine to allow the changes to take effect. Once the next startup sequence is complete, see if the 0x8024a10a error code is still occurring when you try to install the pending Windows update.
If you’re still seeing the same error code when the update fails, move down to the final method below.
Method 3: Installing the update in Clean Boot mode
If none of the methods above have helped you to resolve the issue, a 3rd party application or service may have ended up causing the issue. Since it’s virtually impossible to compile a list of all possible culprits, the best way of resolving the issue is to boot into a clean boot state and install the update while there’s no 3rd party interference.
The steps below will ensure that your computer will start with no 3rd party service or applications that might trigger the 0x8024a10a error code. Here’s a quick guide on learning how to install the update while booting in clean boot mode:
- Press Windows key + R to open up a Run dialog box. Next, type “msconfig” and press Enter to bring up the System Configuration menu. If you’re ever prompted by the User Account Control (UAC) prompt, click Yes to grant admin access.
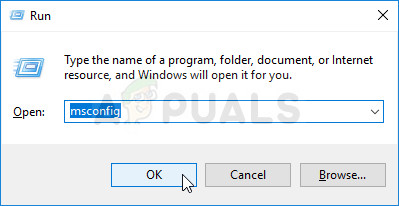
Running MSCONFIG with admin access - Once you’re inside the System configuration menu, click on the Services tab from the top of the menu, then enable the box associated with Hide All Microsoft services. This will hide all Windows services from the list, so you don’t run the risk of disabling them by mistake. Once all Microsoft services have been excluded, click the Disable all button to prevent all 3rd party services from being started at the next startup.
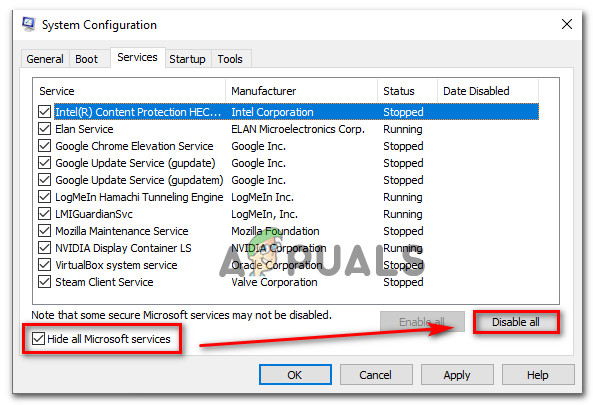
Disabling all non-Microsoft startup items - Now that you’re done with the Services tab, move over to the Startup tab and click on Open Task Manager.
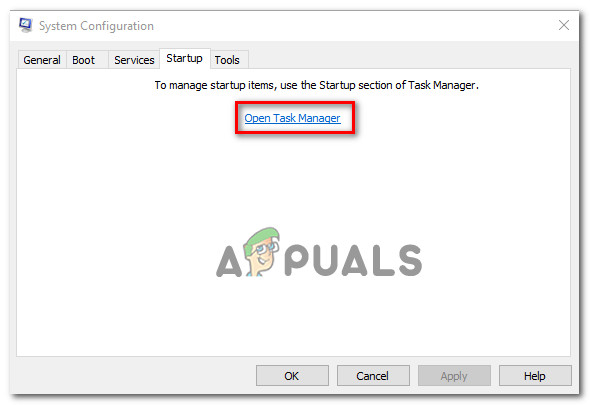
Opening the Startup items window via Task Manager - Inside the newly opened Task manager tab, select each startup service systematically and then click on Disable to prevent each service from running at the next computer startup. Do this with every startup service in that list.
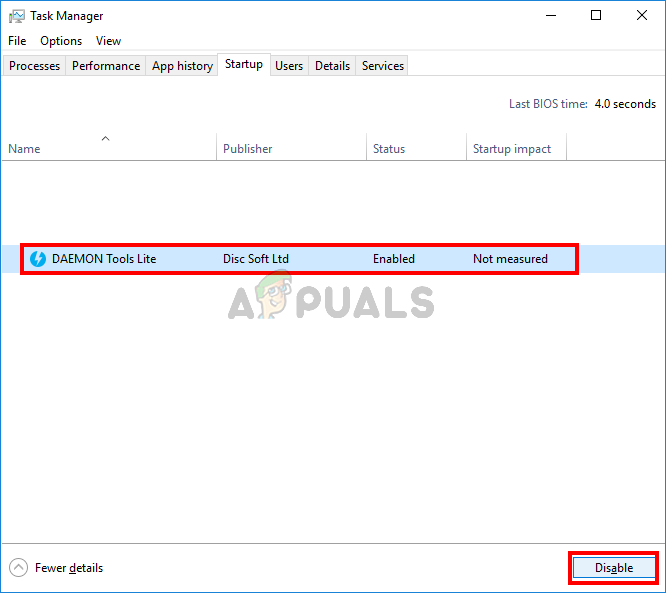
Disabling Apps from Startup - Once every startup app is disabled, you have effectively achieved a clean boot state. To take advantage of it, restart your computer and allow it to clean boot.
- When the startup sequence is complete, install the Windows Update that was previously failing. If the problem was caused by a 3rd party service, the 0x8024a10a error code should no longer appear.
- Once the installation is complete, reverse engineer the steps above to re-enable the 3rd party services that you previously disabled and restart your computer once again.


