How to Fix Windows Stuck on ‘Diagnosing Your PC’?
When a PC gets stuck on the “Diagnosing Your PC” screen, it usually shows a failure during startup or boot. This error happens when the system cannot load Windows properly and tries to run automatic diagnostics to fix underlying issues. The most common cause of this issue is a corrupted or damaged boot sector or system files that Windows relies on during the boot process.

Other possible causes include hardware problems, disk errors, or issues with recent updates and drivers.
In this article, we will talk about fixes to solve this problem.
1. Boot in Safe Mode and Clear Space
This issue could be caused by not having enough disk space, which Windows needs to work properly during startup. Booting into Safe Mode lets the system avoid unnecessary drivers and services that might be causing the problem.
- Power on your computer and start pressing the F8 key repeatedly as soon as you see the initial screen. This will open the Advanced Boot Options menu.
- Once you access the Advanced Boot Options menu, use the arrow keys to select Safe Mode or press the corresponding key (F4)
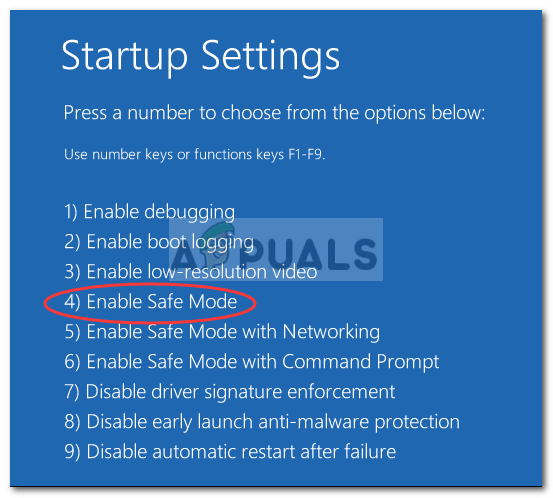
Press F4 for Safe Mode - Wait for the next boot sequence to complete. Once Windows fully loads, press Windows key + R to open the Run command box. Type “cleanmgr” and press Enter to open the Disk Cleanup utility.
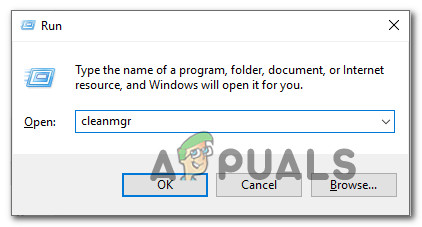
Accessing the Clean Manager Utility - In the initial Disk Cleanup screen, select the disk you want to clean. For clearing space from the OS drive, choose C (or the name of your Windows drive).

Selecting the drive you want to clean up using Cleanup Manager - In the Disk Cleanup screen, go to the Files to Delete section and select non-essential files you want to delete. The Downloads folder, Recycle Bin, Temporary files, and Delivery Optimization Files should be sufficient to start.
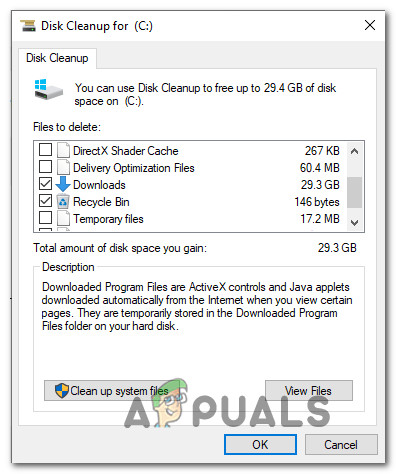
Cleaning the required space using Disk Cleanup - After selecting the files to delete, click Clean up system files to start the cleanup process.
- Once the process is complete, restart your computer to boot back into normal mode and check if it passes the Diagnostics screen.
2. Run SFC and DISM Scans
Running the SFC (System File Checker) and DISM (Deployment Image Servicing and Management) tools fixes important system file problems. SFC scans for missing or broken files and repairs them automatically, helping Windows run smoothly. DISM goes further by fixing the Windows image that SFC relies on.
- Insert the installation media and restart your computer. Before the startup sequence begins, press any key to boot from the Windows installation media.

Press any key to boot from installation media - Once the initial Windows screen loads, click on Repair your computer in the bottom-left corner.
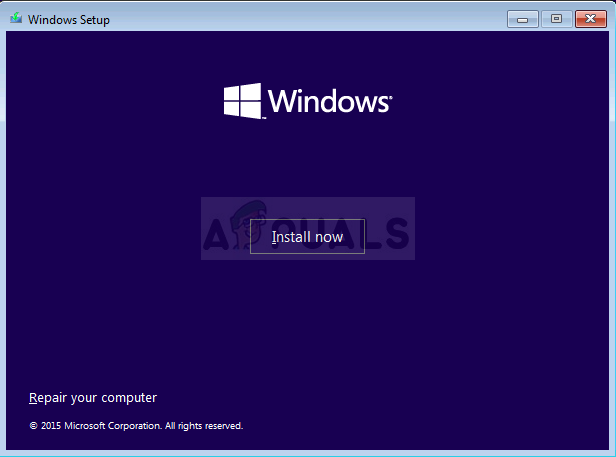
Choosing Repair your computer from Windows Setup - In the next menu, select the Troubleshoot tab, then click on Advanced Options. From the Advanced Options menu, select Command Prompt.
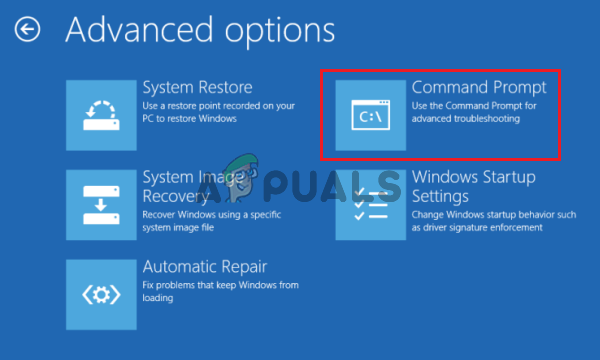
Advanced Options >> Command Prompt - In the elevated Command Prompt, type the following command and press Enter to start a System File Checker scan:
sfc /scannow
Note: SFC uses a locally cached copy to replace corrupted files with healthy copies. Do not interrupt this utility during the scan as it may cause additional logical errors. Wait until the process is complete.
- After the scan is complete, restart your computer. Repeat the steps above to return to the elevated Command Prompt screen at the next startup. Once there, type the following commands, pressing Enter after each one to check and fix corruption issues:
Dism /Online /Cleanup-Image /CheckHealth
Dism /Online /Cleanup-Image /ScanHealth
Dism /Online /Cleanup-Image /RestoreHealth
Note: This utility relies on Windows Update to download healthy copies of corrupted files. Ensure that your Internet connection is stable before starting this procedure.
- Once the procedure is complete, restart your computer and check if the issue is resolved at the next system startup.
3. Run the System Restore utility
When fixing a computer stuck in a diagnostic loop, System Restore can help by taking your PC back to a time when it worked well. It reverses recent changes like bad updates, drivers, or software installs, making your system work again.
- Insert the installation media and restart your computer. As soon as you see the booting screen, press any key to boot from the installation media.
Press any key to boot from installation media - Once the Windows Setup is fully loaded, look in the bottom-left corner and click on Repair your computer.
Choosing “Repair your computer” from Windows Setup - In the initial repair menu, access the Troubleshoot menu. Inside Troubleshoot, click on Advanced Options, then select Command Prompt.

Opening Command Prompt from Advanced Options - In the Command Prompt window, type the following command and press Enter to open the System Restore utility:
rstrui.exe
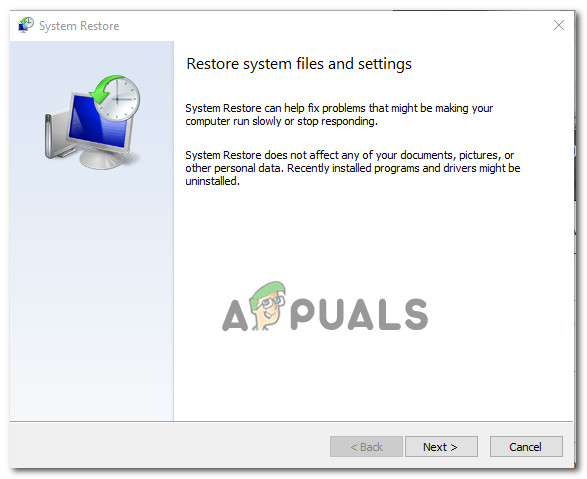
- At the initial System Restore screen, click on Next to proceed.
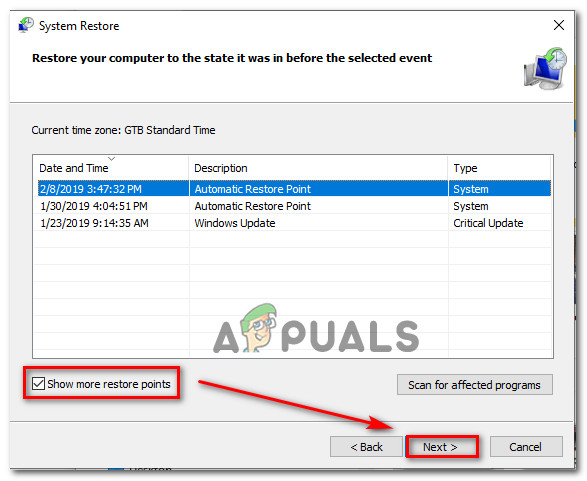
Using System Restore - Check the box for Show more restore points. Then, review the available snapshots and select one dated before the Diagnostics issue appeared. Once selected, click Next.
Restoring your system to a previous point in time - Click Finish to start the restoration process. Your computer will restart and the system will be restored at the next startup.
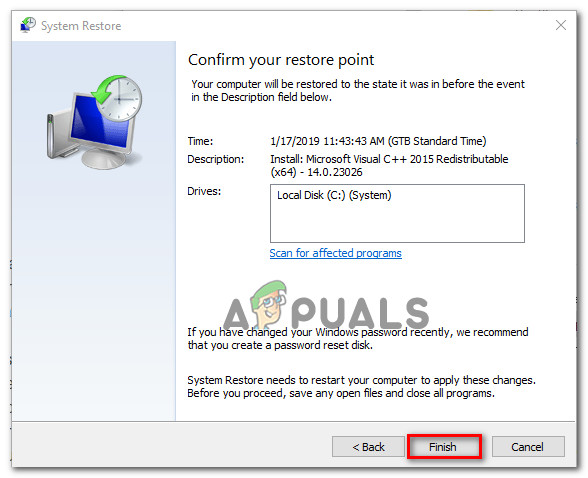
Starting the System Restore process - Wait to see if the system passes the Diagnostics screen on the next boot.
4. Disable the Automatic Repair
Turning off Automatic Repair can stop your computer from endlessly trying to fix problems that it can’t solve. When Windows keeps failing to repair an issue, it can get stuck in an endless loop. By disabling Automatic Repair, you prevent this loop and can then use other methods like Safe Mode or command-line tools to find and fix the real problem.
- Press the F8 key repeatedly as soon as you see the initial screen to open the Advanced Boot Options menu.
- In the Advanced Boot Options menu, select Safe Mode with Networking by pressing the corresponding key (F5) or by using the arrow keys.
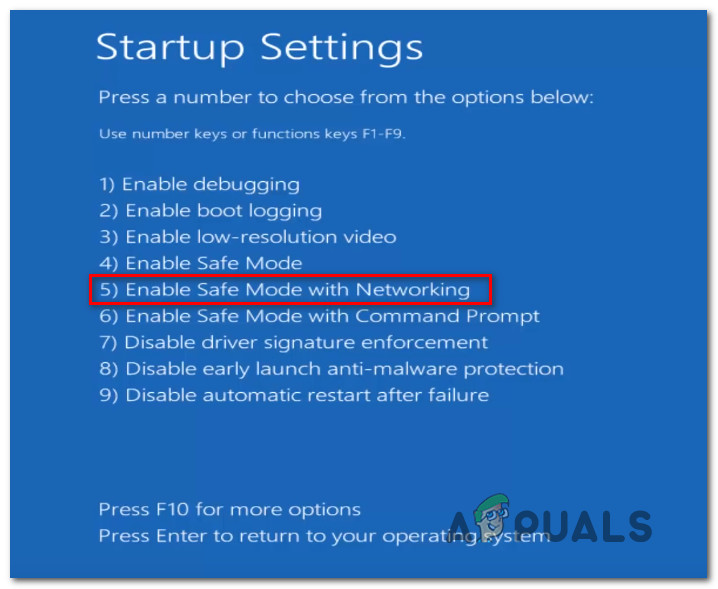
Starting your computer in Safe Mode with Networking - Once the boot sequence is complete, press Windows key + R to open the Run dialog box. Type “cmd” in the text box and press Ctrl + Shift + Enter to open an elevated Command Prompt. When prompted by the UAC (User Account Control), click Yes to grant administrative privileges.
Running Command Prompt - In the elevated Command Prompt, type the following command and press Enter to disable the Automatic Repair utility during startup:
bcdedit /set recoveryenabled NO
- After the command is processed successfully, restart your computer to boot normally. You should no longer see the Automatic Repair loop at the next startup sequence.
5. Perform a Repair Install or Clean Install
If none of the solutions work, a repair install or clean install might be your best option. A repair install refreshes Windows without deleting personal files, helping to fix corrupted system files that may be stopping your PC from starting properly.
You can always go for a clean install, but keep in mind that going this route essentially means that you’ll be losing any data that is currently stored inside your Windows installation. Personal files, apps, games, documents and any other type of media will be lost if you go for a clean install.
A better solution would be to perform a repair install (in-place upgrade). This will also reset every OS component including booting data, but it won’t affect your files. Applications, games, personal media and even some user preferences will be preserved.


