How to Fix Touchpad not Working when Holding a Keyboard Key
Several laptop/ultrabook users have been reaching us with questions after noticing that their touchpad stops functioning while they are holding a keyboard key. The issue is confirmed to occur on Windows 7, Windows 8.1 and Windows 10. It doesn’t seem to be specific to a certain manufacturer (it’s reported to occur with HP, ASUS, Dell and Lenovo models).

What is causing the touchpad to stop working while a key is pressed?
We analyzed this particular issue by taking into account various user reports and the repair strategies that are commonly being used to fix this problem. As it turns out, there are several different potential culprits that are known to trigger this issue:
- Palmcheck is enabled – If you have an HP laptop, chances are the issue is caused by a proprietary technology called PalmCheck. Several affected users who found themselves in a similar situation have managed to resolve the issue by disabling the PalmCheck technology from the Touchpad settings.
- Disabling Touchpad delay – If you’re using Windows 10 and it’s not yet updated with the Creators update, chances are you’re dealing with this issue due to a setting called Touchpad Delay. This option was since removed, so it won’t cause any problems if you’re system is outdated. But if it isn’t, you should be able to resolve the issue by either updating to the latest version available or by disabling any sort of delay associated with your TouchPad.
- Registry value (DisableWhenType) is enabled – DisableWhenType_Enable is a Registry value that is known to be responsible for this particular behavior (on both Windows 7 and Windows 10). If you’re using an Elantech driver for your touchpad, chances are you’ll be able to resolve the issue by using Registry Editor to modify the value of DisableWhenType_Enable so it remains disabled no matter what.
- Corrupted Synaptics driver – Another possible culprit responsible for this particular issue is a corrupted Synaptics driver. As several users have confirmed, it’s possible to resolve this issue by uninstalling your current Synaptics driver version and installing the latest version available from the manufacturer website.
- Agrresive Synaptics user settings – It’s also possible that your Synaptics user settings are configured to temporarily disable the touchpad while the keyboard is being used. Since Synaptics drivers are known for their fragmentation, the best solution, in this case, is to create a .reg file that restores the user settings to the defaults.
If you’re currently searching for a guide that will resolve this problem, this article will provide you with several different troubleshooting steps. Down below, you’ll discover a collection of methods that are typically effective in resolving issues related with the touchpad stopping while a key is being pressed. Each of the potential fixes below is confirmed to occur by at least one user.
For the best results, we advise you to follow the instructions in the order that they are presented, since we ordered them by efficiency and difficulty. If you find any methods that aren’t applicable to your current situation, skip them and continue with the next ones below. Eventually, you should find a method that resolves the issue for you, regardless of the culprit that is causing it.
Let’s begin!
Method 1: Disabling Palmcheck (if applicable)
As some affected users have reported, you should be able to resolve the touchpad issue if you disable PalmCheck from your Touchpad settings. This procedure seems to be successful for HP laptops. If you find yourself in the same scenario, you should be able to resolve the issue by accessing the Synaptics LuxPad Settings and disabling Palmcheck.
Note: If this scenario is not applicable to your current situation, move down to the next method below.
Here’s a quick guide on disabling Palmcheck for your HP touchpad:
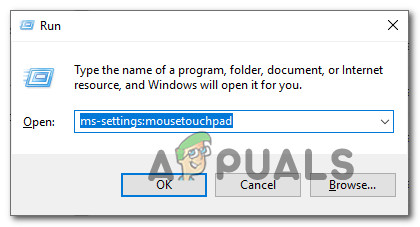
- Press Windows key + R to open up a Run box. Next, type “ms-settings:mousetouchpad” and press Enter to open up your Touchpad settings from the Settings app.
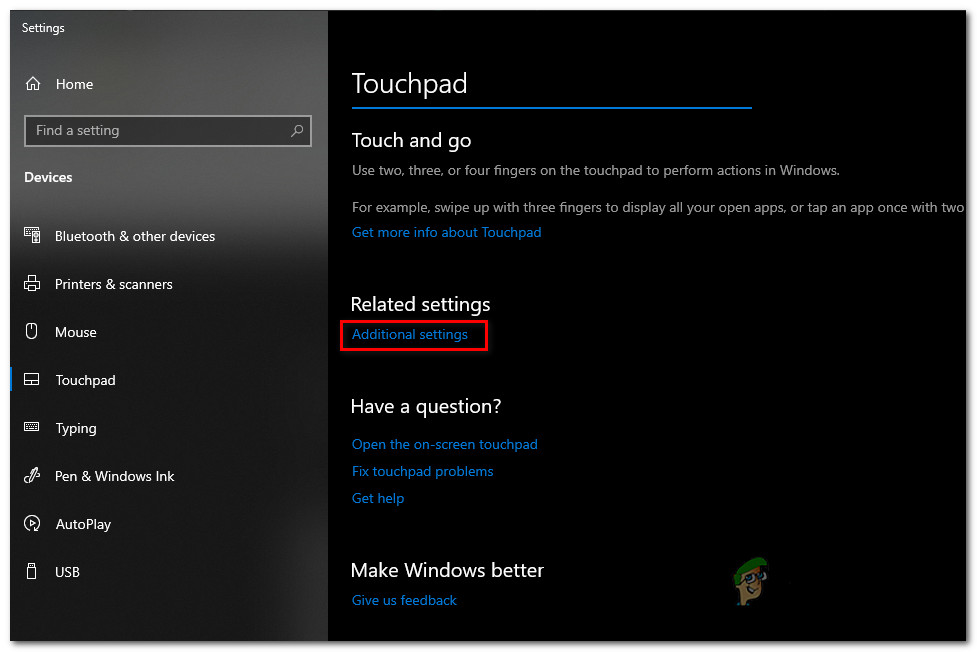
Accessing the Mouse & Touch-pad menu on Windows 10 - From the next menu, make sure to select the TouchPad tab from the vertical menu on the right, then move over to the right pane and click on Additional settings (under Related settings).
Accessing the additional settings of your touchpad - Once you get to the mouse properties menu, select the Device Settings tab, then click on PalmCheck (or PalmCheck Enhanced).
Note: Depending on your touchpad driver, you might need to go to Settings (select Synaptics LuxPad) -> Palmcheck-enhanced ACM -> Palmcheck - Once you arrive at the Palmcheck settings menu, the box associated with Enable Palmcheck or adjust the slider to off (depending on which driver you’re using). Then, click on Apply to save the changes.
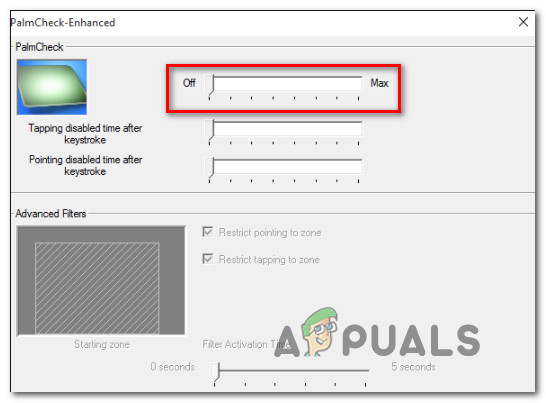
Ensuring that Palmcheck is disabled - Restart your computer and see if the issue is resolved once the next startup sequence is complete.
If you’re still encountering the same issue, move down to the next method below.
Method 2: Disabling Touchpad Delay (if applicable)
Several affected users have reported that they got this issue resolved after they modified their Touchpad settings to not use any Delay. Microsoft eventually realized that this caused a problem for a lot of touchpad users, so they decided to remove the setting for good starting with the Creators Update.
If you haven’t yet installed the Creators update, you will be able to resolve the issue simply by updating to the latest available Windows 10 built. Here’s a quick guide on doing this:
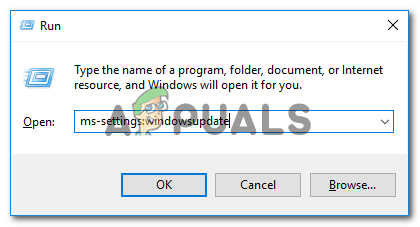
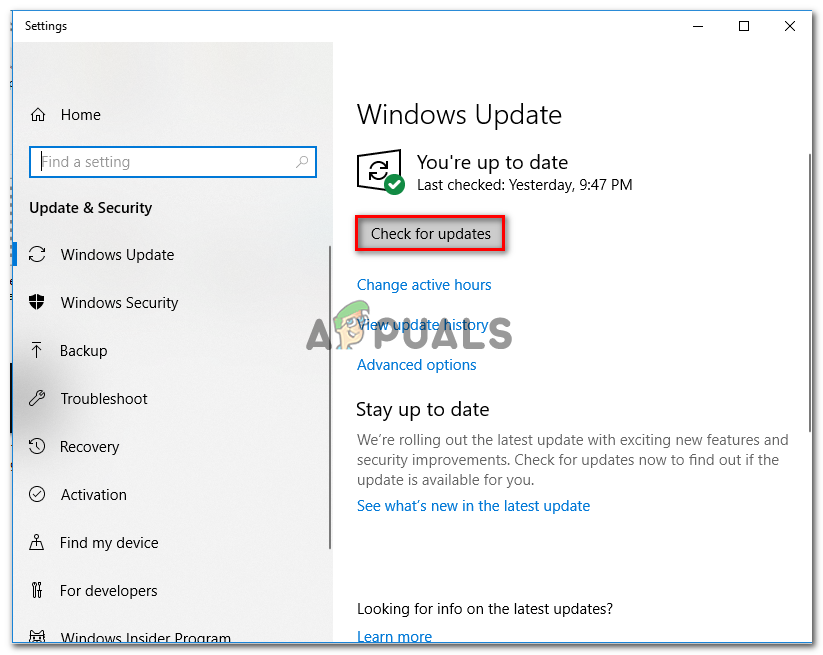
- Press Windows key + R to open up a Run dialog box. Then, type “ms-settings:windowsupdate” and press Enter to open up the Windows Update tab of the Settings app.
Opening the Windows Update screen - Once you get there, click on Check for updates, then follow the on-screen instructions to install every pending update until you are up to date.
Installing every pending Windows update - Restart your computer and see if the touchpad problem has been resolved.
If you don’t have the Creators updated and you have no intention of updating anytime soon, you can still use the old settings to resolve the touchpad issues. Here’s how to do this:
- Press Windows key + R to open up a Run dialog box. Then, type “ms-settings:mousetouchpad” inside the Run box and press Enter to open up the Mouse & Touchpad menu of the Settings app.
Accessing the Mouse & Touch-pad menu on Windows 10 - From the next screen, move over to the right pane and scroll down to Touchpad. Once you get there, expand the drop-down menu associated with it and set it to No delay (always on).
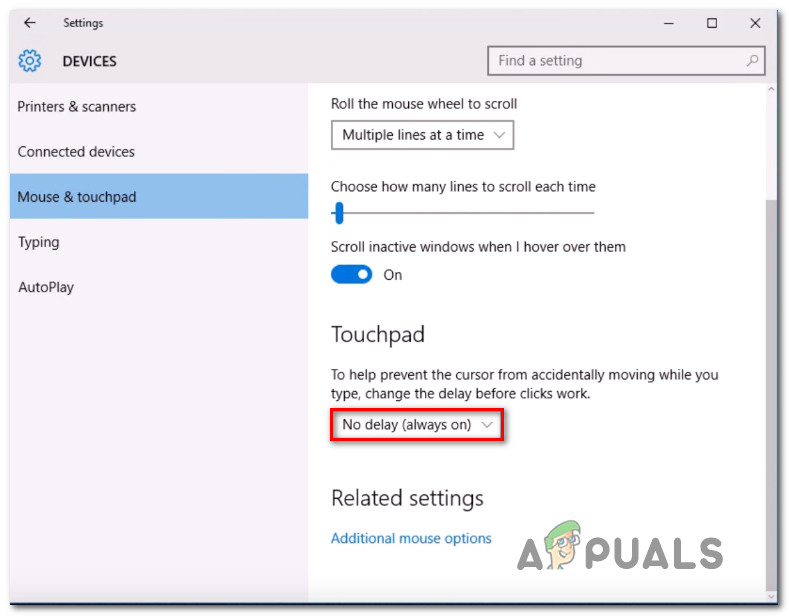
Ensuring that the Touchpad is not configured to deploy any delay - Once the change has been made, restart your computer and see if the issue is resolved at the next startup.
If the same issue is still occurring, move down to the next method below.
Method 3: Using Registry Editor to disable the DisableWhenType value (if applicable)
If you’re encountering the issue with an Elantech driver, chances are the issue is being caused by a specific Registry value called DisableWhenType_Enable. Several affected users have reported that they managed to resolve the issue by using Registry Editor to modify this value so that it stays disabled no matter one.
This fix has been confirmed to be effective on Windows 7 and Windows 10. Here’s a quick guide on using Registry Editor to modify the value of DisableWhenType_Enable:
- Press Windows key + R to open up a Run dialog box. Then, type “regedit” and press Enter to open up the Registry Editor tool. When prompted by the UAC (User Account Control) prompt, click Yes to grant admin access.
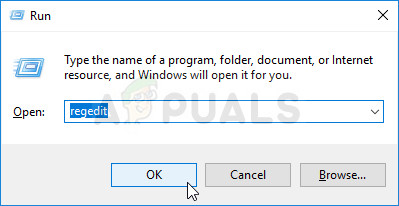
Running the Registry Editor - Once you’re inside the Registry Editor, use the left-hand pane to navigate to the following location:
Computer\HKEY_CURRENT_USER\Software\Elantech\OtherSetting
Note: You can speed up things by pasting the location directly into the navigation bar and pressing Enter.
- When you arrive at that location, move over to the right-hand pane and click on DisableWhenType_Enable.
- Leave the Base to Hexadecimal and set the Value data to 1 before clicking OK
.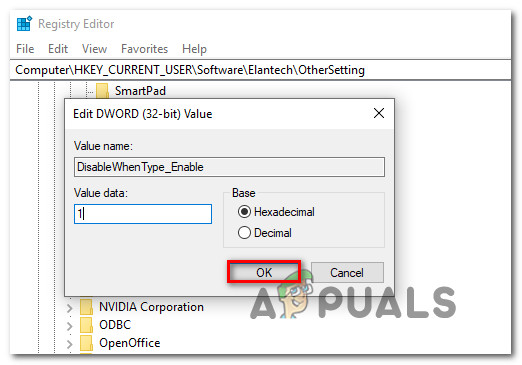
Changing the Value data of DisableWhenType_Enable to 1 - Restart your computer and see if the issue has been resolved once the next startup sequence is complete.
If the same issue is still occurring, move down to the next method below.
Method 4: Reinstalling the Synaptics driver (if applicable)
If you’re not on Windows 10, one of the methods above should have resolved the issue by now. But if you’re using Windows 10 with a Synaptics touchpad driver, you’ll need to adopt a different route. Several affected users have reported that they managed to resolve the issue by disabling the wireless card, uninstalling the Synaptics driver and then reinstalling the latest version from the official manufacturer Download website.
Here’s a quick guide on how to do this:
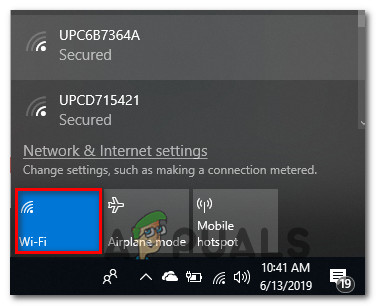
- Start off by turning off your wireless card. To do this, click on the wireless icon in the bottom-right section of the screen, then click on the box associated with Wi-Fi to disable your wireless card.

Disabling the wireless card - With the wireless card disabled, press Windows key + R to open up a Run dialog box. Then, type “appwiz.cpl” and hit Enter to open up the Programs and Features window.
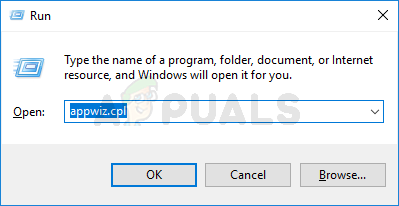
Type appwiz.cpl and Press Enter To Open Installed Programs Page - Once you’re inside Programs and Features, scroll through the list of installed applications and locate the Synaptics driver. When you see it, right-click on it and choose Uninstall.
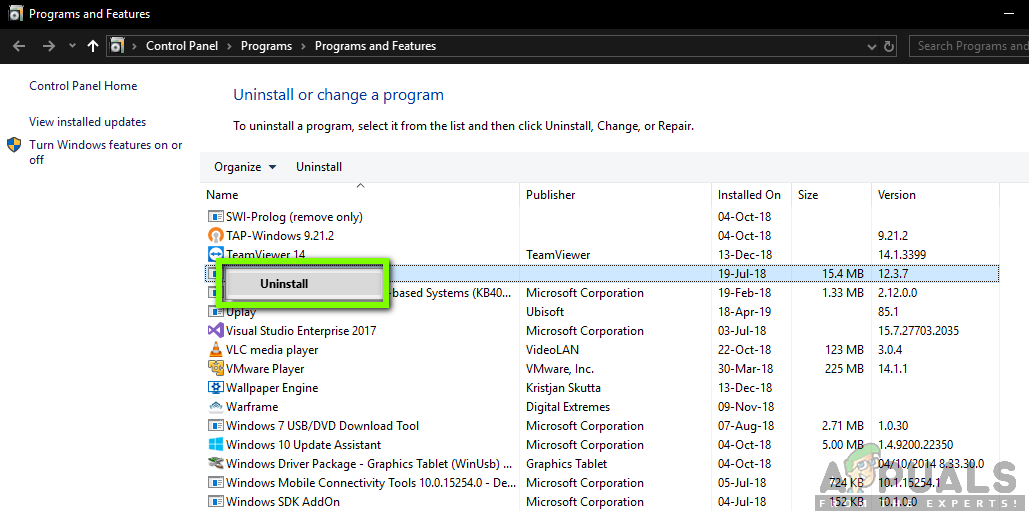
Uninstalling the Synaptics driver - Follow the on-screen prompts to complete the uninstallation. Once the synaptic driver is uninstalled, restart your computer.
- Once the next startup sequence is complete, visit this link (here) and download the latest version of the Synaptics driver. When the download is complete, double-click on the executable and follow the on-screen prompts to complete the installation. Once the driver is installed, restart your computer if you’re not prompted to do so automatically.
Downloading the latest version of the Synaptics driver - After the next startup sequence is complete, turn off the wireless card back on (using the task-bar icon) and see if the issue has been resolved.
If you’re still encountering the same error message or this method wasn’t applicable to your particular scenario, move down to the next method below.
Method 5: Creating a Reg File that deletes Synaptics user settings
If you’re using Windows 10 with the Synaptics driver, chances are you will be able to resolve the issue by creating a .reg file capable of resetting the user settings related to the touchpad back to the default values.
This reg file will essentially override a Registry value having to do with the Synaptics driver. This procedure is way quicker than making the modifications manually (via Registry Editor).
Note: Keep in mind that this method will not be effective if you’re using a touchpad driver different than then one provided by Synaptics.
Several affected users have reported that after creating this reg file, running it and restarting their computer, the touchpad was no longer malfunctioning when a keyboard key was pressed. Here’s a quick guide on creating the necessary .reg file:
- Press Windows key + R to open up a Run dialog box. Then, type “notepad” and press Ctrl + Shift + Enter to open up the Notepad utility with admin rights.
- Inside the elevated Notepad window, paste the following code:
Windows Registry Editor Version 5.00

[HKEY_LOCAL_MACHINE \ SOFTWARE \ Synaptics \ SynTP \ Install]
"DeleteUserSettingsOnUpgrade" = dword: 00000000
- Once the code is implemented, go to File > Save As and establish a location where you want it save. You can name it whatever you want, but make sure to change the extension from .txt to .reg. before clicking Save.
- When the file is created, right-click on it and choose Run as Administrator to open it with admin access. Then, click Yes at the confirmation prompt to enforce the registry changes.
- Once the operation is complete, restart your computer and see if the issue has been resolved once the next startup sequence is complete.


that too risky, I don’t want to mess with the syneptic app just because of this, I don’t want to lose such indispensable features of my new pc touchpad like scrolling/zooming etc…trying to solve this issues, but all I find is risky methods, plus I don’t have the palm thing in syneptic app, for the main time I am using key+shift
+mouse for temporary use,..weird how this is not fixed already while a lots of users are facing it