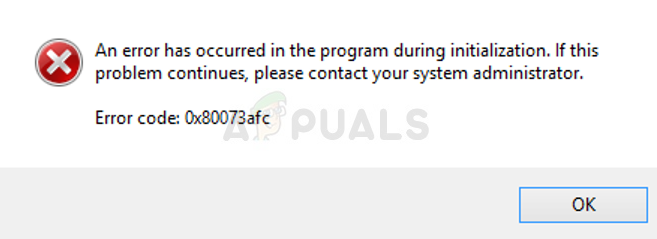
How to Fix the Windows Defender Error Code 0x80073afc
Windows Defender is the built-in security tool which arrives with each copy of Windows 10 and it’s pretty useful to say the least. Most users who generally pay attention to which sites they visit online and which files they download most probably won’t feel the need to use any other security program.
However, if you think that Windows Defender is perfect, you are wrong. This Windows Defender error is quite often and people are often confused about what to do as you can’t simply reinstall Defender on your computer. Luckily, this article can prove to be quite useful to you so follow the instructions below in order to proceed!
Solution 1: Use System Restore
If you have changed certain settings or installed suspicious programs on your computer, they may interfere with Windows Defender and your safest bet is to use System Restore to restore your computer back to a restore point where these issues didn’t happen. Follow the steps below in order to achieve this:
- First of all, let’s turn on the System Restore feature on your PC.
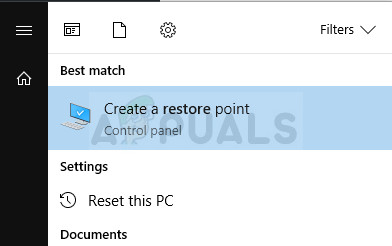
- Search for System Restore using the Search button in your Windows 10. From there, click on Create a restore point.
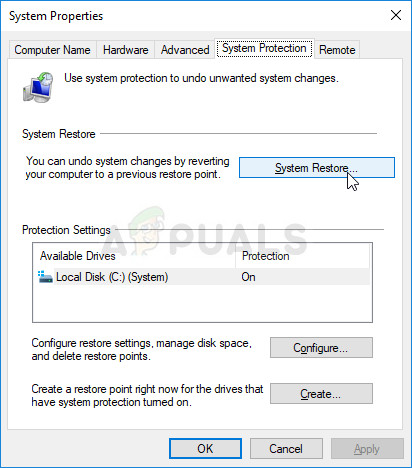
- A System Properties window will appear and it will contain the required settings. Inside this window, open Protection Settings and make it sure that protection is enabled on your Local Disk C (System Drive).
- If it is disabled, select that disk and click on Configure button to enable protection permanently. You should also allocate the maximum disk space for system protection. You can set it to whatever value you want as long as that size is at least of couple of gigabytes. Click on Apply and OK afterwards to apply the settings.
- Now, the system will create a restore point automatically whenever an alteration happens inside your Windows.
After you have enables it successfully, let’s get to business and revert the changes to your PC. Make sure you backup important documents on your PC as System Restore may delete or alter them (rarely).
- Search for System Restore using the Search button next to the Start menu and click on Create a restore point.
- Inside System Protection window, click on System Restore.
- Inside the System Restore window, select the option called Choose a different restore point and hit the Next button
- Select a particular restore point you saved before manually. You can also select any restore point available in the list and hit the Next button to initialize the restoration process. After the process is done successfully, you will be reverted to the state you saved before.
Solution 2: Update Windows Completely
It appears that sometimes a mistake occurs where a Windows Update is installed successfully whereas the one for Windows Defender fails to install or is delayed by the user. However, this can cause the new version of Windows to be incompatible with the current version of Defender and this error is being thrown. Try updating everything on your computer and trying again as this has solved the problem for some users.
- Use the Windows Key + X key combination to open this special context menu. You can also right-click on the Start menu for the same effect. Choose Windows Powershell (Admin).

- In the Powershell console, type “cmd” and wait for Powershell to switch to the cmd-like environment.
- In the “cmd” console, type in the following command and make sure you click Enter afterwards:
wuauclt.exe /updatenow
- Let this command run for at least an hour and check back to see if any updates were found and/or installed without issues.
Alternative:
- Use the Windows Key + I key combination in order to open Settings on your Windows PC. Also, you can search for “Settings” by using the search bar located next to the Start menu button.

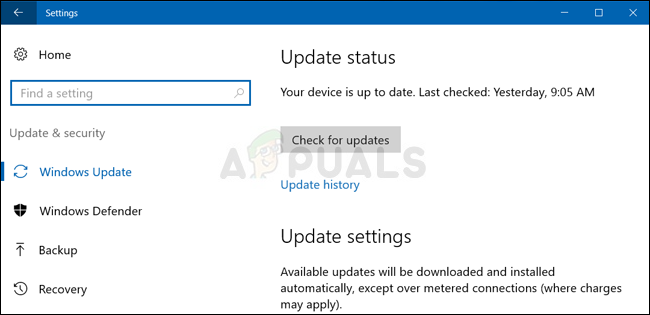
- Locate and open the “Update & security” section in the Settings app.
- Stay in the Windows Update tab and click on the Check for updates button under the Update status section in order to check whether there is a new version of Windows available online.
- If there is one, Windows should proceed with the download process automatically.
Solution 3: Reset Windows
Resetting your PC is considered to a last resort for the error code but it is definitely efficient and it’s able to solve most similar issues, including the one described in this article. Here’s how to reset your PC on Windows 10 without the use of any media or other tools.
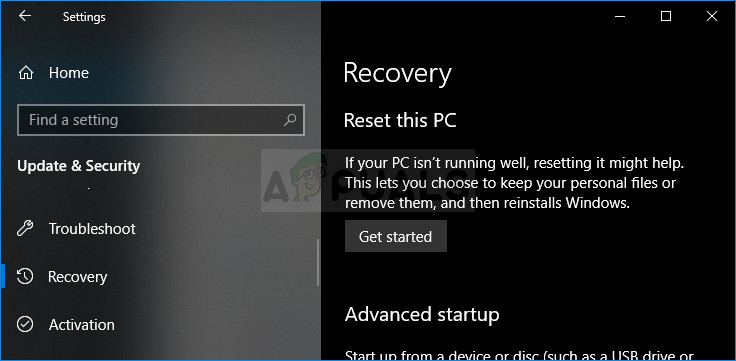
- Navigate to Settings. You can get there by clicking the gear icon on the Start menu. Select the “Update & security” option and click Recovery in the left pane in order to open the Recovery tab.
- Windows will show you three major options: Reset this PC, Go back to an earlier build and Advanced startup. Reset this PC is the best option for starting again with minimal losses to your files. Advanced startup lets you boot off a recovery USB drive or disc and “Go to an earlier build” is made for Windows Insiders who want to roll back to a previous version of the OS.
- Click Get started under Reset this PC.
- Click either “Keep my files” or “Remove everything,” depending on whether you want to keep your data files intact. Either way, all of your settings will return to their defaults and apps will be uninstalled.
- Select “Just remove my files” or “Remove files and clean the drive” if you chose to “remove everything” in the prior step. Cleaning the drive option takes a lot longer but it will make sure that, if you are giving the computer away or selling it, the next person will have a hard time recovering your erased files. If you are keeping the computer for yourself, choose “Just remove my files.”

- Click Next if Windows warns you that you won’t be able to roll back to a prior version of the OS. Click Reset when you are asked to do so.
- Windows will then restart and take several minutes to reset. Click Continue when prompted. Check to see if the problem still occurs.


