How to Fix Device Manager Error Code 48 on Windows?
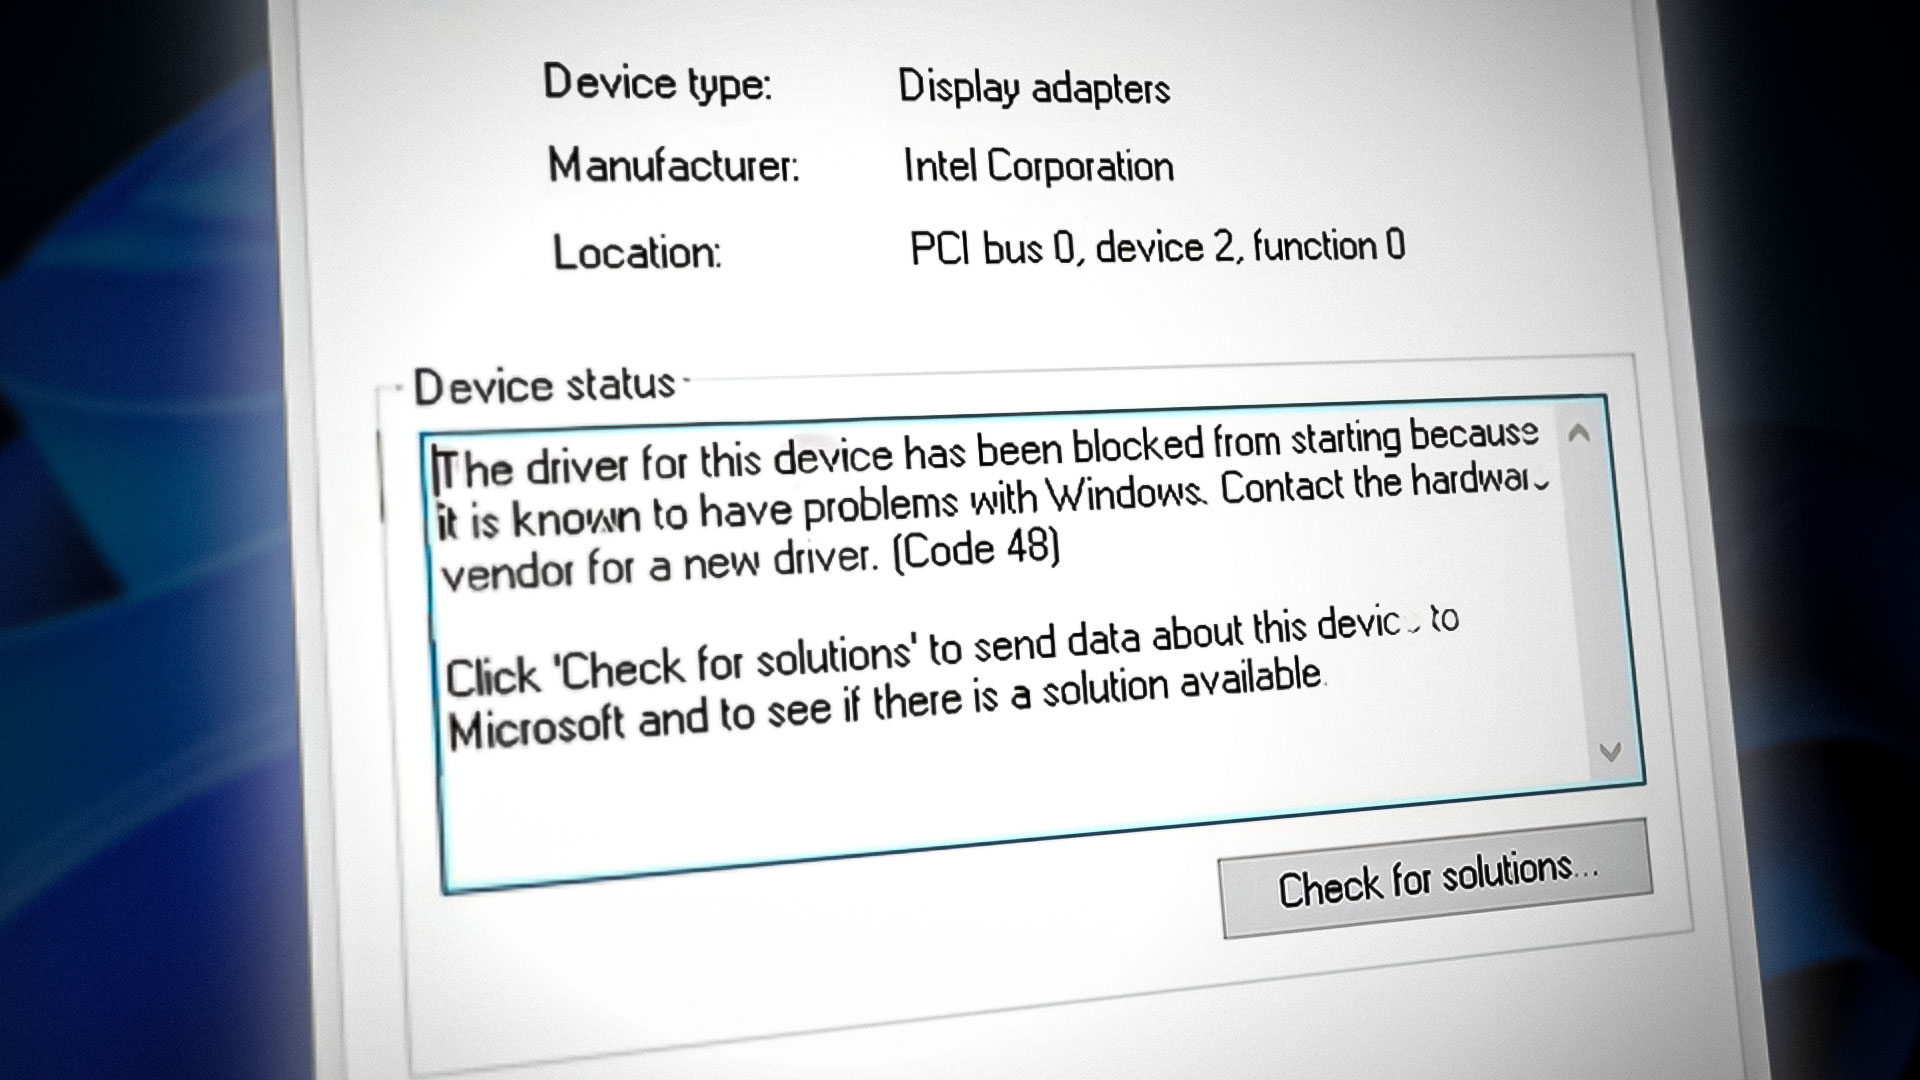
Device Manager Error Code 48 means Windows has blocked the device driver from starting because that driver is known to cause problems with your current version of Windows. This usually happens when the installed driver is outdated, incompatible, unsupported, corrupted, or replaced by a problematic version after an update.
Because this error is usually caused by driver compatibility issues, the fix often involves rolling back the driver, reinstalling it, or manually installing a version that properly matches both your device and your Windows build.
Before You Start
Before trying the fixes below, first identify the exact device showing Code 48 in Device Manager.
Then open the device’s Properties and check the Driver tab. Note the driver provider, version, and date.
 This helps you understand whether the issue started after a recent driver update or whether the installed driver is simply too old or unsupported for your current Windows version.
1. Roll Back the Driver
If the error started after a recent driver update, rolling back the driver is usually the best place to start. This restores the previous driver version, which may still be compatible with your system.
- Click Start, type Device Manager, and open it.

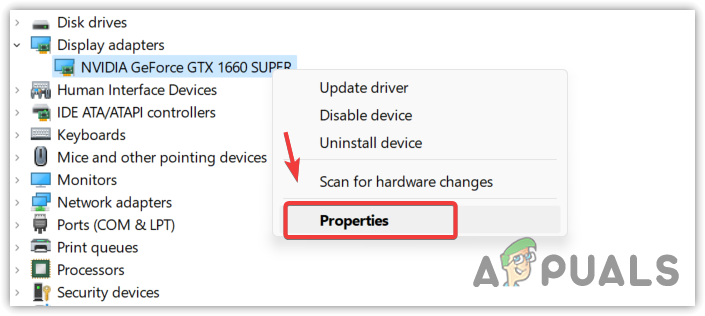
Launching Device Manager from Start Menu - Locate the device showing this error, right-click it, and select Properties.
- Open the Driver tab.
Opening device driver properties - Click Roll Back Driver.
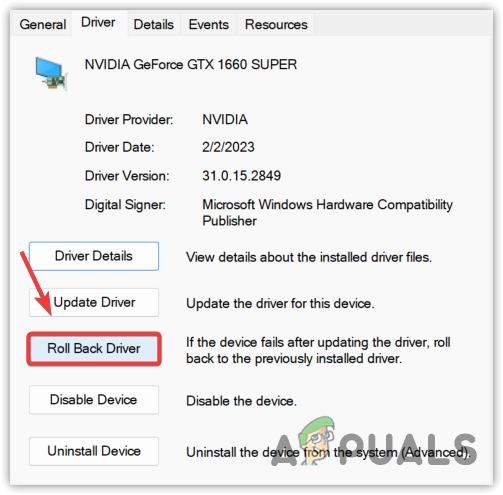
Rolling back the driver to the previous version - Select a reason if prompted, then click Yes.
Once done, restart your computer and check whether the error is gone.
2. Reinstall the Device Driver
If the current driver is damaged, misconfigured, or incorrectly installed, reinstalling it can help. This is especially useful for audio devices, network adapters, USB devices, keyboards, mice, and similar hardware.
This method removes the currently installed driver and lets Windows install it again. On some devices, you may also see a checkbox labeled Delete the driver software for this device. If available, selecting it can help force a cleaner reinstall.
- Press Windows + R to open Run.
- Type devmgmt.msc and click OK.
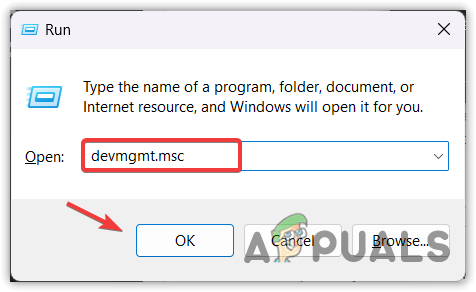
Opening Device Manager using Run - Right-click the affected device and select Uninstall device.
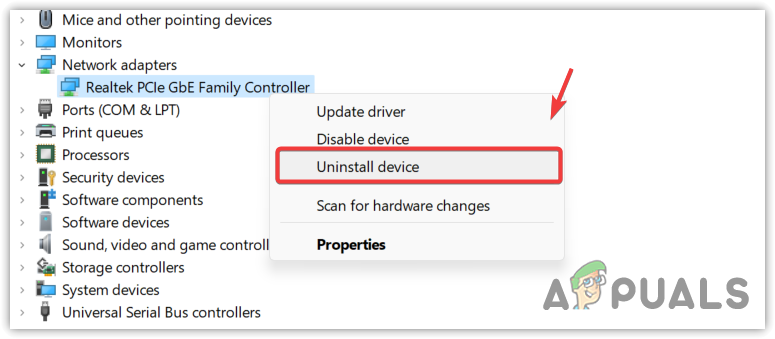
Uninstalling the device driver - Click Uninstall again to confirm.
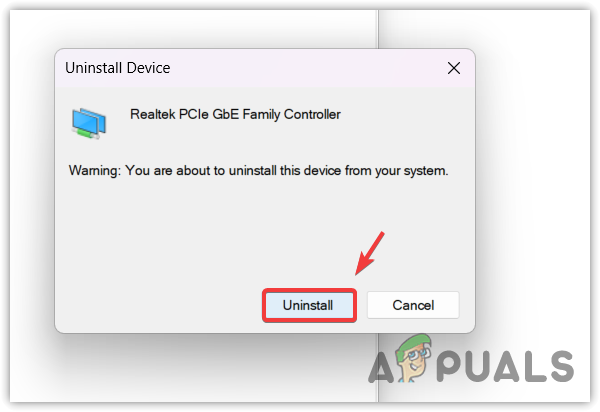
Confirming driver uninstall - Restart your computer.
After the restart, Windows will try to reinstall the driver automatically. If the error remains, continue to the next method and install a compatible driver manually.
3. Install a Compatible Driver from the Correct Manufacturer
Code 48 often appears when Windows installs a driver that is not fully compatible with the device. In that situation, installing the correct driver manually is usually more effective than relying on the generic driver offered through Windows Update.
This method is different from a normal reinstall. Reinstalling puts back the same driver or lets Windows choose one again. Manual installation lets you replace it with a different driver version from the proper manufacturer.
- For desktop PCs, built-in devices such as onboard audio, LAN, chipset, or storage controllers are usually best updated from the motherboard manufacturer’s website.
- For laptops, use the laptop manufacturer’s support page, because laptop vendors often customize drivers for their exact models.
- For separately installed hardware such as graphics cards, printers, Wi-Fi adapters, capture cards, or audio interfaces, use the device manufacturer’s website.
- Press Windows + R to open Run.
- Type msinfo32 and click OK.
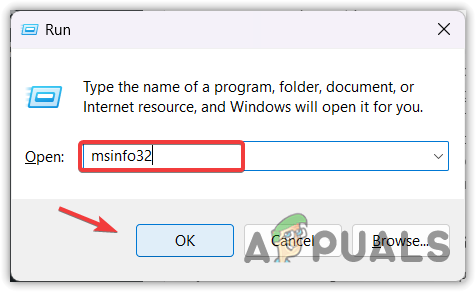
Opening System Information - Find your exact system or motherboard model. For desktops with built-in motherboard devices, the BaseBoard Product entry can help identify the correct board model.
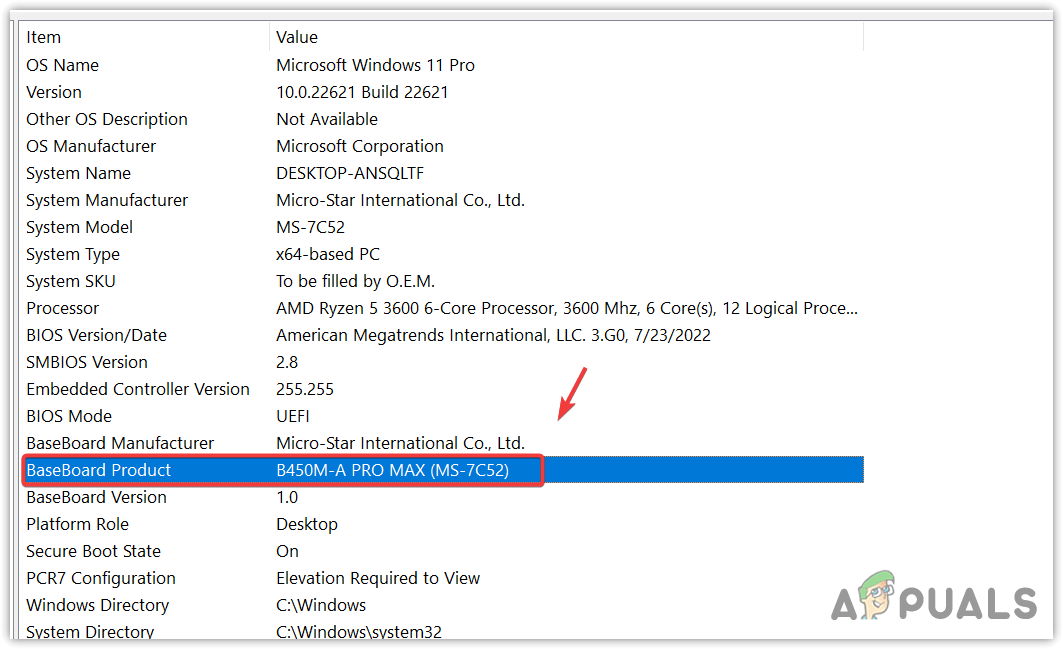
Checking BaseBoard Product name - Go to the correct manufacturer support page and search for your exact model.
- Download the driver version that matches your Windows version and device model.

Downloading the driver from the official manufacturer’s website - Install the driver, restart your computer, and then check whether the error is fixed.
If the latest driver still does not work, try an older stable driver version from the manufacturer, especially if the device is older. If the manufacturer no longer provides drivers for your Windows version, the hardware may no longer be fully supported and may need to be replaced.
4. Use DDU to Reinstall the Graphics Driver
If Code 48 is affecting a graphics card, a normal reinstall is often not enough. Display Driver Uninstaller (DDU) is a better option because it removes leftover driver files, services, and registry entries before you install a clean graphics driver.
Important: After removing the graphics driver, your screen may temporarily switch to a lower resolution or flicker until the new driver is installed. That is normal.
- Download Display Driver Uninstaller (DDU).
- Extract the downloaded ZIP file.
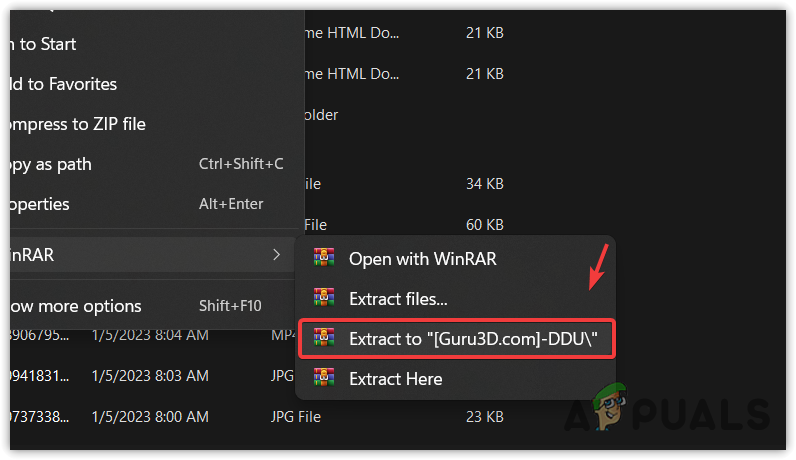
Extracting the DDU folder - Open the extracted folder and run the DDU application.
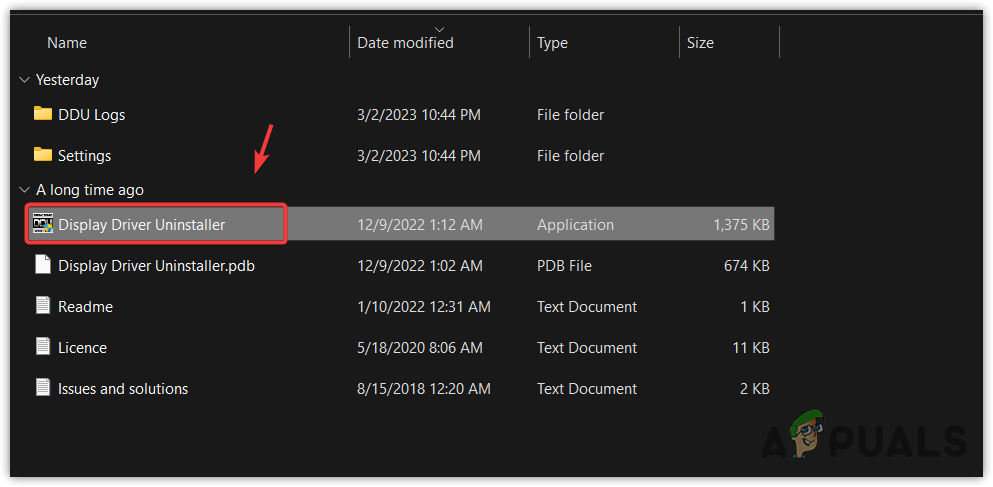
Opening Display Driver Uninstaller - Select your device type and GPU vendor from the right side.
- Click Clean and Restart.

Removing graphics drivers along with registry files - After the restart, go to your GPU manufacturer’s website and download a stable driver for your graphics card.
- Run the installer and follow the on-screen instructions.
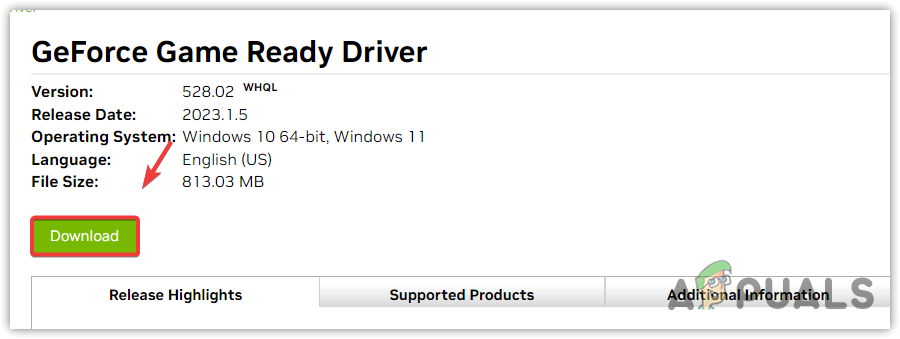
Downloading the graphics driver
Once installed, restart your computer if required and check whether the error is resolved. If the newest driver gives the same problem, try an older stable version from the GPU manufacturer.
5. Use System Restore
If the error started recently after a Windows update, driver update, or software change, using System Restore can return your system to a previous working state. This is useful when the cause is recent but difficult to identify or undo manually.
You will need a restore point that was created before the issue started. System Restore mainly affects system files, drivers, and settings. It does not normally remove your personal documents.
- Click Start, type rstrui, and open it.
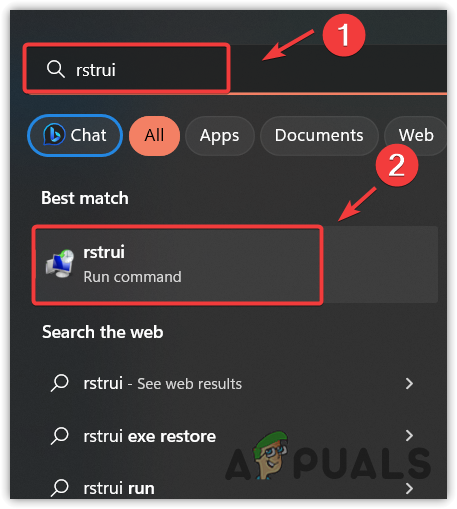
Opening System Restore from Start Menu - Click Next.
- Select a restore point created before the error appeared.
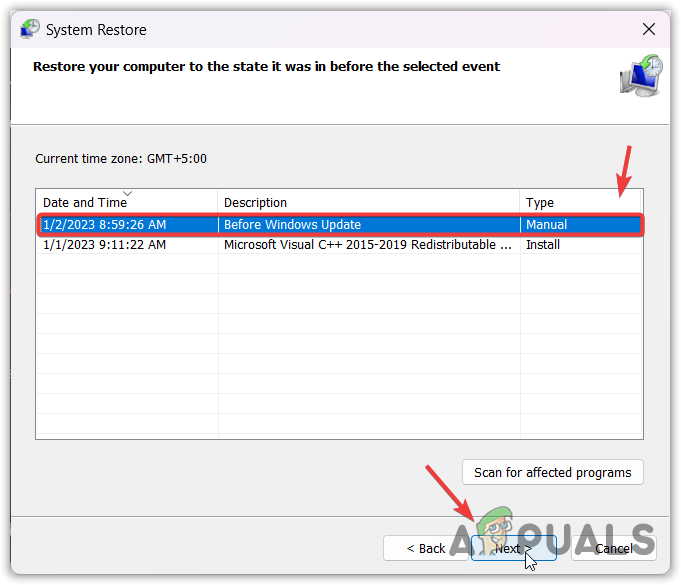
Choosing a restore point - Click Next, then click Finish to begin the restoration process.
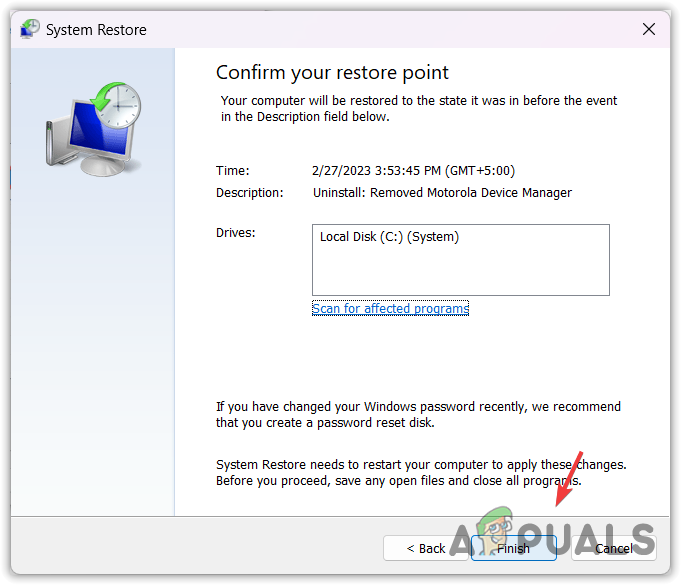
Restoring Windows to a previous state
After the restore completes, open Device Manager and check whether the device is working properly.
If none of the methods above fix Code 48, the device may be too old for your current version of Windows, the available driver may no longer be supported, or the hardware itself may be faulty. In that case, your best option is to check for an older supported driver version, test the device on another system, or replace the hardware if support is no longer available.


Thanks a lot to this blogger who took me to the right way solving this problem and I wasted 20 days but I wasn’t able to do this. Right now everything is looking great.
Thanks again!