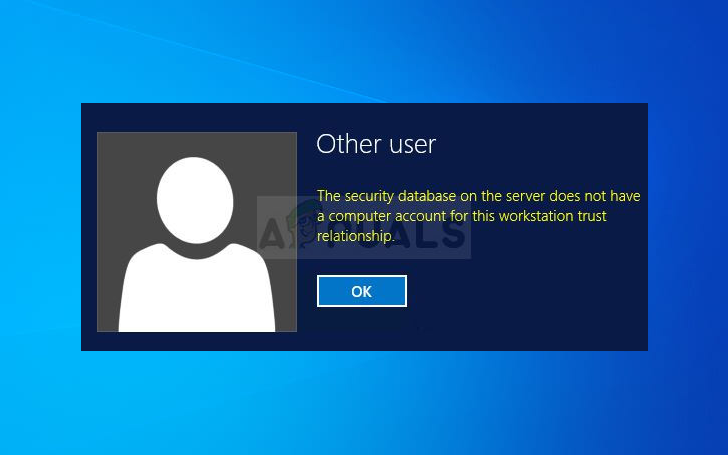
How to Fix “The security database on the server does not have a computer account” Error?
This specific error appears when a user attempts to log in to a domain. It can be quite problematic because there doesn’t seem to be a straightforward way to avoid it. Such an error has been reported on various versions of the Windows OS, but it appears most commonly on Windows 10.
We have identified some successful methods to resolve this issue and compiled them into this article. Follow the solutions we have prepared to successfully address the problem!
What Causes this Error on Windows?
The list of possible causes for this issue is not complete, but it includes the key factors that you should know about:
- Misconfigured Time & Date Settings – Misconfigured time and date settings on the client’s side can cause issues and cause the error.
- Connection Time-out – If the client’s connection to the domain controller is timed out, a reconnection and restart may be necessary.
- DNS & Windows Firewall Issues – Problems with DNS addresses or Windows Firewall policies may be causing the issue.
1. Check Time & Date Settings on the Client PC
When the time or date on a client PC doesn’t match that of the domain controller, it can result in authentication errors. This is because domain services often rely on Kerberos protocol, which is sensitive to time inconsistencies as a security measure.
By verifying and correcting these settings, you realign the client to the domain’s timing requirements, eliminating potential mismatches that can cause login issues. In short, this step helps synchronize your system with network protocols, clearing the pathway for a successful login.
- Open the Date and Time settings on your computer by opening the Start menu. Click the gear icon above the Start menu button and the Power icon to open the Settings app. Select Time & language, then navigate to Date & time.
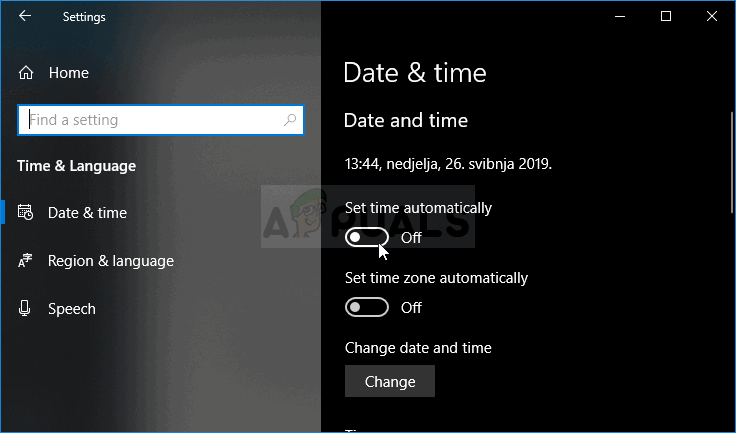
- In the Date and Time tab, make sure your computer’s date and time settings match your current location. If incorrect, toggle the Set time automatically option off or on, according to your previous configuration.
- If Set time automatically is disabled, select the appropriate time zone from the dropdown list to complete the process. Then, restart your computer and attempt to connect to the domain again.
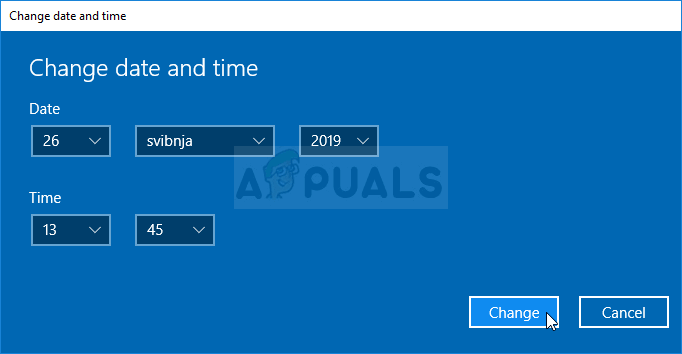
Changing Date and Time on Windows
Alternative: If the above doesn’t resolve the issue, or if you’re using a version of Windows older than Windows 10, consider using the Control Panel to synchronize with an online time server for correct settings.
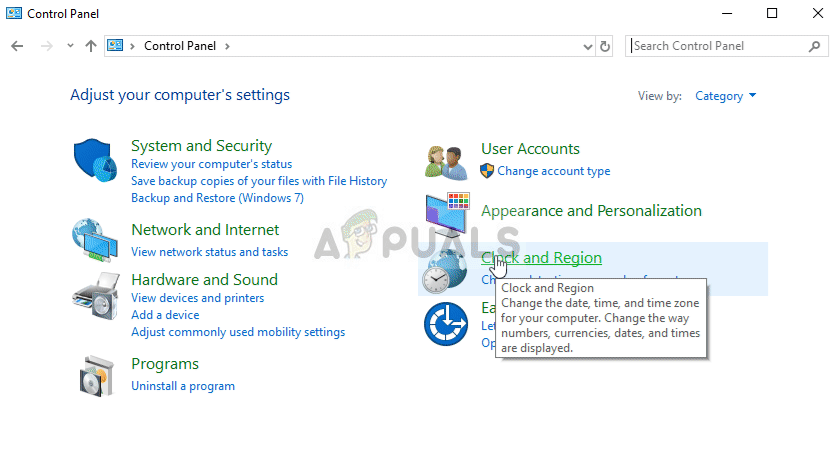
- Launch the Control Panel by searching for it in the Start menu or by pressing Windows Key + R, typing control.exe in the Run box, and clicking OK.
- In the Control Panel, set the view to Category at the top right corner and click on the Clock and Region button.
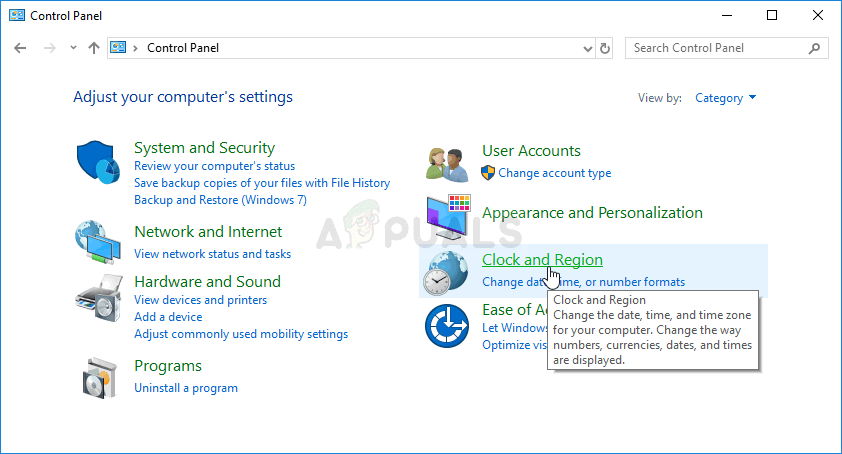
Clock and Region in Control Panel
- Click on the Set the time and date button underneath Date and Time in the Clock and Region section. Immediately switch to the Internet Time tab and click the Change settings button.
- Select the Synchronize with an Internet time server checkbox and choose the time.windows.com server before clicking on Update.
Synchronizing with Internet Time
- Click OK to apply the changes and then attempt connecting to the domain. Check if the error still appears.
2. Checking for DNS and Firewall Issues
If you are experiencing issues with your actual connection to the server, verify that there are no conflicts with DNS settings or Windows Firewall policies. Incorrect DNS settings can misdirect your login requests, preventing proper authentication with the server.
Likewise, overprotective Firewall policies might block important data packets that establish trust between your computer and the domain. By making sure these settings are configured correctly, we remove potential barriers, allowing for smooth communication and successful logins.
- Use the Windows Logo Key + R to launch the Run dialog box. Enter “cmd” and use the Ctrl + Shift + Enter key combination to open an administrative Command Prompt.
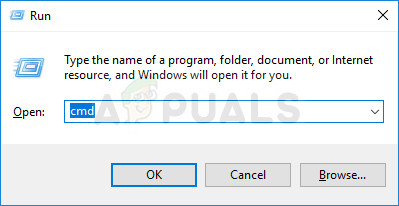
Running Administrative Command Prompt from Run Dialog Box
- Type the following commands into the window, making sure to press Enter after each one. Wait for a message such as “Operation completed successfully” to confirm that the execution worked.
netsh advfirewall firewall set rule group="network discovery" new enable=yes
ipconfig /flushdns
ipconfig /registerdns
- After executing these commands, try resetting the connection to see if the error persists.
3. Restart the Connection
Restarting the connection forces the system to refresh its relationship with the domain server by temporarily disjoining from the domain and then rejoining it. By toggling the connection from domain to workgroup and back again, you basically refresh the network settings.
This action can clear temporary configurations that might be causing the error, effectively renewing trust relationships within the domain environment. Thus, it can be a simple yet effective fix for communication glitches that prevent successful logins.
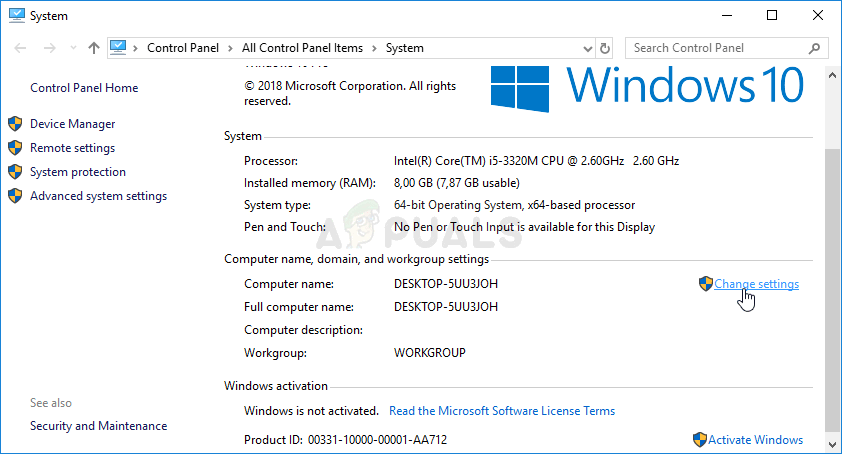
- Right-click on My Computer/This PC, depending on your installed version of Windows, and select Properties.
- Locate the Change settings button on the left side of the Properties window, under Computer name, domain, and workgroup settings, and click on it.
- In the Computer Name tab of the System Properties dialog, click the Change button in the bottom-right corner of the window. Under Member of, switch the radio button from Domain to Workgroup and apply the changes.
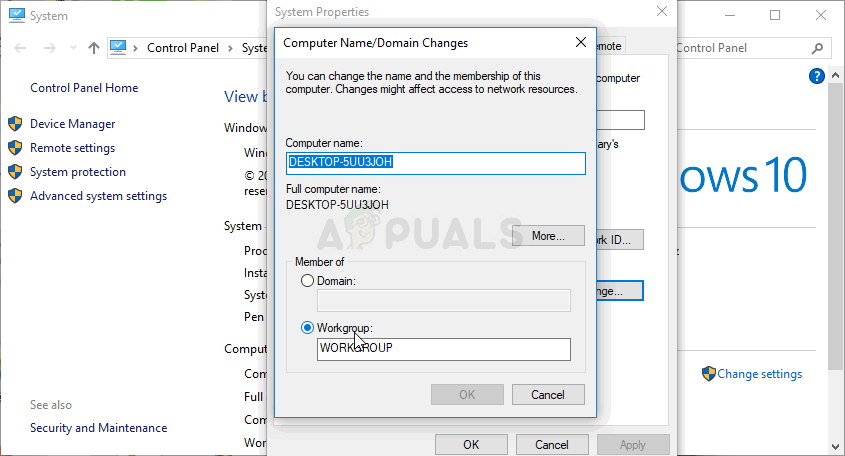
Member of: Workgroup
- Restart your computer and revert to the previous settings by changing back to Domain. Attempt to log in again and check if the error still occurs.
4. Use PowerShell Commands
By using the designated PowerShell commands, you can attempt to reset the trust relationship between the workstation and the domain controller. The Reset-ComputerMachinePassword cmdlet is particularly useful, as it refreshes the computer account password known to both the computer itself and the domain, which is often the root of the trust issue.
When executed correctly, this simple yet powerful action can restore access without the need for more invasive troubleshooting steps.
- Open the PowerShell utility by right-clicking the Start menu button and selecting Windows PowerShell (Admin) from the context menu.
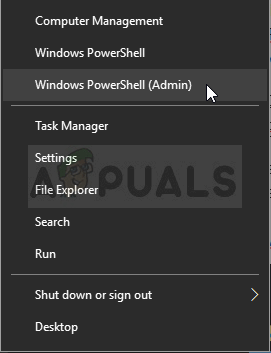
Windows PowerShell (Admin) in Start Menu
- If PowerShell is not available, search for it using the Start menu or the adjacent search bar. Right-click on the first result and choose Run as administrator.
- In the PowerShell console, enter the commands listed below, pressing Enter after each one. Replace the placeholders with your server’s actual information.
$cred = Get-Credential (enter your domain credentials)
Reset-ComputerMachinePassword -Credential $cred -Server (your AD server here)
- Execute the command and follow any prompts to enter the password again. Hopefully, you will now be able to log in without any issues.


The simple method is to use the WORKGROUP login. It works EVERY time! Or as you put it Solution 3. Restart the connection.