How to Fix ‘The Requested URL Was Rejected. Please Consult With Your Administrator’ Error on Windows?
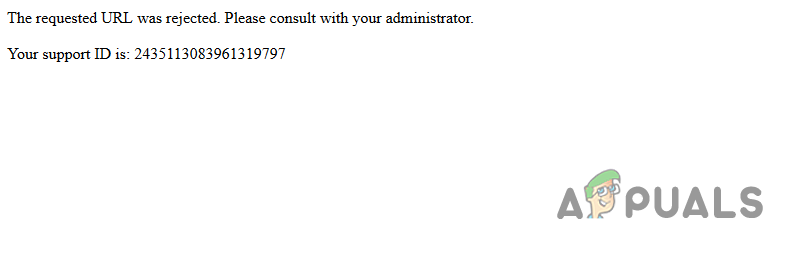
The “The requested URL was rejected” error message when visiting a webpage typically occurs when browser extensions or corrupted site data interfere with the web connection.
This error message can also be triggered by a network connection that has been flagged; changing the network should help you bypass this issue. In this article, we present methods to resolve the error message.
1. Turn off Browser Extensions
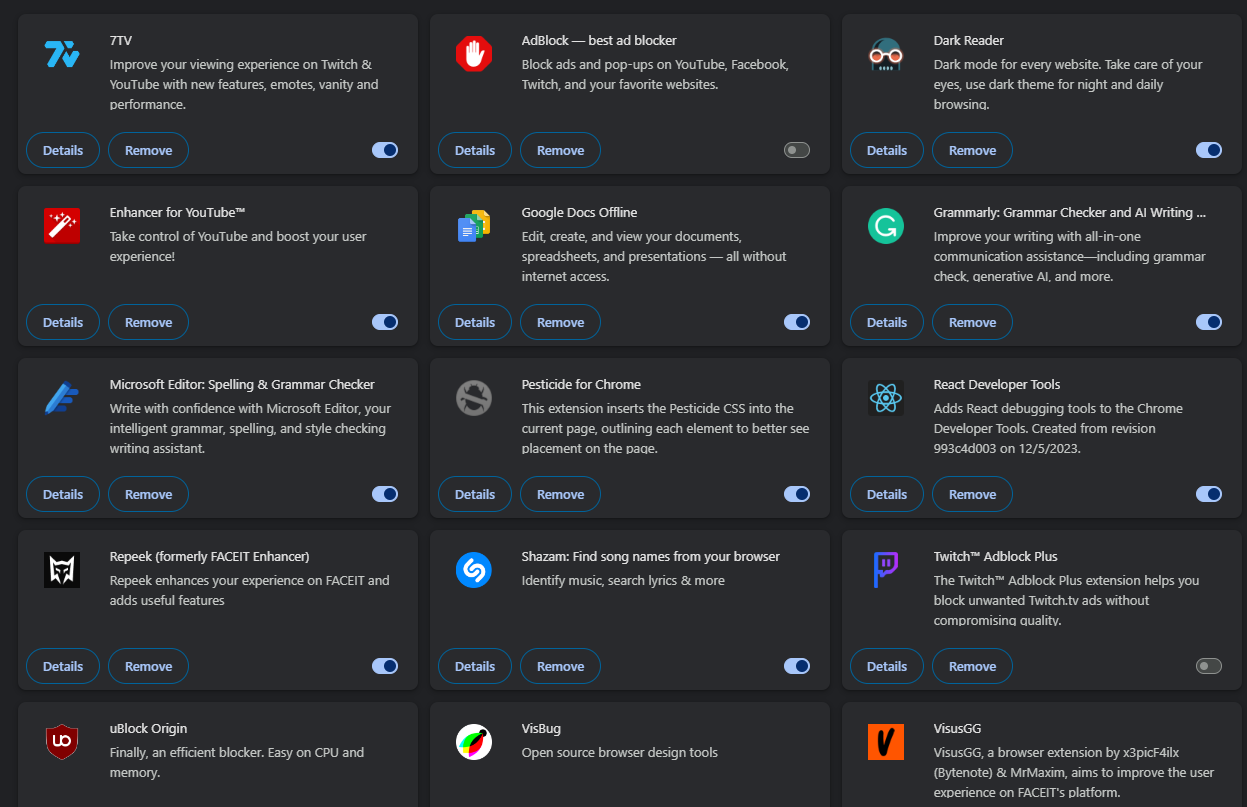
To begin with, disable third-party extensions in your browser, as they can interrupt web connections and lead to various issues.
To test if extensions are the culprit, use the incognito or private window feature in your browser, where third-party extensions are disabled by default.
Disable your browser extensions by clicking on the More icon at the top-right corner and selecting Extensions. From there, you can choose to disable or remove them.
2. Use a Different Connection
A problematic network connection might cause the error message. Here’s how to test your connection using an alternate network:
- Enable the hotspot feature on your mobile device and connect your computer to the mobile data network.
- Try accessing the website again while connected to the mobile data network.
If switching the connection resolves the issue, you may need to contact your internet service provider to get your issue resolved.
3. Clear Browser Cache and Cookies
Corrupted cache and cookies in your browser can cause issues when accessing websites. Clear the browser cache and cookies by following the provided link and instructions for your respective browser.
3.1. Google Chrome
- Click on the More menu (three dots) at the top-right corner.
- Select Clear browsing data.
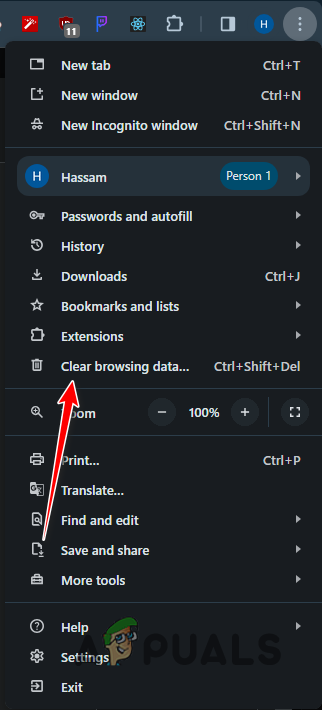
Opening Clear Cache Menu - Check all the boxes for the types of data you want to clear. Select All Time as the time range.
- Click Clear data.
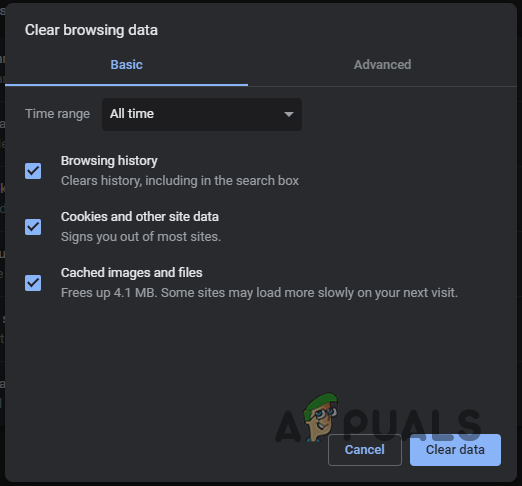
Clearing Cache in Chrome
3.2. Mozilla Firefox
- Click the hamburger icon (three lines) in the top right, then select Settings.
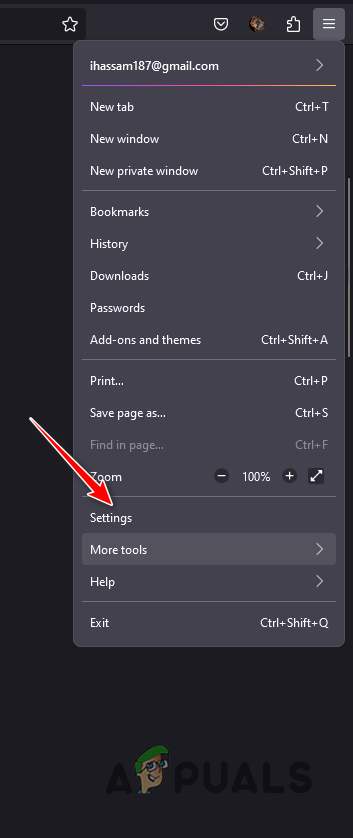
Opening Firefox Settings - Go to the Privacy and Security tab.
- Under the Cookies and Site Data section, click Clear Data.
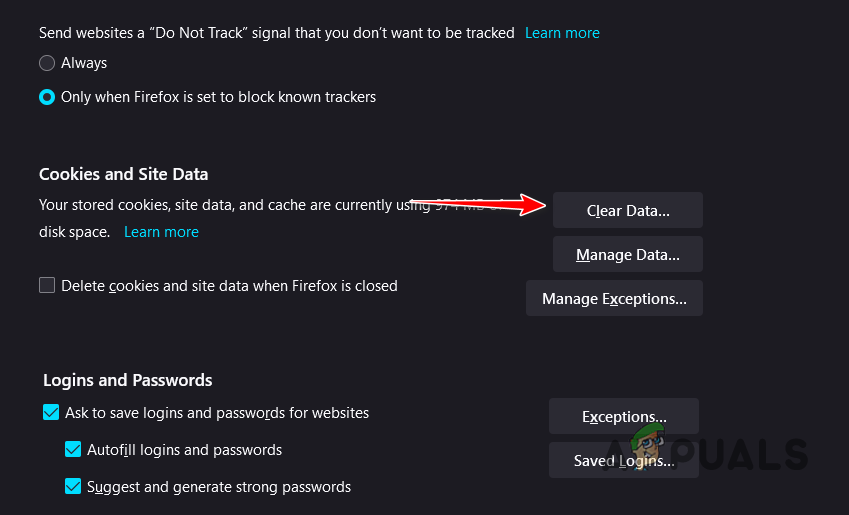
Opening Clear Cache Menu in Firefox - Ensure both checkboxes are selected, then click Clear.
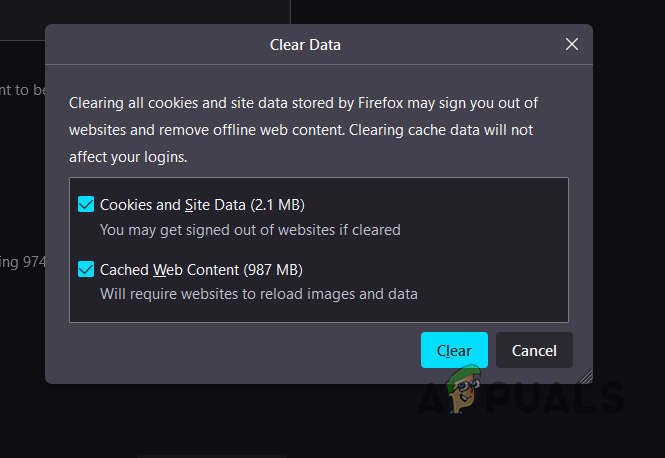
Clearing Cache in Firefox
3.3. Microsoft Edge
- Click the More menu (three dots) at the top right, then click Settings.
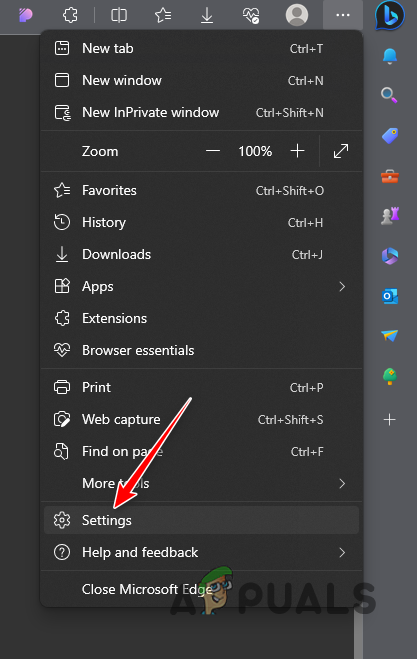
Opening Edge Settings - In the left sidebar, click on the Privacy, search, and services tab.
- Scroll down to the Clear browsing data section and click Choose what to clear.
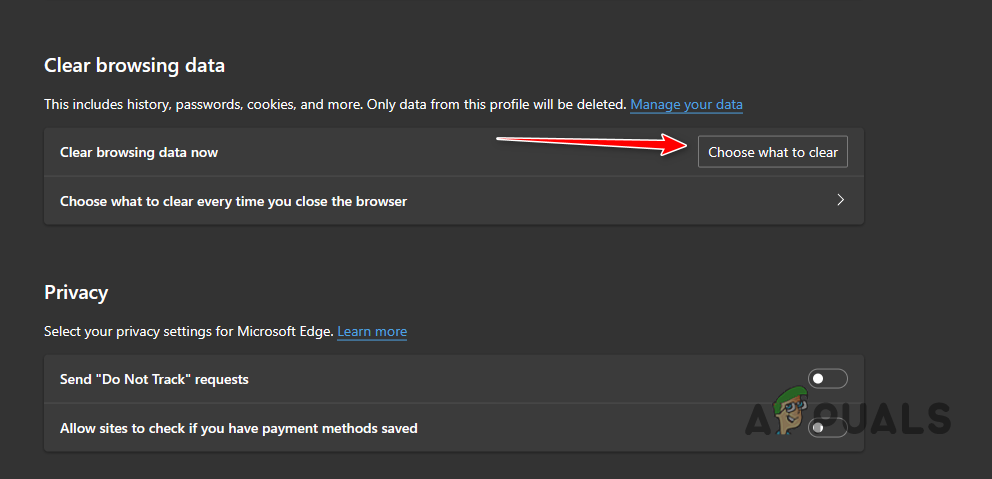
Opening Clear Cache Menu in Microsoft Edge - In the Time Range dropdown menu, select All Time. Check all the boxes below to select the data you want to clear.
- Click the Clear now button.
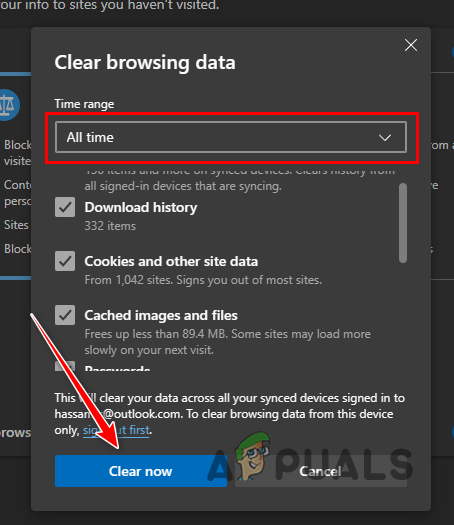
Clearing Cache in Microsoft Edge
4. Reboot Router
When there’s an issue with your router causing the error message, rebooting the router can often solve the problem.
1. Locate the Power button on the back of your router.
2. Press the Power button once to turn off the router, wait a few seconds, then press it again to turn it back on.
3. Alternatively, you can unplug the power cable from the router, wait 10-15 seconds, and then plug it back in.
Rebooting the router reinitializes its settings and can resolve any temporary issues affecting your connection.
5. Reset Network Settings
If the issue persists, it’s likely caused by your network configuration. Resetting your network settings to default might help.
- Press Win + I to open the Settings app.
- Go to Network & Internet section, then select Advanced Network Settings, and click on Network Reset.
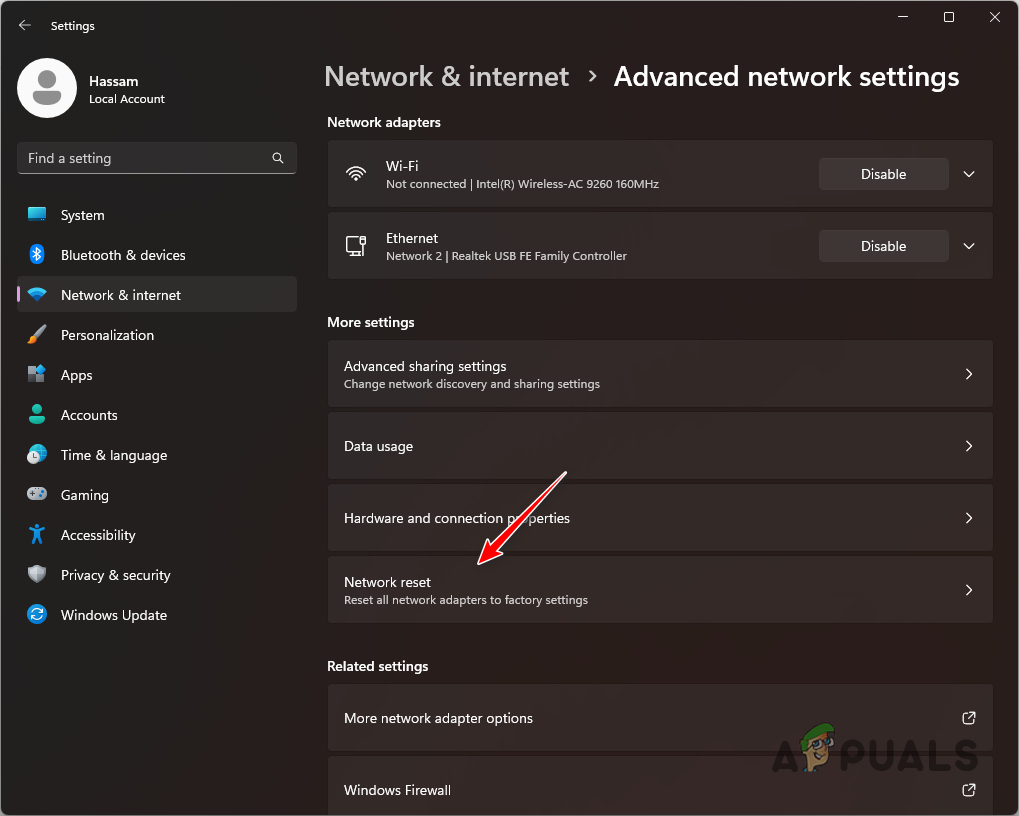
Navigating to Network Reset - Click the Reset now button.
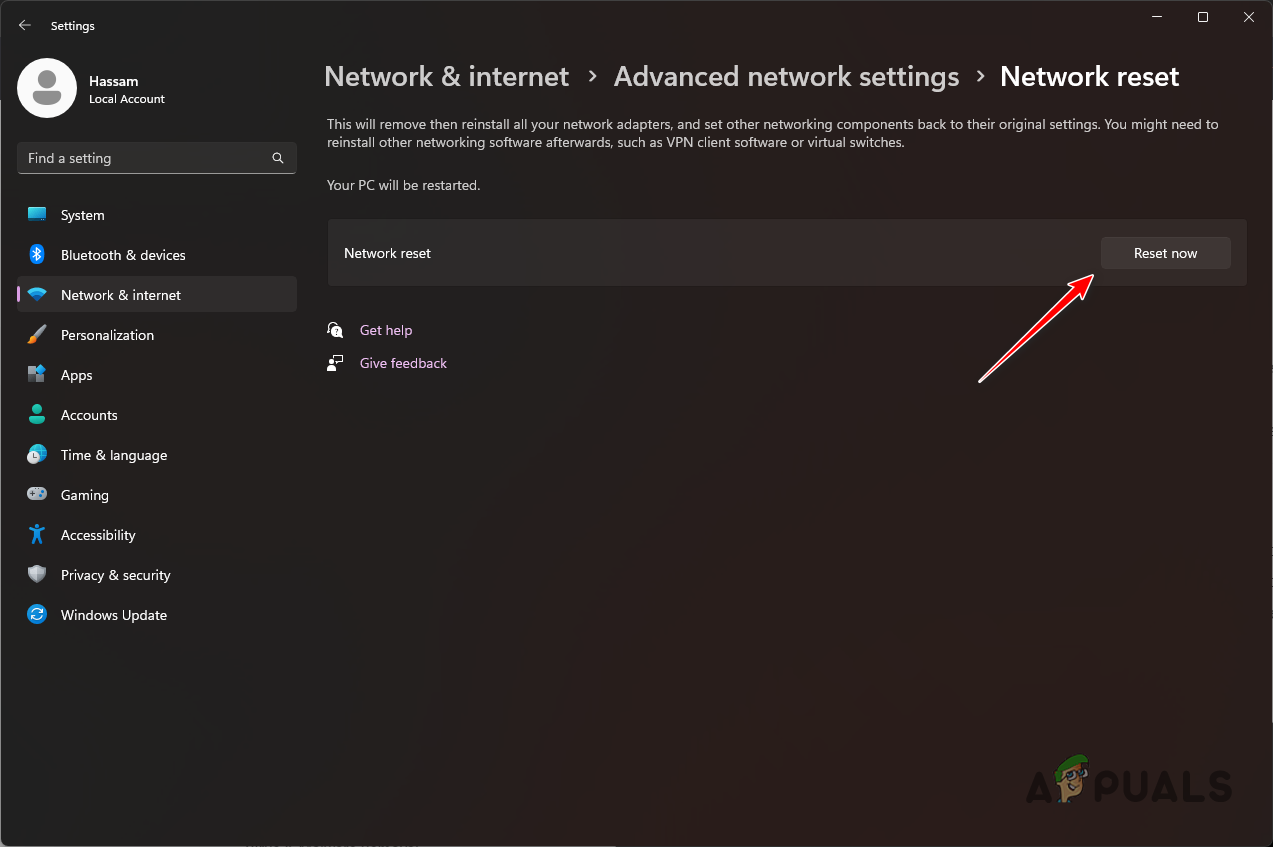
Resetting Network Settings in Windows - Wait for your PC to restart automatically after the process is completed.
- After the reboot, check if the error persists.
Following these steps should help you resolve the “The requested URL was rejected” error message on your PC. Should the problem continue, it’s recommended to contact your Internet Service Provider (ISP) or network admin for more support.

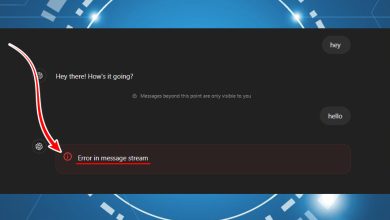


The requested URL was rejected. If you are receiving this message, your support ID is: 5039614418031822557
PLEASE HELP