How to Fix ‘The Request could not be Performed because of an I/O Device Error’ on Windows 10?
This problem usually occurs on external media devices which have been added to your setup recently. For example, the error most commonly occurs with external hard drives. The error message appears when trying to access the drive in any way, such as trying to open some of its subfolders.
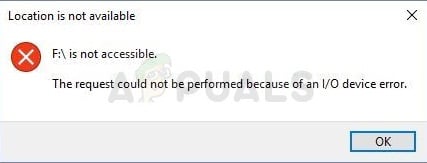
There are several causes which can be attributed to this specific problem. Sometimes the media storage device can be damaged and that is usually the first thing you should check. If it underwent physical damage, there are no methods you can perform to make it work again. In any other case, try following some of the methods we have prepared below.
What is causing the “The Request could not be performed because of an I/O Device Error” error on Windows 10?
There are several possible causes for the problem but they are generally related to various problems with the external drive or the internal (local disk) drive.
- Your hard drive may cause the error – If you are trying to perform a backup, you may run into this problem if there are problems with your main hard drive (internal one). You should then look to run Disk Cleanup or CHKDSK.
- The external drive is faulty – If the external drive is really inaccessible, you can try to recover the data still on it and format it in order to resolve the problem.
Solution 1: Run Disk Cleanup
Some users have reported that simply running the Disk Cleanup tool managed to help them fix the issue almost immediately. It seems that your storage drive needs to be well optimized if you are trying to perform a backup to an external storage drive. A properly working internal drive is obligatory to correctly transfer files to external media. Follow the steps below in order to clean your drive properly.
- Click on either the Start menu button at the left corner of the taskbar or click on the Search button right next to it. Type in “Disk Cleanup” and choose it from the list of results.
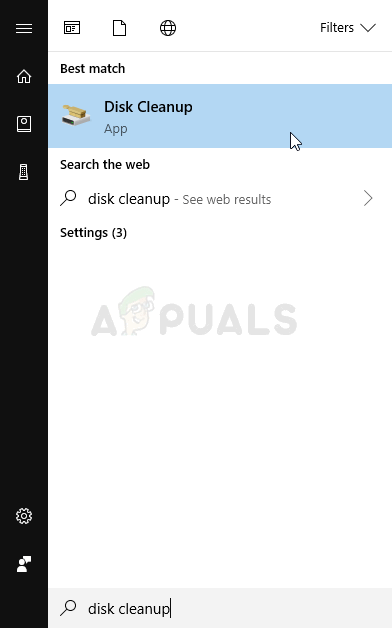
Alternatively, you can open the Control Panel by locating it in the Start menu. You can also search for it using the Start menu’s search button.
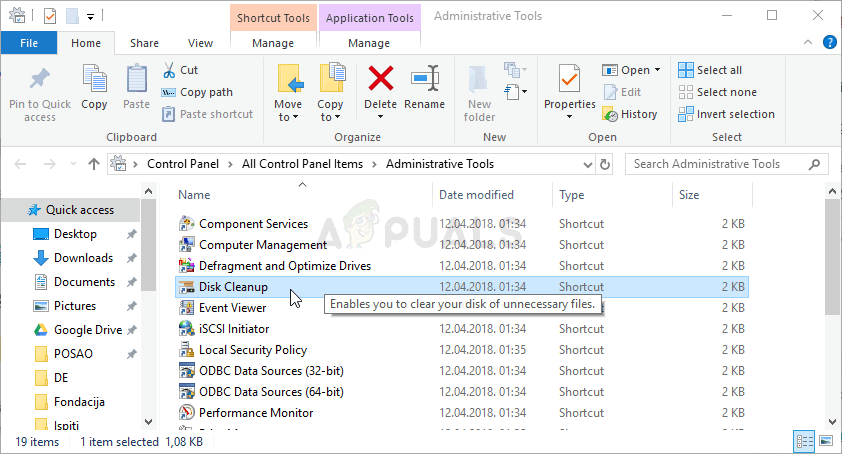
- After the Control Panel window opens, change the “View by” option at the top right part of the window to “Large Icons” and scroll down until you locate the Administrative Tools. Click on it and locate the Disk Cleanup shortcut. Click on it to open it as well.
- Disk Cleanup will first scan your computer for unnecessary files and it will prompt you with the option of choosing which files you want to delete. Click on each option and read the description displayed below. If you decide to delete these files, check the box next to the files.
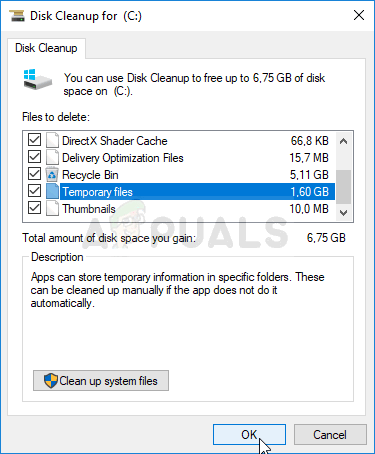
- Click the OK button in order to proceed with the process. After the tool finishes, try shutting down the computer again to see if the problem still appears.
Alternative: You can also run the Disk Cleanup tool by using the Command Prompt if you are comfortable with that option. However, you will need to find out the letters of your hard drive partitions so that you can know which drive you want to clean up.
- Click on the Start menu and type in Command Prompt. You can also open the Run dialog box and type in “cmd” and click OK.
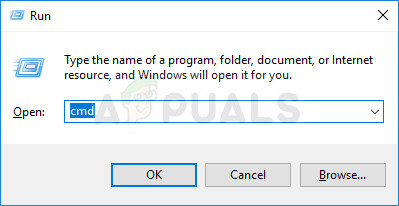
- Copy and paste the following command in the Command Prompt window.
Note:The Drive placeholder should be replaced with the letter representing the partition you want to clean.
c:\windows\SYSTEM32\cleanmgr.exe /dDrive
- Try restarting the computer and accessing the drive to see if the problem still appears.
Solution 2: Run Disk Check
If there are some problematic files which may cause the problem on either the internal drive (if you are performing a backup to an external drive) or the external media storage device, you can search for them and resolve the problem simply by running the CHKDSK tool with administrator permissions. Users encountered the problem when trying to back up files from the local disk to an external hard drive and they successfully ran CHKDSK on the internal drive to solve the issue.
- Insert the installation drive you own or which you have just created and turn on your computer. Our goal is to open a Command Prompt window but the process will slightly differ from one operating system to another so make sure you follow the right set of steps.
- WINDOWS XP, VISTA, 7: Windows Setup should open right after your computer starts, prompting you to enter the preferred language and other important settings. Enter them carefully and click on the Repair your computer option at the bottom of the Setup’s window. Keep the first radio button selected when prompted with Use recovery tools or Restore your computer and click on the Next. Click on Command Prompt when prompted with the Choose a recovery tool list.
- WINDOWS 8, 8.1, 10: You will see a Choose your keyboard layout window as soon as your computer starts so choose the one you want to use. The Choose an option screen will appear immediately so navigate to Troubleshoot >> Advanced Options >> Command Prompt.
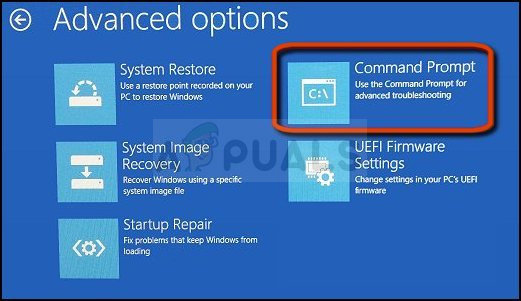
- Once the Command Prompt opens, enter the command displayed below and click Enter afterward:
CHKDSK /R C:
- You might see a message saying that all handles will be invalid. If you do, simply click the Y letter on your keyboard followed by an Enter in order to continue. Boot into your computer by typing “exit” in Command Prompt and check to see if the problem still appears.
Solution 3: Recover Lost Data and Format the Drive
If the data is still unreachable after the first two methods, there isn’t much you can try before you come to a conclusion that the external storage device (external hard drive in most cases) has broken down and can’t be recovered.
However, the last thing you should try is actually trying to recover the data still on the storage device. Afterward, you should definitely try to format it in the same or in a different file format. This should make it start working properly again and you can safely return the files where they belong. Follow our instructions on this method below!
- Visit this link in order to open our article which should give you details about how to actually recover the data from an external hard drive if it’s possible at all. If the process doesn’t go well, you can try some tools available online such as the MiniTool Data Recovery Software
- Either way, if you are able to recover it successfully, make sure you follow the set steps in order to format the drive.
- Open your Libraries entry on your PC or open any folder on your computer and click on This PC option from the left side menu. If you are using an older version of Windows (Windows 7 and older), simply open My Computer from your Desktop.
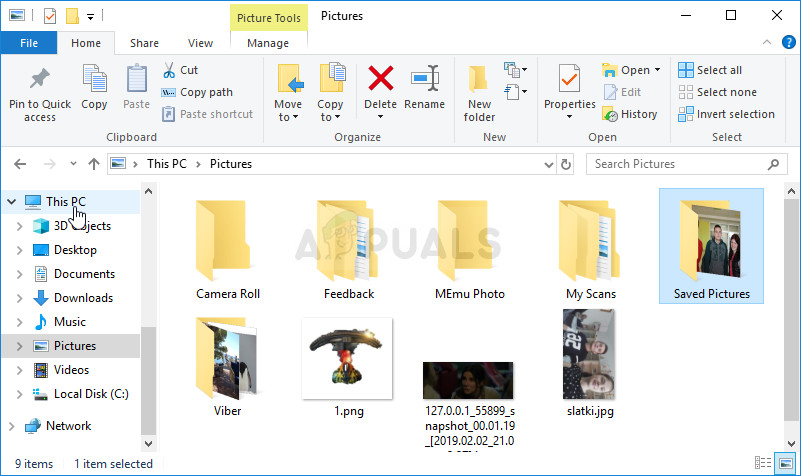
- Right-click on the external hard drive you want to format and choose the Format… option from the context menu which will appear.
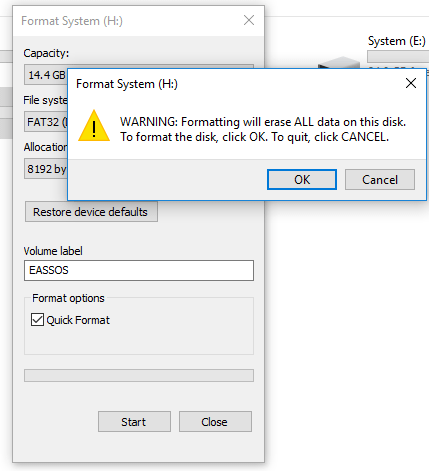
- A small window will open up named Format so make sure you click on the menu under File system and choose the default file system if it’s not already selected. You can also choose a different one to try and troubleshoot the problem further. Click on Format and be patient for the process to finish.
- Remove the hard drive, reconnect it, and check to see if you are now able to access it properly. If you are, simply move back the files you have backed up!


