Fix: ‘Origin Online Login Is Currently Unavailable’ Error
The “Origin online login is currently unavailable” error appears to users trying to log into their Origin account. It’s quite a frustrating issue as the users affected by it have reported it has caused mayhem since no Origin can be played before logging in properly.

Luckily, other people who have experienced the same issue posted the methods they used to resolve the problem in their scenario. We have gathered these methods and put them in a single article for you to check out, with step-by-step instructions.
What Causes the Origin Online Login Is Currently Unavailable Error on Windows?
There are quite a few distinct causes to the problem described in this article. That’s we have decided to create a list of possible causes for you to check out. Make sure you check them all out before proceeding so that you can determine the possible scenario on your computer!
- Time and date are set incorrectly – Many online services require that the time and date on your PC is set up correctly. Even a few minutes can cause the service to stop working. Try settings the time and date on your computer properly to resolve the problem!
- Internet Explorer settings – The Origin launcher depends on Internet Explorer for some features. If Internet Explorer’s settings are incorrect, it can have its effect on Origin. Consider resetting Internet Explorer settings.
- Network-related issues – Networking issues can be quite complex and users are having difficulties finding out what exactly causes the problem. However, it’s recommended you try unblocking Origin in Windows Firewall, resetting the hosts file, or clear the Origin cache.
Solution 1: Check the Time and Date on Your Computer
Using many online services takes for granted that the time and date on your computer is set up properly. This is done to prevent various security issues and having these settings set up properly is a must. Follow the instructions below to set up time and date properly on your computer!
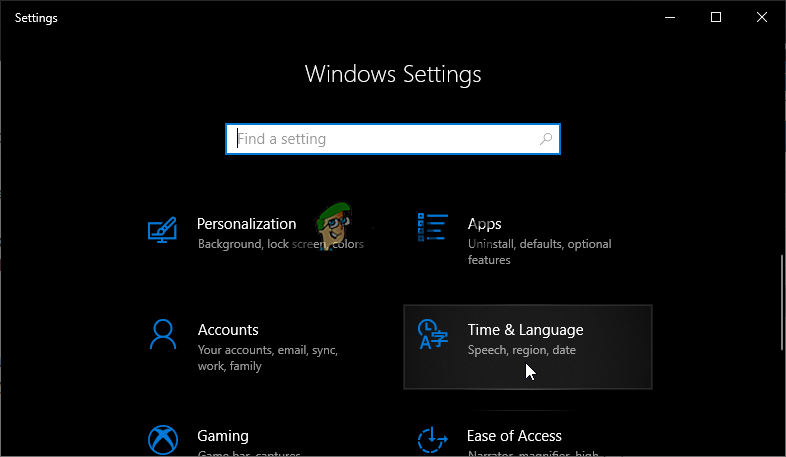
- Open Windows 10 settings by opening the Start menu and opening the Settings app by clicking the cog icon above the power icon.
- Alternatively, you can use the Windows key + I key combination for the same effect. Click to open the Time & Language section and navigate to the Date & time tab at the left side of the window.
- In the Date & Time tab, make sure that your computer’s date and time are correct. If the time is not correct, you can try turning the Set time automatically option on or off, depending on the default state.
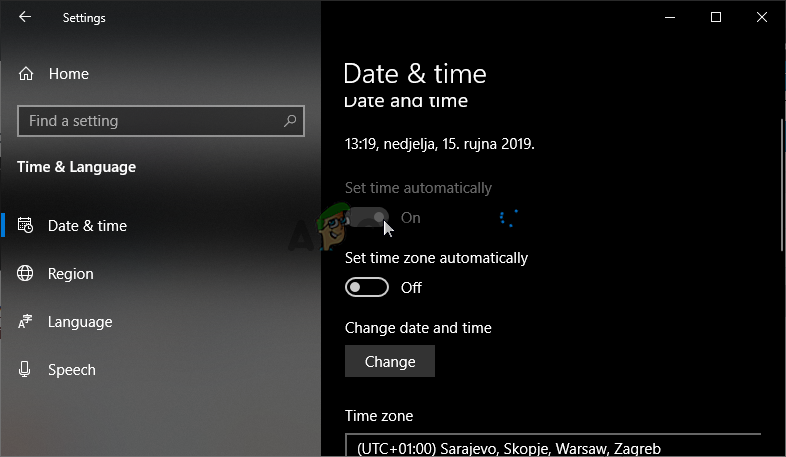
- To change the date, under Date, click the dropdown menu to find the current month in the calendar, and then click the current date.
- To change the time, under Time, click the hour, minutes, or seconds that you want to change, and then slide the values until you settle for the one correct according to your location.
- When you have finished changing the time settings, click OK.
Alternative: People who failed to fix their issue by tweaking the settings in this way can also do it in Control Panel. The settings are similar but now you can set your time to sync with the Internet time.
- Open up Control Panel by searching for the utility in the Start button or by clicking the Search button or the Cortana button at the left part of your taskbar (bottom left part of your screen). You can also open it by using the Windows Key + R key combination, typing “control.exe” in the Run box, and clicking OK to run Control Panel.
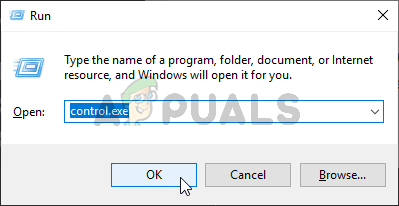
Running Control Panel - After Control Panel opens, change the view to Large or Small icons and navigate down the list to open the Date and Time option. From the Date and Time tab, click the Change date and time button at the top and you can set it up here.
- Alternatively, you can choose to synchronize time with an online server by following these steps. Navigate to the Internet Time tab in the Date and Time window and click the Change settings Check the box next to the Synchronize with an Internet time server option and click on the Update now button. Then click OK, Apply, OK and close Control Panel.
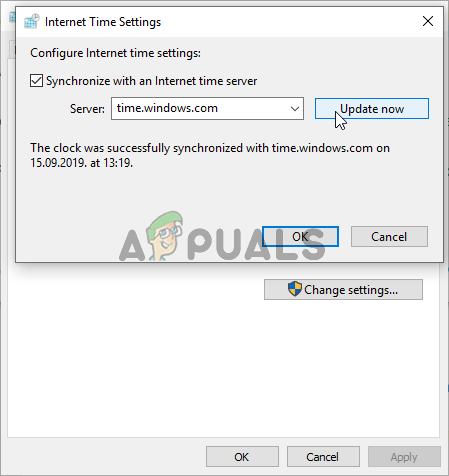
Internet Time Settings - Once you’re done with synchronization, the problem should be fixed immediately.
Solution 2: Reset Internet Explorer Settings to Default
Even though many people thing Internet Explorer simply takes up space on your computer without any real purpose, it’s not completely true. Many Internet connection settings go through Internet Explorer. Users have even reported that they were able to resolve the “Origin online login is currently unavailable” error simply by resetting the Internet Explorer settings. Follow the steps below to do that as well!
- Open Internet Explorer by searching for it or by double-clicking its shortcut on the Desktop, select the Tools button at the top right part of the page, and then select Internet options.
- If you can’t access Internet Options like this, open Control Panel by searching for it, change the View By option to Category and click on Network and Internet. Click on the Internet Options button which should be second in the new window and proceed with the solution.

- Navigate to the Advanced tab, and then click on the Reset Select the Delete personal settings check box if you would like to remove browsing history, search providers, Accelerators, home pages, and InPrivate Filtering data. This is recommended if you want to reset your browser but selecting this is optional for this scenario.
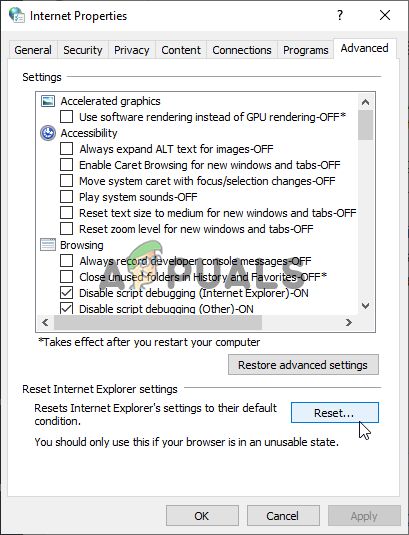
- In the Reset Internet Explorer Settings dialog box, click Reset and wait for Internet Explorer to finish applying default settings. Click on Close >> OK.
- When Internet Explorer finishes applying default settings, click Close, and then click OK. Check to see if you can log into Origin now without problems.
Solution 3: Disable Pop-Up Blocker in Internet Explorer
This is yet another Internet Explorer fix which works well when paired with the method above. It’s unclear just why the pop-up blocker might interfere with Origin but this has worked for many users so make sure you try it out!
- Open Internet Explorer on your computer by searching for it on the Desktop or the Start menu. Click on the cog icon located in the top right corner. From the menu which opens, click on Internet Options to open a list on related connection settings.
- If you don’t have access to Internet Explorer, Open Control Panel by searching for it in the Start menu or by using the Windows Key + R key combination, typing “control.exe” in the Run box, and clicking OK to run Control Panel.
Running Control Panel - In Control Panel, select to View as: Category at the top right corner and click on the Network and Internet button to open this section. Inside this window, click on Internet Options to navigate to the same screen as you would if you opened Internet Explorer.
- Navigate to the Privacy tab and check the Pop-up Blocker section. Uncheck the box next to Turn on Pop-up Blocker.
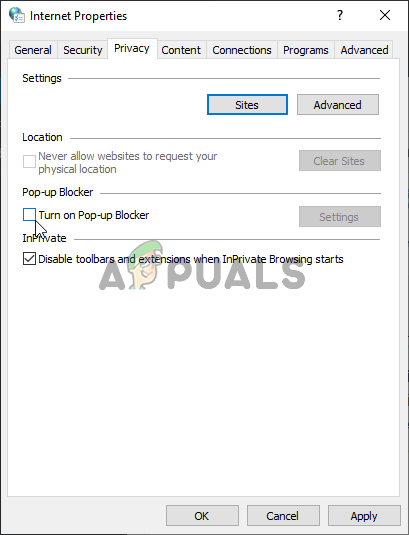
Disable Pop-up Blocker - Make sure you Apply the changes you made and restart your computer before you check to see if you can log into Origin now without problems.
Solution 4: Clear Origin Cache
Clearing the Origin cache can often help fix common issues and this simple method was enough to resolve the problem for many users. They claim Battlefield 1 stopped crashing after clearing the Origin cache and we recommend you try it out!
- Navigate to the following location on your computer by opening the Windows Explorer and clicking on This PC:
C:\Users\YOURUSERNAME\AppData\Roaming\Origin
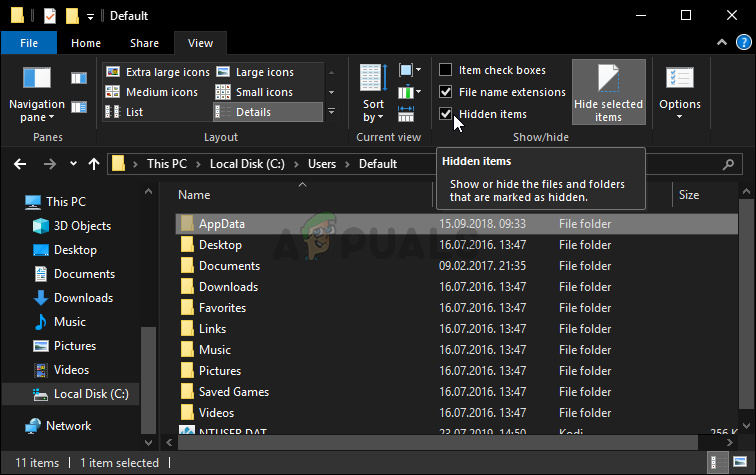
- If you are unable to see the AppData folder, you may need to turn on the option which enables you to view hidden files and folders. Click on the “View” tab and then click on the “Hidden items” in the Show/hide section. File Explorer will show the hidden files and will remember this option until you change it again.
- Delete the Origin folder in the Roaming folder. If you receive a message saying that some files couldn’t have been deleted because they were in use, try exiting Origin and ending its process in Task Manager. Head back to the AppData folder, open the Local folder, and delete the Origin folder inside.
- Either click the Start button or the search button next to it and type “Run” or use the Windows Key + R key combination to bring up the Run dialog box. Type in “%ProgramData%” and click Enter.
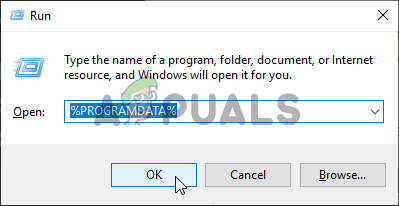
- Locate the Origin folder in the folder which opens, open it, and select all files and folders inside except the LocalContent folder. Right-click the selection and choose Delete from the context menu which will appear
- Check to see if the “Origin online login is currently unavailable” error still appears after restarting your computer!
Solution 5: Reset the Hosts File
If you have tried to solve other issues on your computer, you may have edited the hosts file located deep into the System32 folder in various subfolders. The hosts file is used to map hostnames to IP addresses. If for some reason, you find that your hosts file has been compromised or if you start experiencing this problem with Origin, you can reset the file back to default by following the steps below.
- Navigate to the location C >> Windows >> System32 >> Drivers >> Etc by navigating to it after opening the File Explorer. First, click This PC or My Computer from the left side pane to locate and open your Local Disk C.
- If you are unable to see the Windows folder, you may need to turn on the option which enables you to see hidden files and folders. Click the “View” tab in File Explorer’s top menu and click the “Hidden items” checkbox in the Show/hide File Explorer will show the hidden files and will remember this setting until you change it again.
- Locate the hosts file in the Etc folder, right-click on it, and choose to Open it with Notepad. Use the Ctrl + A key combination to select all text and click Delete or Backspace to delete it. After that, paste the following text inside:
# Copyright (c) 1993-2006 Microsoft Corp.
#
# This is a sample HOSTS file used by Microsoft TCP/IP for Windows.
#
# This file contains the mappings of IP addresses to hostnames. Each
# entry should be kept on an individual line. The IP address should
# be placed in the first column followed by the corresponding host name.
# The IP address and the host name should be separated by at least one
# space.
#
# Additionally, comments (such as these) may be inserted on individual
# lines or following the machine name denoted by a '#' symbol.
#
# For example:
#
#      102.54.94.97     rhino.acme.com          # source server
#       38.25.63.10     x.acme.com              # x client host
# localhost name resolution is handled within DNS itself.
#       127.0.0.1       localhost
#       ::1             localhost
- Click File >> Save to save the changes. Exit Notepad and restart your computer. Check to see if the problem persists regarding Origin to log in properly.

Solution 6: Allow Origin Through Windows Defender Firewall
If the Origin service can’t connect to the Internet on your computer, you will need to allow through Windows Defender Firewall. It’s quite easy to do and it can resolve your problem almost instantly. Check it out below!
- Open up Control Panel by searching for the utility in the Start button or by clicking the Search button or the Cortana button at the left part of your taskbar (bottom left part of your screen).
- After Control Panel opens, change the view to Large or Small icons and navigate to the bottom to open the Windows Defender Firewall option.

Opening Windows Defender Firewall - Click on Windows Defender Firewall and click on the Allow an app or feature through Windows Firewall option from the left side list of options. A list of installed apps should open. Click the Change settings button at the top of the screen and provide administrator permissions. Try locating the executable inside. If it’s not there, click the Allow another app button below.
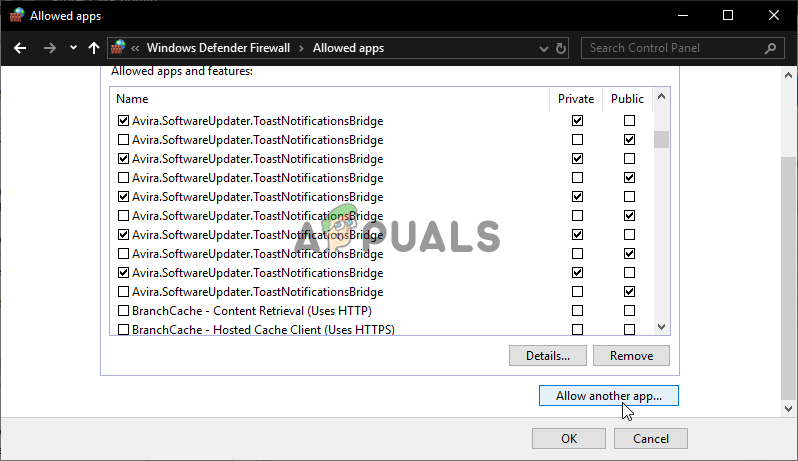
Allow another app in Windows Firewall - Navigate to where you installed Origin (C:\Program Files (x86) by default), open the Origin folder, and choose the app’s executable file Origin.exe.
- After locating it, click the Network types button at the top and make sure you check the boxes next to both Private and Public entries before clicking OK >> Add.
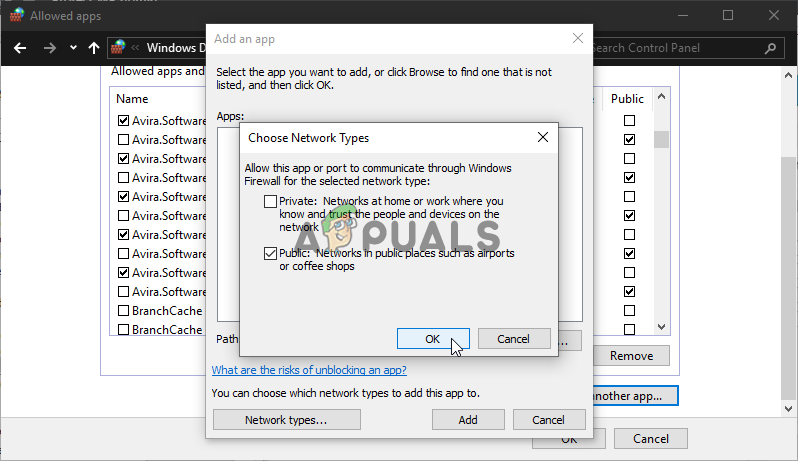
Setting up network types - Click OK and restart your computer before checking whether you can log into Origin properly!


after all these tries nothing worked for me :(.