How to Fix The Importer Reported a Generic Error in Adobe Premiere
When Adobe Premiere Pro shows the error “The importer reported a generic error” it usually happens when trying to import media files. This error often means Premiere can’t read the file because of incompatible formats or problems with the file itself.
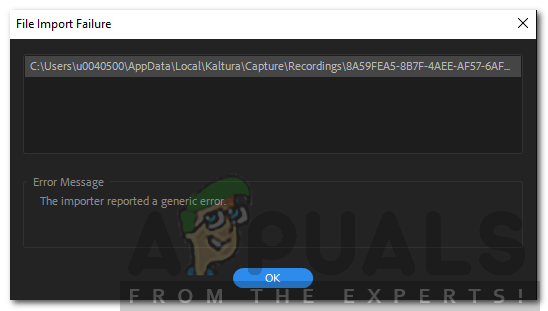
The most common reason is missing or incompatible codecs, especially with video formats like AVI or MOV that Premiere can’t handle without the right codec. Other reasons can include corrupted media cache files or improperly linked media.
Now that you know the causes, lets discuss the solutions.
1. Check Video File Format and Codec
The error often arises when Premiere Pro can’t recognize a file’s codec. Converting the file to a widely supported format, like MP4 with the H.264 codec, ensures compatibility and helps avoid import errors.
Please refer to this link for a list of supported video file formats.
2. Clean the Media File Cache
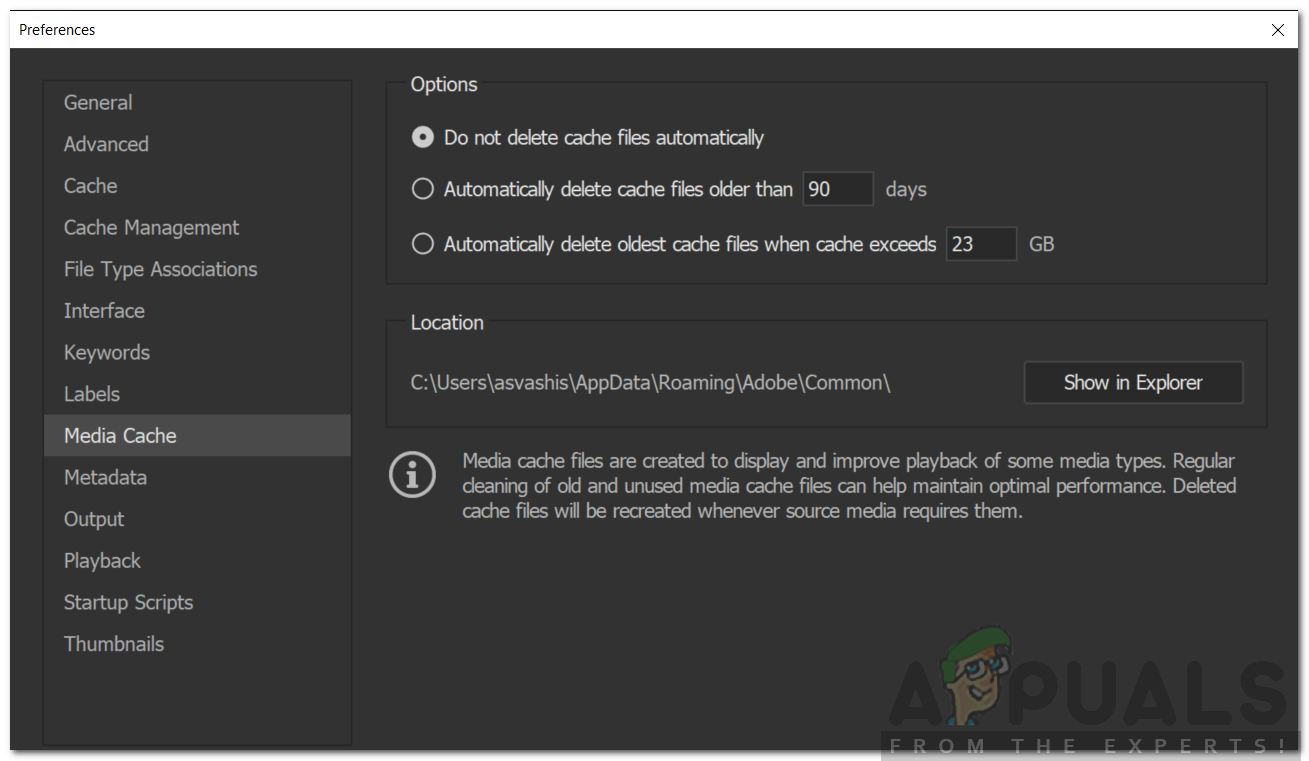
Refreshing the media cache removes old or damaged data that Premiere uses. If a file has moved, changed, or is corrupt, cached info can cause issues. By clearing the cache, Premiere Pro makes new temporary files, fixing problems like the import error. This helps the program read your files correctly and makes your project more stable.
- Close Adobe Premiere Pro and go to Users\<username>\AppData\Roaming\Adobe\Common. Make sure the AppData folder is visible.
- For Mac users, navigate to /Users/<username>/Library/Application Support/Adobe/Common.
- Delete the files, then restart Adobe Premiere Pro.
- If you can’t find the path, go to Preferences and check the Media Cache tab.
3. Move the Files to a Different Location or Rename Them
Sometimes, moving or renaming your media files can help Premiere recognize them correctly. When you do this, it forces the software to update its file paths, fixing any broken links or data conflicts that may have caused the error. This action refreshes Premiere’s access, helping it connect cleanly to your project files.
You can also try renaming the files in the same directory and then attempt to import them again. If it doesn’t work, move them to a different location.
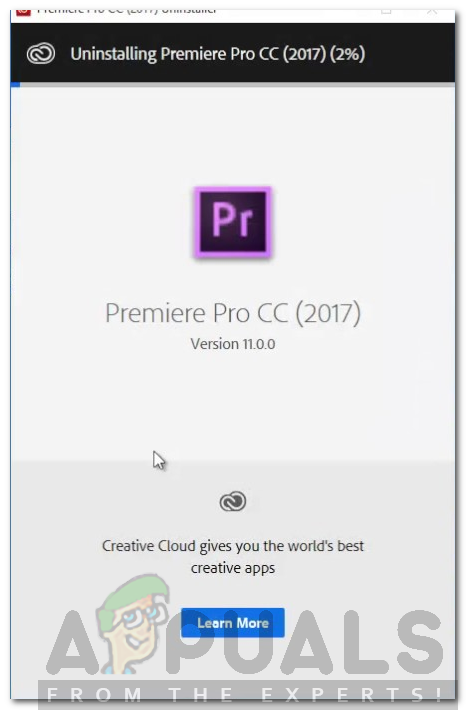
4. Reinstall Premiere Pro
If none of the solutions work, reinstalling Premiere Pro is important. It fixes any broken files and resets settings to default, removing issues from past installations or updates. This ensures the software is working correctly, solving problems that other methods couldn’t fix.
- Open Creative Cloud.
- Uninstall Adobe Premiere Pro and choose to keep preferences.
- Reinstall Premiere Pro and check if the issue is resolved.


For “Solution 2: Cleaning the Media File Cache”, what folder do I need to delete the files from: Media Cache, or Media Cache Files?