How to Fix ‘The File Cannot Be Opened Because of a Header Error’ in Adobe Premiere
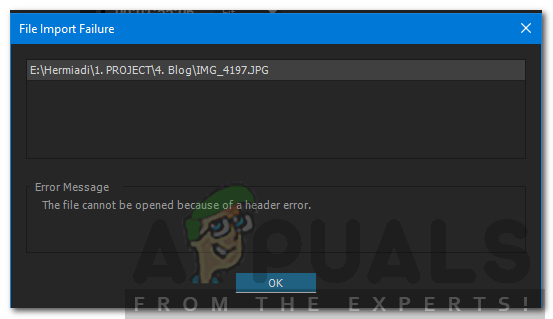
When you see “The File Cannot Be Opened Because of a Header Error” in Adobe Premiere, it means the program can’t read the file’s details. This is often due to corruption or unsupported formats. The error usually occurs because of improper file creation or export, often from another program.

Common issues include file corruption or incorrect bit depth or color settings.
Now that you know what causes this error message, let’s go over how you can fix it.
1. Change Image File Extension
This issue occurs when Adobe Premiere doesn’t recognize file formats due to incompatible headers. Changing the file extension, like from TIFF to PNG or JPEG, can fix this by converting the file into a format Premiere supports, often avoiding the header error.
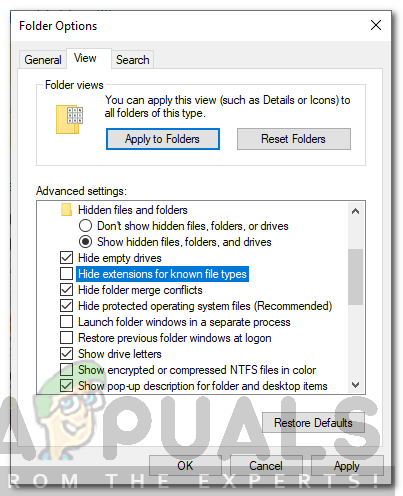
- Ensure Hide extensions for known file types is unchecked in File Explorer.
- Open File Explorer, click File, and select Change folder and search options.
- Go to the View tab and uncheck Hide extensions for known file types.

Folder Options - Click Apply and OK.
- Navigate to the image files, change the extension from .jpg to .PNG, or to .PSD if needed.
- Try importing the file again.
2. Change Color Mode to RGB
Switching the color mode to RGB can resolve the header error because Adobe Premiere works best with RGB, the standard for digital video. Files in other color modes, like CMYK, can cause import issues. Converting the file to RGB ensures compatibility and proper color handling, reducing errors.
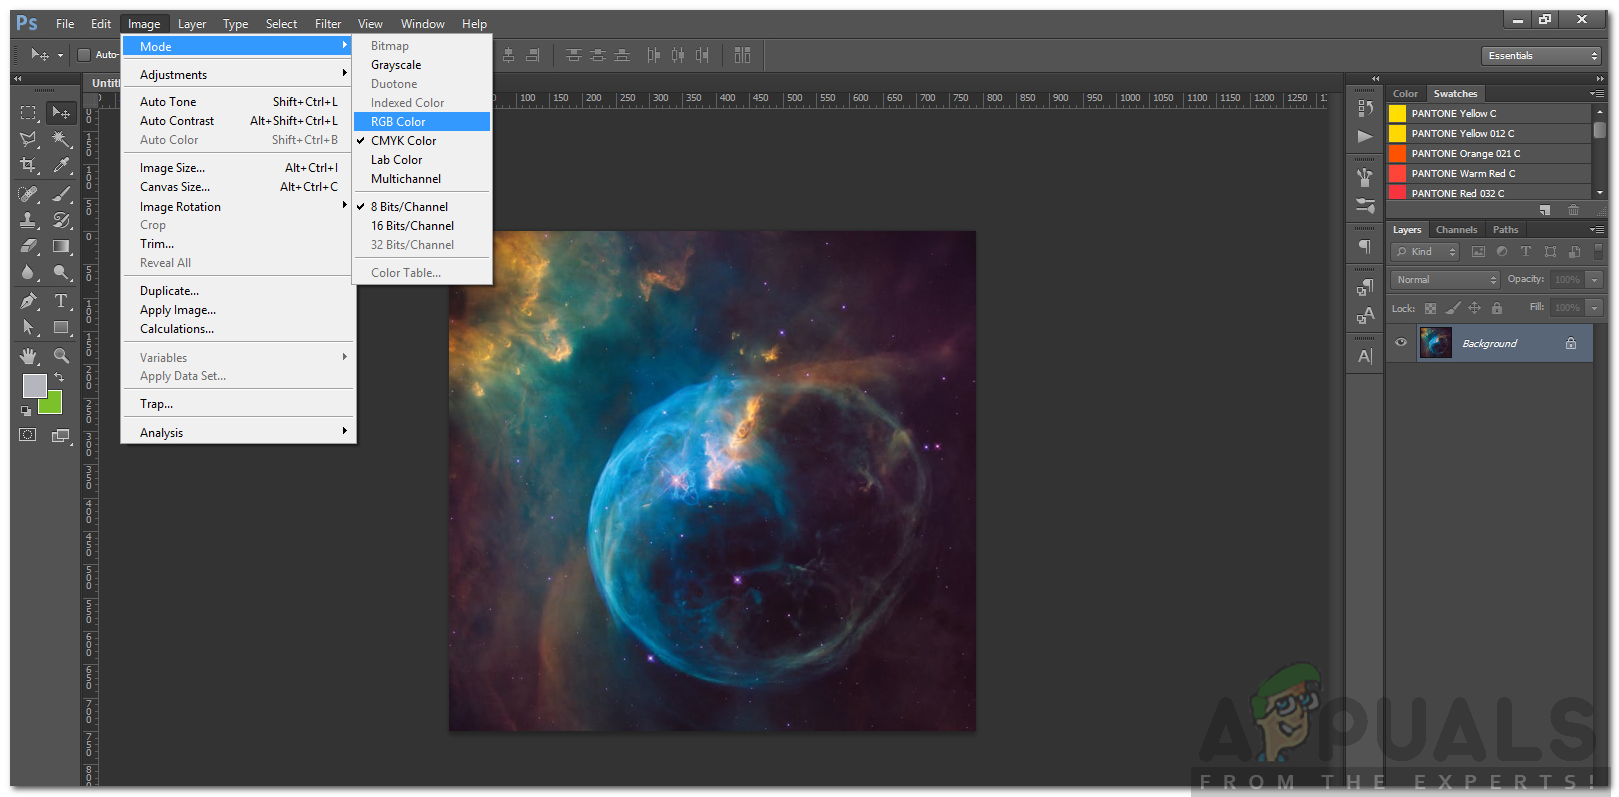
- Open Adobe Photoshop and the image file.
- Go to Image > Mode and select RGB Color.

Changing Color Mode - Save the file and see if the issue is resolved.


