How to Fix the Dying Light Crashing Issue on Windows?
Dying Light is a unique open-world game focused on survival, horror, and adventure. It was released on January 2015 and amazed players around the world. However, not everyone is so amazed as there are players who struggled to play the game because of constant crashes.

The crashes appear at random intervals and they make the game almost unplayable. They can be resolved by implementing several different methods so make sure you check them out below in order to resolve your problem. Make sure you follow the instructions carefully and good luck!
What Causes Dying Light to Crash on Windows?
As is the case with almost any game, its crashes can be caused by plenty of different things and you should definitely consider checking out the list we have created in order to find out what your scenario is. This can speed up your troubleshooting process and enable you to choose the correct method more easily!
- Overclocking – Overclocking is generally a cause of many headaches and it can often do more harm than good. In this scenario, it can cause the game to crash quite often, making it unplayable. Consider not overlocking to see if the game still crashes.
- Faulty graphics card drivers – If you have an old set of drivers, they may be incompatible with the Dying Light and you might need to update them. Also, if the error started to appear after installing the latest driver, you will need to roll back to an older version.
- Onboard sound device – If you are using a sound device other than your onboard speakers, consider disabling them in order to troubleshoot this problem. This has helped many users so make sure you try it out.
Solution 1: Stop Overclocking
Overclocking is used to increase the core speed of your CPU or GPU processors or even the frequency at which your RAM memory operated. It can provide your computer with a significant performance boost and improve the gameplay you get from various games on your computer.
However, everything comes with a price and you should know that overclocking can be dangerous and cause various issues. Besides instability and power supply issues, you can also expect various in-game incompatibilities. That is why you should stop overclocking while playing Dying Light. You can stop overclocking by using the same software you used to begin overclocking in the first place!
Solution 2: Reset 3D Settings in the NVIDIA Control Panel
This is a fairly easy method of resolving the problem and it can be used by NVIDIA graphics card users. Inside the NVIDIA Control Panel, make sure you reset all settings and see if the game crashes still appear while playing Dying Light. Make sure you follow the steps presented below!
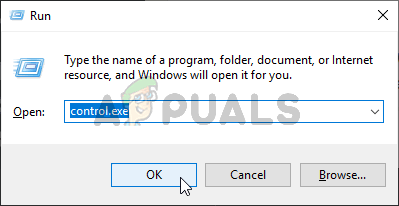
- Open the NVIDIA Control Panel by right-clicking your Desktop and choosing the NVIDIA Control Panel option from the context menu which will appear. Alternatively, use the Windows Key + R key combo in order to open the Run Type “control.exe” inside and click OK. You can also search for Control Panel.
- Inside Control Panel, change the View by option to Large or Small icons and scroll down until you locate the NVIDIA Control Panel entry. Left-click to open it.
- Once inside, expand the 3D Settings menu by clicking the + button next to it and left-click the Manage 3D Settings.
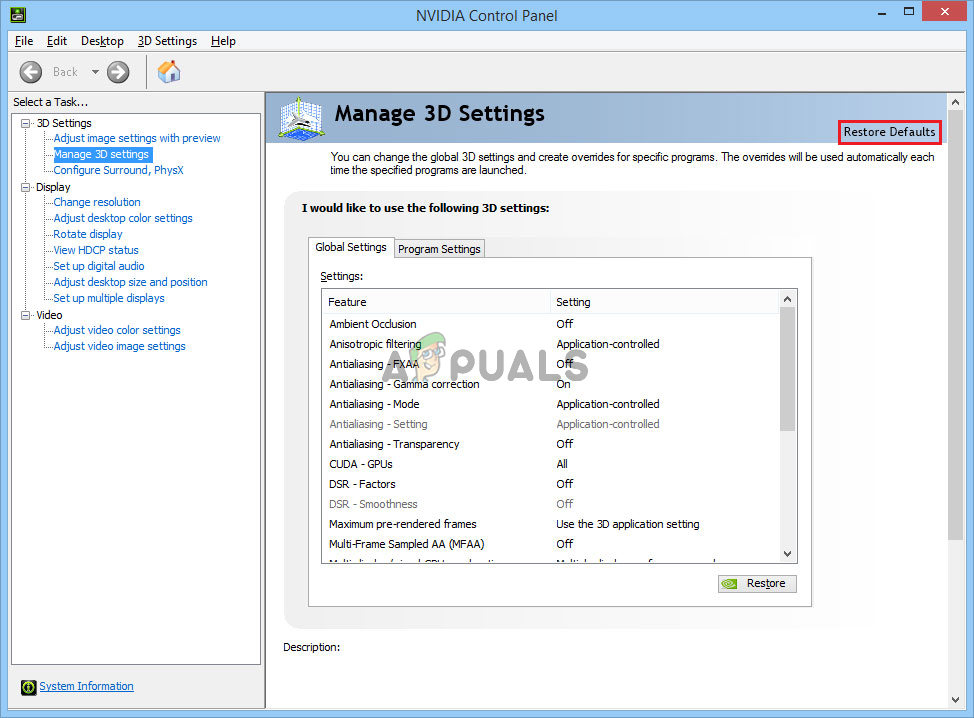
- Once this section opens, click the Restore Defaults button in the top-right part of the window. Confirm any dialogs which will appear and check to see if Dying Light keeps crashing on your computer after you restart it and reopen the game!
Solution 3: Update or Roll Back Your Graphics Card Drivers
Updating or rolling back your graphics card drivers is a great way of resolving many game crashing issues and Dying Light is no exception. If the problem started to appear as soon as you installed the game, it’s possible that your graphics card drivers are too old to support the game and we recommend you update them. However, if you have updated your drivers recently and the game then started to crash, you should roll back to the last working version and wait for a new driver to come out! Make sure you follow the steps below!
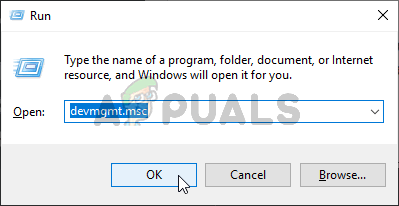
- First of all, you will need to open the Device Manager by using the Windows Key + R Make sure you type “devmgmt.msc” in the text box before clicking OK in order to open Device Manager. You can also search for it in the Start menu.
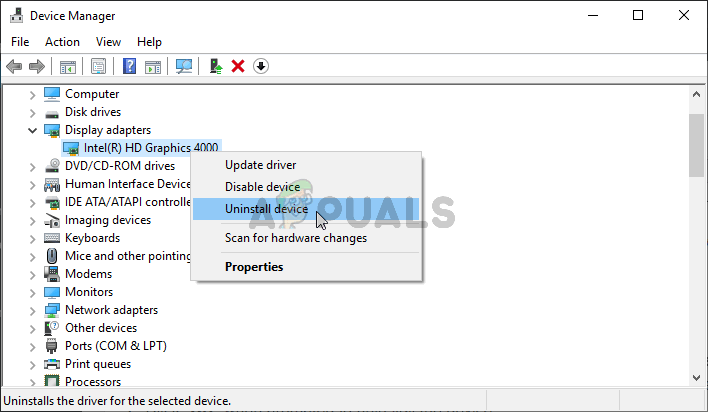
- Locate the Display Adapters section and click the arrow next to it in order to expand it.
Updating the Driver:
- If you want to update and install the latest driver available for your graphics card, right-click the driver in Device Manager and choose the Uninstall Device option from the context menu which will appear. Make sure you confirm any prompts which may pop up.
- Go to your manufacturer’s website, input all information necessary, and click the Search or the Submit Locate the driver you want to download, download it, and run its installer from the Downloads folder. Check to see if Dying Light keeps crashing!
Rolling back the driver:
- If you want to go back to the previous version of the driver when the error didn’t appear, right-click your graphics card driver and choose the Properties option from the context menu which will pop up.
- Navigate to the Driver tab and check to Roll Back Driver If it’s available to click on, click it, and follow any instructions which may appear on the screen in order to roll back the driver.
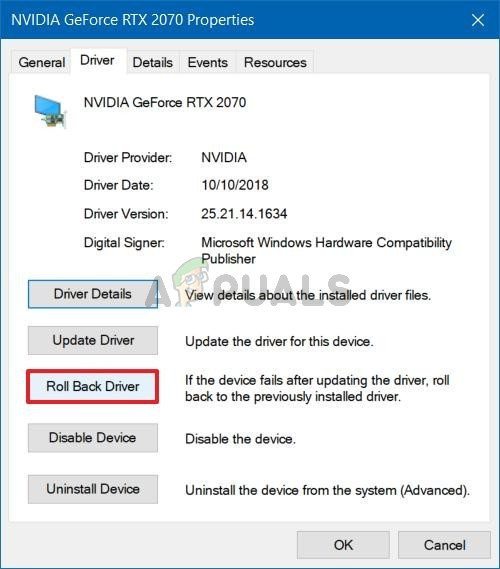
- If it’s grayed out, it means that there are no records of a previous driver. This probably means that your graphics driver hasn’t been updated recently and you can rule that out as a possible cause. Either way, check to see if Dying Light still crashes!
Solution 4: Run the Game in Compatibility Mode for Windows 7
Dying Light doesn’t officially support Windows 10 as it came out before it. However, many Windows 10 users can play it without any problems. For the users who struggle with the crashing problem, they can always try running the game’s executable in compatibility mode for Windows 7!
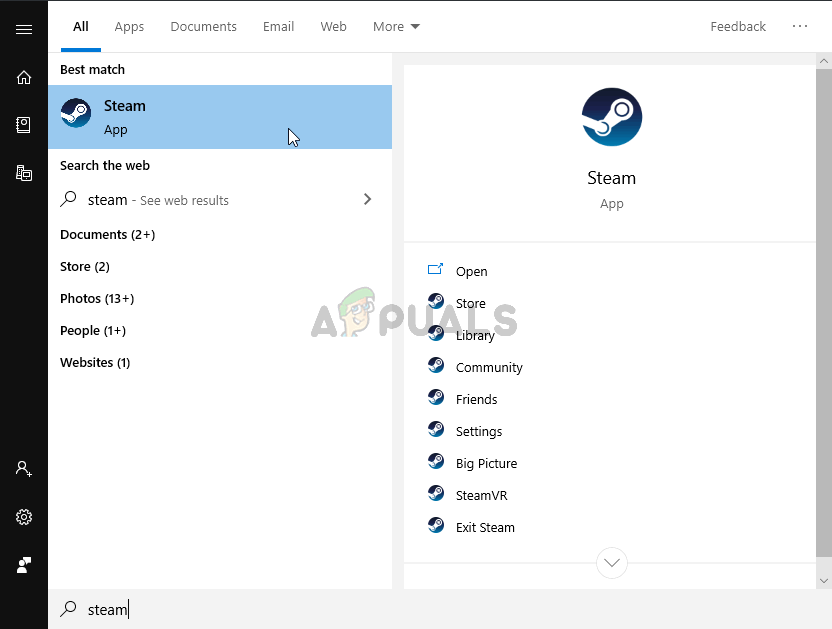
- Open up Steam by searching for it in the Start menu and clicking the first available result. You can also look for its icon on your Desktop!
- When Steam opens, navigate to the Library tab from the menu. Locate Dying Light in the list of games you have installed on your computer and choose Properties from the context menu which will appear.
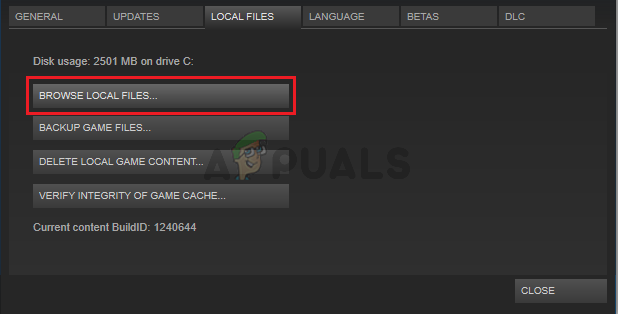
- In the Properties window, navigate to the Local Files tab and click the Browse Local Files button in order to open the game’s installation folder.
- You can also look for the game’s shortcut on the Desktop and choose Open file location if you haven’t installed the game via Steam. The default installation location is:
C:\Program Files (x86)\Steam\steamapps\common\Dying Light
- Locate the DyingLightGame.exe file in the Dying Light folder, right-click on it, and choose Properties from the menu. Once inside, navigate to the Compatibility tab.
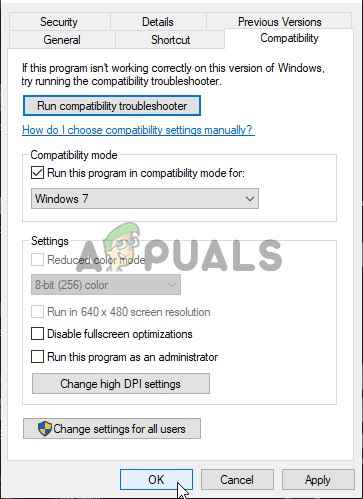
- Inside this tab, check the Compatibility Mode section and make sure you check the box next to the Run this program in compatibility mode for Choose Windows 7 from the list before clicking the OK button at the bottom and check to see if the same problem appears while playing Dying Light!
Solution 5: Disable Your Onboard Sound Device
If your computer or laptop has a default, onboard sound device and you are using another playback device to play sound, you should definitely consider disabling the onboard device. Even though it might seem silly, this has actually helped people resolve their crashing issue so make sure you check it out below!
- Right-click the volume icon at the system tray (right-part of the taskbar, lower-right part of your screen) and choose Sounds from the menu which will appear.
- Alternatively, open Control Panel by searching for it or by running it using the Windows Key + R key combination. Simply type “control.exe” inside and click the OK button in order to open the Control Panel.
- Inside, change the View by option to Large or Small icons and scroll down until you reach the Sound Left-click to open it.
- Navigate to the Playback tab inside and look for the device which is identified by the basic driver and it’s often a Default Device. Left-click to select it and click the Properties button below.

- Stay in the General tab and choose Don’t use this device (disable) next to the Device usage option before clicking OK. Check to see if Dying Light still crashes on your computer!
Solution 6: Reset Windows
Resetting Windows is probably the last step you want to take when troubleshooting this problem but, for some players, this is what it took for them to resolve their problem. On the other hand, resetting Windows isn’t such a big deal on Windows 10 as you get to keep your personal file. Basically, you just refresh Windows! Make sure you follow the steps below in order to reset Windows!
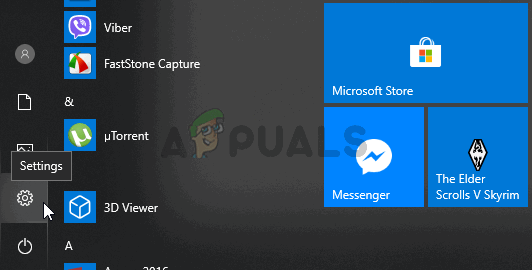
- Use the Windows Key + I combination in order to open Windows 10 Settings. Settings can also be opened by clicking the Start menu button and clicking the cog-like icon in the bottom left corner. You can also search for them.
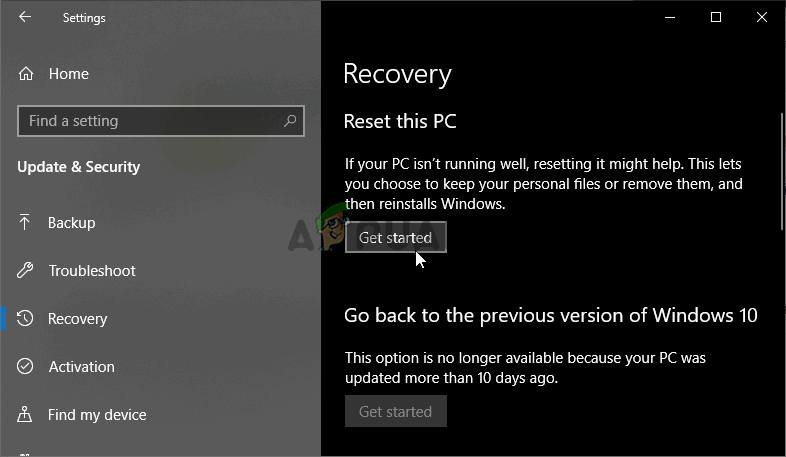
- Once you open Settings, scroll and left-click the Update & Security section in order to open it. From the right-side menu, make sure you navigate to the Recovery
- In the Recovery tab, check the Reset this PC section and click the Get started button in order to begin the resetting process.
- The Choose an option window will appear so make sure you click the Keep my files After that, the Ready to reset this PC window will appear. Make sure you click the Reset button. Your PC will restart and proceed with the process. Check to see if Dying Light keeps crashing on your computer!


