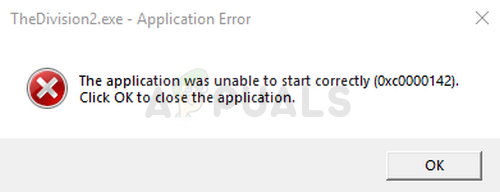
How to Fix The Division 2 Crashing on Windows?
The Division 2 crashing problem is quite a frustrating one as it’s always to annoying to install a game just to be unable to play it due to frustrating crashing issues which occur either on startup or while playing the game.
There have been several different methods players used in order to fix the crashing problems and we have decided to gather them together in an article. Make sure you follow the instructions carefully and follow through each solution before giving up. Good luck in resolving the problem!
What Causes The Division 2 to Crash on Windows?
There are often many different reasons why video games crash on Windows. However, there are several causes which are often the culprit and which should be taken more seriously. Deducting the right cause can help you choose the best method to resolve the problem so check out the list below carefully:
- The affinity of AntiEasyCheat – If AntiEasyCheat is using more than one core of your CPU, crashing issues may occur so make sure you set its affinity to one core.
- Incompatibility between anti-cheat engines – If you have many different anti-cheat engines installed for different games, incompatibility issues are bound to occur. Luckily, it can be prevented by something as simple as deleting a DLL file.
- The page file size is inadequate – If your page file is too small, memory-intensive games may run out and crash to Desktop. Setting the paging file size to System Managed should resolve the issue completely.
- Use of DirectX 12 – DirectX 12 is a relatively new technology which doesn’t play well on somewhat older computers. Making the game run using DirectX 11 can resolve the crashing issues.
Solution 1: Set the Affinity of AntiEasyCheat to One Core
Users have reported that settings the affinity of AntiEasyCheat executable to one core was able to resolve the problem completely. Settings the affinity orders your operating system to utilize only one core in order to run a certain program. This method is easy to try out so make sure you try it out before anything else!
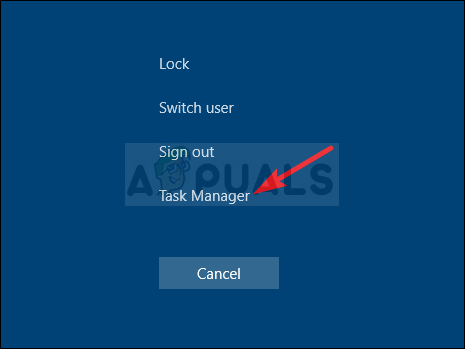
- Use the Ctrl + Shift + Esc key combination by pressing the keys at the same time to open the Task Manager utility.
- Alternatively, you can use the Ctrl + Alt + Del key combination and select Task Manager from the popup blue screen which will appear with several options. You can also search for it in the Start menu.
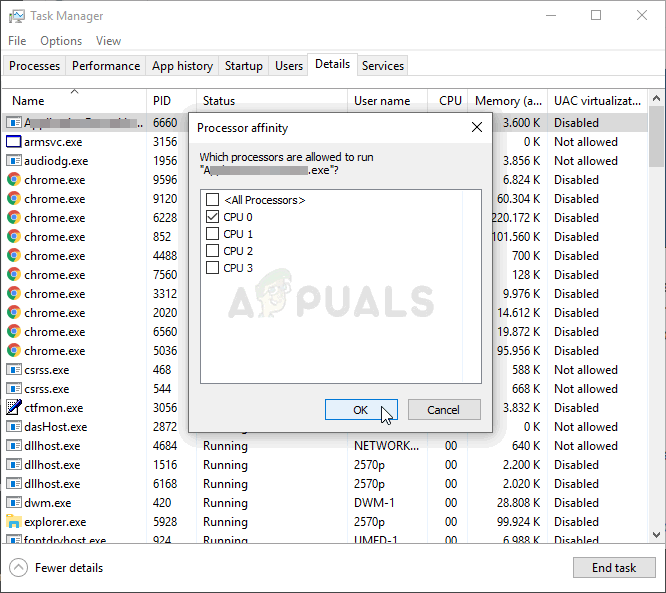
- Click on More details in order to expand Task Manager. Navigate to the Details tab and search for the AntiEasyCheat entry under the Name Right-click on this entry and click the Set affinity option.
- In the Processor affinity window, make sure you only check one core of your processor (one of the entries named CPU 0, CPU 1, etc.) and click the OK
- Restart your computer in order to apply the changes and try running The Division again in order to see if the crashing persists!
Solution 2: Delete a Useless DLL File
Users have suggested that there are incompatibilities between different anti-cheat engines. These incompatibilities can be resolved simply by deleting a useless DLL file located inside the game’s installation folder. Try deleting or moving it in order to resolve the crashing issues!
- Locate the game’s installation folder manually by right-clicking the game’s shortcut on Desktop or anywhere else and choose Open file location from the menu.
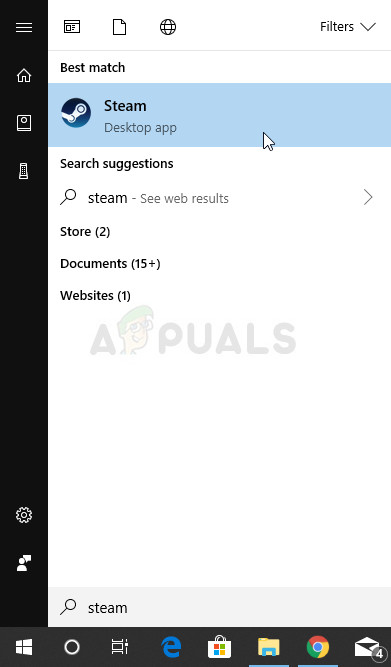
- If you have installed the game via Steam, open its shortcut on the Desktop or by searching for it in the Start menu simply by typing “Steam” after clicking the Start menu button.
- After the Steam client opens, navigate to the Library tab in the Steam window at the menu located at the top of the window, and locate The Division entry in the list.
- Right-click the game’s icon in the library and choose the Properties option from the context menu which will open and make sure you navigate to the Local Files tab in the Properties window straight away and click the Browse Local Files.
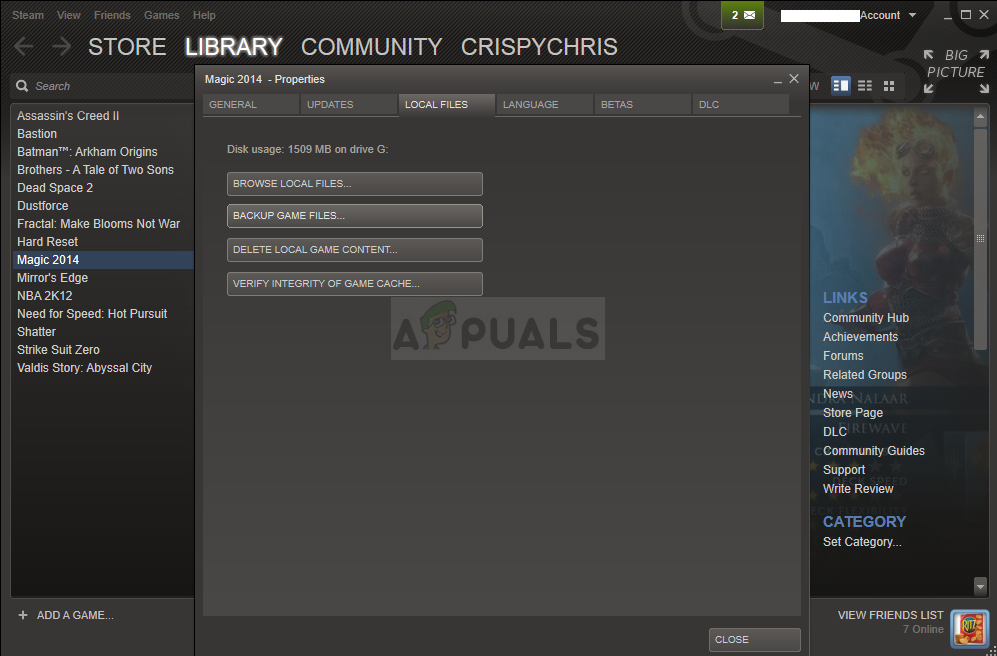
- Locate the ‘tobii_gameintegration_x64.dll’ file, right-click on it, and choose the Delete option from the context menu. Restart your computer and check to see if the problem still appears.
Solution 3: Set the Size of Your Page File to System Managed
Page file or virtual memory is a portion of your hard drive or SSD being used as RAM memory for memory-intensive applications and processes. If a game requests too much RAM, a part of your page file will be used to compensate with reduced performance. If you have been setting the size of your page file manually, make sure you undo it and let your OS manage it!
- Right-click on the This PC entry which can usually be found on your Desktop or in your File Explorer. Choose the Properties
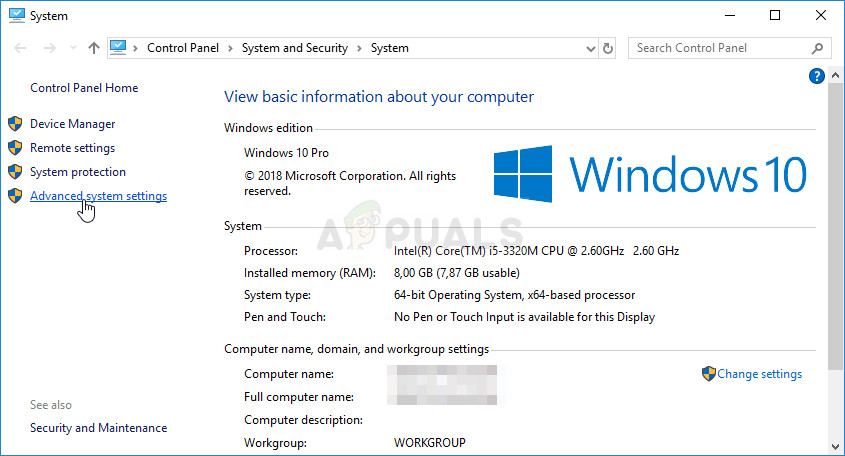
- Click on the “Advanced system settings” button at the right of the window and navigate to the Advanced Under the Performance section, click on Settings and navigate to the Advanced tab of this window.
- Under the Virtual memory section, click on Change. If the checkbox next to the “Automatically manage paging file size for all drives” option is unchecked, check it and click OK!
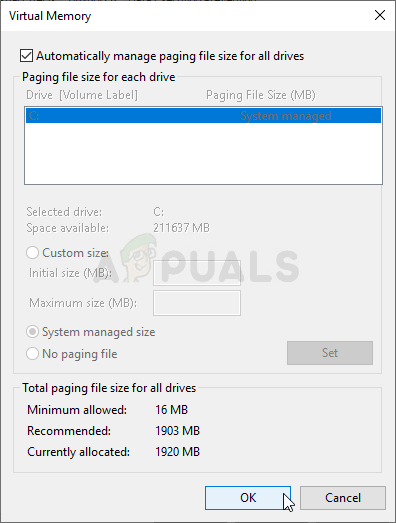
- After applying the changes, restart your computer, and try running The Division 2 to see if the crashing problem still persists!
Solution 4: Launch the Games Using DirectX 11
The error may simply be related to using DirectX 12 which is the default one to be launched if you using a relatively newer version of Windows. Still, problems may appear and users have found out that switching to DirectX 11 might solve the problem. There is an in-game option to stop using DirectX 12 and but you can also do the same without entering the game!
- Open up Steam on your PC by double-clicking its entry on the Desktop or by searching for it in the Start menu. There are other ways to locate it as well.
- Navigate to the Library section in the Steam window by locating the Library tab at the top of the window, and locate The Division 2 in the list of games you have in your library.
- Right-click on the game’s entry in the list and choose the Properties option from the context menu which will show up. Click the Set launch options.
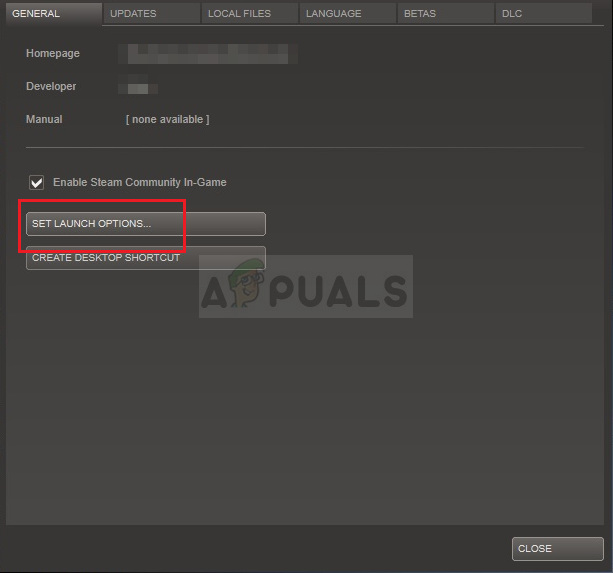
- Type “-dx11” in the bar. If there were some other launch options located there from before, make sure you separate this one with a single space. Click the OK button in order to confirm the changes.
- Try launching the game from the Library tab and see if The Division 2 crashing still appears.
Solution 5: Change Some Properties of the Game’s Executable
There are certain properties you can tweak inside the game’s executable’s properties window which can resolve the crashing issues. Check them out below!
- Locate the game’s installation folder manually by right-clicking the game’s shortcut on Desktop or anywhere else and choose Open file location from the menu.
- If you have installed the game via Steam, open its shortcut on the Desktop or by searching for it in the Start menu simply by typing “Steam” after clicking the Start menu button.
- After the Steam client opens, navigate to the Library tab in the Steam window at the menu located at the top of the window, and locate The Division entry in the list.
- Right-click the game’s icon in the library and choose the Properties option from the context menu which will open and make sure you navigate to the Local Files tab in the Properties window straight away and click the Browse Local Files
- Locate the TheDivision2.exe file, right-click on it, and choose the Properties option from the context menu.
- Navigate to the Compatibility tab in the Properties window, check under the Settings section, and check the box next to the Disable fullscreen optimizations.
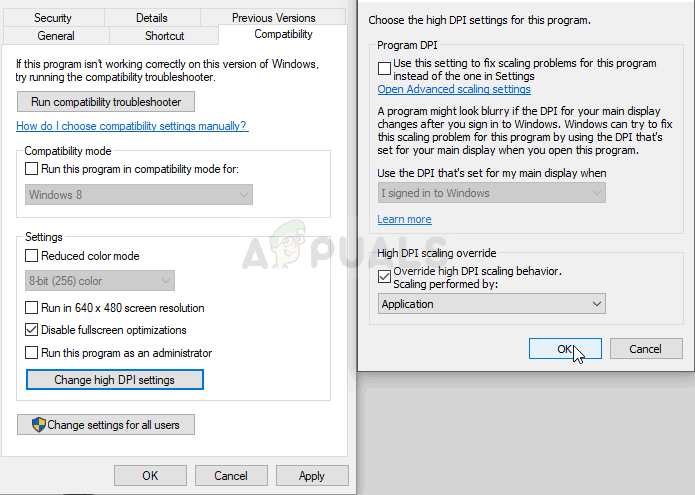
- After that, click the Change high DPI settings button and check the box next to the Override high DPI scaling behavior Under the Scaling performed by entry, choose Application, and click the OK button in order to apply the changes. Check to see if the crashing still occurs!
Solution 6: Turn OFF Ubisoft Overlay
In some cases, the error might be triggered if Ubisoft Overlay has been enabled on the system and it is interfering with important components of the Game. Therefore, in this step, we will be turning off the overlay and then check to see if the issue with the game is fixed. In order to do that:
- Click on the “Menu” button on the top left corner and select “Settings”.
- In settings, click on the “General” tab and uncheck the “Enable in-game overlay for supported games” option.

Clicking on the “Enable In-Game Overlay” option - Check to see if the issue persists.


What fixed it for me was turning off the Ubisoft overlay.