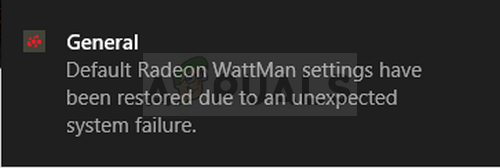
‘Default Radeon WattMan settings have been restored’ Error Fixed
This is a graphics-related problem which occurs to people with AMD Radeon cards installed in their computers. There are several different scenarios in which the problem appears but it’s usually after a driver crash triggered inside a game. The message sometimes appears right after the game crashes or after a restart.
The problem is relatively new but people have already thought of useful methods which can be used to resolve it. We have gathered the methods which have helped other people and put them together in an article. Good luck in resolving your problem!
What Causes the “Default Radeon WattMan Settings Have been Restored due to Unexpected System Failure” Error on Windows?
This problem is a strange one. It has affected many users around the world for the past several years but they failed to come up with many different causes for the problem. Getting rid of this error is quite difficult but there are some causes which can be pinpointed. Check them out below:
- Fast startup – Fast startup is an option inside Power Options which can enable the users to boot faster but to skip the loading of some components during boot. It’s possible that the components which don’t load during boot cause errors such as the one in this article.
- Old graphics driver – The error message is related to the crash of the AMD Radeon driver and it’s a good idea to check whether a newer version is available to tackle this problem.
- Overclocking issues – Some users have reported that the problem ceased to appear after they stopped overclocking their GPUs. Also, they reported that they needed to completely uninstall all overclocking tools except Radeon WattMan as they obviously caused instability.
Solution 1: Disable Fast Startup
The Power Options on your computer are a valid place to look for the error’ cause since there is a Fast startup option in your Power Options which boots your computer faster. It’s quite possible that this option prevents your graphics card driver from loading properly on your computer. Follow the steps below in order to disable Fast startup!
- Open Control Panel by searching for the utility in the Start button or by clicking the Search button (Cortana) button at the left part of your taskbar (bottom left part of your screen.
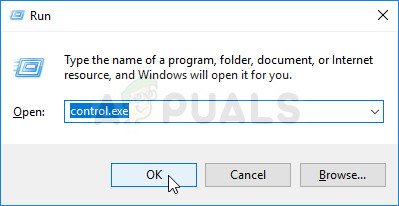
- You can also use the Windows Key + R key combo where you should type “control.exe” and click Run which will also open Control Panel directly.
- Switch the View by option in Control Panel to Small Icons and locate the Power options
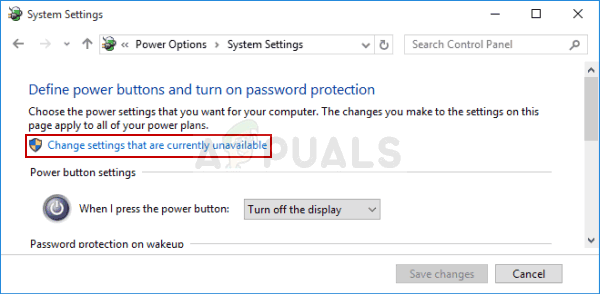
- Open it and take a look at the top of the window where the “Change settings that are currently unavailable” option should be located. Click on it and navigate to the bottom of the window where the Shutdown settings are located.
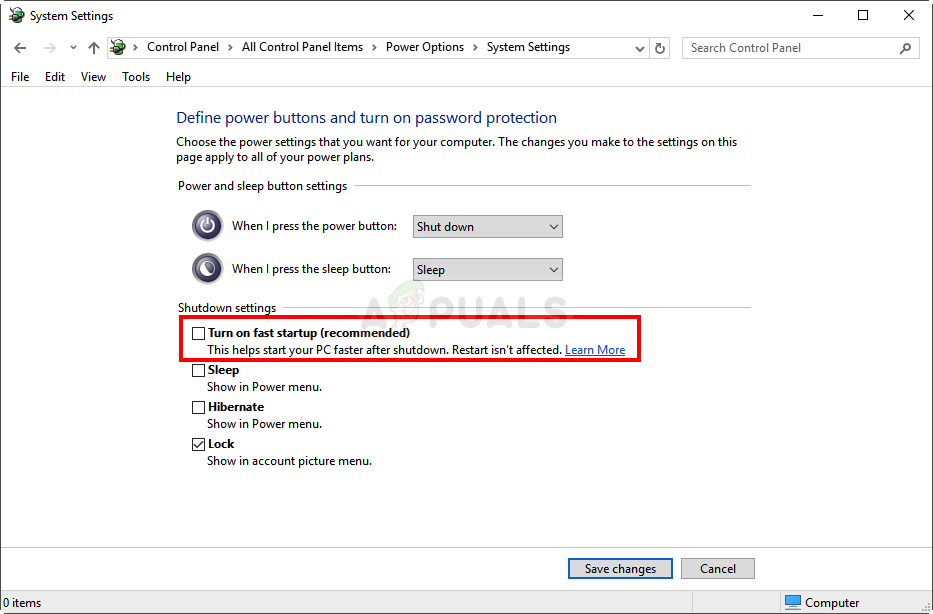
- Uncheck the box next to the “Turn on fast startup (recommended)” option. Click the Save Changes button at the bottom right part of the window and check to see if the same error message still appears from Radeon Wattman.
Solution 2: Install the Latest Drivers
As is the case with many different graphics-related issues, installing the latest drivers may end the drama for you and return stability to your setup. Instability issues are also common if you are trying to play some of the newly released games with outdated drivers. Follow the instructions below in order to install the latest AMD Radeon drivers on your computer!
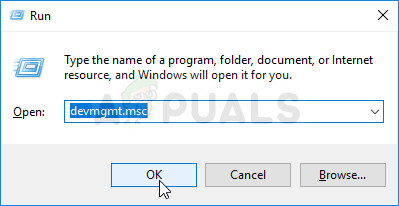
- Click the Start menu button, enter “Device Manager” on your keyboard, and select it from the list of available results by clicking the first entry in the list. You can also tap the Windows Key + R key combo in order to bring up the Run box. Type in “devmgmt.msc” in the box and click OK in order to run it.
- Since it’s the graphics driver you want to update on your computer, expand the Display adapters section, right-click on your AMD Radeon card and choose the Uninstall Device.
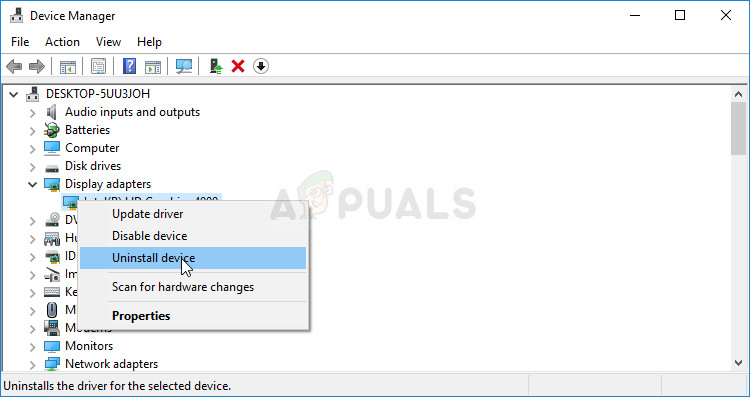
- Confirm any dialogues or prompts which may ask you to confirm the deletion of the current AMD Radeon driver and wait for the uninstallation to complete.
- Look for your graphics card driver on the AMD’s website. Input the required information about the card and your operating system and click on Submit.
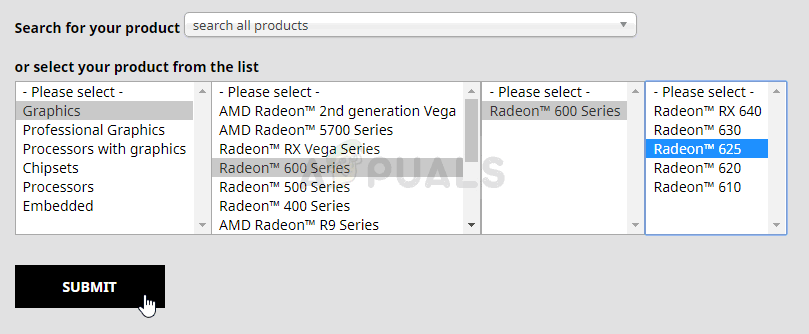
- A list of all available drivers should appear. Make sure you scroll down until you reach the required entry, click on its name and the Download button afterward. Save it to your computer, open it, and follow the instructions on-screen in order to install it. Check to see if the “Default Radeon WattMan settings have been restored due to unexpected system failure” error message still appears!
Solution 3: Stop Overclocking Your GPU
The error often appears when users overclock their GPUs. Overclocking is a thing where users alter the maximum frequency of the graphics of the central processor to a value which is above the recommended one set by your GPU’s manufacturer. This can give your PC a significant performance and speed advantage when playing video games and improve it in all ways.
Returning your processor’s frequency to its original state depends on which software you used to overclock it in the first place. Stop overlocking your GPU and check to see if the issue persists.
Solution 4: Uninstall All Overclocking Programs from Your Computer
Since the Radeon WattMan is an overclocking tool, among other things, it does not cooperate well with other overclocking tools and users have reported that uninstalling other tools while keeping Radeon WattMan manage to resolve the problem. Make sure you have followed the advice in Solution 3 and stopped overclocking your GPU before following through with this method!
- First of all, make sure you have logged in with an admin account as you won’t be able to uninstall programs using any other account privileges.
- You might have to abandon all changes you have made to your GPU using any of the programs you are about to uninstall.
- Click on the Start menu and open Control Panel by searching for it. Alternatively, you can click on the cog icon in order to open Settings if you are using Windows 10.
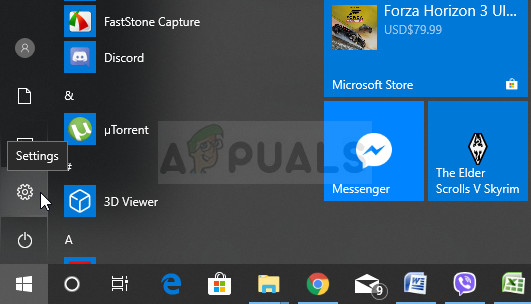
Settings in Start menu - In Control Panel, select to View as: Category at the top right corner and click on Uninstall a Program under the Programs section.
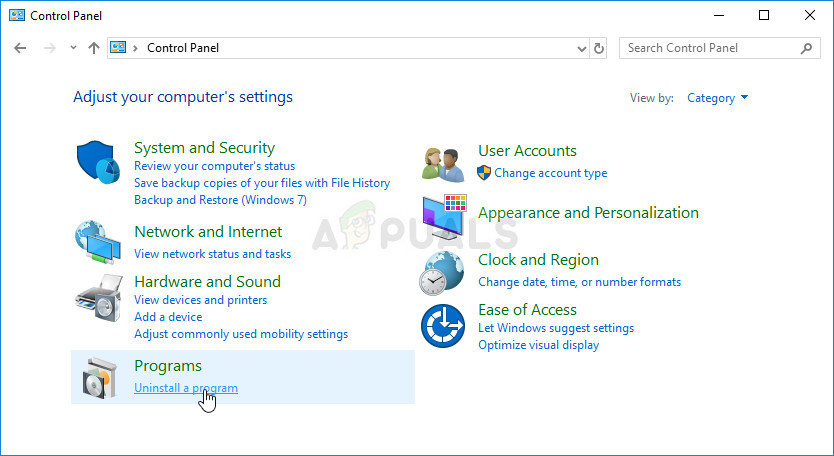
- If you are using the Settings app, clicking on Apps should immediately open a list of all installed programs on your PC.
- Locate all overclocking tools you have installed on the list and repeat the same process for all of them. Click on each one, click the Uninstall button above the list and confirm any dialog boxes which may appear. Follow the instructions on-screen in order to uninstall them all and restart your computer afterward.


