How to Fix the Corsair Void Mic not Working on Windows?
There’s nothing better than buying a great Corsair headset to suit all of your gaming, music listening, and various other needs. However, many users have reported that the problem occurs where the microphone simply doesn’t work or it picks up weird, distorted sound.
Resolving the problem shouldn’t be too difficult and you can expect to resolve the problem quickly. We have prepared several methods which can be used to resolve the problem. These methods were confirmed as successful by other users so make sure you follow the solutions below!
What Causes Corsair Void Mic Not to Work on Windows?
Here are several things which may cause the microphone to stop working on your computer. If you find out the actual cause of the problem, you will already be one step closer to resolving the problem for good. Check out the shortlist below!
- The microphone is not the default recording device – If you have used different microphone devices recently or if you are a laptop owner, it’s possible that the mic is working but it’s not the default microphone on your computer. Make sure you set it as default!
- Microphone can’t be accessed – Windows 10 privacy settings will prevent apps from accessing your microphone before you allow them. You can manually open the list of apps and make sure your microphone is available for access.
- Sample rate too low – If your microphone is recognized properly but its quality is simply too low, its sample rate may be set too low. You can change that in the device’s properties.
Solution 1: Troubleshoot Your Microphone
Troubleshooting your microphone is the first thing you should do when troubleshooting this issue. Windows 10 can automatically recognize if there are certain problems with audio devices connected to your computer and it can act accordingly. Make sure you follow the steps below to run both troubleshooters.
Troubleshooter #1:
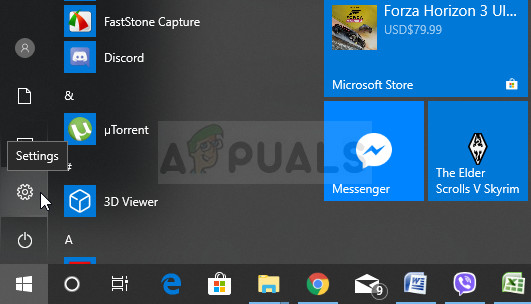
- Search for Settings in the Start menu and click on the first result which pops up. You can also click directly on the cog button at the lower left part of the Start menu or you can use the Windows Key + I key combination.
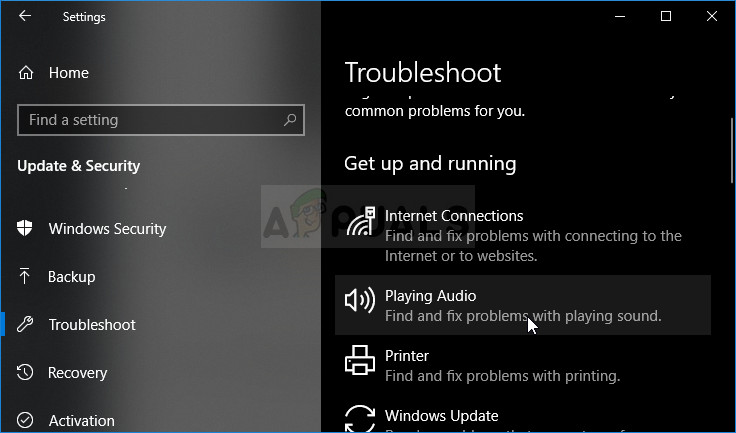
- Locate the Update & security section at the bottom part of the Settings window and click on it.
- Navigate to the Troubleshoot tab and check under the Getup and running
- Playing Audio troubleshooter should be right there at the bottom so make sure you click on it and follow the instructions on the screen to run it.
- Check to see if the problem has been resolved and if your Corsair Void mic starts working!
Troubleshooter #2:
- Right-click on the volume icon located at the bottom right part of your screen and choose the Open Sound Settings option. An alternative way would be to open the Settings tool on your PC by clicking the Start menu and clicking the cog icon at the bottom left part.
Opening Settings from the Start menu - Alternatively, you can use the Windows key + I key combination for the same effect. Click to open the System section and navigate to the Sound tab at the left side of the window.
- Scroll down until you reach the Input section in the Sound tab and make sure you click the Troubleshoot button under Test your microphone. Follow the instructions which will appear on-screen and make sure you comply with everything.
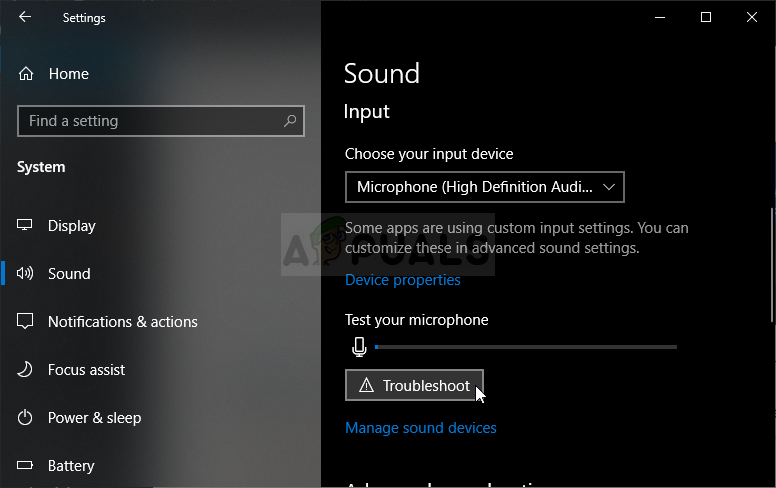
Troubleshooting your microphone - Make sure you try the microphone out to see if it works!
Solution 2: Set Your Corsair Void Headset as the Default Recording Device
If the headset is not set as the default recording device, your computer might be using the built-in microphone inside your laptop or a different device which may have been installed on your computer a while ago. Make sure you follow the steps below to set your Corsair Void headset as the default recording device.
- Right-click on the Volume icon located at the bottom right part of your screen and choose Sounds An alternative way would be to open the Control Panel on your PC and set the View by option to Large icons. After that, locate and click on the Sounds option to open the same window.
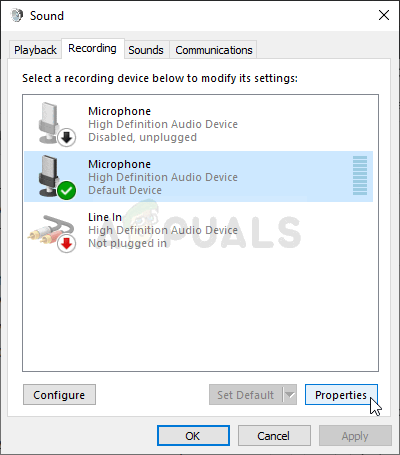
- Navigate to the Recording tab of the Sounds window which just opened up.
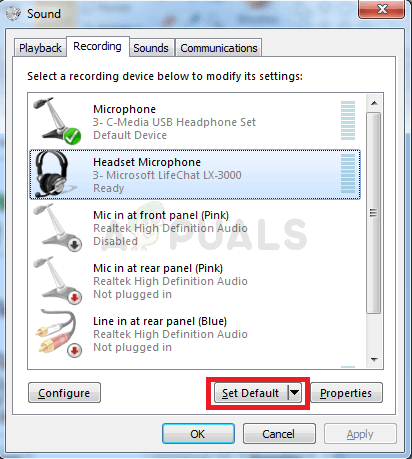
Setting your microphone as the default - Left-click on your headset and click the Set Default button below which should resolve the problem with the headset not working.
Solution 3: Allow Apps to Access Your Microphone
This problem can also appear if your microphone is not available for access. This automatically disables the use of your microphone. This solution is the simplest and it can save you hours of effort so make sure you don’t skip this method when troubleshooting the Corsair Void mix not working problem on Windows 10.
- Click the cog icon in the lower-left section of the Start menu to open the Settings app. You can also search for it.
Opening Settings from the Start menu - Scroll down until you see the Privacy section and make sure you click on it. At the left side of the window, you should see the App permissions section. Scroll down until you reach Microphone and click on this option.
- First of all, check if the Microphone access for this device option is on. If it’s not, click on Change and set the slider to on.
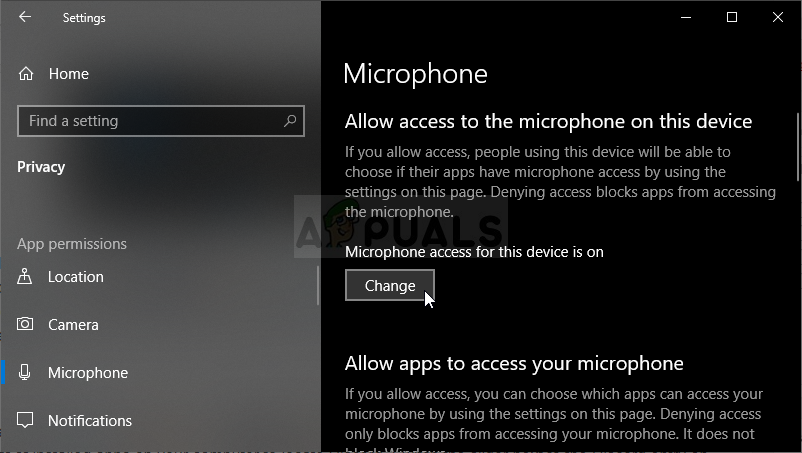
Enabling microphone access - After that, switch the slider under the “Allow apps to access your microphone” option to On and scroll down in the list of installed apps on your computer. Switch the slider next to the apps you wish to provide access for on the list to on.
- Restart your computer to see whether the problem still appears!
Solution 4: Change the Default Format of the Microphone
If the microphone is sort of working but the sound it records is noisy and low-quality, you should check if the sample rate is too low. Windows often assign a low sampling frequency to newly added devices which can cause issues such as this one. You can select a higher frequency along with any bit depth!
- Right-click on the Volume icon located at the bottom right part of your screen and choose Sounds An alternative way would be to open the Control Panel on your PC and set the View by option to Large icons. After that, locate and click on the Sounds option to open the same window.
- Navigate to the Recording tab of the Sounds window which just opened up.
Microphone properties - Left-click on your headset and click the Properties button. Navigate to the Advanced tab in the Microphone Properties window and check the Default Format section. Click to open the dropdown menu.
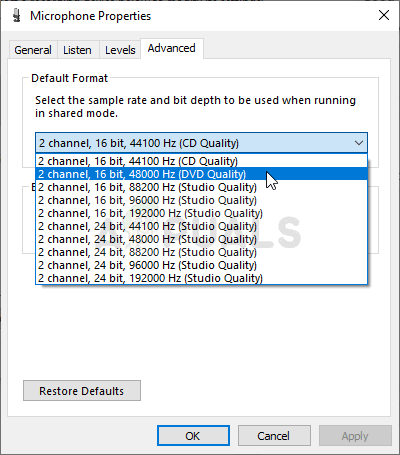
Sample rate of your microphone - You can choose between different qualities and sample rates to experiment with. However, make sure the lowest you go is 2 channel, 16 bit, 44100 Hz (CD Quality). Check to see if your microphone works properly now!


