How to Fix the Audio and Video Out of Sync Error on Windows?
When audio and video go out of sync, it’s almost impossible to watch a video on your computer. Users have reported this problem often occurs inside different browsers such as Google Chrome, Mozilla Firefox, and Microsoft Edge but it can also occur when using media players for local videos.

There are several confirmed methods which can help you resolve this problem and we have decided to present them in a single article. Make sure you follow the instructions carefully and you should get rid of the problem in no time!
What Causes Audio and Video to go out of Sync on Windows?
There are quite a few different causes to this problem and it all depends on where the problem actually occurs: inside a browser or when playing a video file located on your computer. However, it’s possible to come up with a shortlist of the most common causes which can help you understand your scenario and choose the best method. Check it out below:
- Old drivers – Old audio drivers are often to blame when audio legs behind and it’s important to keep them up to date at all times.
- High Precision Event Timer – HPET is a precise hardware timer which appears to affect audio on your computer considering it’s quite precise and demanding. Disabling it in BIOS helped users resolve the problem.
- Device priority – It’s possible that some apps have an advantage over the others when it comes to accessing the speakers and it’s a problem which can be managed quite easily by preventing the apps from gaining exclusive priority.
Solution 1: Update Audio Device Drivers
Many users have reported that installing the latest drivers for their audio devices managed to resolve the problem immediately. Since drivers are often not updated automatically, it’s very important to keep them up to date in order to prevent problems such as this one from happening. Follow the steps below in order to update your audio drivers.
- Click the Start menu button at the lower left part of the screen, type in “Device Manager”, and select its entry from the list of available results by clicking the first one.
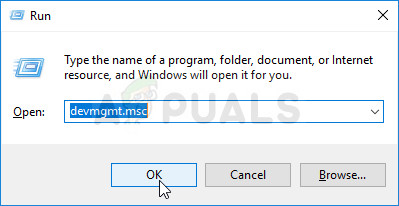
- You can also use the Windows Key + R key combination in order to bring up the Run dialog box. Type in “devmgmt.msc” in the dialog box and click OK in order to run Device Manager.
- Since you want to update the driver for your sound devices, expand the Sound, video and game controllers section by left-clicking the arrow next to the name. Right-click on each entry in the list and choose Update driver from the context menu.
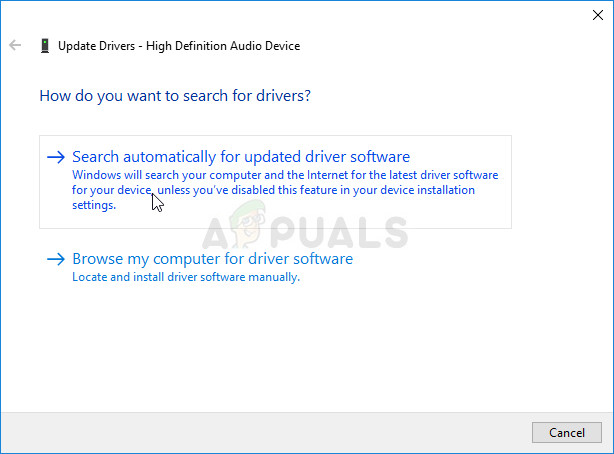
- Choose the Search automatically for updated driver software option from the new window and wait to see if the tool is able to find newer drivers. Repeat the same process for all audio devices.
- Check to see if audio and video are back in sync!
Solution 2: Disable HPET in BIOS
High Precision Event Timer is simply a hardware timer used inside personal computers. It offers more precision and resolution when it comes to generating interrupts. Users have reported that disabling this timer in BIOS does wonders for audio and video out-of-sync issues and they magically disappear! Check it out below!
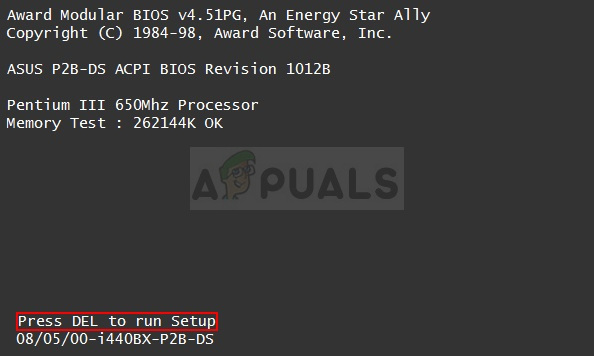
- Turn your PC on and try to enter BIOS settings by pressing the BIOS key as the system is about to start. The BIOS key is typically displayed on the boot screen, saying “Press ___ to enter Setup.” or something similar. There are other keys as well. The usual BIOS keys are F1, F2, Del, etc.
- Now it’s time to toggle HPET off. The option which you will need to change is located under different tabs on BIOS firmware tools made by different manufacturers and there is no unique way to find it. It’s usually located under the Power Management tab but there are many names for the same option.
- Use the arrow keys to navigate to the Power, Power Management, Power Management Setup, or a similar sounding tab inside BIOS. Inside, select an option named HPET or High Precision Event Timer or something similar inside.
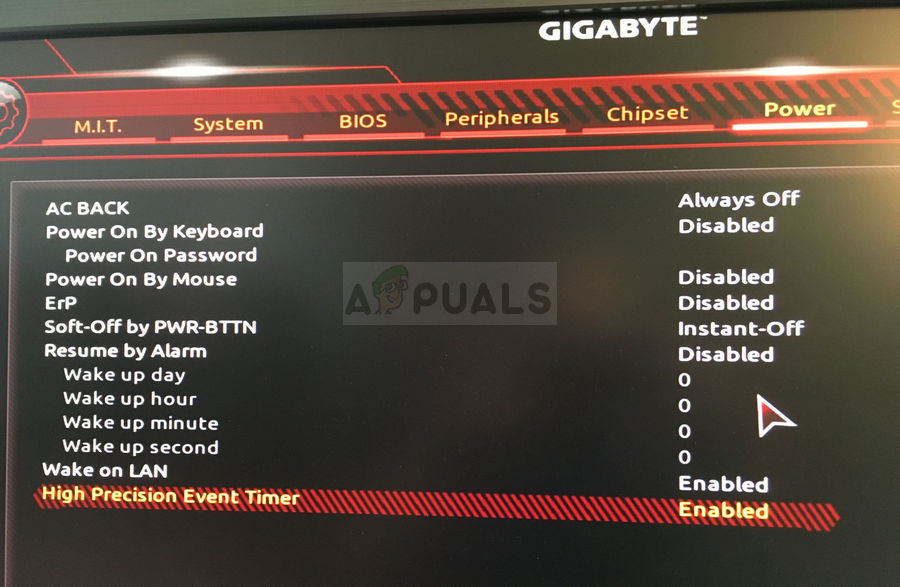
- After selecting the option, you will be prompted with On/Off options or Enable/Disable. Make sure you choose Off or Disable.
- Navigate to the Exit section and choose to Exit Saving Changes. This will proceed with the computer’s boot. Check to see if the problem persists.
Solution 3: Sort out Priority Settings
If some apps have exclusive priority over your sound devices, you might experience sound being delayed as the priorities are being sorted out. Apps which may not even be active at the moment might be in control of your speakers, causing audio to run late. Check out the steps below in order to resolve this problem.
- Right-click on the volume icon located at your taskbar and choose the Sounds If this icon is not located at your taskbar, you can locate Sound settings by opening Control Panel, switching the view to Category and selecting Hardware and Sound >> Sound.

- Check to see if your speakers are enabled under the Playback Switch to this tab by clicking at the top of the window and locate the device you are using. It should be located at the top and selected.
- Click on it once and click the Properties button at the lower right part of the window. In the Properties window which opens, check under Device usage and set the option to Use this device (enable) if it wasn’t already and apply the changes.
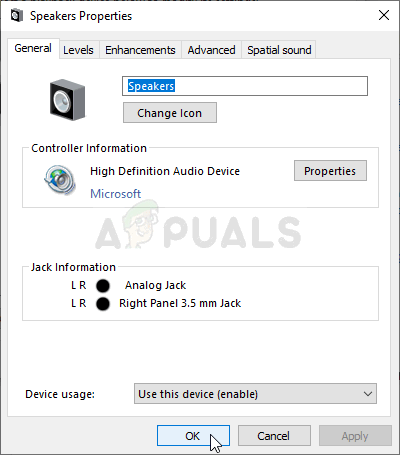
- Navigate to the Advanced tab in the same properties window and check under Exclusive mode.
- Uncheck the boxes next to the “Give exclusive mode applications priority” option. Apply these changes as well by clicking OK and check to see if audio and video are now in sync when you open a video in your browser or on your computer.
Solution 4: Run the Playing Audio Troubleshooter
This solution was suggested by a Microsoft professional and it helped plenty of people, unlike other generic responses users usually receive. This solution is quite helpful as you will run the in-built Playing Audio troubleshooter which will try to identify and solve the error. Follow the instructions carefully:
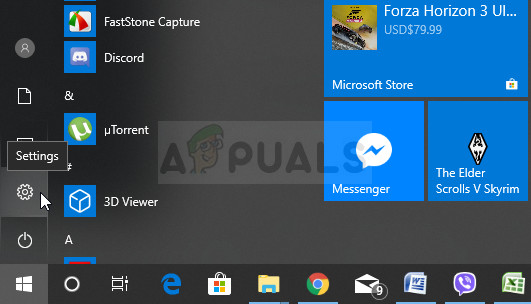
- Search for Settings in the Start menu and click on the first result which pops up. You can also click directly on the cog button at the lower left part of the Start menu or you can use the Windows Key + I key combination.
- Locate the Update & security section at the bottom part of the Settings window and click on it.
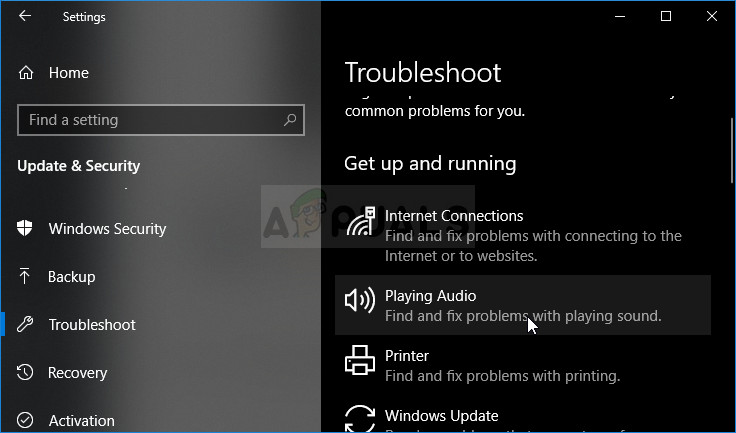
- Navigate to the Troubleshoot tab and check under the Get up and running
- Playing Audio troubleshooter should be right there at the bottom so make sure you click on it and follow the instructions on the screen.
- Check to see if the problem has been resolved and if audio and video now sync up and play at the same time.


