How to Fix ‘A Ubisoft service is not available at the moment’ Error
When you see the “A Ubisoft service is not available at the moment” error, it usually happens when you try to log into Ubisoft Connect or start a game, and the service isn’t responding. This error indicates that Ubisoft servers or related services are temporarily unavailable, which stops you from logging in or starting the game.
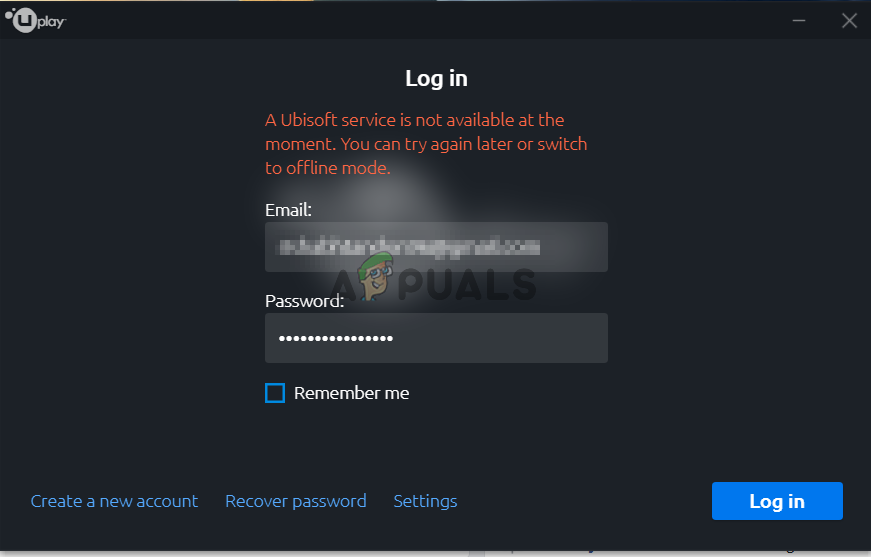
The most common reason for this is that Ubisoft’s servers are down, either for maintenance or due to unexpected problems. Other possible reasons include network setup issues like DNS problems or firewall restrictions on your end.
In this article, we will discuss different ways to solve this problem.
1. Check the Time and Date on Your Computer
If your computer’s clock is not set correctly, you might get errors because the time on your computer doesn’t match the time on Ubisoft’s servers. This time difference can mess up the secure connection needed to check your login or game access. To fix this, make sure your computer’s time and date are correct. This will help your system connect properly with Ubisoft’s servers and might solve the problem.
1.1 From Settings
- Press Windows + I to open Settings.
- Go to the Time & Language section and select the Date & time tab from the left menu.
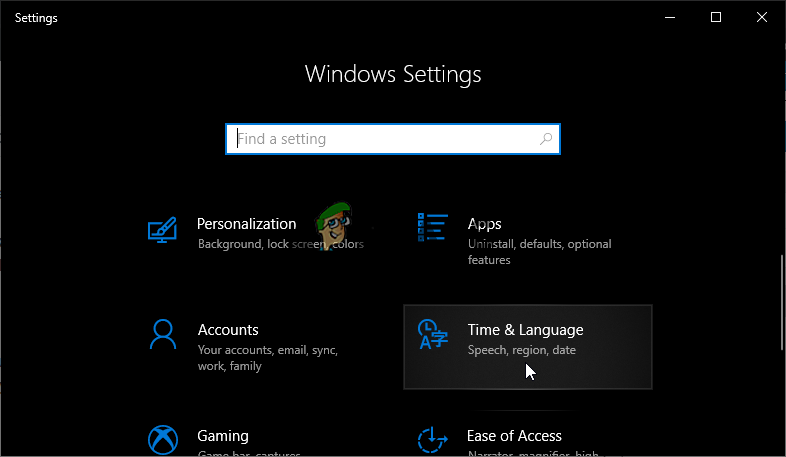 Time & language settings
 - In the Date & Time tab, ensure that your computer’s date and time are set up correctly. If the time is not correct, you can try turning the Set time automatically option on or off, depending on the current setting.
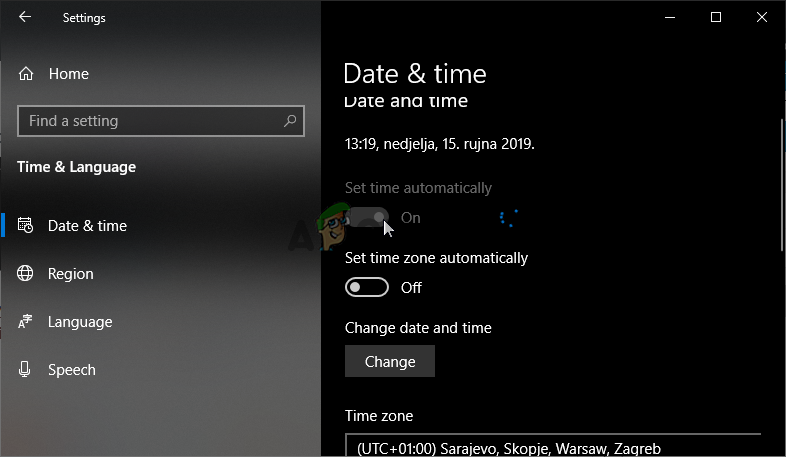 Set time automatically
 - To change the date, under Date, click the dropdown menu button to find the current month in the calendar, and then click the current date.
- To change the time, under Time, click the hour, minutes, or seconds that you want to change, and then slide the values until you settle for the one correct according to your time zone.
- When you have finished changing the time settings, click OK.
1.2. From Control Panel
- Press Windows + R, type control.exe, and hit Enter.
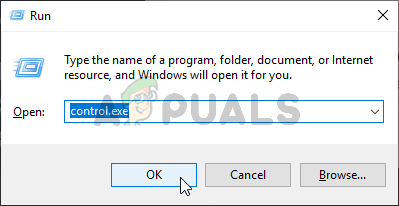
Running Control Panel - In Control Panel, change the view to Large or Small icons and scroll down to open the Date and Time option. In the Date and Time tab, click the Change date and time button at the top to adjust the settings.
- To synchronize time with an online server, go to the Internet Time tab in the Date and Time window. Click Change settings, check the box next to Synchronize with an Internet time server, and click Update now. Then click OK, Apply, OK, and close Control Panel.
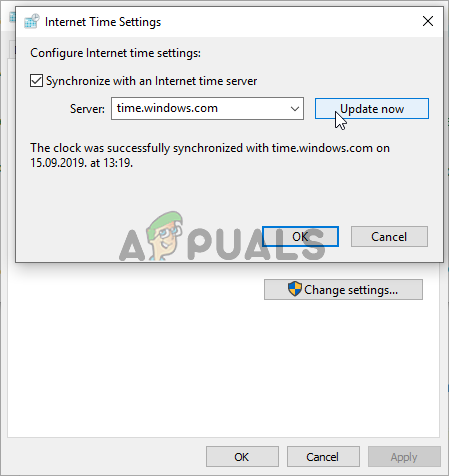
Internet Time Settings - After completing these steps, the issue should be resolved.
2. End a Faulty Process in Task Manager
Sometimes, background apps can cause problems with Ubisoft services and lead to errors. You can fix this by using Task Manager to stop any apps that are not working properly. This helps reset any apps that might be blocking Ubisoft Connect or causing issues.
- Press Ctrl + Shift + Esc simultaneously to open Task Manager.
- Click More details at the bottom left to expand Task Manager. In the Processes tab, scroll down to the Background processes list and look for a file name similar to the one shown in the image below.
- Select it and click End task in the lower right corner.

Ending the unusual Ubisoft process - Confirm any dialogs that appear when ending the task and check if you can now log in to Uplay on your computer.
3. Uninstall Hamachi
LogMeIn Hamachi, a VPN tool, can sometimes cause connection problems with Ubisoft Connect. Removing Hamachi might help solve these issues by clearing up any network conflicts that are stopping Ubisoft services from working correctly.
- Search for Control Panel in the search box and open it.
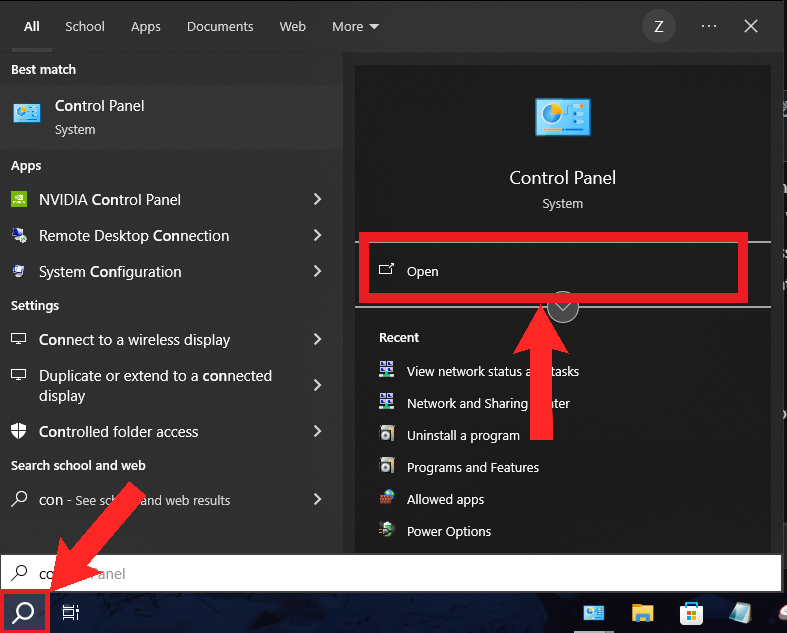
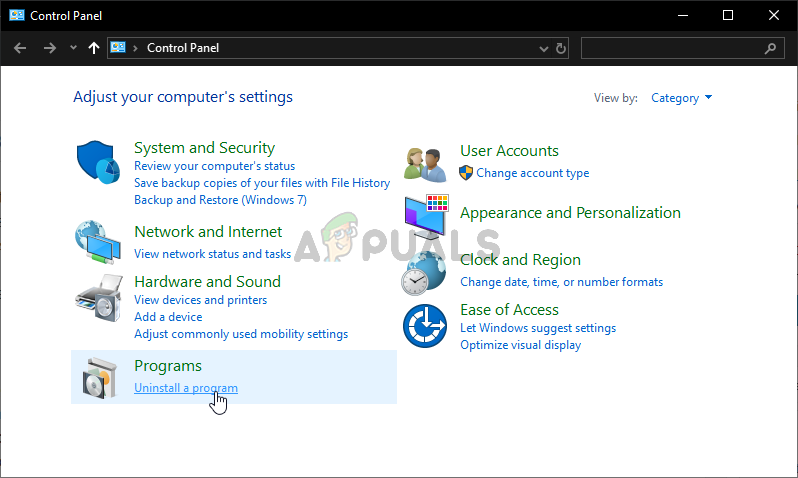
Open the “Control Panel” using the “Search” feature - In Control Panel, set the view to Category at the top right corner and click on Uninstall a Program under the Programs section.
- Find the LogMeIn Hamachi tool in Control Panel or Settings and click Uninstall. Follow the instructions in the uninstall wizard to remove it.
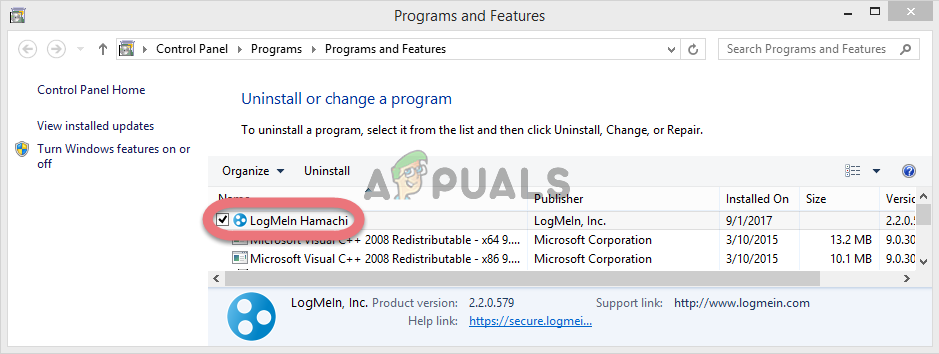
- Click Finish when the uninstall process is complete and restart your computer to check if the errors persist.
4. Disable IPv6
Turning off IPv6 can help fix connection problems when Ubisoft’s services have trouble with network settings. IPv6 is a newer internet protocol that not all services support yet. By turning it off, your system will use IPv4, which is more widely used.
- Press Windows + R, type ncpa.cpl, and hit Enter.
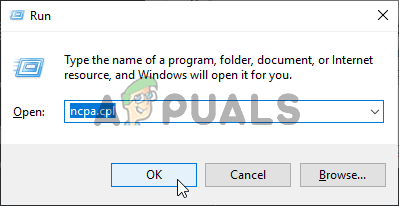
Running Network settings - When the Internet Connection window opens, double-click your active network adapter.
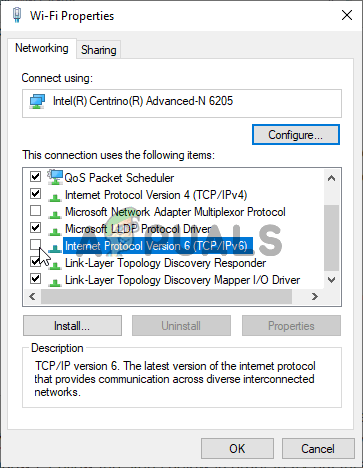
- Click Properties and find the Internet Protocol Version 6 (TCP/IPv6) entry. Uncheck the box next to it, click OK, and restart your computer to apply the changes. Check if the problem persists.
5. Use Static IP and DNS Addresses
Using a static IP and DNS address can help make your connection to Ubisoft’s servers more stable. Instead of using automatically assigned network settings, which can cause problems or slowdowns, this method provides a more steady and reliable connection. It also avoids DNS problems, making communication between your system and Ubisoft’s servers quicker and more accurate.
- Press Windows + R, type cmd, and hit Enter.
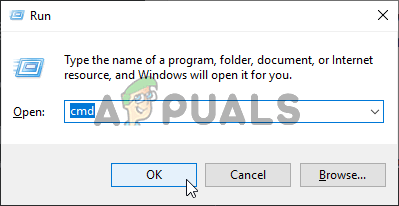
Running Command Prompt - Type the command below and scroll down to the network adapter you are using. Note the Default Gateway, Subnet Mask, MAC, and DNS.
ipconfig /all
- Press Windows + R, type ncpa.cpl, and hit Enter.
Running Network settings - Left-click your active network adapter and select Properties. Find the Internet Protocol Version 4 (TCP/IPv4) item, select it, and click the Properties button.
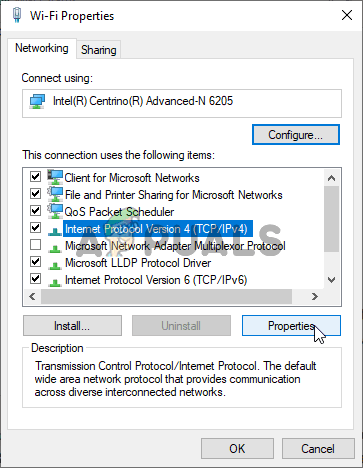
IPv4 Properties - In the General tab, select “Use the following DNS server addresses” and enter 8.8.8.8 and 8.8.4.4. For “Use the following IP address,” use the same number as the Default Gateway but change the last digit. Fill in the other information as noted.
6. Reset Your Hosts File
If you have trouble connecting to Ubisoft services, resetting the hosts file might help fix it. The hosts file guides your computer to the right servers. If it has been changed, your connection might not go where it should, leading to this error. Resetting the hosts file puts the settings back to default, which can fix any mix-ups blocking access to Ubisoft servers.
- Open File Explorer and navigate to C > Windows > System32 > Drivers > Etc. First, click on This PC or My Computer from the left pane to access your Local Disk C.
- If you can’t see the Windows folder, you may need to enable hidden files and folders. Click the “View” tab in the top menu of File Explorer and check the “Hidden items” box in the Show/hide section.
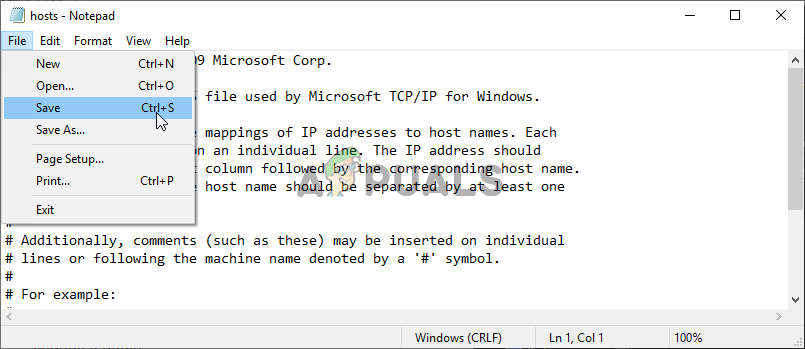
- Find the hosts file in the Etc folder, right-click it, and choose to open it with Notepad. Use Ctrl + A to select all the text and press Delete or Backspace to remove it. Then, paste the following text:
# Copyright (c) 1993-2006 Microsoft Corp.
#
# This is a sample HOSTS file used by Microsoft TCP/IP for Windows.
#
# This file contains the mappings of IP addresses to hostnames. Each
# entry should be kept on an individual line. The IP address should
# be placed in the first column followed by the corresponding host name.
# The IP address and the host name should be separated by at least one
# space.
#
# Additionally, comments (such as these) may be inserted on individual
# lines or following the machine name denoted by a '#' symbol.
#
# For example:
#
#    102.54.94.97     rhino.acme.com         # source server
#     38.25.63.10     x.acme.com             # x client host
# localhost name resolution is handled within DNS itself.
#     127.0.0.1       localhost
#     ::1             localhost
- Click File > Save to save the changes. Exit Notepad and restart your computer. Check if the Ubisoft login issue persists.
7. Run SFC
Running the System File Checker (SFC) checks your computer for broken or missing files that might be causing errors. Ubisoft services need some of these important Windows files to work properly, so if they’re damaged, it could cause connection or service issues.
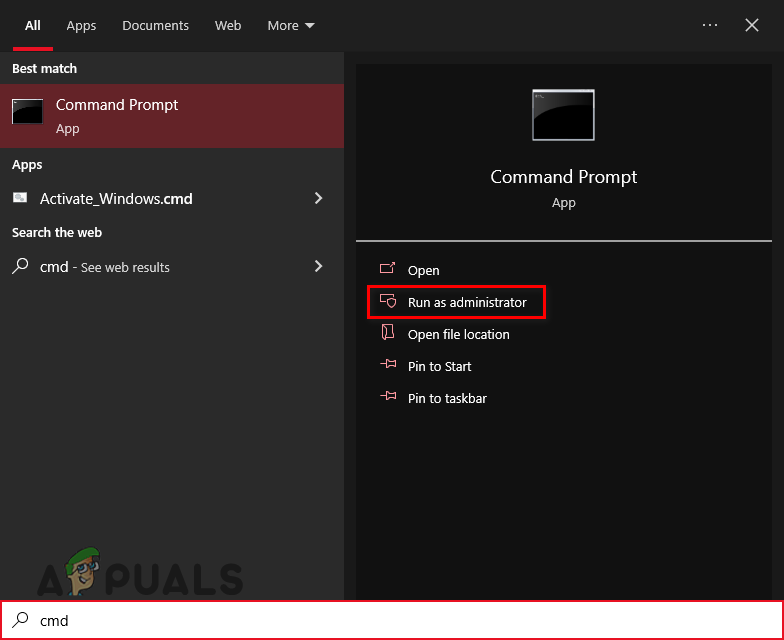
- Search for Command Prompt in the search box and run it as an Administrator.
- Enter the following command:
sfc /scannow
- Restart your PC.
8. Perform a Network Reset
A network reset clears out hidden network problems that might be stopping you from connecting to Ubisoft services. It removes any conflicting settings or temporary hiccups in the network setup, which often fixes connection issues.
- Press Windows + I key to open settings.
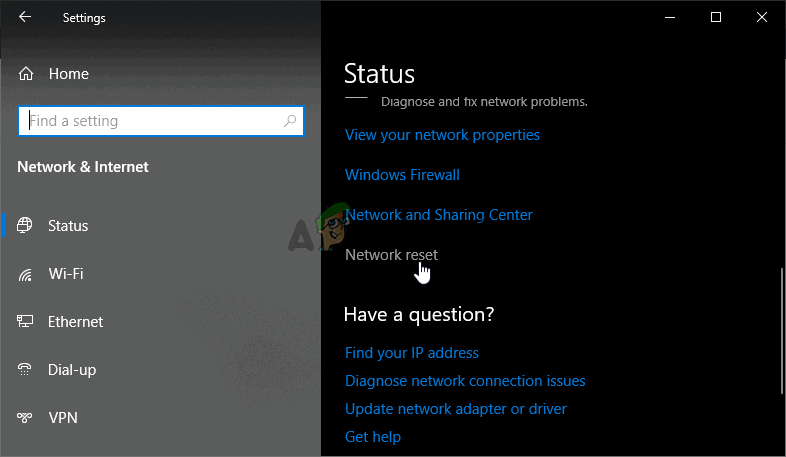
- Click to open the Network & Internet section and stay in the Status tab on the left side of the window.
- Scroll down until you reach the blue Network reset button. Click it and follow the instructions that will appear on-screen and make sure you comply with everything.
- Check to see if the same problem persists!


Here’s my two cents: How the hell can you switch to offline mode in an online only game such as The Crew?!