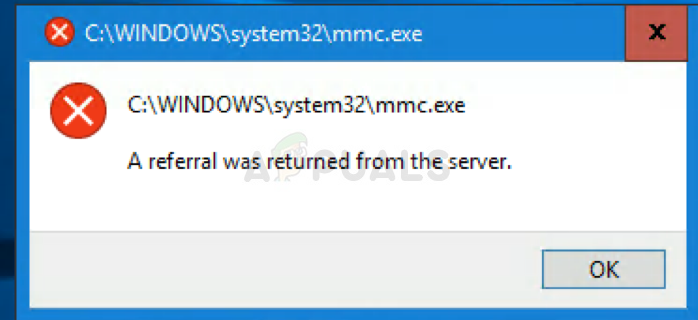
6 ways to Solve ‘A referral was returned from the server’ Error
This is one of the most interesting errors as it can occur when you run almost anything. Users have reported seeing it after why download a new program and try to run it, when they try to update drivers, and even when trying to install a whole new operating system.
That being said, it is to be expected that the “A referral was returned from the server” error has plenty of different situations and that is exactly the case. You should follow them according to your situation and don’t give up!
Solution 1: Tweak Certain Settings in the Group Policy Editor
The way Windows handles executable files is complicated and there are plenty of security rules attached to this as .exe files are the files which can harm your computer in many cases. This problem can sometimes be fixed by changing certain settings in your Local Group Policy Editor which can be accesses easily.
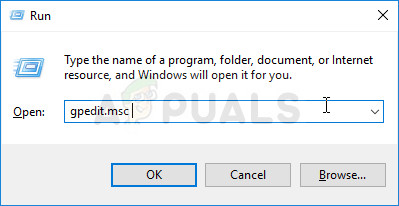
- Use the Windows Key + R key combination on your computer in order to open the Run dialog box. Enter “gpedit.msc” in the Run dialog box, and press the OK button in order to open the Group Policy Editor. On Windows 10, you can try simply typing in Group Policy Editor and clicking the first result which pops up.
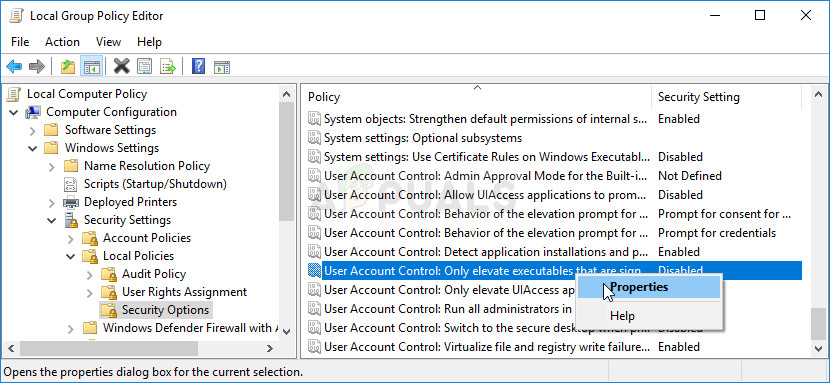
- On the left section of Local Group Policy Editor, under Computer Configuration, double click on Windows Settings, and navigate to the Security Settings > Local Policies > Security Options section.
- Select the Security Options folder by double-clicking on it and navigate to its right side section.
- Double click on the “User Account Control: Only elevate executables that are signed and validated” policy option, check the box next to the “Disabled” option, and apply the changes you have made before exiting Group Policy Editor.
- Finally, restart your computer in order to save these changes and check to see if the annoying “A referral was returned from the server” message has disappeared.
Solution 2: Set UAC to a Lower Setting
If you are a Windows user who likes to experiment with various settings and programs, you may find constant User Account Control (UAC) pop ups and notifications quite annoying and this error which appears when you try to install something can be avoided by setting your UAC settings to be somewhat more relaxed.
Your PC will remain pretty much in the same security level as before and you won’t receive the error along with constant security alerts.
- Open Control Panel by searching for it in the Start menu. You can also use the Windows Key + R key combination and type in “control panel” in the Run dialog box and click OK.
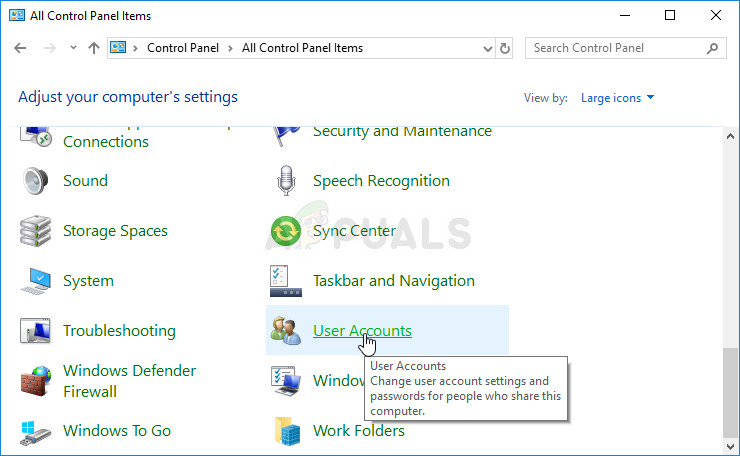
- Switch the View by option in Control Panel to Large Icons and locate the User Accounts option.
- Open it and click on “Change User Account Control Settings”.
- You will notice that there are several different options you can choose on the slider. If your slider is set at the top level, you will definitely receive more of these pop-up messages than usual without removing the error. Also, the error messages similar to the one you are experiencing right now are usually caused by User Account Control.
- Try decreasing this value by one if it’s at the top slider and check to see if it helped. Repeat the process if the error still appears or turn of UAC completely.
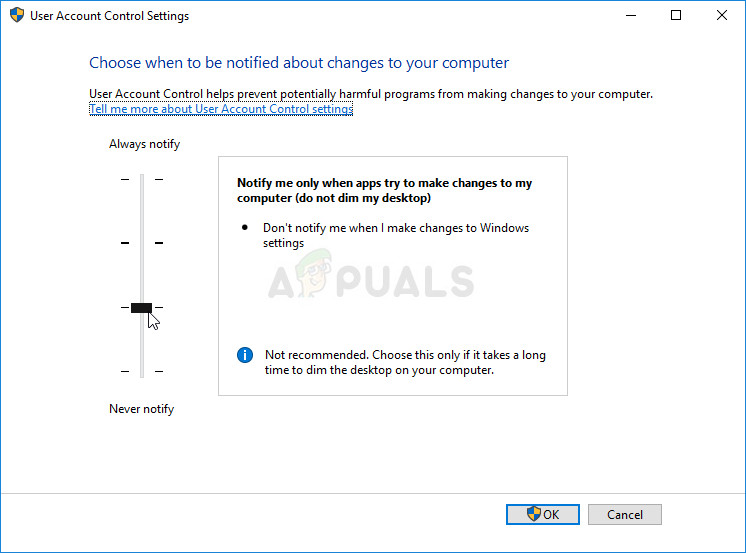
- We recommend you turn it off for now as the file should probably install successfully. You may also be able to run the file even if you don’t disable UAC completely, but you should definitely leave it on as it serves to protect your PC. This is especially valid if you are having problems with one file only.
Solution 3: Install the Program with the Administrator Account
Even though you are probably the administrator on your PC and probably even the only user, this error message might simply go away if you try logging in as an admin. This is a bug and it can be fixed for the particular program if you use the “hidden” administrator account which can be unlocked by several commands in Command Prompt. This solution is recommended if it is only one file you are struggling with.
- Luckily for you, you don’t even need to be logged in to an account to access the Command Prompt.
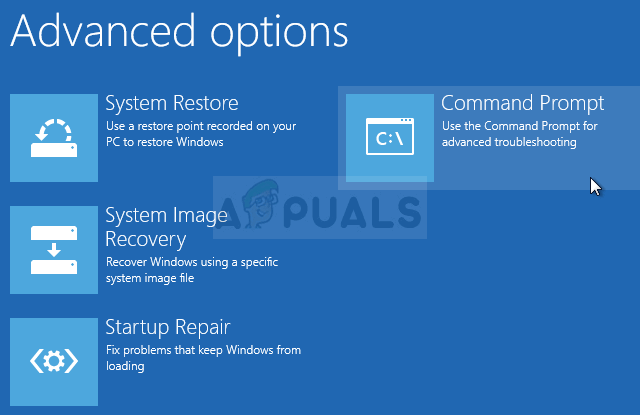
- On the login screen, click on the Power icon and hold the Shift key while clicking restart.
- Instead or restarting, a blue screen will appear with several options. Choose Troubleshoot >> Advanced Options >> Command Prompt.
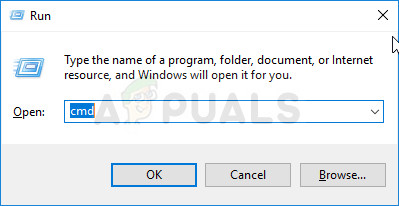
- Of course, you can open Command Prompt simply by using the Windows Key + R key combination and typing “cmd” before clicking OK.
- Copy and paste the following command in Command Prompt and click Enter. You should be able to see the “The command completed successfully” message in no time.
net user administrator /active:yes
- Log into this admin account and wait for a couple of minutes before everything is ready.
- Now you can try restarting your computer, logging into the new administrator account and running problematic file or process.
- After you are finished with the hidden administrator account, you can disable it again by opening an administrative command prompt and typing the following command:
net user administrator /active:no
Solution 4: Add the Problematic File’s Signature to Trusted Signatures
If lowering some of your security settings sounds like too much for you, you can simply tell Windows to start trusting the certificate belonging to the file you are either trying to run or to install. It’s definitely a more light-handed approach but it’s somewhat more complicated but it will still solve the problem according to users who had the “A referral was returned from the server” error.
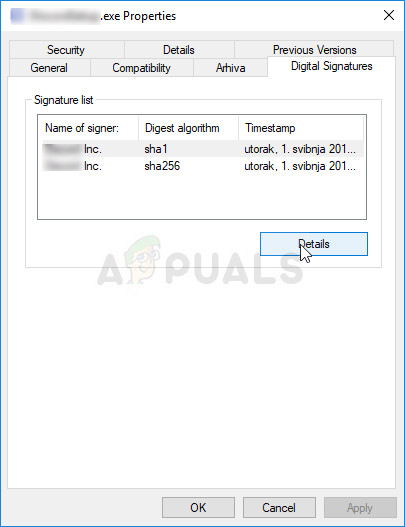
- Navigate through Windows Explorer to the problematic file, right-click on it, and choose Properties. Navigate to the Digital Signatures tab if one exists. If it does not, this solution won’t help you.
- After that, locate the signature under the Signature list section, click on it, and choose Details. If there are multiple entries on the list, you will have to repeat the same process for all of them.
- Click on View Certificate under the Signer information section and proceed to choose the Install Certificate option and click Next.
- Make sure you don’t choose the “Automatically select the certificate store” option as it rarely works. Instead, choose the “Place all certificates in the following store” radio button and then click Browse. Make sure you write down the certificate’s name as you will need it later.
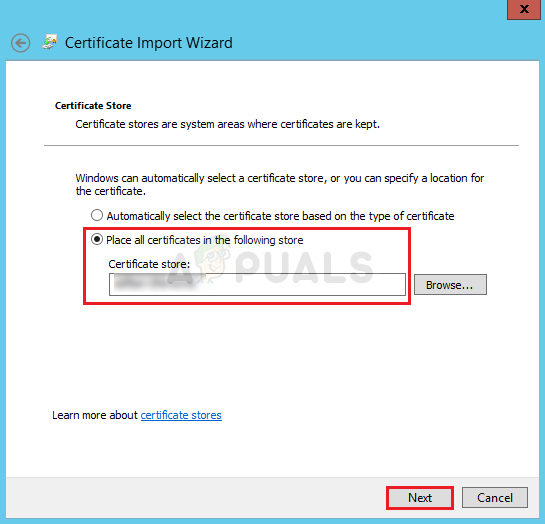
- Select the Trusted Root Certification Authorities option and click OK. Click Next >> Finish and try running your program now.
If that is not enough for your security taste, you should know that you can now make it so that this certificate is only used for code signing and not validating websites or anything similar. This can be useful if you are installing a program which is 100% legit from a not so legit vendor.
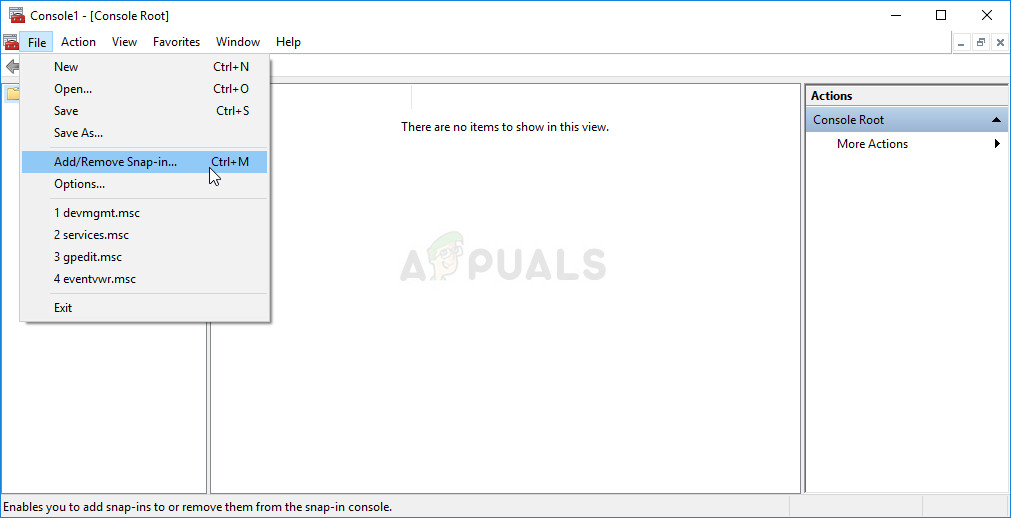
- Use the Windows Key + R key combination, type in “mmc” in the Run dialog box and click OK. Click on File at the menu at the top of the window and click on Add/Remove Snap-in.
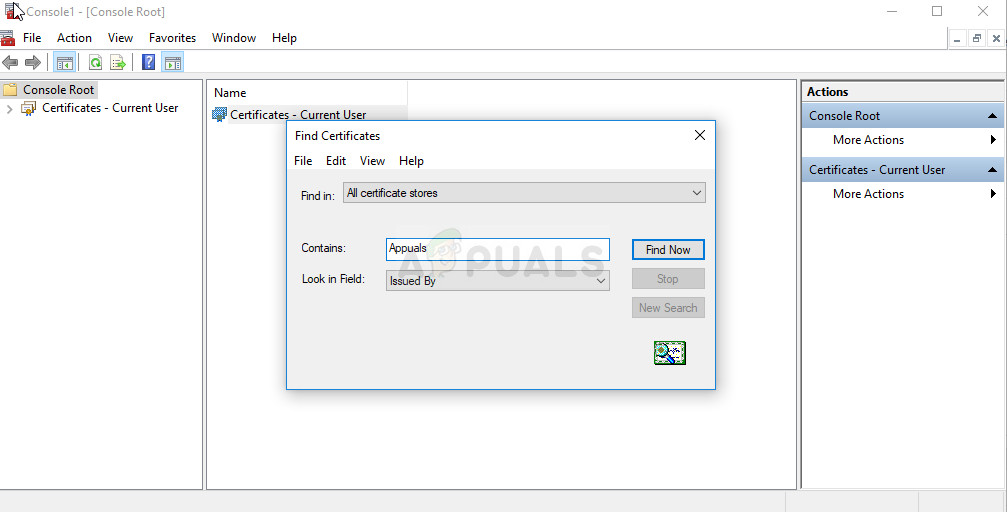
- After that, click on Certificates at the pane under the Available snap-ins text, click on Add and click OK at the bottom of the window. Right-click on Certificated from the main MMC window and choose Find Certificates.
- Type in the name of the certificate you have written down in the previous part of the solution and click on Find Now.
- When you have found it, right-click on it, and choose Properties. Navigate to the General tab and select the “Enable only the following purposes” option. Uncheck every option except the “Code Signing” one which you are going to use.
Solution 5: Uninstall a Certain KB
There are weak Windows updates which have nothing but problems. One of them is definitely the KB3004394 for Windows 7. If you have recently installed this update and started to receive this error, you might want to consider uninstalling this update as that supposedly solved the problem for several users who have installed this update.
- On your keyboard, use the Windows Key + R key combination to open the Run dialog box. Also, you can search these directly in the Start menu if your Windows OS supports it.
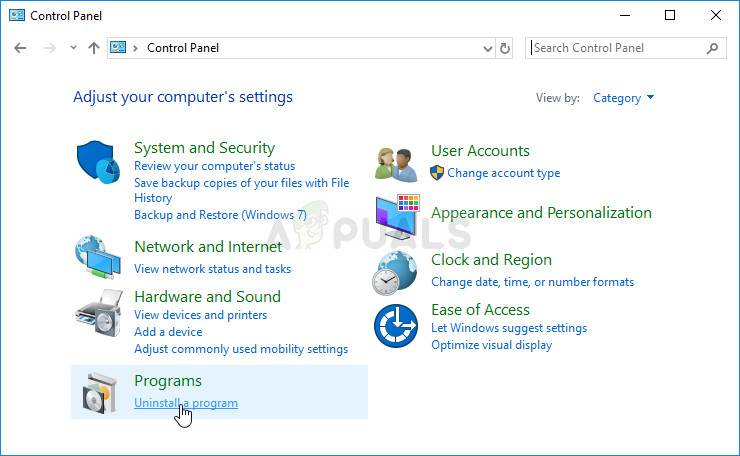
- Type in Control Panel and click OK in order to open it. Make sure you change the view in Control Panel to View by: Category and click on Uninstall a program under the Programs section.
- At the right side of the screen which opens, click on View installed updates and locate the Media Features section. Expand the list and look under the Microsoft Windows list for Update for Microsoft Windows (KB3004394) entry.
- Select it and choose the Uninstall option at the top of the screen. Follow the instructions which will appear on screen and restart your computer to check whether the problem is solved.
Solution 6: Use System Restore
As opposed to the solution above, System Restore works for all operating systems and for all builds. If you have either changed certain settings or done something with the file you are trying to run or install, System Restore can help you revert your PC to a state in which it was before the problem occurred.
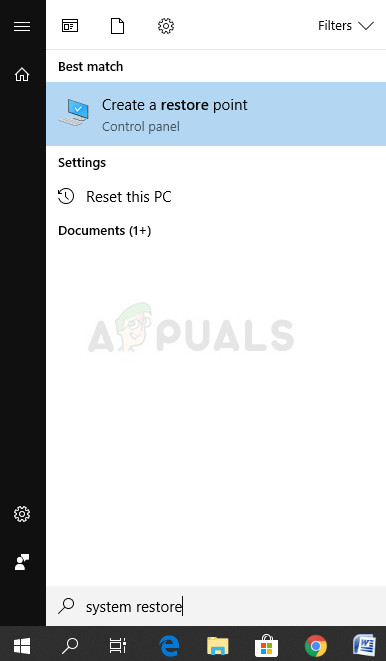
- First of all, we shall turn on the System Restore tool on your computer. Search for System Restore using the Start menu and simply start typing. From there, click on Create a restore point.
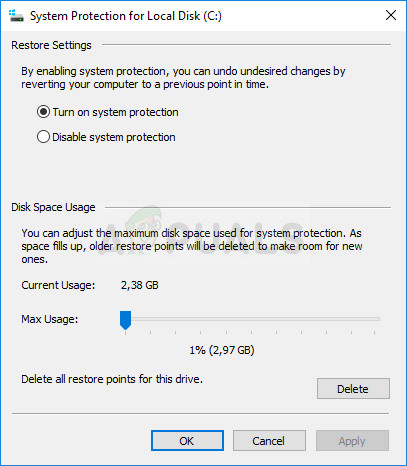
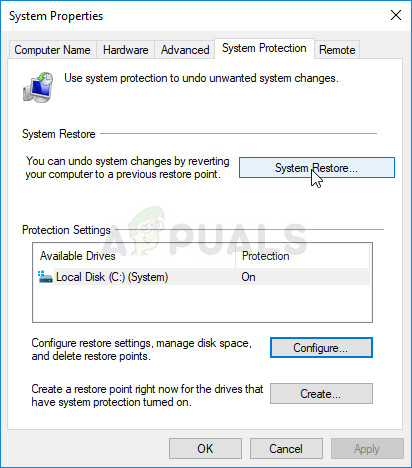
- A System Properties window will appear and it will display the current settings. Inside this window, open the Protection Settings and make it sure that protection is enabled on system drive.
- If it is disabled by any chance, select that disk and click on the Configure button to enable protection. You should also provide a sufficient amount of disk space for system protection. You can set it to any value you want as long as it’s at least a couple of gigabytes if you want to keep more restore points. Click on Apply and OK afterwards to apply the settings.
- Now, the system will create a restore point automatically whenever a new program is installed or an important change has occurred on your computer.
After you have enabled it successfully, let’s revert your PC back to the state where the “A referral was returned from the server” error didn’t occur. Make sure you backup some important documents and apps you have created or installed in the meantime just to be safe if you created them recently.
- Search for System Restore using the Search button next to the Start menu and click on Create a restore point. Inside the System Properties window, click on System Restore.
- Inside the System Restore window, select the option called Choose a different restore point and click the Next button.
- Select a particular restore point you saved before manually. You can also select any restore point available in the list and hit the Next button to proceed with the restoration process. After the process is over, you will be reverted to the state your computer was in at that period in time.


Below solved the issue –
Solution 4: Add the Problematic File’s Signature to Trusted Signatures
Thanks a lot