How to Fix Store Error 0x80073d0a on Windows?
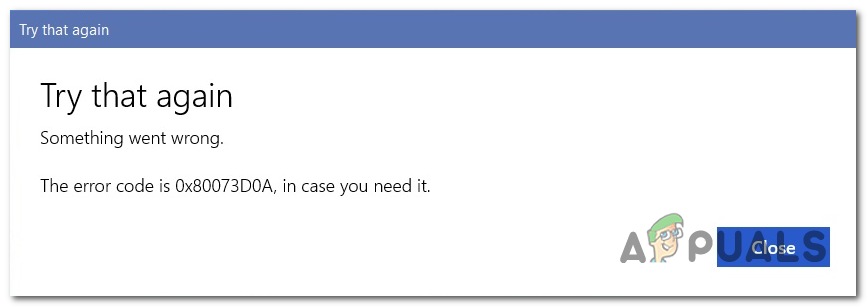
Several Windows 10 users are unable to install apps from the Windows Store. The error that comes up is 0x80073d0a and typically appears as soon as the users click the Get button to download and install the app. Some affected users are reporting that the issue only occurs with certain UWP apps, while others are saying that they only see this error with certain applications. Windows Store is exclusive to Windows 10, so the issue is only occurring for this OS version.
What’s causing the Windows Store Error 0x80073d0a?
We investigated this particular issue by looking at various user reports. We then proceeded to test dozens of repair strategies that were recommended by other users that we’re able to resolve the issue to find out the best repair strategies.
As it turns out, several different scenarios might end up causing the 0x80073d0a error. Here’s a shortlist of potential culprits that might be responsible for this problem:
- Windows Firewall is disabled – One of the most common causes that will trigger this error is a disable the built-in firewall. Windows Store needs to validate the connection between itself and Microsoft Servers. If a critical failsafe like an active firewall is missing, you’ll see this particular error code as a result. If this scenario is applicable, you can fix the issue by re-enabling the built-in firewall from the Services screen.
- 3rd party AV interference – Windows Store might be unable to establish communications between the UWP Store and Microsoft Stores in case you’re using certain 3rd party firewall equivalents. In this case, you should be able to fix the issue either by adding Widows Store to the exclusion list of your firewall or by uninstalling the 3rd party security component altogether.
- Corrupted Windows Store cache – As it turns out, this problem can also occur due to some type of corruption that’s located inside your Windows Store cache. One or more temporary files that the store is relying on may have become corrupted. In this case, the most effective fix is to reset the entire Windows Store cache (either from a CMD prompt or via the Windows GUI).
- System File Corruption – In rare circumstances, you might be encountering this problem due to some type of system file corruption that cannot be resolved conventionally. If this scenario is applicable, you should be able to fix the problem by using the System Restore utility to return your computer to a healthy state or by refreshing every OS component (via a Repair Install or Clean install).
Method 1: Enabling the Windows Firewall service (if applicable)
As it turns out, one of the most common causes that will trigger this error message is a problem with the built-in firewall. Keep in mind that before Windows Store can contact Microsoft’s server to begin the download of a UWP app, the built-in firewall needs to verify if the connection is secure.
If Windows Update is disabled and there’s no 3rd party equivalent that will fill in the gap, the 0x80073d0a error when the user tries to download the UWP application.
Note: If Windows Firewall is the default security app and you’re on the latest build, you will not be able to change the status of the service. In this case, move directly to Method 2 as this method will not apply to your scenario.
Several affected users have managed to get the issue resolved by accessing the Services screen and changing the status of the Windows Firewall service to Automatic. After doing this and restarting their computer, most affected users have reported that the issue was resolved.
Here’s a quick guide on how you can enable the Windows Firewall service to fix the 0x80073d0a Store error:
- Press Windows key + R to open up a Run dialog box. Next, type “services.msc” inside the text box and press Enter to open up the Services screen. If you’re prompted by the UAC (User Account Prompt), click Yes to grant administrative privileges.
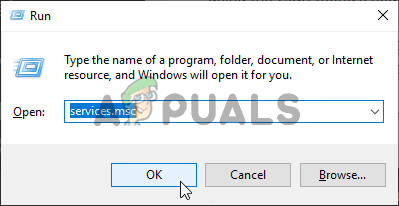
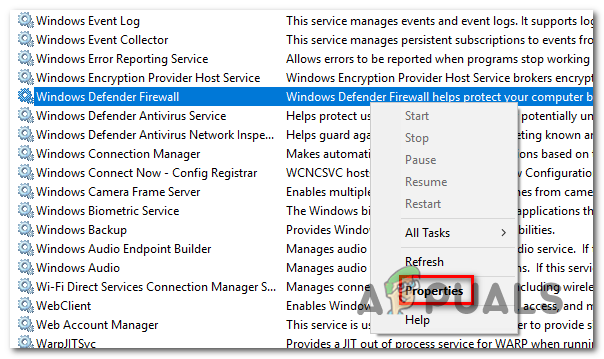
Opening Services - Once you’re inside the Services screen, move down to the right-hand pane and scroll down through the list of services and locate Windows Firewall (or Windows Defender Firewall on newer Windows 10 builds). Once you see the correct entry, right-click on it and choose Properties from the newly appeared context menu.
- Inside the Properties screen of Windows Firewall, select the General tab from the list of available options, then change the Startup type to Automatic and click Apply to save the changes.
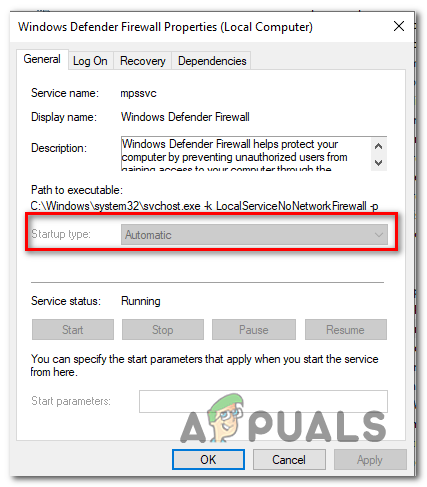
Changing the Startup type to Automatic - Once the status of the Windows Firewall service has been changed accordingly, restart your computer and attempt to install a UWP app once again once the startup sequence is complete.
If you’re still encountering the same 0x80073d0a error or this scenario wasn’t applicable, move down to the next method below.
Method 2: Uninstalling the 3rd party equivalent (if applicable)
As it’s been reported by several different affected users, if you’re using a 3rd party equivalent as the default firewall, the Windows store might not be allowed to establish communications between the UWP store and Microsoft’s servers.
There are a handful of 3rd party suites that are commonly reported for causing this problem (Norton and Kaspersky are most commonly reported)
If this scenario is applicable, you can resolve the issue either by adding the communications with MS servers to the exclusion list or by uninstalling the 3rd party firewall altogether.
Since the steps of adding items to the exclusion will vary a lot different depending on which security suite you’re using, we are going to focus on a universal method that will work regardless of the culprit that you’re encountering.
Here’s a step-by-step guide that will allow you to uninstall the 3rd party firewall program and ensure that you’re not leaving behind any leftover programs that might still cause the same issue:
- Press Windows key + R to open up a Run dialog box. Once you’re inside Run window, type ‘appwiz.cpl’ and press Enter to open up the Programs and Files screen.

Typing in “appwiz.cpl” in the Run prompt - Once you’re inside the Programs and Files screen, move down to the right-hand pane and scroll down through the list of installed applications until you locate your 3rd party firewall. Once you see it, right-click on it and then click on Uninstall from the newly appeared context menu.
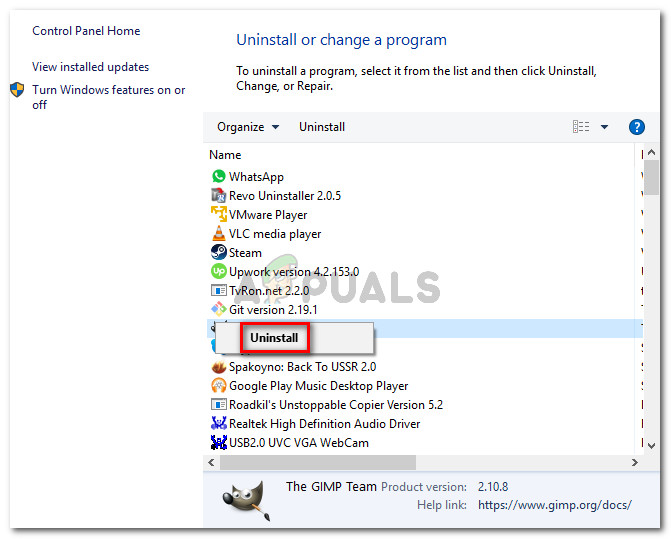
Uninstalling the 3rd party firewall - Follow the on-screen instructions to complete the uninstallation, then restart your computer and see if the issue is resolved at the next startup sequence.
If you’re still encountering the same 0x80073d0a error, move down to the next method below.
Method 3: Resetting the cache of Windows Store
As it turns out, this issue can also be caused by some type of corruption that ends up affecting your PC’s ability to establish connections between your integrated UWP store and Microsoft servers. In most cases, this problem occurs due to some temporary files that are stored inside the cache folder.
A problem of this kind typically occurs after the security scanner ends up quarantining some items or after an unexpected machine interruption. Botched updates are a rare but possible cause that might facilitate the apparition of the 0x80073d0a error.
Several Windows users that were also struggling with this problem have reported that they managed to resolve the issue by resetting Windows Store and all associated components.
Keep in mind that there are two ways of resetting the Windows Store cache on Windows 10. The first option is easier, but it revolves around running a series of commands from a CMD terminal. But if you’re not comfortable with running CMD commands, you can also go for the GUI-exclusive approach where you can perform the same operation exclusively from the Windows settings menus.
Feel free to follow whichever method is closer to what you feel more comfortable with:
Resetting the Windows Store cache via CMD
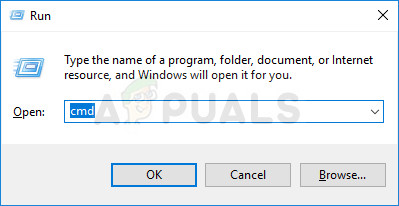
- Press Windows key + R to open up a Run dialog box. Next, type ‘cmd’ inside the text box and press Ctrl + Shift + Enter to open up a Command Prompt with administrative privileges. When you see the UAC (User Account Control) prompt, click Yes to grant admin access.
Opening an elevated Command Prompt - Once you manage to get inside the elevated Command Prompt, type the following command and press Enter to reset the Windows Store along with all dependencies:
wsreset.exe
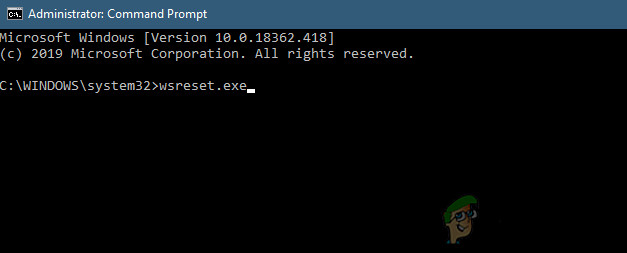
Resetting Windows Store - After the command is processed successfully, restart your computer and see if the issue is being resolved at the next system startup.
Resetting the Windows Store cache via the Settings app
- Press Windows key + R to open up the Run dialog box. Next, type ”ms-settings:appsfeatures” and press Enter to open up the Apps & Features menu of the Settings app.
- After you manage to get inside the Apps & Features screen, scroll down to the list of installed UWP applications and locate the Microsoft Store entry.
- Once you manage to find the Microsoft Store app, click on the Advanced option hyperlink associated with it (under Microsoft Corporation).
- After you manage to get inside the Advanced options menu, scroll down to the Reset tab, then click on the Reset button and initiate the process of clearing out the cache.
- Wait until this process is complete, then reboot your machine and see if the problem is resolved at the next startup sequence.

If you’re still encountering the 0x80073d0a error when trying to download a UWP application, move down to the next method below.
Method 4: Using System Restore
In case you only noticed this behavior occurring recently, the issue is likely occurring due to a system change that ended up interfering with the Windows Store component. Keep in mind that 3rd party services or processes can also interfere with communications between the Store app and the external Microsoft Server.
If this scenario is applicable, you should be able to resolve the issue by using the System Restore utility to fix the problem by returning your computer to a healthy state when the same circumstances that weren’t applicable.
Keep in mind that by default, System Restore is configured to regularly save snapshots at important system landmarks (3rd party installations, critical update installations, etc.). But before you fire up this utility, keep in mind that any change you made before this point will be lost once the procedure is complete. This includes any UWP app installations, drivers, games and everything else.
If you understand the repercussions of this method and you’re ready to get started, follow the instructions below:
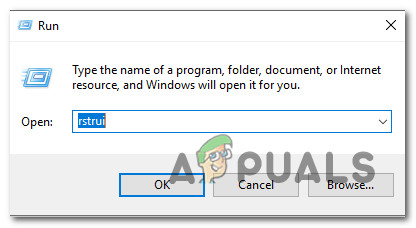
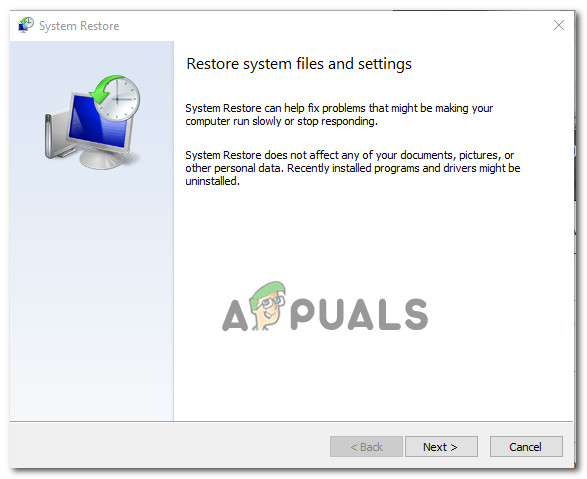
- Press Windows key + R to open up a Run dialog box. Next, type ‘rstrui’ and press Enter inside the text box, then press Enter to open up the System Restore menu.
Opening the System Restore wizard via Run box - Once you arrive at the initial System restore screen, click Next to advance to the next menu.
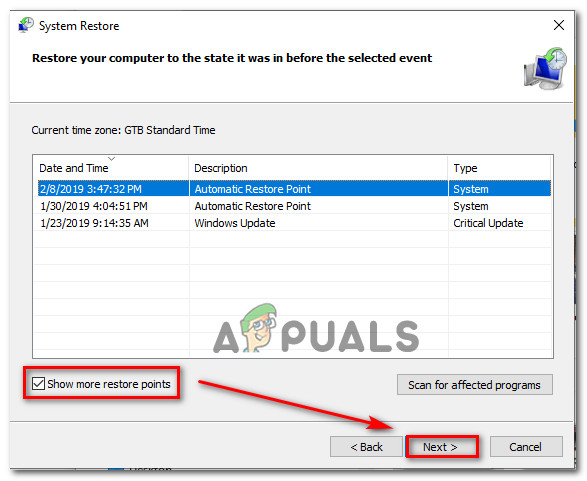
Using System Restore - After you get to the next screen, start the operation by checking the box associated with Show more restore points. After you complete this step, start comparing the dates of each saved restore point and select one that is older than the period in which you noticed that this error started occurring.
- After you manage to select the correct restore window, click Next to advance to the final menu.
Restoring your system to a previous point in time - Once you arrive at the final point, your utility is ready to go. Now all you need to do is to initiate the system restoring process by clicking the Finish button.
- After you do this, your PC will restart and the previous state will be mounted. At the next startup, the previous state will be mounted. Use the occasion to try and download a UWP app again and see if you’re still seeing the 0x80073d0a error.
If you’re still dealing with the same problem or this method wasn’t applicable, move down to the next potential fix below.
Method 5: Repair install or Clean Install
If you’ve come this far and no repair strategy has allowed you to resolve the issue, the problem is likely happening due to an underlying system corruption issue that you can’t fix conventionally. In this case, you can fix the problem by refreshing every Windows component and by fixing all booting-related data.
When having to refresh every Windows component, you have two ways forward: You either do a complete OS refresh or you use the focused approach where you only touch OS components.
The easier option is a clean install. It’s easy to do and you don’t need any prerequisites, but the major downside is that you will lose any personal data stored on your OS drive if you don’t back them out in advance.
If you’re looking for the focused approach, you should go for a repair install (in-place repair). This is the more tedious approach since you will need a Windows installation media and you need some technical abilities. But the major advantage is that the procedure will only touch your OS files – ALl your media, apps, games and even some user preferences will not be lost.


