How to Fix Sony Vegas Preview Lag on Windows?
Vegas Pro is a video editing software package published by Sony Creative Software, designed for non-linear editing (NLE). This software is supported for both Windows and Mac OS X Operating system.
Sony Vegas Preview Lag has been reported multiple times on online support forums. Preview is a video interface provided by Vegas Pro software for the editors to look into and edit their videos. The problem arises when the video in the preview interface starts lagging i.e. frames per second or fps drops down to minimum value. This creates an uncomfortable environment for the editors to edit their videos properly.
What Causes Sony Vegas Preview Lag?
We have listed down causes to this problem after reviewing the user’s feedback and technical authorities in detail. This problem may arise due to any of the following reasons:
- Poor CPU Power: This problem genuinely started when people started to upgrade their Standard Definition Cameras to AVCHD Video Cameras but were still running their computers on Duo Core Central Processing Unit or CPU. Standard Definition video is up to six times smaller in file size compared to Full 1080p HD video. Thus, the same CPU now needs to work six times more when editing with Vegas, which causes the lag.
- Video Codec: AVCHD H.264 video codec is used by the vast majority which specializes in saving video files after highly compressing them. This means that Vegas Pro has to do a lot of work to decode the video as it is playing back in real-time.
- GPU Bandwidth: As previously explained, people keep upgrading their camera tech while ignoring their computer specifications. Most people suffering from this problem have low-quality Graphics Processing Unit or GPU which do not have the graphical processing power to support Vegas Processing.
- RAM and Hard Drive: We all are familiar with these; Random Acess Memory or RAM is required by a computer to run different processes and Hard drive is required by a computer to store data. Thus low RAM can cause this problem. Furthermore, a hard disk drive with a low transfer rate (on which Vegas Pro is installed) can also cause this problem.
Solution 1: Changing Preview Setting
Sometimes, a set preview setting can be too much for your computer to process in time. Therefore, it is always ideal to select a preview setting that will not burden up your PC and is suitable enough for you to perform editing. Follow these steps:
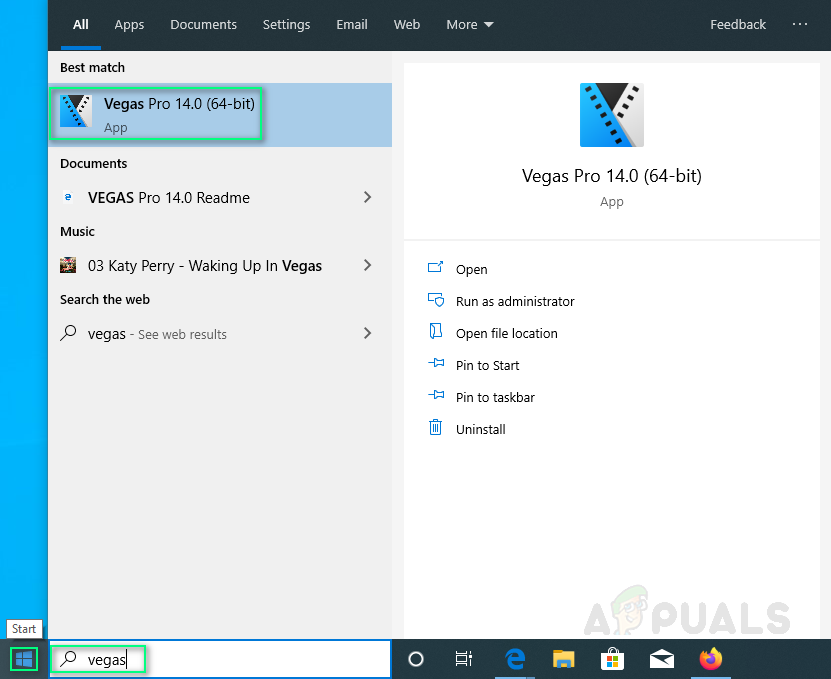
- Click Start, search Vegas Pro and run it.
Opening Vegas Pro - Import some video file by clicking File > Import > Media.
Select any video file you want to edit.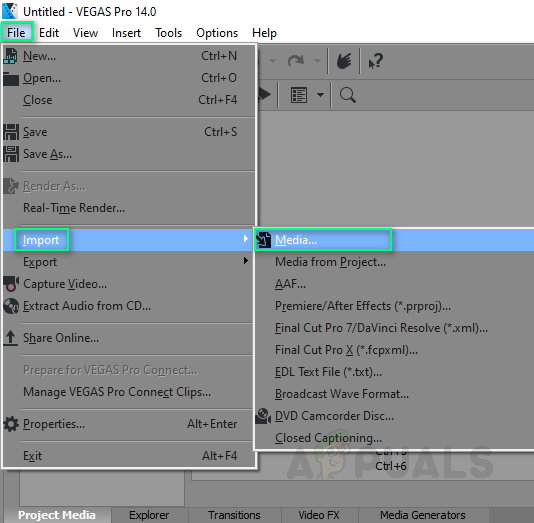
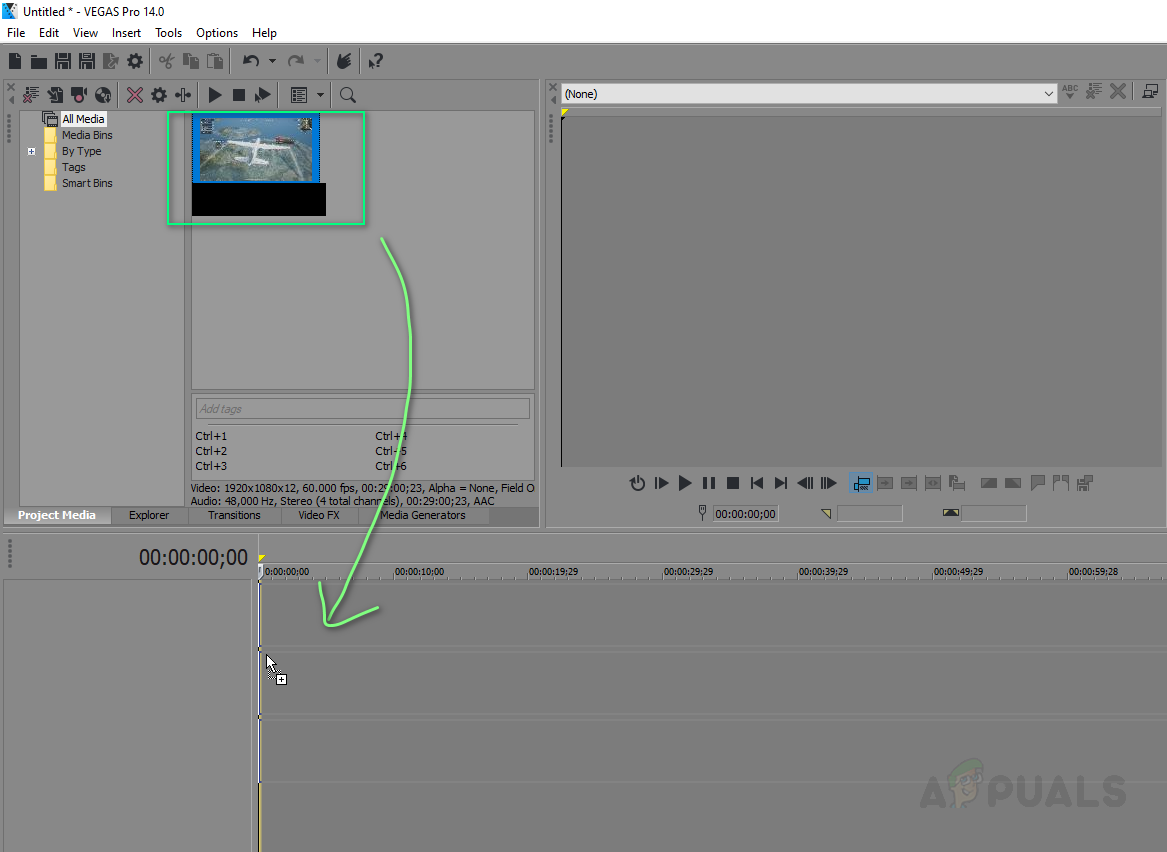
Selecting Media - Drag the video file on the video track.
Dragging media on Video Track - Click Preview/Best/Good > Preview > Quarter.
Note: Normally it is set as Preview (Auto).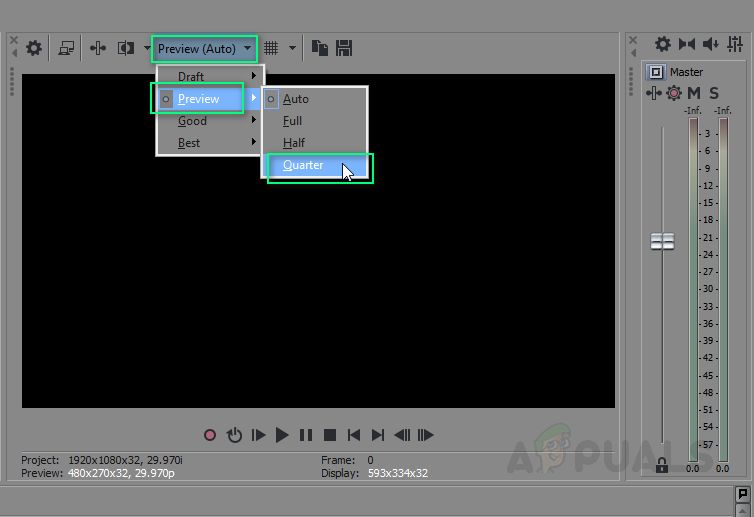
Setting preview to quarter - Play the video.
This may fix your problem. If it does not, proceed with the other solutions.
Solution 2: Changing Dynamic RAM Preview Value
Due to some arbitrary reason, the RAM Preview configuration might not suit your project media which could be causing this error. Follow these steps to fix the issue:
- Click Start, search Vegas Pro and run it.
- Import some video file by clicking File > Import > Media.
Select any video file you want to edit. - Drag the video file on the video track.
- Click Options > Preferences.

Opening Preferences - Select the Video tab.
- Change the value of Dynamic RAM Preview max (MB) to 0 (zero).
Note: Normally it is set as 200. - Click Apply and OK.
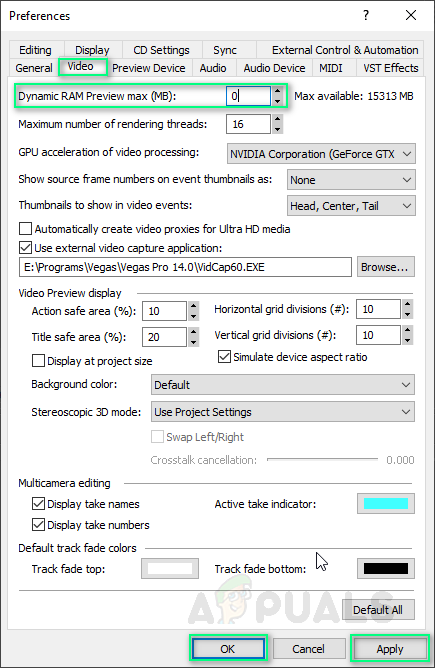
Setting RAM value to zero - Play the video. This may fix your problem.
Solution 3: Enabling Multi-Stream Render
The problem may be arising because Vegas Pro is consuming only one core of the processor. Thus, remaining cores are not being utilized by Vegas Pro to process videos quickly which will enable the preview video to get smooth. Follow these steps:
- Click Start, search Vegas Pro and run it.
- Import some video file by clicking File > Import > Media.
Select any video file you want to edit. - Drag the video file on the video track.
- Click Options and while holding Ctrl + Shift, click Preferences.
This will enable a new tab called Internal tab in the options.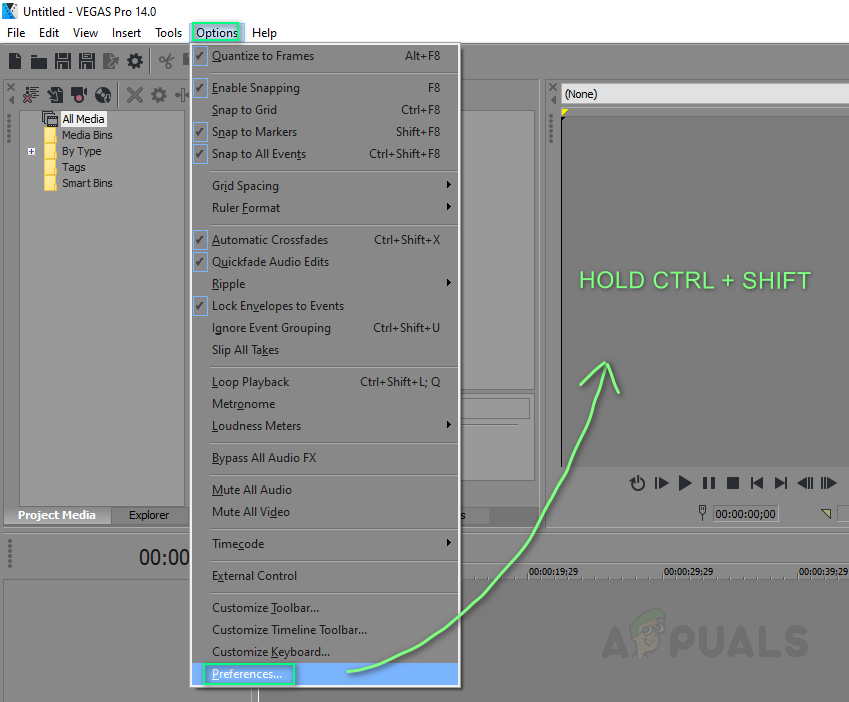
Enabling Internal Option for Preferences - Select Internal tab.
- Type enable multi in the Show only prefs containing bar.
- Type the value to be True. Click Apply > OK.
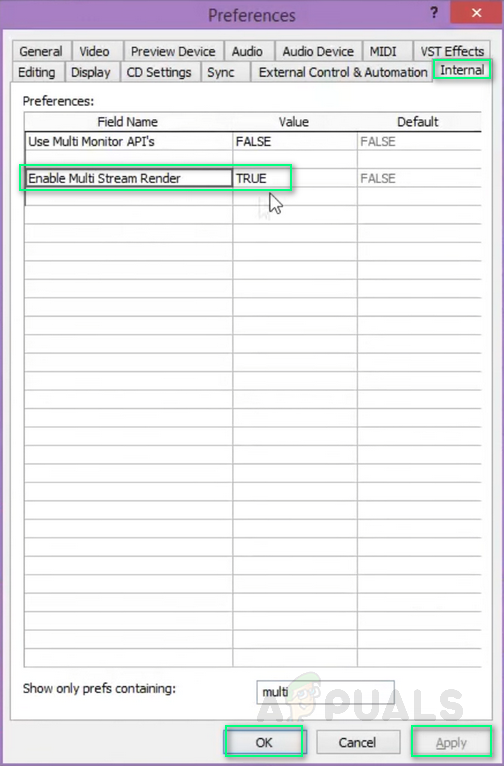
Enabling multi rendering - Play the video. This may fix your problem.
Solution 4: Reinstall Vegas Pro
If none of the above solutions have worked out for you then the reason for this issue might be arbitrary. Therefore, follow these steps to reinstall Vegas Pro perfectly.
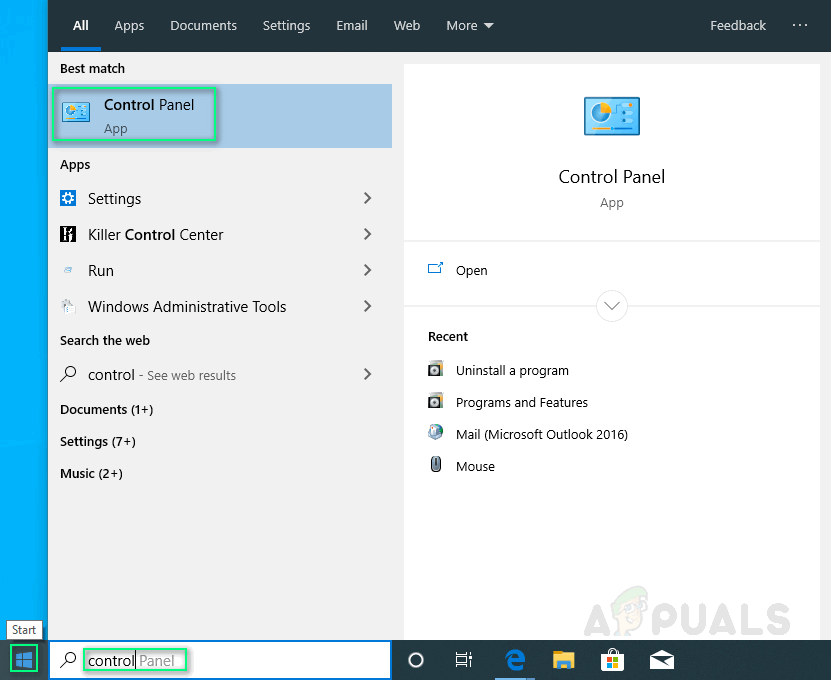
- Click Start, search Control Panel and run it.
Opening Control Panel - Click Uninstall a program under Programs.

Opening Programs & Features - Search Vegas in the search bar. Double-click and uninstall it.
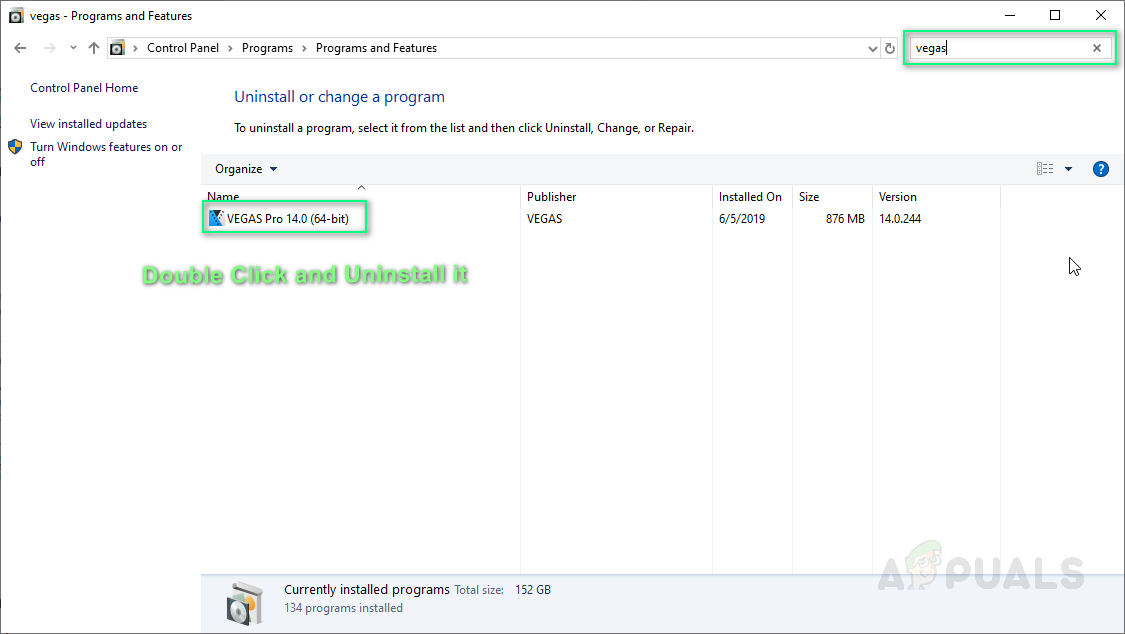
Uninstalling Vegas Pro - Reinstall Vegas Pro as you installed it the first time.
- Run Vegas Pro and play any video in your Vegas Project. This should finally fix your problem.


MY PREVIEW IN NOW OK BUT STILL NO SOUND COMING HOW TO FIX THIS?