How to Fix ‘some settings are managed by your organization’
After upgrading to Windows 10, users might see an error which states “Some settings are managed by your organization” when they try to change some settings using the Settings application. This error message might be seen in almost all places like Cortana, Windows Update, etc. You can even encounter this error when changing the background or lock screen of your computer.

This error mainly occurs when a user is upgrading to Windows 10. This is a setting in windows for quite some time now which enables organizations to limit the access of computer settings by their employees. If you didn’t configure the options properly during the update process, you might face this error. As a consequence, your access to settings/features might be limited by a nonexistent organization. Luckily, there are fixes available for this error. Refer to the solutions below starting from the first one and working your way down.
Solution 1: Edit the Local Group Policy
We can try resetting the group policy regarding the organizational access by enabling and disabling it. This will reset the settings and remove any bugs in your operating system. Do note that group policy is related to a lot of your windows components. Don’t change values/things you do not know about and strictly follow the steps listed below. Home Edition of Windows does not have gpedit.msc but you can add gpedit.msc to Windows Home Edition.
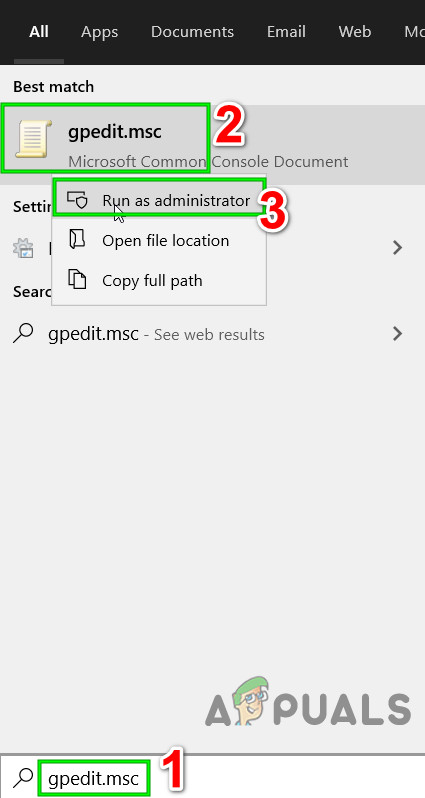
- Press Windows + S to launch the search bar of your start menu. Type “gpedit.msc” in the dialogue box. Right-click on the first result which comes forth and select “Run as administrator”.
- Now navigate to the following path using the navigator present at the left side of the screen.
Computer Configuration/Administrative Templates/Windows Components/Data Collection and Preview Build
- Now at the right side of the screen, find the item named “Allow Telemetry”. Double click it so we can edit the policy.
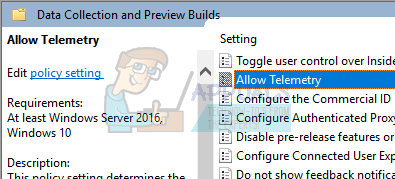
- Now change the setting to Enabled. A new drop-down box will appear near the middle of the screen. Select the third option (Full). Now click on Apply to save the changes and exit the window.
- Now open the item again and select the option of “Not Configured”. Save changes and exit. Now check if the error message went away from all your settings.
Solution 2: Grant access to applications manually
If you followed the solution and it solved the problem partially, don’t worry. We will fix the error message in each of your computer’s applications and fix them one by one. Hopefully, by the end of this solution, all your applications and utilities will be working as expected with no errors involved.
Windows Update
If the error message presides in your Windows Update window, we will change some settings and check if the problem gets fixed.
- Press Windows + S to launch the search bar of your start menu. Type “gpedit.msc” in the dialogue box. Right-click on the first result which comes forth and select “Run as administrator”.
Open gpedit.msc as Administrator in Windows Search - Now navigate to the following path using the navigator present at the left side of the screen.
Computer Configuration/ Administrative Templates/ Windows Components/ Windows Update
- Once in the correct file path, find the item named “Configure Automatic Updates” at the right side of the window.
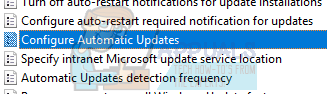
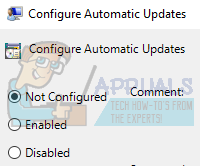
- Double-click the entry to open its settings. Now mark the setting as “Not Configured”. Click Apply to save your changes and exit.
- Check if your problem got fixed. A restart might be required for all the effects to take place.
Desktop Background Change and Lockscreen
- Press Windows + S to launch the search bar of your start menu. Type “gpedit.msc” in the dialogue box. Right-click on the first result which comes forth and select “Run as administrator”.
- Now navigate to the following path using the navigator present at the left side of the screen.
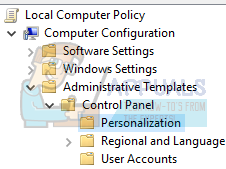
Computer Configuration/ Administrative Templates/ Control Panel/ Personalization
- Now, look for an entry present on the right side of the screen named “Prevent changing start menu background”. Double click it to change its settings. You can also perform the same steps for the entry of “Prevent changing lock screen and logon image”.

- Once in the settings, set the policy as Not Configured or Disabled.
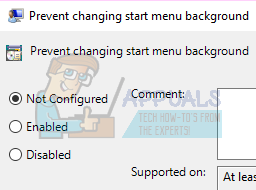
- Click Apply to save changes and exit. Check if the error message went away. A restart might be required for all the effects to take place.
Notifications
- Press Windows + S to launch the search bar of your start menu. Type “gpedit.msc” in the dialogue box. Right-click on the first result which comes forth and select “Run as administrator”.
- Now navigate to the following path using the navigator present at the left side of the screen.
User Configuration/ Administrative Templates/ Start Menu and Taskbar/ Notifications
- Now, look for an entry present at the right side of the screen named “Turn off toast notifications on the lock screen”. Double click it to change its settings.
- Once in the settings, set the policy as Not Configured or Disabled.
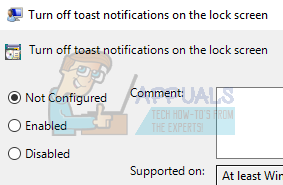
- Click Apply to save changes and exit. Check if the error message went away. A restart might be required for all the effects to take place.
Note: These solutions work for all the utilities/applications where you are experiencing a problem. You can easily change the group policy settings and set them as Not Configured or Disabled.
Solution 3: Change the Registry Settings
We can try tweaking the registry settings a little to get your issue fixed. Registry Editor is a very powerful tool and directly affects your PC and its performance. It is advised that you proceed with caution and follow the steps very carefully.
- Press Windows + R to launch the Run application. Type “regedit” in the dialogue and press enter to launch your registry editor.
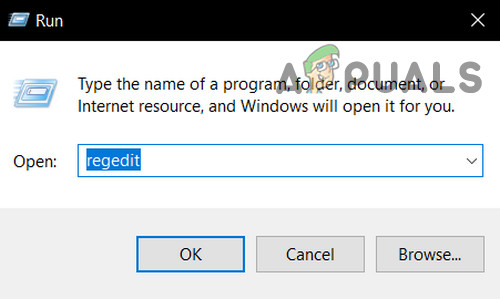
Open Regedit - Now if the problem resides in your notification area, navigate to
Computer\HKEY_CURRENT_USER\Software\Policies\Microsoft\Windows\CurrentVersion\PushNotifications
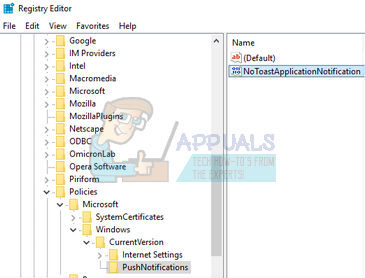
- On the right side, you will an entry named “NoToastApplicationNotification”. Double click it to change its settings.
- Now change its value to 0. The default value will be 1 and you have to change it to 0.
- Sign out from your Microsoft account and log in again. Check if your problem got fixed. Sometimes a restart is required to implement all the changes.
Solution 4: Change Feedback and Diagnostics Settings
This error also seems to go away when we change the feedback and diagnostics settings. By default, the diagnostics are set as basic so Windows is updated and secure. We can try changing the level higher to ensure that our problem goes away.
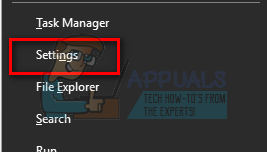
- Press Windows + S to launch the search bar of your start menu. Type Settings and open the first result which comes forth. You can also open the settings directly by pressing Windows + X and clicking on Settings from the list of options available.
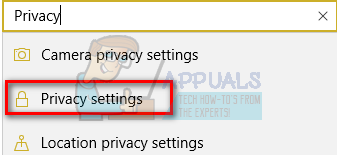
- Once in the settings, type Privacy on the search bar present at the near top of the screen. Now select “Privacy settings” from the list of options available.
- Navigate to Feedback and Diagnostics from the navigation tab present at the left side of the screen.
- Now change the default setting from Basic to Full. Save changes and exit.
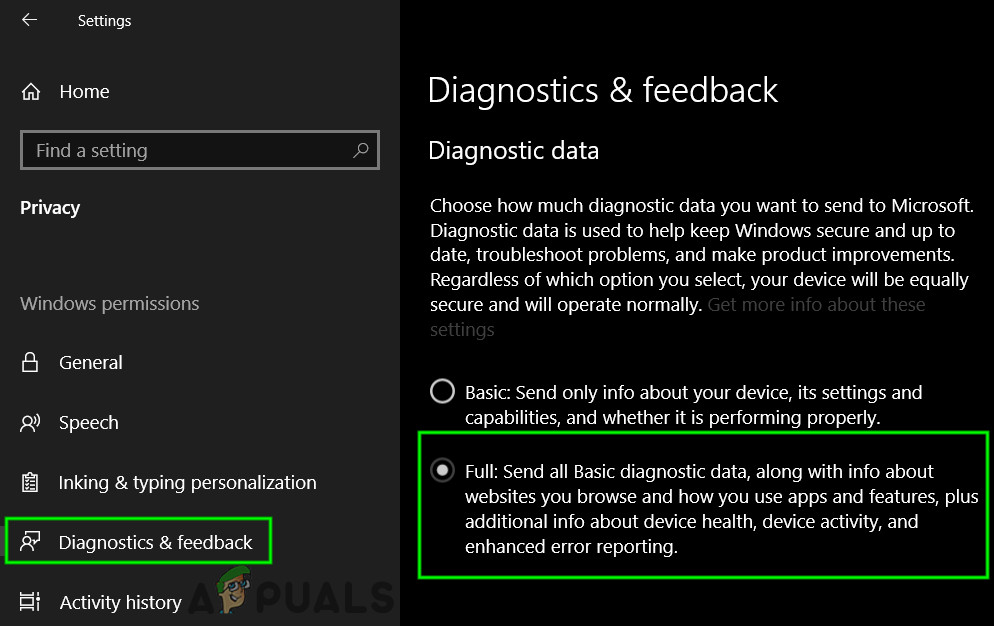
Change Diagnostics and Feedback Settings to Full - A restart might be required to implement all the necessary changes. Check if the problem got solved.
Solution 5: Check Third-Party Applications
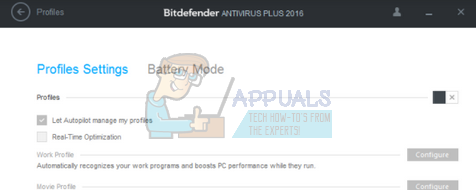
Many applications like BitDefender, ESET, etc. have the authority to change the settings of your user profiles automatically. They have an option of a Work profile that brings forward the error message so no changes can be made to the settings of the computer.
We can try disabling the Profiles on your third-party applications and checking if the error got fixed. All you have to do is open the application and navigate to a tab or heading named Profile.
Check if it is set as Work.

Now open the settings of the third party application and disable it from changing the profiles on its own.
Solution 6: Change System Properties
There is an option in the control panel where you can change the system properties and select the option which confirms that this computer isn’t a work computer. Although this might not work for all the users, it did for some so it is worth a shot.
- Press Windows + R to launch the Run application. Type “control panel” in the dialogue box and press enter.
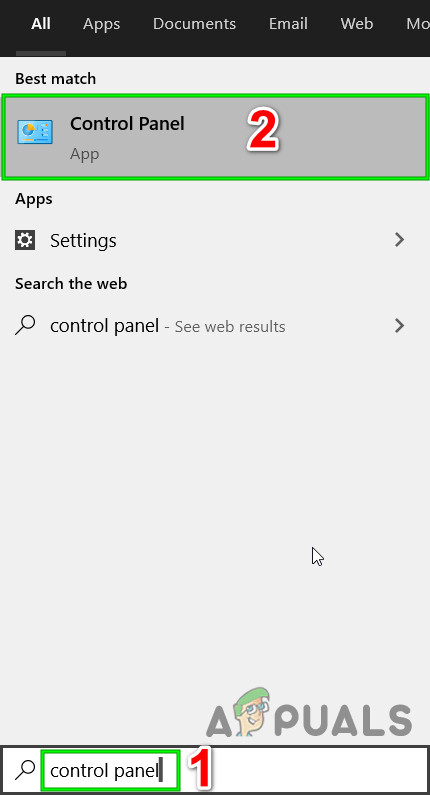
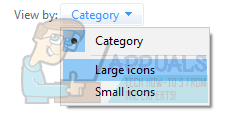
Open Control Panel - Once in the control panel, select View by and choose Large icons.
- From the new view of the control panel, select System from the list of options available.
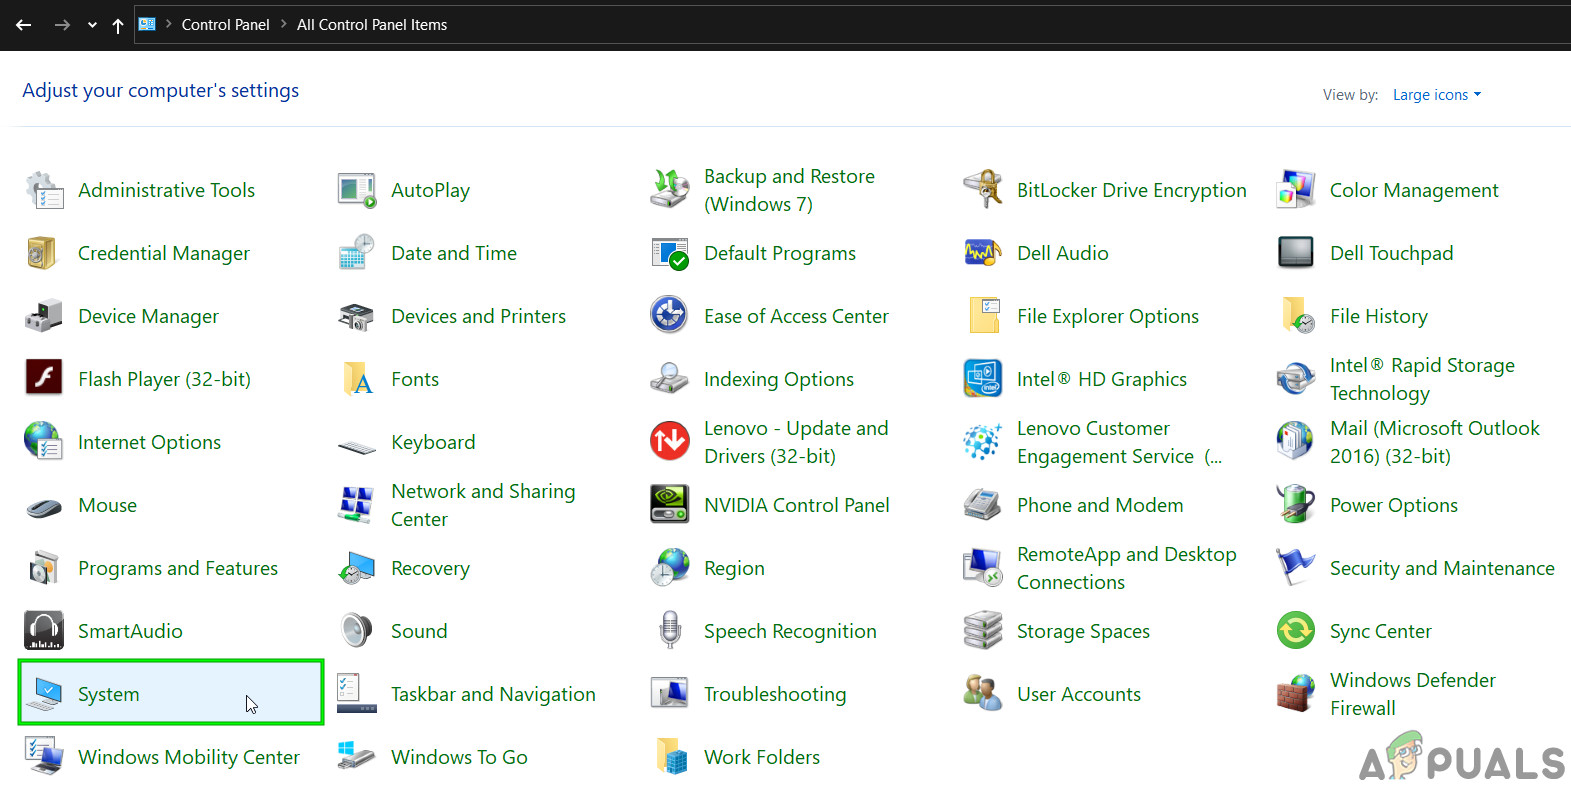
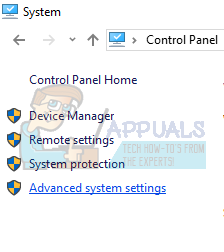
Open System in Control Panel - Once in the System settings, click on “Advanced system settings” present at the left side of the screen.
- Once in the properties, click on the button of “Network ID” present at the near bottom of the screen.
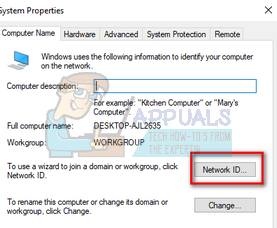
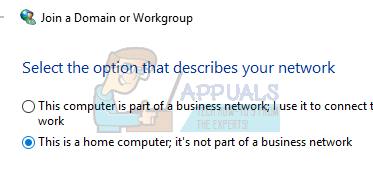
- Now windows will ask if this computer is a home computer of a business network. Select the check option which says “This is a home computer; it’s not part of a business network”.
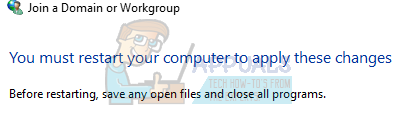
- Now Windows will prompt you to restart your computer for the changes to take effect. Save all your current work and after restarting, check if the problem got fixed.
Solution 7: Edit all the Registry Settings at once
Like we explained earlier, the problem can be traced to your registry settings where they might be in an incorrect configuration. If you cannot pinpoint the problem properly, you can try changing all the registry settings at once using the .reg file in the link down below.
Download the required registry file and open it to change all the policies at once. A restart might be required for all the changes to take place.
Solution 8: Reset GPO Settings to Their Defaults
If nothing has helped you so far, then it is time to reset GPO Settings to their defaults, so that, no settings is enabled/disabled, to rule out any setting creating the problem.
But before moving on, create a system restore point.
- Press Windows Key, type Run and in the resulting list, click on Run.
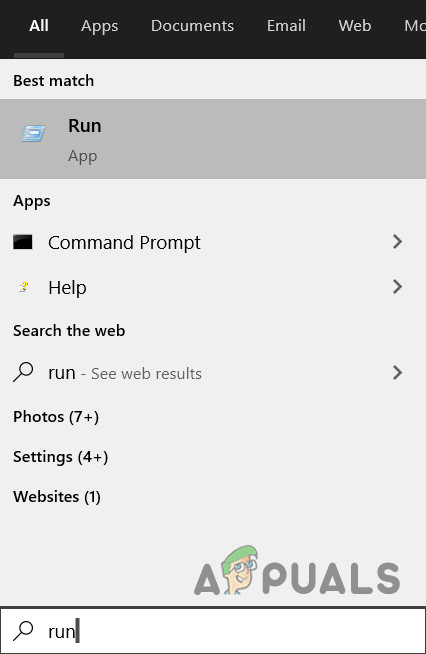
Open Run Command - Now type gpedit.msc and hit Enter.

Open gpedit.msc - In the GP editor window, go to the following path :
Local Computer Policy > Computer Configuration > Administrative Templates > All Settings
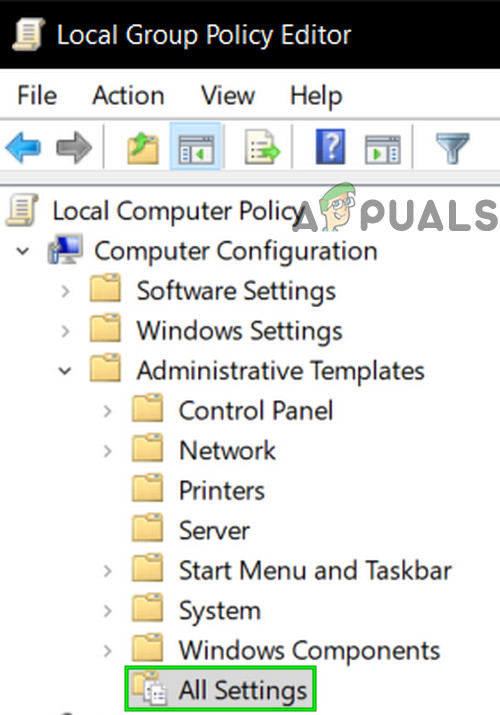
Open All Settings in GP Editor - Then in the right pane of the window, click on State column heading to sort the policy settings by State column (so that all Enabled/Disabled will be shown on the top).
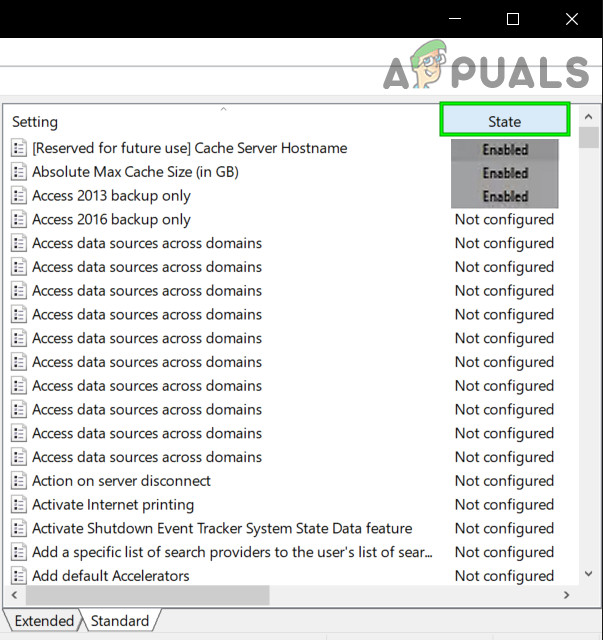
Sort All Settings by State Column - Now, change the state of these entries of Enabled/Disabled to Not Configured and then apply the settings.
- Repeat the above-mentioned steps for the following path as well.
Local Computer Policy > User Configuration > Administrative Templates > All Settings
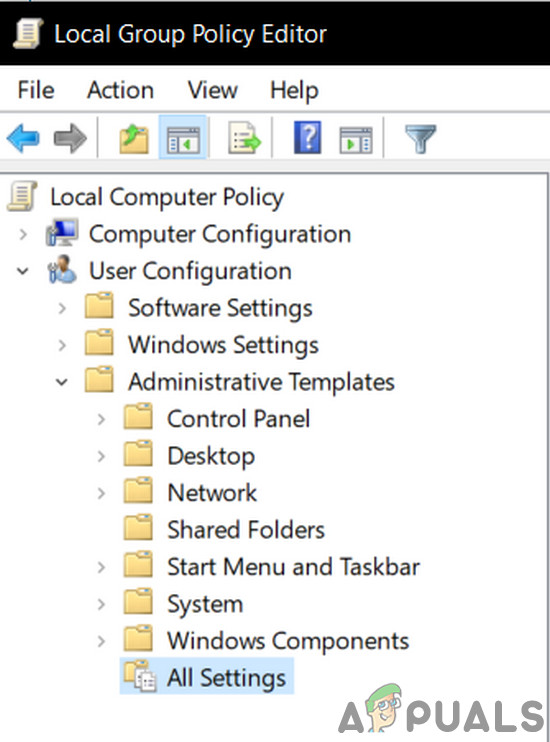
Open All Settings of User Configuration - Now restart your system and check if the message of “Some settings are managed by your organization” is gone. If you are having an issue then restore the system to the point created before.
Hi Kevin. Thanks so much. After hours of trying and even contacting Microsoft who suggested reinstall Windows your solution #8 clinched it. Good on you! Toby