How to Fix ‘Shellexecuteex Failed’ Error on Windows?
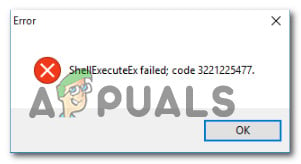
Several Windows users have been reaching us with questions after encountering the “Shellexecuteex Failed” error message whenever they try to perform an action that involves connecting to the Internet or when installing an application. Affected users are reported various codes that are displayed along with the error message. As it turns out, the issue is not exclusive to a certain WIndows version as we managed to find occurrences of it on Windows 7, Windows 8.1 and Windows 10.
What’s causing the “Shellexecuteex Failed” error on Windows?
We investigated this particular issue by looking at various user reports and at the repair strategies that are commonly used in this particular scenario. Based on our analysis, there are several different culprits that are often identified for causing the issue. Here are several scenarios that you might be encountering:
- The application doesn’t have admin privileges – As it turns out, this problem is quite common in instances where there’s an unexpected app shut down due to insufficient permissions. If this scenario is applicable, you should be able to resolve the issue in most cases by ensuring that the app opens with administrative access.
- System File Corruption – Another potential culprit is system file corruption that affects a dependency used by the application that’s showing the error. Several users that were also encountering this problem have reported that the issue was resolved after they repaired every logical error and corrupted item with the two built-in utilities (DISM and SFC). In most severe cases, the only viable fix that will work in this scenario is to reset every Windows component by performing a clean install or repair install.
- Custom System sounds are crashing the app – It’s also possible that you’re encountering this issue due to some custom Windows theme sounds that are not being handled properties by the application trying to use them. In this case, you should be able to resolve the issue by reverting back to the default Windows sounds.
- Application conflict – Under certain circumstances, it’s also possible that a different application conflicts with the process of the app that you’re trying to launch, which ends up triggering the error. Since there’s no definitive of the apps that conflict, the best way of discovering the culprit is to start your computer in clean boot mode and see if the symptoms stop.
- Overprotective Local policy – If one particular Local policy is enabled (Only elevate executables that are signed and validated) every executable that is not properly signed and validated will be prevented from running with this particular error. In this case, you fix the problem by accessing the Group Policy editor and disabling the policy causing the problem.
Method 1: Running the application as Administrator (if applicable)
If you’re encountering the “Shellexecuteex Failed” error while trying to open or install an application, it’s very likely that the issue occurs due to an unexpected application shutdown (or installation executable) because it doesn’t have admin access.
This type of issue is typically restricted to open source apps and apps with small teams of developers – we haven’t identified any occurrences with triple-A teams.
If you think this scenario might be applicable to your current situation, you will be able to resolve the issue simply by forcing the application to start with admin access. Here’s a quick guide on how to run the application as administrator:
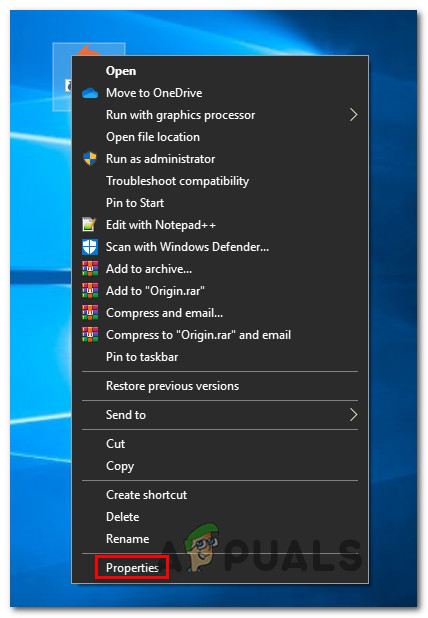
- Right-click on the application that is is triggering the error and choose Properties from the newly appeared menu.
Accessing the Properties screen of the application encountering the issue - Once you’re inside the Properties screen, select the Compatibility tab and go to the Settings section. Next, check the box associated with Run this program as administrator, then click on Apply to set this as the new default behavior.
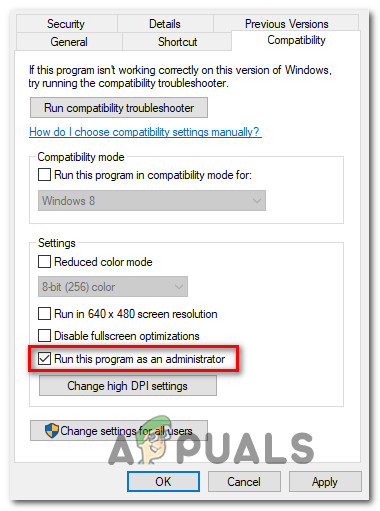
Ensuring that the app starts with admin privileges - Start the application again and see if the issue is now resolved.
If the same “Shellexecuteex Failed” error is still occurring, move down to the next method below.
Method 2: Running DISM and SFC scans
As it turns out, in some cases, the “Shellexecuteex Failed” error is occurring due to some kind of system file corruption that is preventing the installation from completing. If this scenario is applicable, the only viable fix is to try to resolve the corruption that’s causing the issue while limiting the damage.
And the best way of doing this is to rely on built-in utilities like DISM (Deployment Image Servicing and Management) and SFC (System File Checker). both are equipped to deal with corrupted system files, but they operate differently.
While SFC relies on a locally stored cache to replace the corrupted items with healthy copies, DISM uses WU (Windows Update) to download the healthy files needed for the replacement. But since the utilities are geared towards fixing different components (SFC is more efficient with logical errors), the best approach is to deploy both scans to improve your chances of success.
Here’s what you need to do:
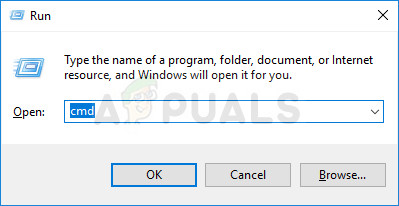
- Press Windows key + R to open up a Run dialog box. Next, inside the Run text box, type ‘cmd’ and press Ctrl + Shift + Enter to open up a Command Prompt with admin access. When you’re prompted by the UAC (User Account Control), click Yes to open the elevated Command Prompt.
Running Command Prompt - Inside the elevated Command prompt, type the following command and press Enter to initiate an SFC scan:
sfc /scannow
Note: Do not interfere with the window until the process is complete. Interrupting the operation will likely create even more logical errors that will be harder to fix.
- Once the scan is complete, restart your computer and wait for the next startup to complete. Once your OS is fully loaded, follow step 1 again to open another elevated Command Prompt. Once back into the CMD window, type the following commands and press Enter after each one to initiate a DISM scan:
Dism.exe /online /cleanup-image /scanhealth
Dism.exe /online /cleanup-image /restorehealth
Note: Make sure your internet connection is stable before you initiate this process. The first command will start the scan while the second will start the scanning process.
- Once the DISM scan is complete, restart your computer and see if the issue is resolved at the next system startup.
If the “Shellexecuteex Failed” error is still appearing when you repeat the same action, move down to the next method below.
Method 3: Reverting the System Sounds to the Default
As several different users have reported, this particular issue can also be caused by some System Sounds defined by some themes that are not being handled properly by the module that is trying to use them. If this scenario is applicable, the app using the sounds will crash whenever it tries to play them,
In this case, you will be able to resolve the issue by resetting all Windows sounds to the default. After doing so and restarting the machine, most affected users have reported that the issue was resolved.
Here’s a quick guide on reverting the system sounds back to the default values:
- Press Windows key + R to open up a Run dialog box. Inside the run box, type “mmsys.cpl” inside the text box and press Enter to open the Sound screen.
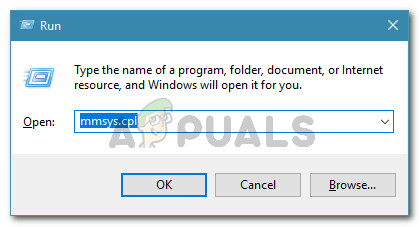
Running dialog: mmsys.cpl - Once you’re inside the Sound window, select the Sounds tab from the horizontal menu. Next, change the Sound Scheme to Windows Default.
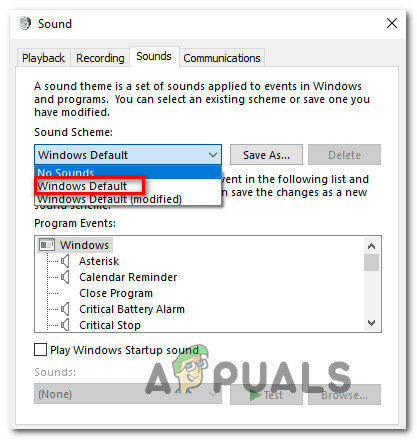
Changing the Sound Scheme to Windows Default Note: If your current Sound Scheme is set to Windows Default (modified) chance it to Windows Default since you might have some invalid sounds.
- Once the active Sound Scheme has been successfully changed, restart your computer and see if the issue is resolved at the next system startup.
Repeat the action that was previously triggering the “Shellexecuteex Failed” error and in case the issue is still appearing, move down to the next method below.
Method 4: Performing a clean boot
If you’ve come this far with no palpable results, you may be encountering the issue due to some kind of 3rd party conflict that is triggering the “Shellexecuteex Failed” error. Since there are a lot of potential applications that might conflict with the application that’s displaying the error, the best way of taking care of the issue is to configure your computer to start in clean boot.
Follow the instructions below to achieve a clean boot state and identify the application that is causing the conflict. Here’s what you need to do:
- Press Windows key + R to open up a Run dialog box. Next, type “mscofig” and press Enter to open up the System Configuration menu. When you see the UAC (User Account Control) menu, click Yes to grant administrative privileges.
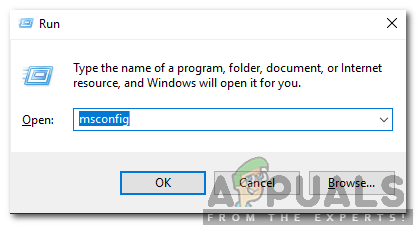
Typing in msconfig and pressing enter - Once you’re inside the System Configuration window, click on the Services tab from the top of the menu, then check the box associated with “Hide all Microsoft Services”. After you’ve done this, all Windows services will be removed from that list, so you don’t run the risk of disabling a Windows component.
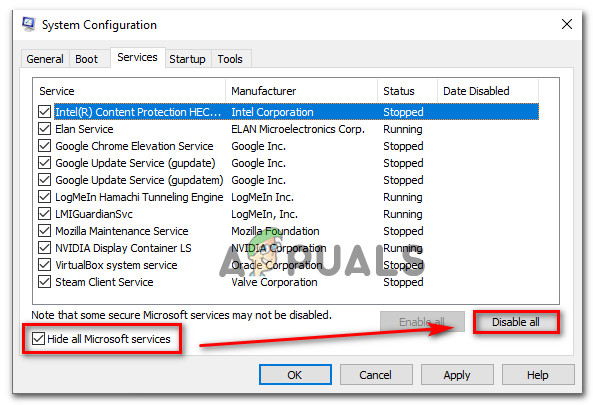
Disabling all non-Microsoft startup items - After you manage to exclude all essential services from the list, click on the Disable all button to effectively prevent any 3rd party service from being started at the next machine startup.
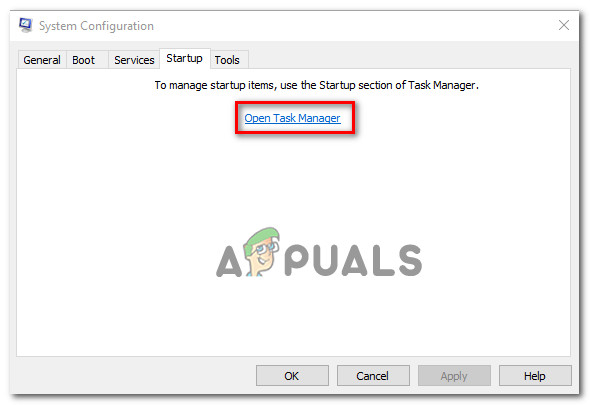
- Next, select the Startup tab from the horizontal menu and click on Open Task Manager.
Opening the Startup items window via Task Manager - After you’re inside the Startup tab of Task Manager, systematically select each startup service and then click on the Disable button in the bottom section of the screen. This procedure will ensure that no startup service gets called at the next system startup.
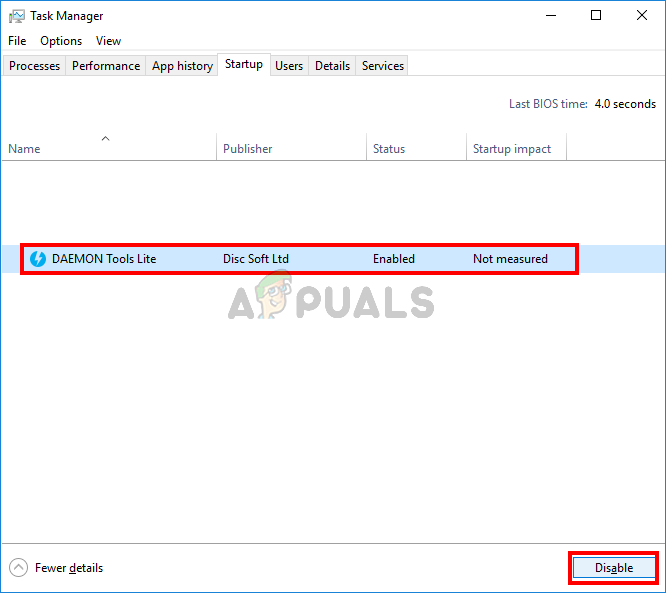
Disabling Apps from Startup - Now that you’ve got to this step, you have effectively disabled every service or process that might interfere with the application showing the “Shellexecuteex Failed” error. Take advantage of the clean boot state you’ve just configured by restarting your computer.
- At the next system startup, see if the error is still occurring once you try to launch the application. If the error is not occurring anymore, complete the installation, then reverse engineer the steps above and re-enable the services that you previously disabled.
If this method didn’t allow you to resolve the “Shellexecuteex Failed” error, move down to the next method below.
Method 5: Adjusting the “Only elevate executables” Policy
As it turns out, this particular issue can also be avoided by adjusting one Group policy named Only elevate executables that are signed and validated. But keep in mind that this method will only be effective in situations where the issue is being caused by an executable that isn’t signed properly.
Several affected users have reported that the issue stopped occurring and the installation was successful after the Only elevate executables that are signed and validated was effectively disabled.
Note: Certain Windows versions don’t include the Group Editor. In this case, this method won’t be applicable, so move directly to the final method below.
Here’s a quick guide on disabling the policy that is triggering the “Shellexecuteex Failed” error:
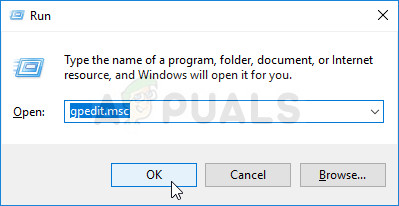
- Press Windows key + R to open up a Run dialog box. Next, type “gpedit.msc” inside the text box and press Ctrl + Shift + Enter to open up the Local Group Policy Editor with admin privileges. When you see the UAC (User Account Control) prompt, click on Yes to grant admin access.
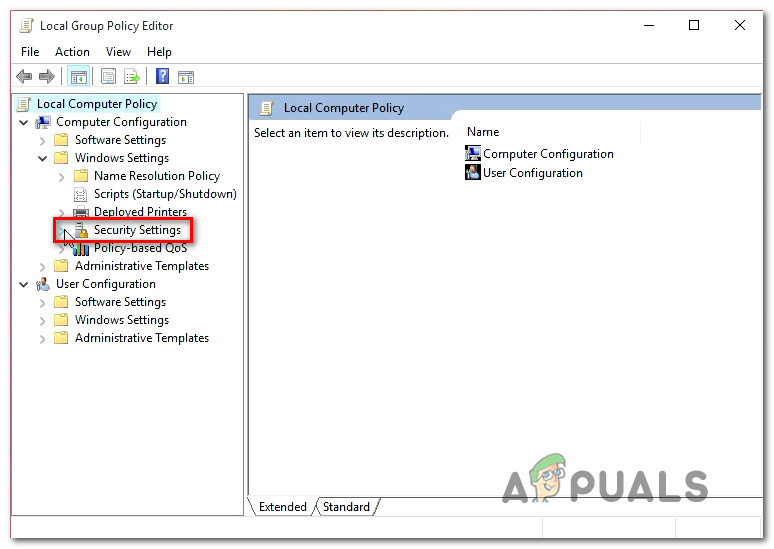
Running the Local Policy Group Editor - Once you’re inside the Local Group Policy Editor, move to the left-hand panel and select Computer Configuration > Windows Settings > Security Settings.
Accessing the Security Settings menu from the Local Group Policy Editor - With the Security Options menu selected, move over to the right-hand side and double-click on the User Account Control: Only elevate executables that are signed and validated policy.
- Once you’re inside the policy menu, select the Local Security Setting tab and then ensure that the policy is set to Disabled.
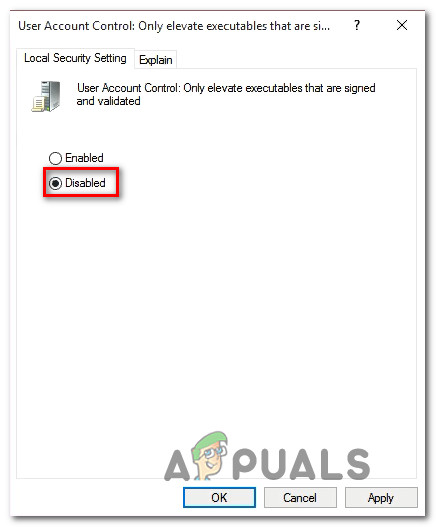
Disabling the Policy - Click Apply to save the changes, then restart your computer and see if the issue is resolved at the next system startup.
If the “Shellexecuteex Failed” error is still occurring move down to the next method below.
Method 6: Performing a clean install
If none of the methods above have allowed you to resolve the issue, chances are you’re dealing with an underlying corruption issue that cannot be resolved conventionally. If this scenario is applicable in your current situation, you can only resolve the issue by resetting every Windows component.
The quickest way of doing this is by performing a clean install (here), but keep in mind that this procedure will make you lose any personal data including installed applications, games, media, user preferences and more.
A most efficient approach that takes a little longer is to go for a repair install (in place install). This procedure will allow you to keep all your personal effects including games, applications, user preferences and any type of media. If you decide to perform a repair install, follow the instructions (here).


