How to Fix RUST EAC Disconnected Error
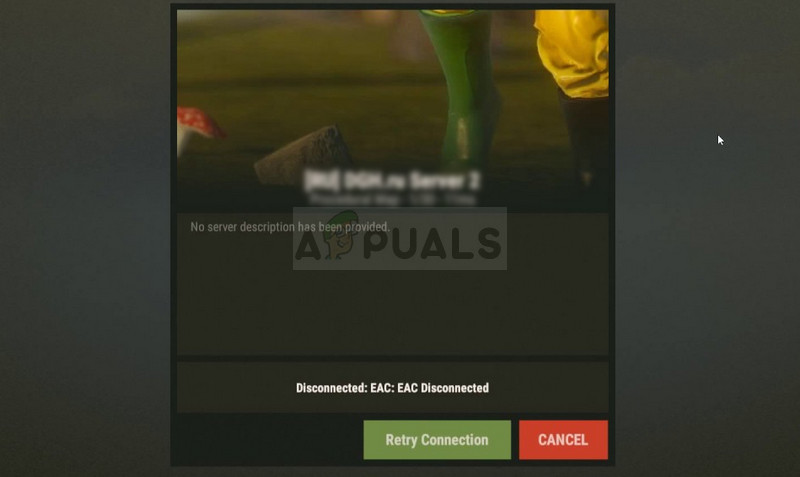
Disconnected: EAC: EAC Disconnected
Rust is an amazing survival game whose emphasis is in surviving in the wilderness against the nature, zombies, and other players. The game started out as a clone of DayZ, a mod for ARMA 2 which was similar in its nature. Even though the idea for the game is amazing, there have been plenty of problems which have followed Rust since its alpha client was released.
The EAC abbreviation stands for EasyAntiCheat and it’s the tool the game uses to recognize cheaters and hackers in order to ban them from the game. The error occurs when the EAC client fails to establish a proper connection which should ensure you do not have any cheats installed. Since the connection can’t be established for some reason, this error pops up, and the game won’t be launched.
What Causes EAC Disconnected on Rust?
This error is quite broad and it can be caused by various things which might not even be connected to the game client or the Steam program as the EasyAntiCheat tool is not related to these things and the game uses it externally. Here is a list of things which are known to cause the problem:
- Missing or corrupt game files
- Missing admin privileges for the game, Steam client, or the EAC executable
- UPnP option disabled from within your router
- Altered DNS address settings
- The EAC certificate not installed properly
Solution 1: Verify the Integrity of Game Files
The reason why this method is placed at the top of the article is primarily because it’s easy to perform it on your PC and it can solve the error in the easiest way possible. Rust players have confirmed that, after the error started to appear, verifying the integrity of game files managed to find a file or two which were missing or corrupt and redownloading them helped fix the game for good.
- Open your Steam PC client by double-clicking its shortcut on the Desktop or by searching for it in the Start menu simply by typing “Steam” after clicking the Start menu button or the Search (Cortana) button.
- After the Steam client opens, navigate to the Library tab in the Steam window at the menu located at the top of the window, and locate the Rust entry in the list.
- Right-click the game’s icon in the library and choose the Properties option from the context menu which will open and make sure you navigate to the Local Files tab in the Properties window straight away.
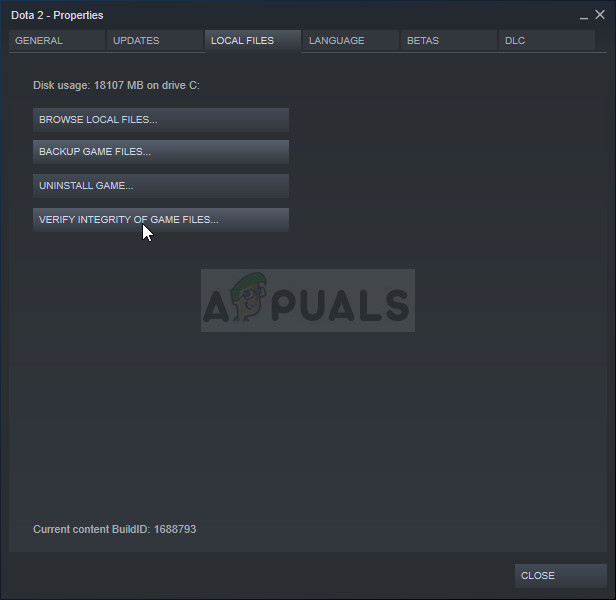
- Click the Verify Integrity of Game Files button at the bottom of the window and wait for the process to finish. The utility should download any missing files and you should reopen Rust after the process finishes to see if the EAC disconnected error still appears.
Solution 2: Provide Admin Access for EAC and the Steam Executable
Running the EAC setup as an administrator once is quite enough to install the EasyAntiCheat tool once again in order to start troubleshooting the problem using administrator access. This won’t be enough though as you will also have to run Steam as an admin to see if the error still appears on your computer. This is probably the most famous fix for the problem which has helped the most people.
- If you have installed the game via Steam, open your Steam PC client by double-clicking its shortcut on the Desktop or by searching for it in the Start menu simply by typing “Steam” after clicking the Start menu button or the Search (Cortana) button.
- After the Steam client opens, navigate to the Library tab in the Steam window at the menu located at the top of the window, and locate the Rust entry in the list.
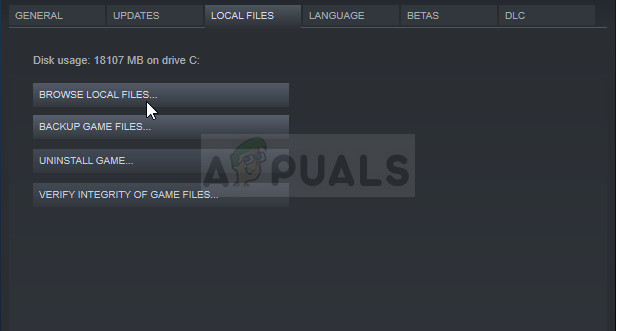
- Right-click the game’s icon in the library and choose the Properties option from the context menu which will open and make sure you navigate to the Local Files tab in the Properties window straight away and click the Browse Local Files button.
- You can also search for the game’s main executable by clicking the Start menu button or the search button next to it and typing Rust. Anyway, right-click on the executable and choose the Open file location option from the context menu which will appear.
- Locate the EasyAntiCheat folder and double-click in order to open it. Right-click the “EasyAntiCheat_setup.exe” file in the folder and choose the Run as administrator option from the context menu which will appear.
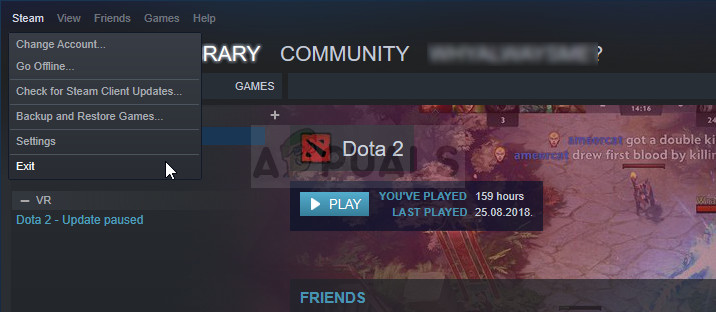
- Make sure you exit the Steam client on your computer completely by clicking Steam >> Exit from the top-side menu or right-click the Steam icon at the lower right part of the screen (system tray) and choose Exit.
- An alternative solution if you have the Steam window closed is to locate the Steam icon in the system tray (lower left part of the screen). Note that you might need to click the upwards pointing arrow to see more apps.
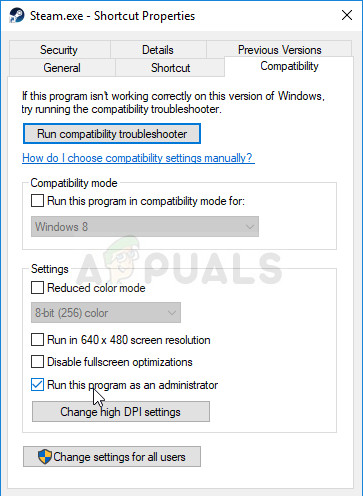
- Locate the Steam app and change its properties by right-clicking its entry either on the Desktop or the Start menu or the Search results window and choose Properties. Navigate to the Compatibility tab in the Properties window and check the box next to the Run this program as an administrator option before applying the changes.
- Make sure you confirm any dialogs which may appear for you to confirm with admin privileges and Steam should launch with admin privileges from now on. Open Steam by double-clicking its icon and try relaunching the game to see if the error still appears.
Note: If this doesn’t do the trick, try navigating back to your Rust game installation folder (the one which opens after clicking Browse Local Files), locate the Rust main executable, right-click to open Properties and try checking the same Run this program as an administrator option as you did for Steam to see if it will solve the problem as this has worked for several players.
Solution 3: Turn on UPnP on Your Router
This random fix is especially useful to folks who have turned the Universal Plug and Play (UPnP) option off in order to possibly troubleshoot other errors on their computer. Turning this option back on should help you get rid of the problem if the methods above have failed.
- Open up your default web browser, type your Default Gateway number into the address bar at the top of the browser window, and press Enter.
- In order to find out your Default Gateway number, make sure you open a Command Prompt by searching for “cmd” or “Command Prompt” in the Start menu or the Search bar next to it. Right-click on the Command Prompt entry and choose the Run as administrator option.
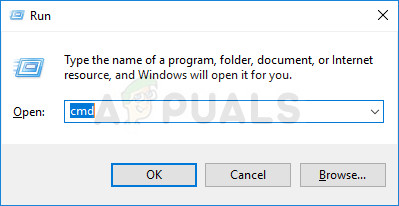
- ALso, you can press the Windows Key and the R letter on your keyboard at the same time in order to bring up the Run utility. Type in “cmd” or “command prompt” in the box and use the Ctrl + Shift + Enter key combination to open the administrative Command Prompt.
- Type in the command which will be displayed below and make sure you scroll down towards the network adapter which corresponds with the type of connection you are currently using to connect to the Internet and take note of Default Gateway entry, especially the entry looking like xxx.xxx.x.x where ‘x’ letters correspond to numbers.
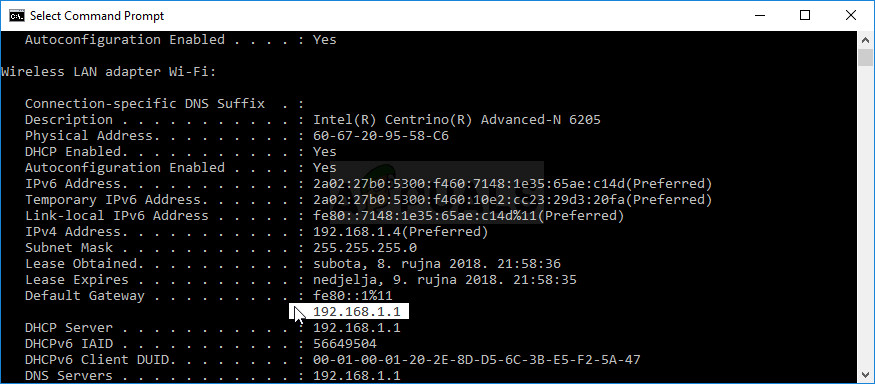
ipconfig /all
- Enter your username and password to access the router’s interface. The default username and password should be available in your router’s documentation you received when you purchased it, on a note on the side of your router, or on the Port Forward website where default passwords are saved.
- Find UPnP section in the browser window while still logged into your router. Each router’s window will appear to be slightly different. Common menu labels for the section of settings that contains Port Forwarding are “Advanced >> Advanced Setup”, “Tools >> Misc” depending on the router, so make sure you browse until you find it.
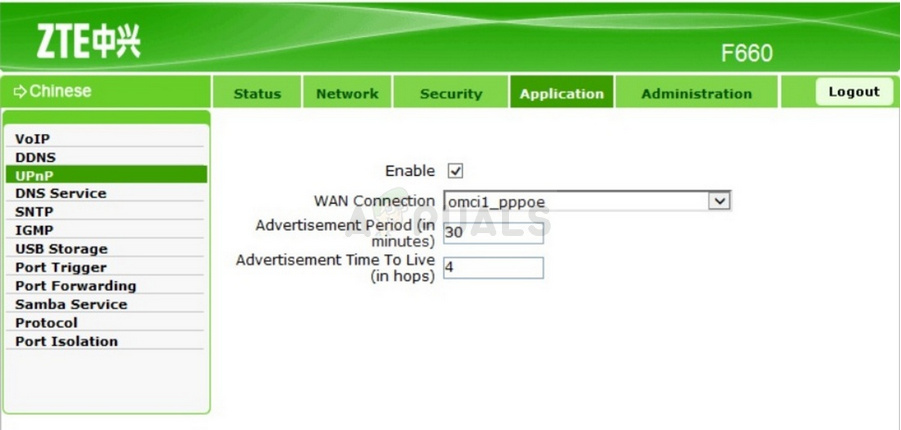
- No matter what the router or interface, you’ll need to enter the same basic information. When you locate the UPnP option in the router settings, you will have to set it back to On or Enabled.
- Click on the Save of Apply button and make sure you restart your router and the computer before relaunching Steam and checking to se If the error still appears.
Solution 4: Return Your DNS Settings Back to Default
Certain Internet connection issues can sometimes be fixed by changing the default DNS address to the one provided by Google or OpenDNS. As this may have served you overcome other issues, it appears that it’s directly tied to the EAC Disconnected issue on Rust and reverting the changes to default settings managed to help users who struggled with the same problem so make sure you try this out as well.
- Use the Windows + R key combo which should immediately open the Run dialog box where you should type ‘ncpa.cpl’ in the bar and click OK in order to open the Internet Connection settings item in Control Panel.
- The same process can also be done by manually Control Panel. Switch the View by setting at the top right section of the window to Category and click on Network and Internet at the top. Click the Network and Sharing center button in order to open it. Try to locate the Change adapter settings button at the left menu and click on it.

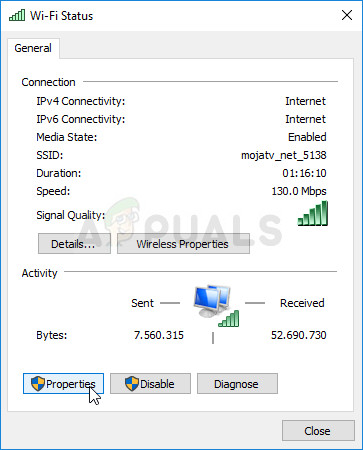
- Now that the Internet Connection window is open using any method above, double-click on your active Network Adapter and click on the Properties button below if you have admin permissions.
- Locate the Internet Protocol Version 4 (TCP/IPv4) item on the list. Click on it in order to select it and click the Properties button below.
- Stay in the General tab and switch both radio buttons in the Properties window to “Obtain an IP address automatically” and “Obtain DNS server address automatically” if they were set to something else.
- Keep the “Validate settings upon exit” option checked and click OK in order to apply the changes immediately. Check to see if the same error appears after reopening Rust!
Solution 5: Install a Certain Certificate in the EasyAntiCheat Folder
A Rust player struggled with the EAC disconnected issue when trying to launch Rust and he was unable to solve the problem using any other method. After browsing through the EAC folder in the game’s installation folder, he located a “.cer” folder which stands for Cerfiticate and he installed it which actually solved the problem immediately so we recommend you try this method out before giving up.
- Open your Steam PC client by double-clicking its shortcut on the Desktop or by searching for it in the Start menu after clicking the Start menu button or the Search (Cortana) button.
- After the Steam window opens, navigate to the Library tab in the Steam wndow at the menu located at the top of the window, and locate the Rust entry in the list.
- Right-click the game’s icon in the library and choose the Properties button from the context menu which will open and make sure you navigate to the Local Files tab in the Properties window straight away and click the Browse Local Files button.
- You can also search for the game’s main executable as well by clicking the Start menu button or the search button next to it and typing Rust. Anyway, right-click on the executable and choose the Open file location option from the context menu which will appear.
- Locate the EasyAntiCheat folder and double-click in order to open it. Try locating any certificate files which have the ‘.cer’ extension. The icon looks like a paper with an orange ribbon. Double-click the file.
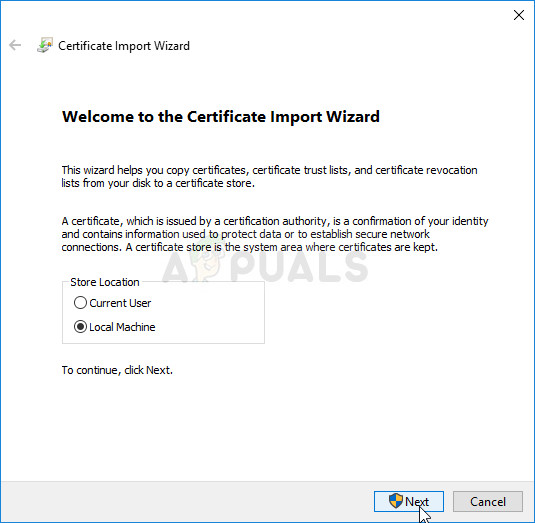
- The Certificate window should open with various information about it. Locate the Install Certificate button in order to open the Certificate Import Wizard. Change the radio button under Store Location from Current User to Local Machine and click the Next button.
- Keep the radio button next to the “Automatically select the certificate store based on the type of the certificate” and click Next again. The final window saying “Completing the Certificate Import Wizard” should display the settings you have chosen for you to take a final look at and click Finish to complete the process.
- Relaunch the game via Steam to see if the issue still appears.
Solution 6: Reinstall the Game
Reinstalling the game entirely is a last resort for users who have tried all of the methods above but without making any progress. The time consumption of this method greatly depends on your Internet connection and this may be the simplest option for users with high connection speeds as the process is pretty much automatic.
You won’t have to worry about losing your progress as everything is tied to your Steam account and you will be able to continue where you left off.
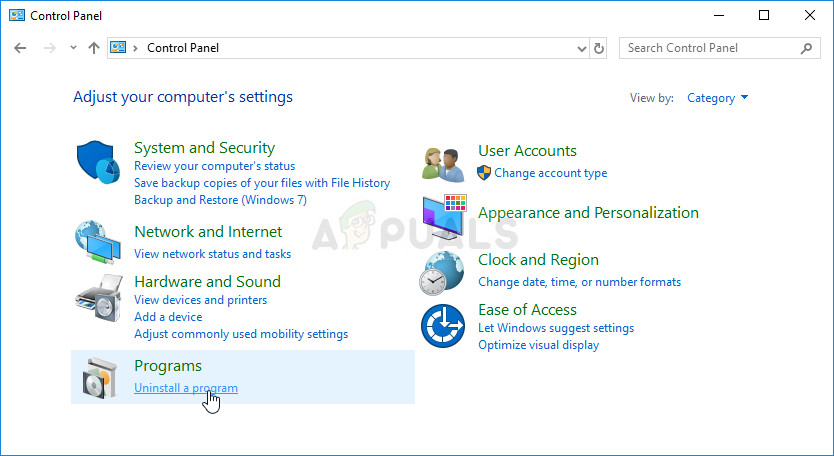
- Click on the Start menu button in order to open Control Panel by searching for it or by locating it in Start menu. On the other hand, you can click on the settings icon in order to open the Settings app as it can be located above the Start menu button after clicking it on Windows 10.
- In the Control Panel window, switch to View as: Category at the top right part of the window and click on Uninstall a Program under the Programs section.
- If you are a Windows 10 user using the Settings app, clicking on Apps section from the Settings window should open the list of all installed programs on your computer.
- Locate the Rust game in the list either in Settings or Control Panel, click on it once and click the Uninstall button located in the Uninstall a program window. Confirm any dialog choices to uninstall the game, and follow the instructions which will appear on screen.
Alternative for Steam Users:
- If you have installed the game via Steam, open your Steam PC client by double-clicking its shortcut on the Desktop or by searching for it in the Start menu simply by typing “Steam” after clicking the Start menu button or the Search (Cortana) button.
- After the Steam client opens, navigate to the Library tab in the Steam window at the menu located at the top of the window, and locate the Rust entry in the list.
- Right-click the game’s icon in the library and choose the Uninstall option from the context menu which will open.
- Follow the instructions which will appear on screen and confirm any dialogs prompting you to confirm your choice to uninstall the game.

You will need to download it again from Steam by locating in the Library and choose the Install button after right-cling on it. Check to see if the “EAC Disconnected” error still appears when searching for official game servers.


i have a question. can the problem me that my game is loading for over an hour. and when it says receiving data it says disconnected:disconnected.