5 Methods to Fix ‘Right click and send to Mail recipient’ not working
In theory, using the Send to Mail recipient feature to add attachments using the contextual menu saves you a lot of time. Unfortunately, a lot of Windows users are reporting that this feature doesn’t work at all. They simply click on the context option but nothing happens. The issue is not exclusive to Windows 10, but most affected users are reporting that it started occurring after they installed the Creator’s Update. But we also managed to identify several reports of the issue occurring on Windows 7.
What is causing the “Mail Recipient” to stop working on Windows?
We investigated this particular issue by looking into various user reports and trying out different fixes that affected users have successfully deployed to resolve the ‘Mail Recipient’ issue. As it turns out, several different scenarios can trigger this particular problem. With this in mind, here’s a shortlist of potential culprits that you should look after:
- Mail app doesn’t work with this function – As weird as this might sound, the Mail Recipient function is not supported by the Mail app. This is very strange considering that the app is the default choice on Windows 10. If you don’t have a different email client installed, the only way to resolve the issue, in this case, is to circumvent the issue by using the Share function instead.
- No email client is installed – Another scenario that will facilitate the apparition of this issue is the lack of an email client (other than the default Mail app). If this scenario is applicable, you will be able to resolve the issue by installing an email client like Outlook, Mailbird, Thunderbird, Mailspring or the likes.
- The email client is not set as the default – If you have an additional email client but you’re still encountering this issue, it’s probably because the email client is not configured to be the default client. In this case, you will be able to fix the issue entirely simply by using the Default Apps menu to change the default app for email.
- Outlook synchronization error – There’s also an Outlook synchronization issue that can be responsible for this particular problem. If you’re using Outlook as the default email client, the problem is likely occurring due to some badly stored registry sub-keys that need to be reset. In this case, you should be able to resolve the issue by using Registry Editor to delete the sub-keys of your Outlook installation.
- Corrupted Office installation – Another potential cause that might lead to this problem is being corrupted files inside the Office installation. A lot of users that we’re struggling to resolve this issue have reported that the problem has been resolved automatically after they repaired the entire Office installation using the Programs and Features wizard.
If one of the scenarios above seems plausible and you’re currently looking for a fix capable of resolving this issue for good, this article will discuss several potential troubleshooting guides. Down below, you’ll find a collection of methods that other users in a similar situation have successfully used to resolve this problem and restore the normal functionality of the ‘Mail Recipient’ Feature.
If you want to be as efficient as possible, we advise you to follow the methods below in the same order that we arranged them in, since the fixes are ordered by efficiency and severity. If you follow them in order, you should eventually stumble upon a series of steps that will resolve the issue, regardless of the culprit that’s causing the problem.
Let’s begin!
Method 1: Circumventing the problem via Share function
If you’re looking for a quick and painless fix, the most effective way of getting around the issue is to use the Share function instead. As it turns out, the ‘Send to Recipient’ function is broken for a lot of Windows 10 users. In most cases, this happens because the Mail app (the default email client on Windows 10) doesn’t get recognized as a Mail app by Microsoft’s operating system.
This is very strange and has been a recurring issue for at least two years now. Fortunately, you can still add any files to a Mail attachment automatically by using the Share function instead.
If you want to circumvent the problem without addressing the issue, here’s a quick guide on using the contextual Share function to add an attachment automatically to the Mail app:
- Right-click on the file that you want to convert into an attachment and choose Share from the newly appeared context menu.
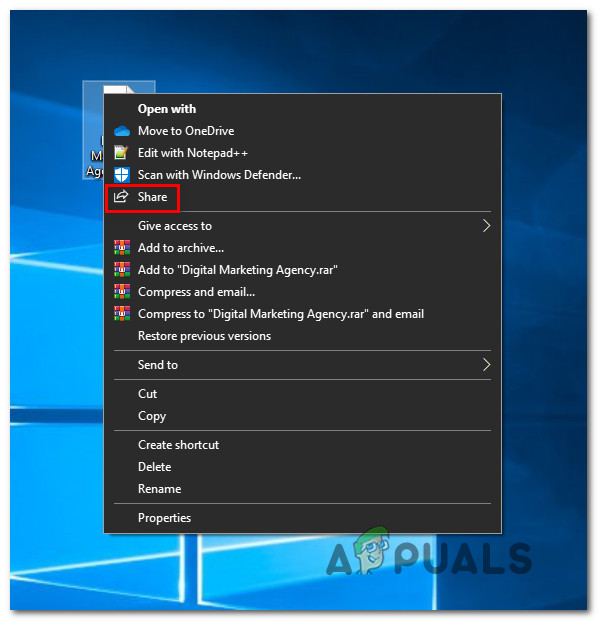
Circumventing the issue using the Share function - After a couple of seconds, you’ll see the Share window popping up. When you see it, click on the mail icon from the bottom of the screen.
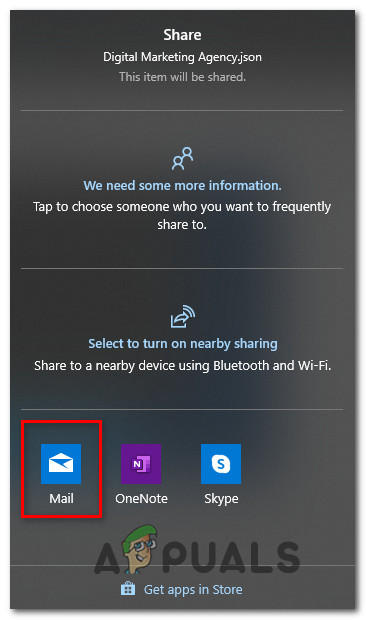
Selecting the Mail icon from the list of available options - Once the Mail app opens, select the account from which you want to send the email.
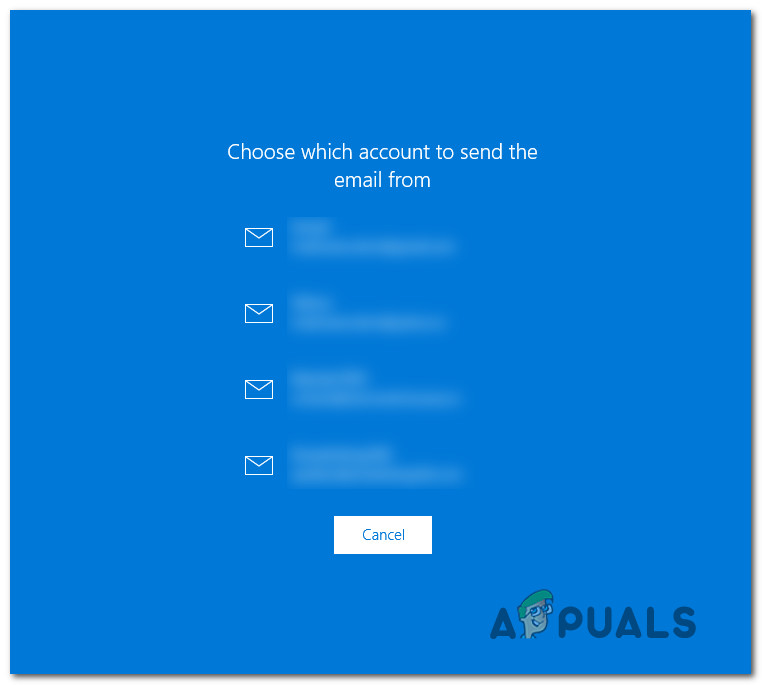
Selecting the account to send the email from - Now that your email attachment is automatically created, type your mail, type the email you wish to contact in the To field and hit Send.
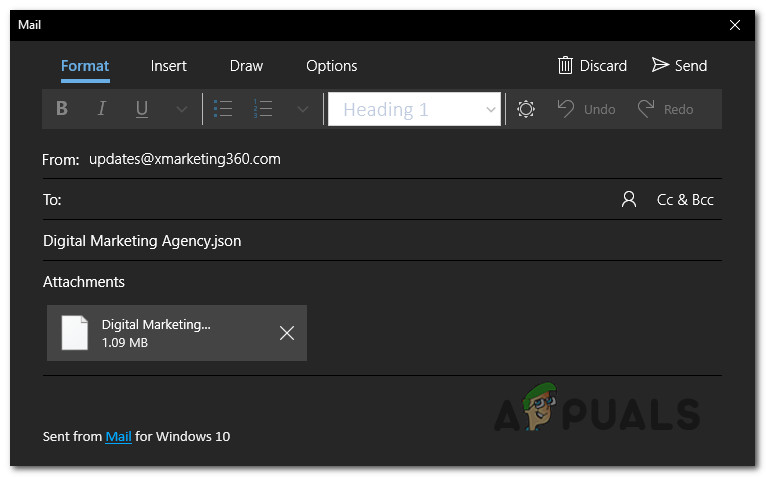
Sending the email after the attachment has been automatically added
If you’re looking for a permanent fix rather than a circumventing method, move down to the next method below.
Method 2: Installing an email client
As we already established above, you need a viable email client that gets properly recognized by your operating system, since the default Mail app doesn’t fall into this category (for some reason).
As some other affected users have reported, you will be able to resolve the issue by installing an email client that knows how to work with the Sent to Mail Recipient function on Windows. There are a lot of alternatives, free or paid, but you should choose one that you are already comfortable with so that the learning curve is minimal.
If you have the means, go with Outlook as it works without any problems with the Send to Mail Recipient function, but there are also other alternatives if you want to step outside of Microsoft’s ecosystem. Here are some free alternatives to consider:
Note: Regardless of the client you choose, you’ll need to configure it to become your default email client to use the Sent to Mail Recipient feature. Consult Method 3 for steps on doing this.
If you already have an email client but you’re still unable to use the Sent to Mail Recipient feature from the context menu, move down to the next method below.
Method 3: Configuring email client as the default app
If you already have an email client but you still can’t use the Send to Mail Recipient function, there’s a high chance that this happens because the email client is not recognized as the default app for email. This can be rectified very easily from the Default apps menu.
Several affected users that were also struggling to resolve this issue have reported that they were able to fix the issue entirely after accessing the Default apps menu and changing to Default app for Email according to their preferences.
Here’s a quick guide on setting the email client as the default app:
- Press Windows key + R to open up a Run dialog box. next, type ‘ms-settings:defaultapps‘ and press Enter to open up the Default Apps menu of the Settings app.

Accessing the Default Apps window - Once you’re inside the Default apps menu, move over to the right-hand pane and click on the Email box.
- From the newly appeared context menu, simply choose the email client that you want to start using.
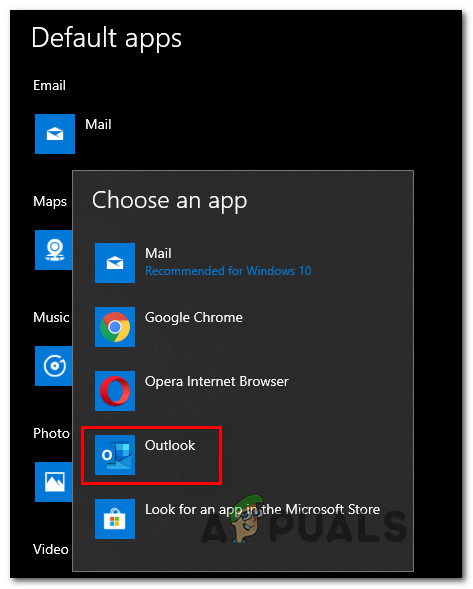
Changing the default app for Emailing Note: Make sure to choose something else than Outlook, since it doesn’t get recognized as the default app.
- Once the change has been enforced, restart your computer and see if the issue is resolved at the next system startup.
If you’re still having the same issue or you don’t want to change the default email client, move down to the next method below.
Method 4: Resolving the Outlook Synchronization error (if applicable)
If you have Outlook installed and it’s functioning normally (outside of this broken function), chances are the system is suffering from a synchronization issue that seems to be quite common on a lot of Windows 10 systems.
As it turns out, the issue is occurring due to a series of corrupted registry keys that need to be refreshed to resolve the normal functionality of the Send to Mail Recipient function. We managed to find several reports where affected users have confirmed that the issue was resolved after following the steps below.
Here’s a quick guide on resolving the Outlook Synchronization error using Registry Editor:
- Press Windows key + R to open up a Run dialog box. Next, type “regedit” and press Ctrl + Shift + Enter to open the utility with admin access. When you’re prompted by the UAC (User Account Control) prompt, click Yes to grant administrative privileges.

Running the Registry editor - Once you’re inside the Registry Editor, use the left-hand pane to navigate to the following location:
Computer\HKEY_LOCAL_MACHINE\SOFTWARE\Clients\Mail\Microsoft Outlook
Note: You can also paste the location directly in the navigation bar and press Enter to get there instantly.
- When you get to the correct location, right-click on each sub-key of Microsoft Outlook and choose Delete to get rid of them. Do this consistently until you manage to remove every sub-key belonging to Microsoft Outlook.
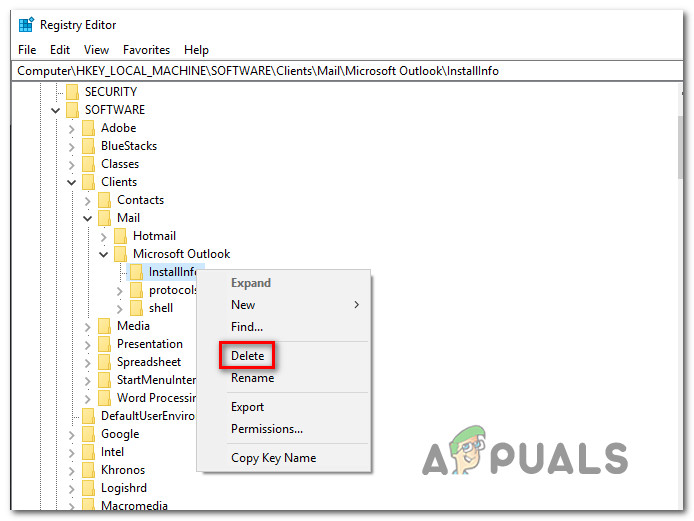
Deleting all Microsoft Outlook’s sub-keys - Once each subkey has been deleted, close the Registry Editor and restart your computer.
- At the next system startup, see if the issue has been resolved or you’re still encountering the Send to Mail Recipient function.
If the problem persists, move down to the next method below.
Method 5: Repairing the Office installation (if applicable)
As it turns out, if you have Microsoft Outlook configured as your default email client, the issue can also occur due to a corrupted installation. Several affected users have managed to resolve the issue by using the Programs and Features wizard to repair the Office installation.
After doing this and restarting the computer, several users have reported that the issue was resolved completely. Here’s a quick guide on repairing the Office installation:
- Press Windows key + R to open up a Run dialog box. Next, type “appwiz.cpl” and press Enter to open up up the Programs and Features screen.

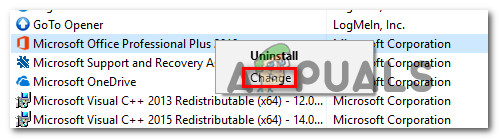
Typing in “appwiz.cpl” in the Run prompt - Once you’re inside the Programs and Features screen, scroll down through the list of installed application and locate your Office installation. When you see it, right-click on it and choose Change from the newly appeared context menu.
Changing the Office installation - At the next repair prompt, choose Quick repair from the newly appeared menu, then click on Repair to initiate the repairing process.
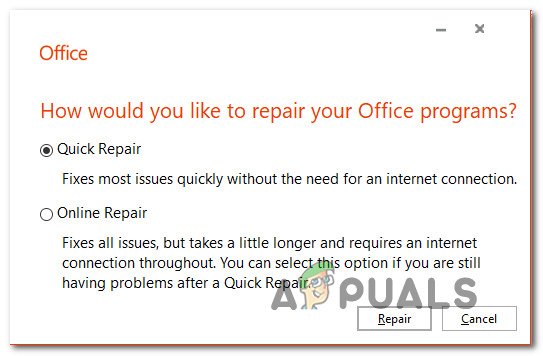
Repairing the Office installation - Once the process is completed, restart your computer and see if the issue is resolved at the next system startup.


I tried everything here and Microsoft’s own suggestions. The only thing that finally worked was to do a full Online Repair install. The Quick Repair didn’t help.