How to Fix Quicken Error CC-502
The Error CC-502 is one of the most common error comes when it comes to the Quicken banking app. Most affected users are reporting that they run into it when trying to update new bank accounts into the application. The issue is not specific to a particular Windows version since it’s confirmed to occur on Windows 7, Windows 8.1 and Windows 10.

What is causing the Error CC-502 error?
We investigated this particular issue by looking at various user reports and the repair strategies that are commonly being used to fix this particular error message. Based on what we gathered, there are multiple scenarios that are known to trigger this error message:
- Quicken client version is outdated – In the majority of cases, this particular issue occurs because the bank made a change that Quicken is not yet configured to accommodate. Just a single small modification in their web server can break the updating function in Quicken. Fortunately, Quicken is typically fast in accommodating the latest changes with most bank service providers, so updating to the latest application version should resolve the issue in most cases.
- Online account info is out of sync – Another possibility that can lead to this issue is instances where the online account information is out of sync. In this case, you will be able to resolve the issue by refreshing the required information, forcing the Quicken client to update the file that is currently in use.
- Corrupted quicken file – File corruption inside the folder containing the Quicken data that is used by the online account can also be responsible for this particular issue. Several affected users have reported that the issue was resolved after they deactivated the account, validating the file and then re-adding the account that they’ve encountered issues with. However, in some cases, the only fix that will work is to create a new Quicken file from scratch.
- Bank web service maintenance – It’s also possible that the issue is occurring due to a maintenance period that is currently performed by the bank service provider. In this case, Quicken will throw this particular error code because it’s unable to reach the information from your bank. If this scenario is applicable, the issue is beyond your control and the only fix is to simply wait it out.
If you’re currently struggling to resolve the same error, this article will provide you with several troubleshooting steps that should help you fix or circumvent the problem. Down below, you’ll find several repair strategies that other users in a similar situation have used to resolve the issue. Every method featured below is confirmed to work by at least one user.
To remain as efficient as possible, we advise you to follow the methods in the order that they are presented since they are ordered by efficiency and severity. Eventually, you should be able to resolve the issue regardless of the culprit that is causing it.
Method 1: Updating Quicken to the latest release
In most cases where this issue is reported, the issue appeared as a result of a problem having to do with how Quicken communicates with the bank server. One scenario in which this inconsistency occurs is if the bank made some changes that ended up breaking some Quicken functionality.
Now, Quicken is known for being very quick in adapting to the latest changes, so one quick fix that is often time reported to be effective is to update to the latest Quicken release. A lot of users have reported that the issue was resolved after performing the steps below.
Here’s a quick guide on how to do this:
- Inside Quicken, close out the error box so that you’re back to the default dashboard screen.
- Use the ribbon menu at the top of the screen to select Help > About Quicken.
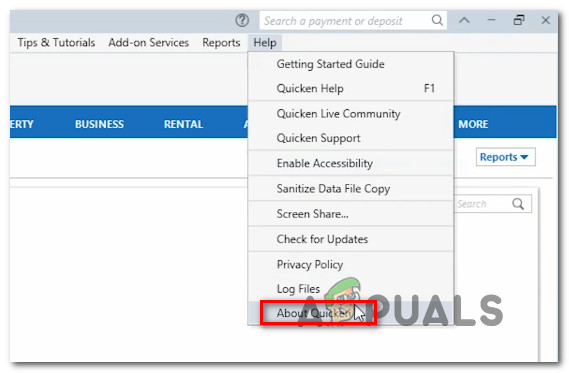
Accessing the About Quicken menu - If you are not on the latest release, use the ribbon menu again to access the Help tab and click on Check for Updates.
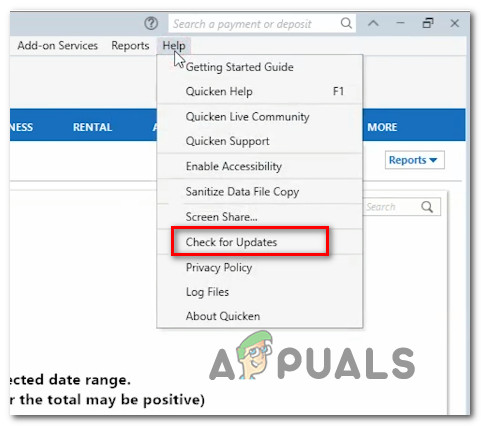
Checking for the latest Quicken updates - Follow the on-screen prompts to complete the installation of the update.
- Restart your Quicken application and check if the issue has been resolved by performing the same action that was previously triggering the Error CC-502.
If the same issue is still occurring, move down to the next method below.
Method 2: Refreshing the online account information
Some affected users have reported that for them the issue was resolved after they refreshed their online account information. But keep in mind that if you’re using multiple accounts, you will need to repeat the steps with each and every account. This procedure ends up reconfiguring the Quicken connection with the bank server, which ends up resolving the issue in most cases.
Here’s a quick guide on how to refresh to the online account information of your Quicken account:
- First things first, open the Quicken app and select the account that you’re experiencing the issue with. You can select it from the Accounts menu on the left section of the screen.

Selecting the correct account in Quicken - Once the correct account is selected, use the menu at the top (under the ribbon bar) to click on Update icon and then click on One Step Update.
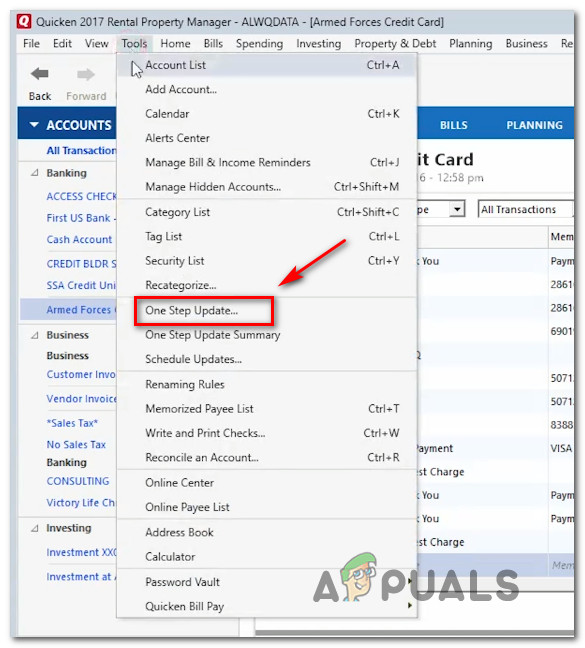
Performing a One Step Update in Quicken - Once you’ve done this (even if you get an error), make sure the correct account is still selected and click on the gear icon (settings icon) in the right section of the screen. Then, from the newly appeared menu, click on Update now.
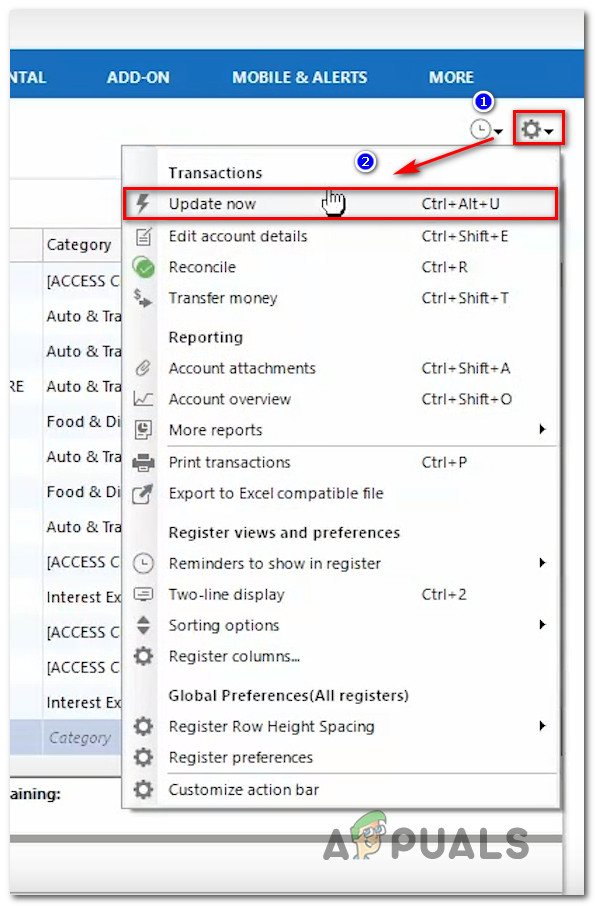
Updating the account information in Quicken - At the confirmation prompt, make sure that the checkbox associated with transactions and balances is checked, then click on Update Now to start the updating process.
- If you have multiple accounts, repeat step 1 to 4 with all of them.
- Once all your account information is updated, attempt to perform the operation that was previously throwing the Error CC-502 and see if the issue has been resolved.
If you’re still encountering the same error message, move down to the next method below.
Method 3: Deactivating account & validating the file
Several users that were also encountering this particular issue have reported that they managed to resolve the issue by deactivating the account that was producing the Error CC-502 and validating the file that is being used in this process.
This will resolve any instances where the issue is caused by a damaged file or file corruption that ended up prohibiting the Quicken app to communicate with your bank servers.
Here’s a quick guide on deactivating the account and resolving any corruption issues related to the file:
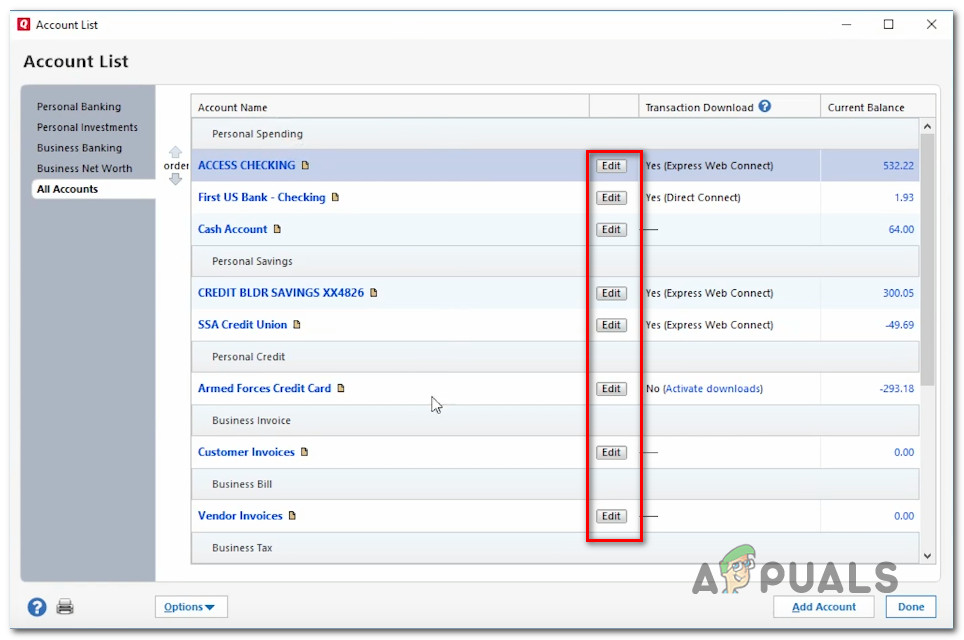
- Inside the Quicken App, go to the ribbon bar at the top and select Tools > Account List.
- Inside the Accounts List window, select All accounts from the vertical menu on the left and click on the Edit button associated with the account that is causing the issue.
- From the Account Details window, go to Online Services and click the Deactivate button. Confirm if prompted to do so.
- Once the process is complete, you’ll see that a Set up Now button now appears inside the Online Services tab. If the Set up Now button appears, then your good to go. If not, repeat steps 2 to 4 again until the button is visible.
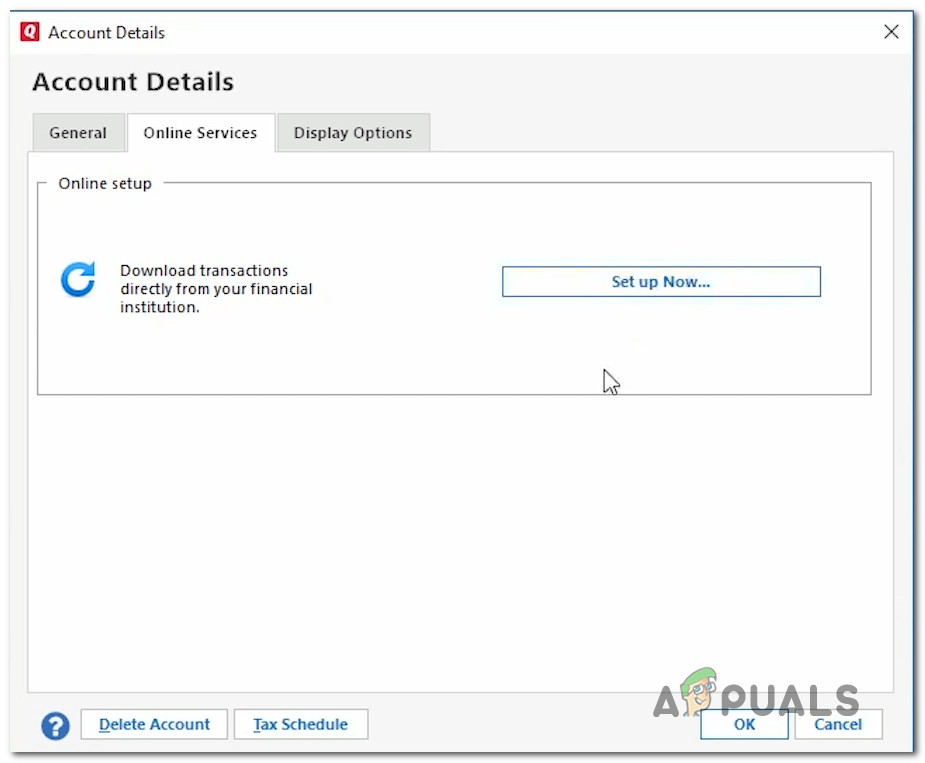
Checking to see if the Set up button has appeared Note: If you don’t see the button yet, restart your Quicken application and you should find it there at the next startup.
- Don’t click on the Set up button, but instead click on Ok and then on Done to close the window.
- Close the Quicken app and open it back again after a couple of seconds.
- Using the ribbon bar at the top, go to File > File Operations > Validate and Repair.
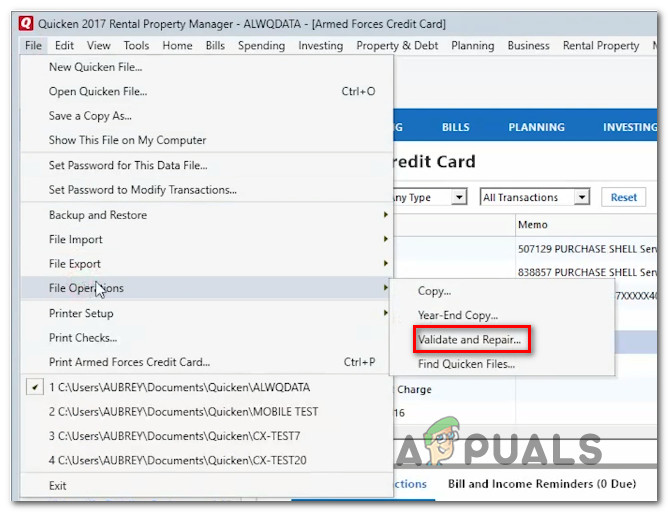
Validating & repairing the file used by Quicken - From the Validate and Repair Your Quicken File screen, check the box associated with Validate file, uncheck everything else and click on Ok.
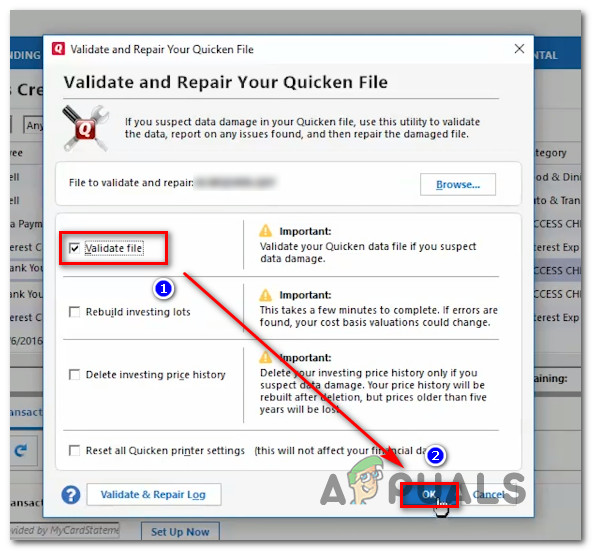
Validating the file used by Quicken - If prompted if you want to save the transaction before proceeding further, click on Save and wait for the process to be completed.
- After the file is validated, you will see a report with the findings of the validation process. If there’s no sign of errors, or the scan revealed damaged files that could be corrected by Quicken, then you are good to go.
- Not to re-add the account that we previously worked on, go to Tools (using the ribbon at the top) and choose Account List.
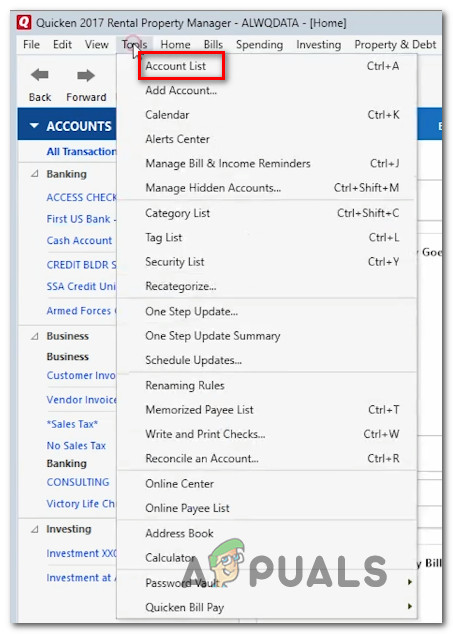
Accessing the Account List menu - Inside the Account List screen, select the All Account tab from the vertical menu on the left. Then, click on the Edit button associated with the bank account that was previously deactivated.
Editing the account - Inside the Accounts Details screen, go to Online Services and click on Set up Now.
Setting up the account that we previously deactivated in Quicken - Inside the Activate One Step Update screen, insert your credentials and hit the Connect button to set up the account once again. If prompted for your password, provide it and click Sign in.
- Check if the issue has been resolved by performing the same steps that were previously triggering the Error CC-502 and see if the issue has been resolved.
If the same exact error is still appearing, move down to the next method below.
Method 4: Creating a new Quicken File
If all the steps above didn’t help you resolve the issue, you might finally be successful by creating a new Quicken file. Several users that were similarly affected by the Error CC-502 code have reported that the issue was resolved after they created a new file and started using that instead of the old one.
Here’s a quick guide on how to do this:
- From the default Quicken screen, use the ribbon bar at the top to click on File and then on New Quicken File.
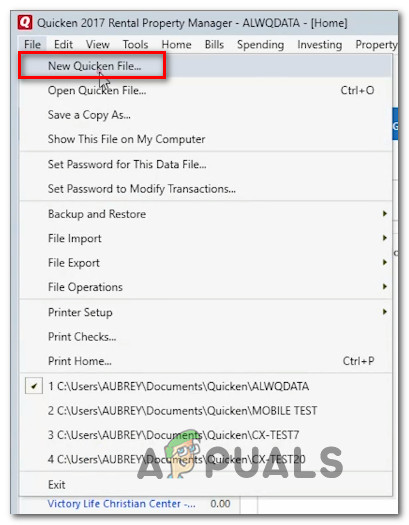
Creating a New Quicken File - From the New Quicken File window, select the toggle associated with New Quicken File and click Ok.
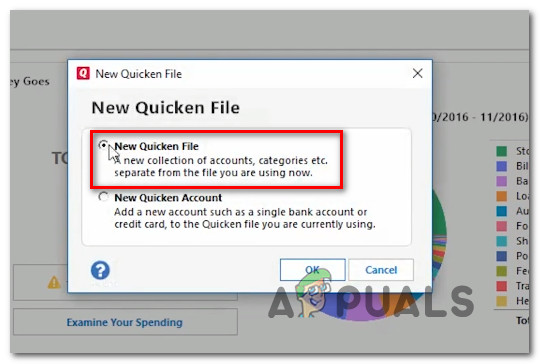
Creating a new Quicken file for internal use - From the next screen, set up a name and a location for the Quicken file and hit Save.
- Next, you will be prompted to sign in with your Intuit Id again. Provide the necessary credentials and click Sign In to advance.
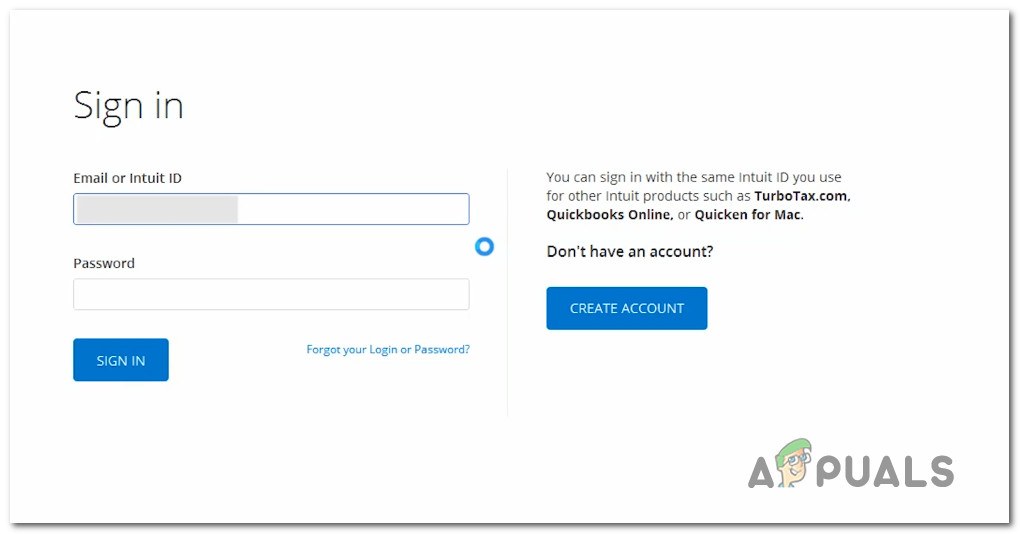
Signing in with Quicken - Once the signing up process is complete, follow the necessary steps to re-add the necessary Credit Cad account and connect with it.
- Update using the One Step Update again and see if the Error CC-502 has been resolved.
If the same error message is still occurring, move down to the next method below.
Method 5: Waiting out the issue
If all the methods above didn’t help you to resolve the issue, chances are the error code is beyond your control. In some cases, the error code gets thrown as a result of a maintenance period on your bank’s website.
This maintenance periods typically last a few hours at the minimum, so make sure to check for time to time. Or if you don’t have any urgent chore to do in Quicken, check out the next business day to see if the issue is resolved automatically.
If the issue is severe and seems to last for 5+ hours, it might be a good idea to check your Bank’s social media channels for any announcements about the status of their servers.


