How to Fix QuickBooks Error Code ‘80029c4a’ on Windows?
QuickBooks can be quite a useful tool for handling your taxes and it’s no wonder people are using it so often. However, there are certain errors which can appear when you try the run the tool which may make your experience somewhat less enjoyable, preventing you from accessing your important files.
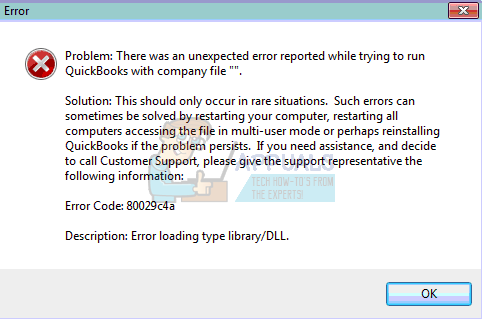
The error code: 80029c4a usually appears as soon as users open QuickBooks and the error is displayed along the following message:
80029c4a – Can’t load dynamic link library(DLL), or
Description: Error loading type library/DLL
This error occurs in rare occasions but solving sometimes turn out to be quite a process. Luckily, you can simply follow the instructions in the article below and solve this problem quite easily. Make sure you follow the instructions carefully and that you try out each method located below.
Solution 1: Doing a Clean Install of QuickBooks
A clean install is usually done when one of the program’s features are damaged and need repair and also when the usual reinstall fails to provide any comfort or a solution to the problem. In order to start the installation process make sure you have the installation CD or the setup file you downloaded from QuickBooks’ official site. You will also need your license number before you start.
- First of all, make sure you are logged in with an administrator account as you won’t be able to delete programs using any other account.
- Backup the data you want to save because deleting QuickBooks will remove it.
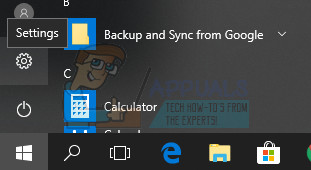
- Click on the Start menu and open Control Panel by searching for it. Alternatively, you can click on the gear icon in order to open settings if you are using Windows 10.
- In Control Panel, select to View as: Category at the top right corner and click on Uninstall a Program under the Programs section.
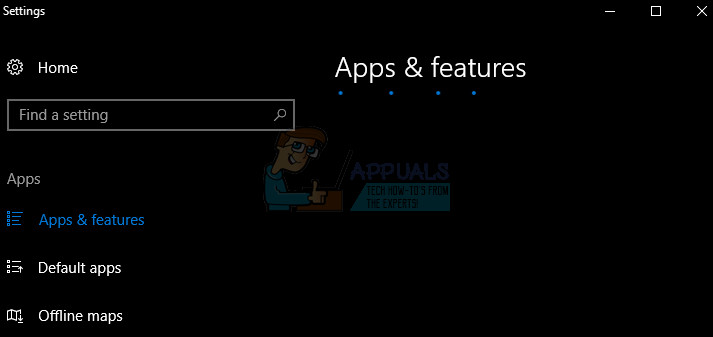
- If you are using the Settings app, clicking on Apps should immediately open a list of all installed programs on your PC.
- Locate Quickbooks in Control Panel or Settings and click on Uninstall.
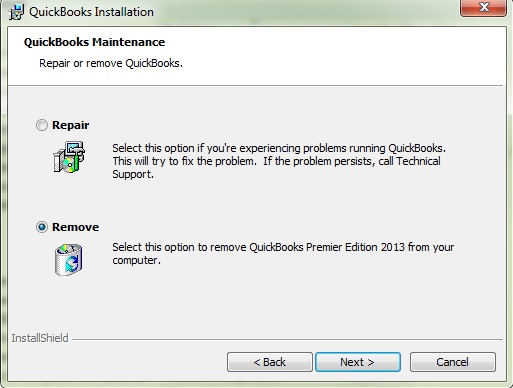
- QuickBooks’ uninstall wizard should open with two options: Repair and Remove. Select Remove and click Next in order to uninstall the program.
- A message will pop up asking “Do you want to completely remove QuickBooks for Windows?” Choose Yes.
- Click Finish when the uninstalled completes the process and restart your computer to see whether errors will still appear.
The next thing in the process is to rename the installation folders so that QuickBooks does not use the remaining files after you reinstall it. This is an easy task.
- Navigate to the C >> Windows folder on your computer by clicking on This PC option located at your desktop.
Note: If you are not able to see some of the folders we mention below, you will need to enable the Show Hidden Files and Folders option from within the folder.
- Click on the “View” tab on File Explorer’s menu and click on the “Hidden items” checkbox in the Show/hide section. File Explorer will show the hidden files and will remember this option until you change it again.

- Navigate to each of the folders displayed below and rename them by adding ‘.old’ to their name. This means that the new installation of QuickBooks won’t use these folders or the files located in them.
C:\ProgramData\Intuit\QuickBooks (year)
C:\Users\(current user)\AppData\Local\Intuit\QuickBooks (year)
C:\Program Files\Intuit\QuickBooks(year)
64-bit version C:\Program Files (x86)\Intuit\QuickBooks (year)
Note: You may end up receiving the “Access Denied” error when you try to rename these folders. This only means that one of the QuickBooks processes is running and it prevents you from modifying any of the files and folders these processes are using. Follow the steps below to fix this:
- Use the Ctrl + Shift + Esc key combination in order to bring up the Task Manager. Alternatively, you can use the Ctrl + Alt + Del key combination and select Task Manager from the menu. You can also search for it in the Start menu.
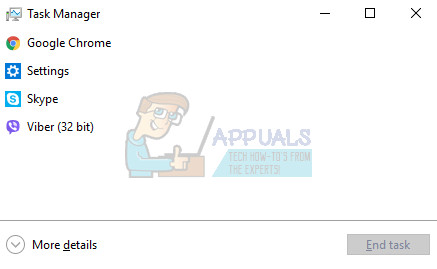
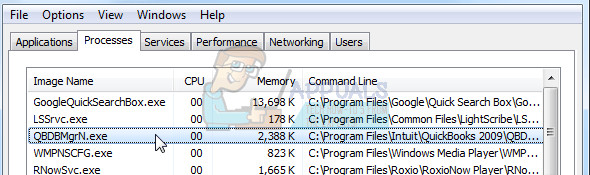
- Click on More details in order to expand the task manager and search for the entries displayed below on the list in the Processes tab of Task Manager, right-click on each one of them, and choose the End task option from the context menu which appears.
QBDBMgrN.exe
QBDBMgr.exe
QBCFMonitorService.exe
Qbw32.exe
- Click Yes to the message which is going to be displayed: “WARNING: Terminating a process can cause undesired results including loss of data and system instability….”
- Now you are ready to reinstall QuickBooks Desktop by running the file you downloaded earlier. The link is at the very start of this Solution. Follow the instructions which appear on screen and check to see if the same error appears.
Alternative: If the clean uninstall doesn’t work for some reason, you can always try and repair the installation by choosing the Repair option in Step 7 of this Solution. After the process finishes, try to see if the error message still appears.
Solution 2: Updating QuickBooks
The first step you need to perform when trying to fix QuickBooks is definitely the clean install. After that, you should try and update QuickBooks to the latest version and check to see whether the new update actually manages to fix the issue.
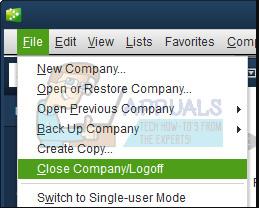
- From the File menu at the top of the screen, click on Close Company/Logoff.
- NOTE: If you open multiple company files in QuickBooks Desktop, you have to do this step for every company that are open.
- Click File >> Exit and QuickBooks by right-clicking the QuickBooks desktop icon located on your desktop and choosing the Run as administrator option.
- Make sure that you are in the No Company Open screen and choose the Update QuickBooks option which is located under the Help menu at the top of the screen.
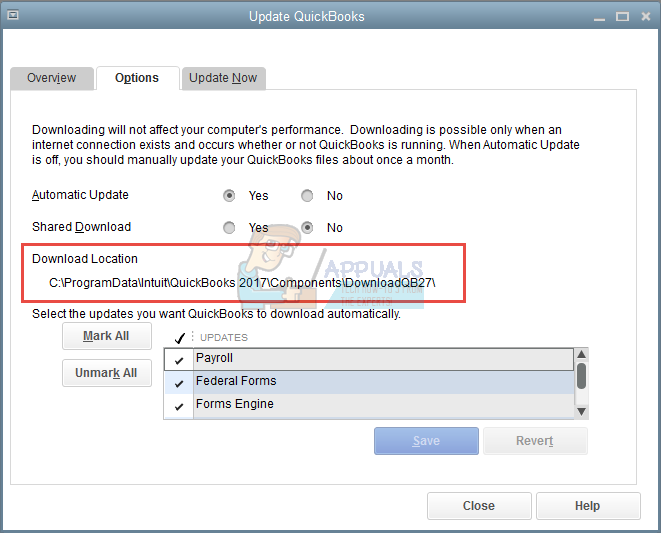
- Click Options and choose the Mark All option. Click the Save button and click Update Now.
- h
- Click Reset Update then click the Get Updates button. When the Update Complete message appears, close QuickBooks Desktop.
- Open QuickBooks Desktop. If you get the message prompting you to install update, click Yes.
- When the installation is complete, restart your computer.