How to Fix Local Disk E Randomly Appearing on Windows
After Windows Update 1803, we have been receiving numerous reports from users that they see a random Local Disk (in most cases, it is E) appearing in their ‘My Computer’. Furthermore, Antivirus software, as well as other applications, are also able to pick the drive. Even though the drive appears normally in the computer, it is mostly inaccessible and nothing is able to open its contents.
This is a very common issue which people around the world experienced when they updated their computers to the latest iteration of Windows. However, there are also several other cases where you might see a random drive appear on your computer. In this article, we will go through all the reasons as to why this might occur and what the workarounds to fix it are.
Make sure you start with the first solution and work your way down.
What causes a Random Drive to Appear in Windows 10?
After analyzing all the user reports and doing our own research in our workstations, we came to the conclusion that the issue occurs due to specific reasons. Some of the reasons why you might experience this issue are but not limited to:
- Windows Update 1803: As mentioned in the introduction, this is the number one cause why users experience the issue. It seems Windows Update didn’t complete its update process properly and left a drive on your computer.
- Network location: Another reason why you might see a drive on your computer is when you are using network sharing on your computer. When network sharing is enabled, it allows you to access other drives from other computers.
Before proceeding, make sure that you have an active internet connection on your computer and also have administrator access. Start with the first solution and work your way down accordingly.
Solution 1: Changing Driver Letter
Windows Officially recognized the situation and even released a workaround which you can use to rectify the issue. According to them, Windows Update creates this drive temporarily to save all the update files and it is supposed to remove it before the update process is completed and control is switched back to the user. In our case, the Update process fails to do this and instead, leaves the leftover.
According to Microsoft, the issue can instantly be fixed by changing the drive letter from the Disk Management console. There are two ways you can achieve this; either through the application itself or through the command prompt. In this solution, we will go through both the methods starting with the GUI method first.
- Press Windows + R, type “diskmgmt.msc” in the dialogue box and press Enter.
- Once in the disk manager, locate the drive which appeared randomly after the update. Right-click on it and select Change Drive Letter and Paths.
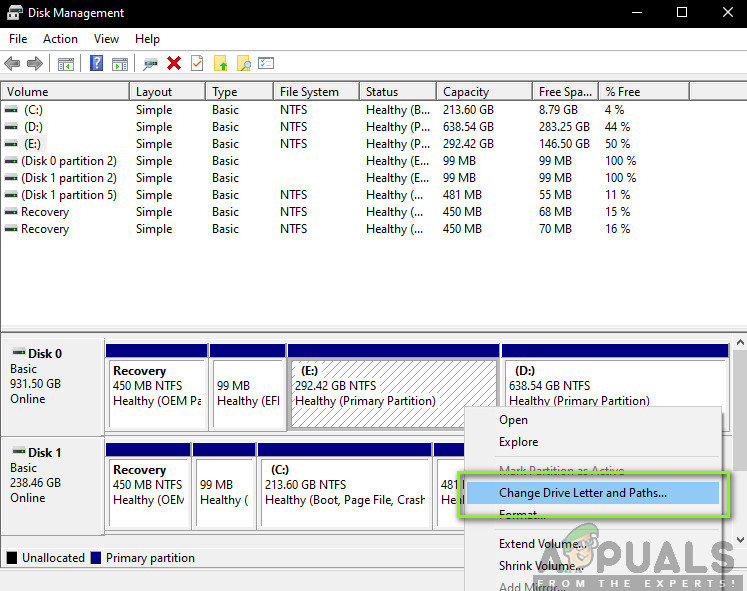
Changing Drive Letter and Paths - Another small window should pop up consisting of the drive name. Select the drive and click on Remove button present underneath.
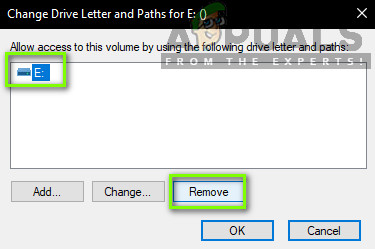
Removing Drive Letter - Now after removing, restart your computer completely and then check if the issue is resolved.
Another way to perform the same steps is through command prompt. Execute the steps listed below:
- Press Windows + S, type “command prompt” in the dialogue box and press Enter.
- Once in the elevated command prompt, execute the following commands in order.
diskpart

select volume E

remove letter=E
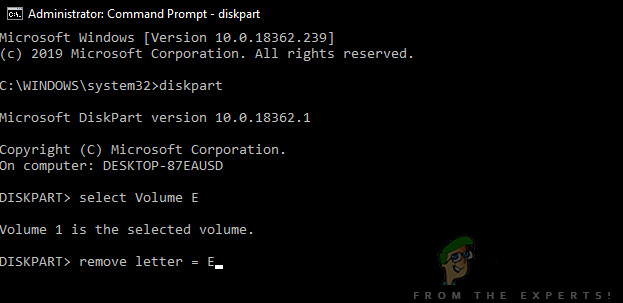
Note: In this case, the letter of the drive which appeared randomly was ‘E’. If your case is different, you can alter the command accordingly.
- Restart your computer completely and then check if the issue still persists.
Solution 2: Updating Windows to the Latest Version
According to Microsoft, they released an update for computers which were affected by the issue in which the problem was rectified. Furthermore, they also changed the 1803 update to make sure the issue doesn’t occur to users who are going to update to the version. In our case, updating Windows will automatically download the workaround on your computer and fix the issue completely. In this solution, we will navigate to the Settings and then update Windows to the latest build.
- Press Windows + S, type “update” in the dialogue box and press Enter.
- Once in Windows Update, click on the button of Check for Updates.
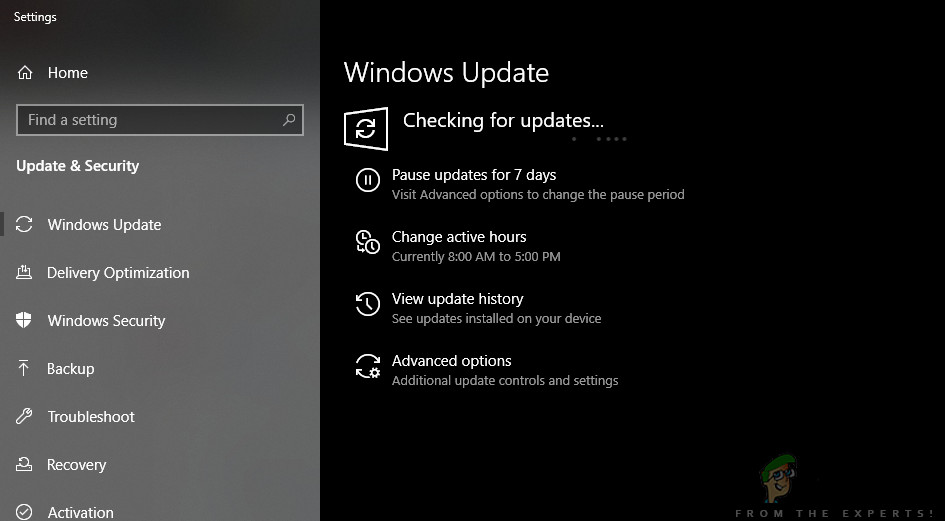
Checking for Updates – Windows - Now, Windows will automatically connect to the Microsoft servers and download the newer version to your computer.
- When prompted, make sure that you restart your computer completely and then check if the new updates solved the problem for you.
Solution 3: Checking for Network Drives
Another reason why you might be seeing another drive on your computer is that it is mapped by the network onto your computer. If you are using network access of another computer, its files will be present in your computer but will be under the heading of Network locations. In this solution, we will navigate to ‘My computer’ and after checking whether the drive is indeed a network location, remove it completely.
Note: After you disconnect the drive from your computer, you will have to go through all the steps needed to connect it again so make sure you know what you are doing.
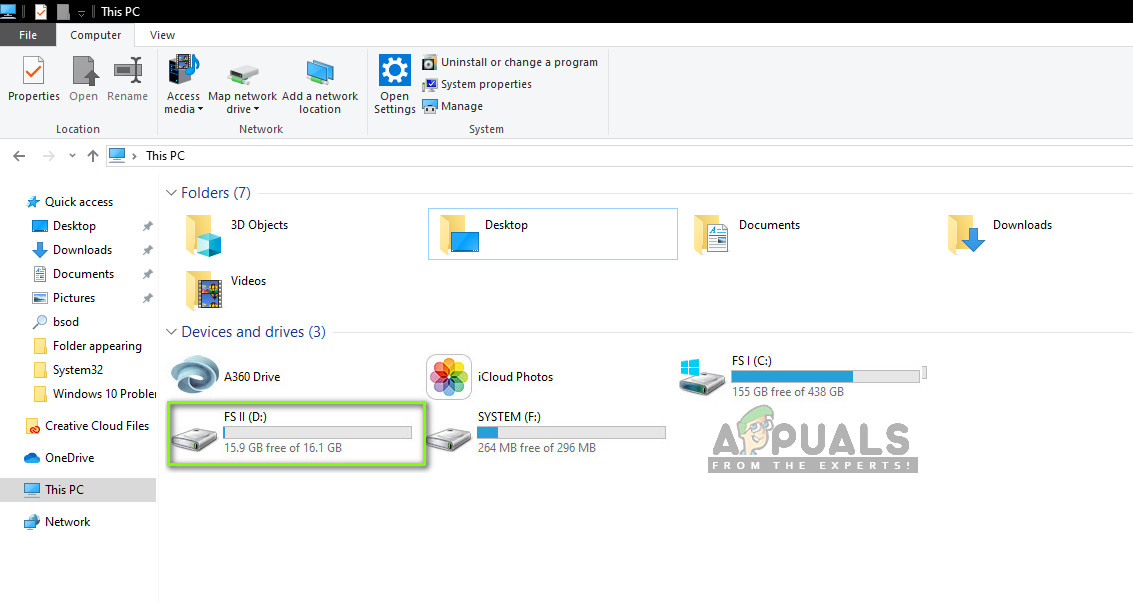
- Open ‘This PC’ from either the Desktop or through the start menu.
- Now, look under the option of Network locations. If the drive is present in this section, it means that it shared via the Network. If it isn’t, you can continue to troubleshoot further.
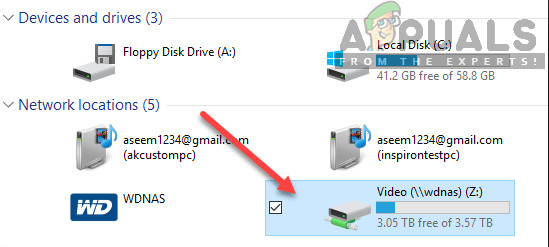
Looking for Network Drives - Now, right-click on the drive and select Disconnect.
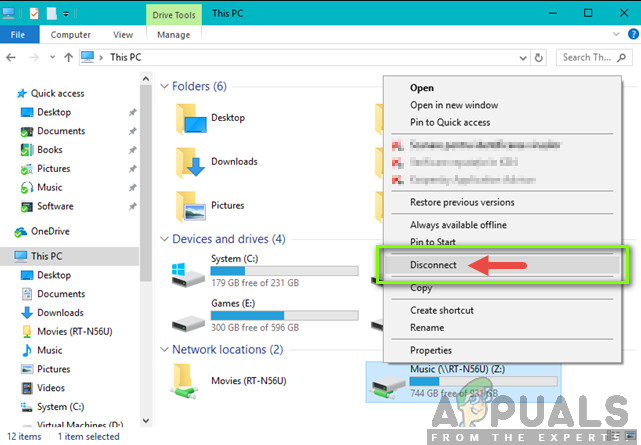
Disconnecting the Network Drive - The drive will now be disconnected and will be removed from your computer.
Another way to remove the drive is through the command prompt. This method performs the same solution but through the command line instead.
- Open an elevated command prompt as we did in the earlier solutions.
- Now, execute the following commands:
net use E: /delete
Note: In this case, the drive which is removed is ‘E’. If your case is different, make sure that you make changes to the command.
Solution 4: Checking for Rogue/External Drives
If both the above methods don’t work or are not applicable in your case, it probably means that there was a rogue/external disk drive on your computer and it is being displayed. If it is an external drive, you can easily check whether one is connected to your computer. Check all the ports.
If you can access the contents of the drive and it wasn’t there before and on top of this, you are using a PC, you should make sure that there wasn’t a rogue drive on your computer. Check all your SATA connections and make sure there isn’t any drive present which you think wasn’t there but is. If there was indeed a rogue/external drive, sit back and enjoy. Hopefully, by the end of this article, you would have solved the issue under discussion.


