How to Fix Java Error Code 1603
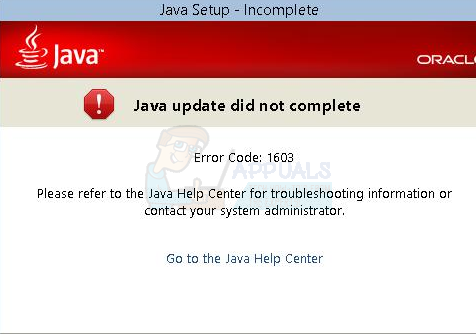
There are plenty of Java-based applications that are installed on our systems. We should keep the Java technology up-to-date in order for our applications to run at their maximum performance. Most of these programs automatically check for Java updates and download them on your behalf or ask for your permission depending on your settings. However, sometimes you might see an Error Code: 1603 while installing these Java updates. This error code is shown when a fatal error occurs during the installation. The error will come up with a message saying that you need to close the applications that are using Java and it will give you the name of these applications in a list.
The error is caused by, as the error message tells you, a Java-based application running in the background. The Java update won’t install if a Java-based program is running. So, closing the application will solve the issue. However, if the application mentioned during the error isn’t running in the background then your focus should shift towards the other causes. There are a couple of things that can be the root of this problem.
The first one is that the application you are trying to install is already installed. This is, of course, for the people who are installing Java and not updating. The problem can also be caused if you don’t have proper or enough permissions. Lastly, the error can also happen if the installation folder is encrypted.
Since there are a few things that can cause the issue, there are plenty of methods that might work for you. So, go through each of them until the problem is resolved.
Tips
- Restart your computer and try again. These problems sometimes get resolved by a restart.
- Make sure you have admin privileges. Run the installer by right-clicking and selecting Run as administrator.
- Make sure the drive you are trying to install on isn’t encrypted.
- If you have BitLocker enabled then disable it and try to install again.
Method 1: Close Application
The first thing that you should do is try to close the program that the error message mentioned. The easiest way to see if the program is running or not is to check the task manager.
Here are the steps to find and close the Java-based program.
- Press and hold CTRL, SHIFT and ESC simultaneously (CTRL + SHIFT + ESC)
- This will open up the Task Manager
- Go through the list of processes and check if the program mentioned with the error is running. If you see that specific program then select the application and select End Task (bottom right corner).
This should solve the issue. Once done, try to install/update the Java again and it should work just fine.
Note: If you can’t see the program in the task manager then try to install/update Java while keeping the Task Manager open. It is a bit weird but a lot of users have successfully installed/updated Java by simply keeping the Task Manager open.
Method 2: Get Rid of LogMeIn
If you are a network administrator who is trying to install Java via remote access through LogMeIn then that might be the problem. LogMeIn will cause this error even if everything is fine. A lot of the users especially the network administrators have solved the issue by getting rid of LogMeIn.
So, either try to access the machine directly or use the RDP or something else for the remote access and installation. The point is, don’t use the LogMeIn for the installation task.
Note: If you really have to use the LogMeIn then there is a workaround as well. Use the LogMeIn to start the Java update/installation. Disconnect the LogMeIn as soon as the Java update/installation kicks off. The installation process will continue (hopefully). Then reconnect after a few minutes when the installation is complete. This isn’t a solution but more of a hack that has worked for a few people. So if you really have to use LogMeIn the give it a try.
Method 3: Use the Java Control Panel
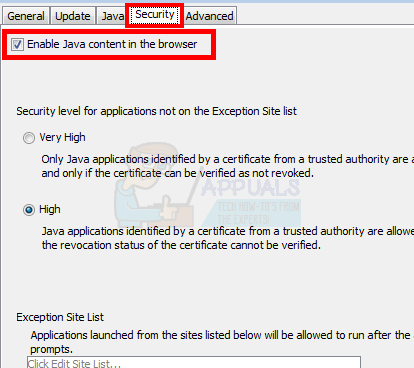
Unchecking and checking the option Enable Java content in the browser has solved the issue for a ton of users. This option is available in the Java Control Panel that can be accessed via the control panel. So, follow the instructions given below to change these settings.
- Press and hold Windows key and press R
- Type control panel and press Enter
- Click Programs
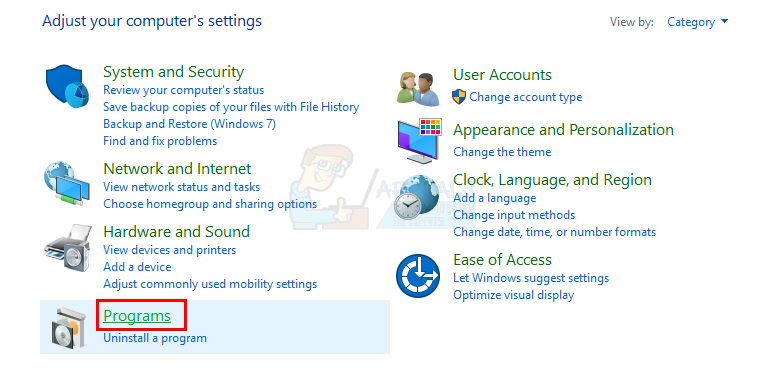
- You should be able to see Java in this window. Click Java

- Select the Security tab
- Uncheck the option Enable Java content in the browser
- Click Apply
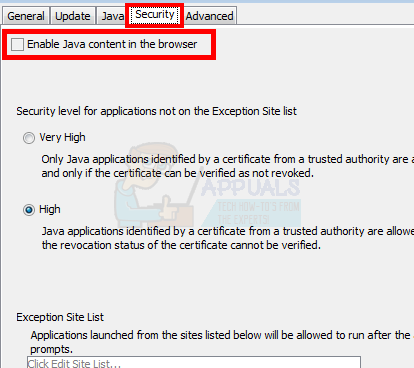
- Check the option Enable Java content in the browser
- Click Apply
Now retry to install Java. It should work flawlessly.
Method 4: Uninstall Previous Versions
Since the problem can be caused by an already installed version, you should try to uninstall the previously installed versions of Java. One of the reasons behind this issue is “the program you are trying to install is already installed”. So, check the installed program list and uninstall the Java if you find it in the list.
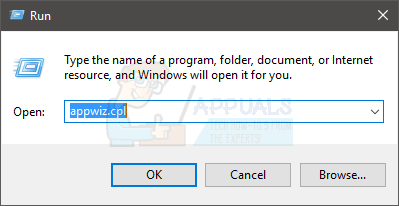
- Press and hold Windows key and press R
- Type appwiz.cpl and press Enter
- Look in the list and check for Java or JDK in this list. If you see Java then select it and click Uninstall.
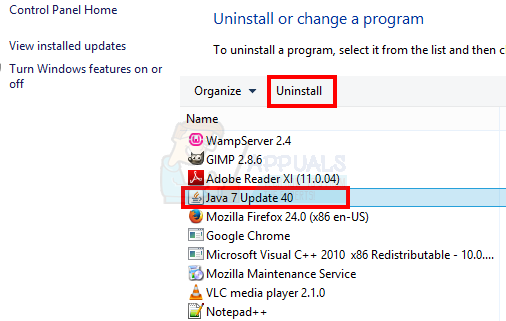
- Uninstall both 64-bit and 32-bit versions.
- Reboot the system
Once done, try the installation process again and check if the problem persists.
Method 5: Using Offline Installer
In some cases, the error might be triggered because the update/installation cannot proceed properly. Therefore, we can utilize the Java Offline Installer to update it. In order to do that:
- Before proceeding, using the above method, uninstall all Java components.
- Download the Offline Installer from here.

Clicking on the download button - Restart your computer and run the installer.
- Follow the on-screen instructions to complete the installation.
- Check to see if the issue persists.
Note: If this doesn’t work, repeat the process again but while selecting the installation location select desktop and install it on a new folder in desktop. You can later add it to the path but this fixes the issue for some people. Also, you can try to download Java from here and install it in the same manner.
Method 6: Install Service Pack
In certain cases, users experienced that if they were on an operating system older than Service Pack 1, they couldn’t get Java and some other apps to work properly. Operating systems such as Windows XP and Windows Vista are no doubt very outdated now and with many newer versions of Windows available, it seems fruitless to keep using them. Therefore, you can download and install Windows 7 Service Pack 1 from here.
I’ve seen a new “breed” of cause. I get 1603 and the following in the log:
Product: Java 8 Update 241 (64-bit) — Error 1722. There is a problem with this Windows Installer package. A program run as part of the setup did not finish as expected. Contact your support personnel or package vendor. Action installexe, location: C:Program FilesJavajre-latestinstaller.exe, command: /s INSTALLDIR=”C:Program FilesJavajre-latest\” INSTALL_SILENT=1 REPAIRMODE=1 ProductCode={26A24AE4-039D-4CA4-87B4-2F64180241F0}
installer.exe doesn’t exist at that location, nor in PATH, nor anywhere else. Also note “\” in INSTALLDIR. I renamed the folder just to see if there was a symbol in the original name it didn’t like. Not sure how I can get around this.