[Fixed] ‘High CPU and Disk Usage by wmpnetwk.exe’ in Windows 7
If you’re still on Windows 7, you probably noticed that wmpnetwk.exe is eating more of your system resources than any other service. If you were to believe Microsoft, this is a beta-only bug that was removed from any of the public releases. But as it turns out, users still encounter this issue with fully-licensed Windows 7 public versions.
This issue will only occur on Windows 7, with users that have not disabled Windows Media Sharing.
Note: If you’re using Windows 8 or Windows 10, the following methods are obsolete.
What is wmpnetwk.exe?
It’s an internal system process that is disabled by default in ulterior Windows versions. The process is responsible for connecting the built-in media player with an external network. Although it shouldn’t be at all resource-demanding, some users have reported a staggering 70% of resource consumption by this service alone.
Unless you stream music or videos over the internet with Windows Media Player, this service is completely unnecessary. Disabling the wmpnetwk.exe will not affect your system in any way.
In any case, if you notice that your system is running increasingly slow, hit CTRL + Shift + ESC and click the Processes tab to bring it forward.
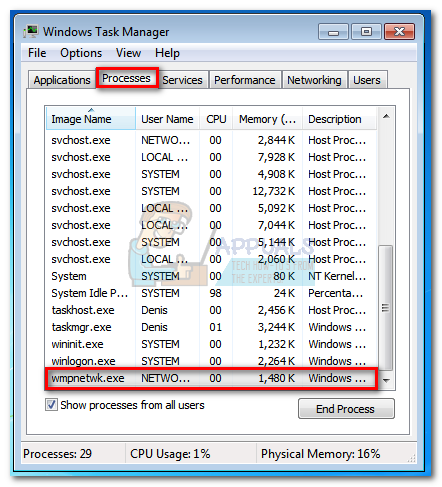
If you confirm that wmpnetwk.exe is the cause of your resource allocation problems, it’s time to act on it. If you don’t use Windows Media Center, it’s recommended that you disable the wmpnetwk.exe once and for all. Disabling the wmpnetwk.exe process will not harm your system in any way.
However, if you use Windows Media Player for streaming purposes occasionally, it might make more sense to apply a more delicate fix that will allow you to keep streaming on Windows Media Player.
If you think you’ll eventually use the wmpnetwk.exe service, follow Method 1. If you don’t plan on streaming on Windows Media player, follow Method 2.
Method 1: Prevent wmpnetwk.exe from starting automatically(at startup)
This fix involves stopping the service and changing the startup type to Manual. After a restart, we’ll change the startup to Automatic again. This will prevent wmpnetwk.exe to run by itself. Instead, it will only be accessed when needed (when you stream something in Windows Media Player). Here’s what you need to do:
Note: If you use Windows Media Sharing after applying this fix, wmpnetwk.exe will resume the normal behavior. To stop it from running, you’ll have to re-apply the fix or use Method 2 to disable it indefinitely.
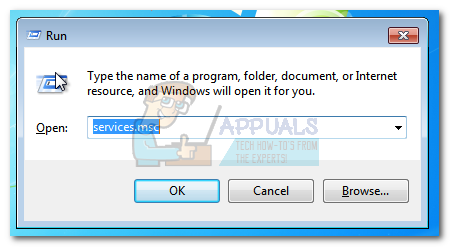
- Press Windows key + R and type services.msc.
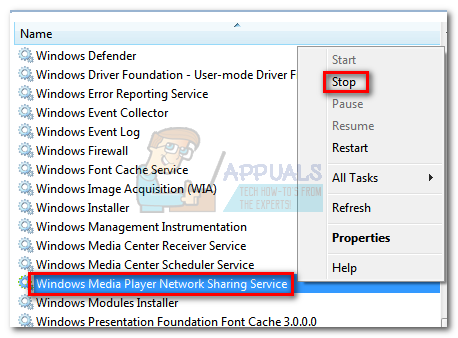
- Now scroll down and search for Window Media Player Network Sharing Service. Once you find it, right-click it and hit Stop.
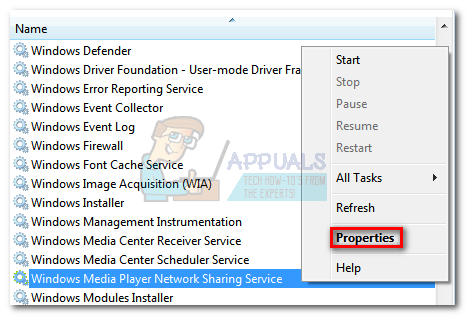
- It might take a while until the service is stopped. You’ll know that the process is cut off once the Stop entry is grayed out. Once that happens, right-click the service again and hit Properties.
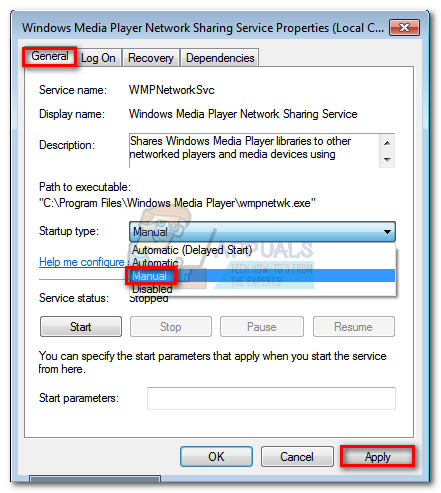
- Once you’re in the Properties window, click the General tab and access the drop-down menu near Startup type. Set it to Manual, hit Apply and restart your system.
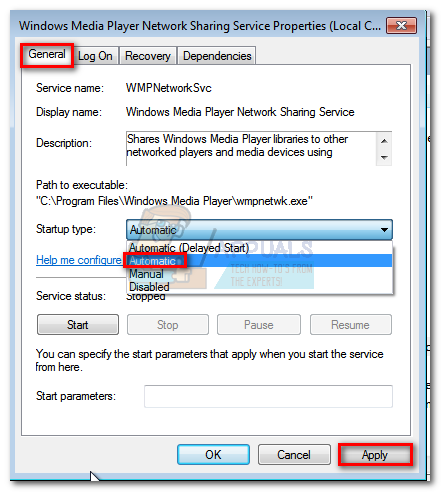
- When your computer boots up again, return to the Properties window by following step 1 and step 3. Once you’re there, select the General tab and change the startup type from Manual to Automatic (Not Automatic Delayed Start). Hit Apply to confirm your selection.
The issue should now be resolved. Now, the wmpnetwk.exe process will only start when needed by Windows Media Player.
Method 2: Permanently disabling the wmpnetwk.exe service
If you don’t use Window Media Player, there’s no reason why you’d want the wmpnetwk.exe service to start up again. In the event that you’re after a more decisive fix, disabling the wmpnetwk.exe service indefinitely is the best approach for you. Here’s what you need to do:
Note: Disabling the wmpnetwk.exe service will not harm your system in any way.
- Press Windows key + R, type services.msc and hit Enter.
- Now scroll down and search for Window Media Player Network Sharing Service. Once you find it, right-click it and hit Stop.
- Once the Stop entry is grayed out, right-click the service again and hit Properties.
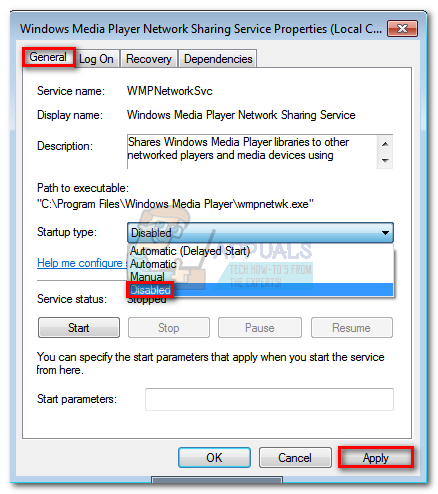
- Click the General tab and access the drop-down menu near Startup type. Set it to Disabled and hit Apply.
That’s it. The wmpnetwk.exe service is disabled indefinitely. Or until you return to the services menu and enable it again.