How to Fix Grand Theft Auto V Launcher Stopped Working Error
There’s almost nothing to be said about GTA V as it’s a game which has almost taken over the world with its huge, interactive map and your ability to explore, interact with, and shoot everything. It’s a dream come true for mayhem lovers but the game has its issues. One of them is definitely the “Grand Theft Auto V Launcher has stopped working” error.
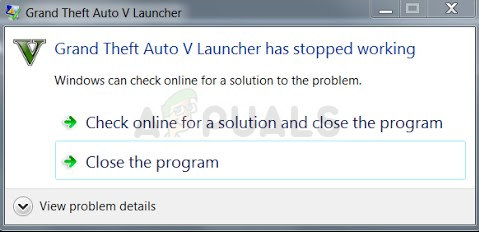
The error sometimes appears when launching the game and, in another case, it appears when the launcher is supposed to download or install an update. Either way, the problem can be solved and we have prepared plenty of methods which have worked for other players and will hopefully work for you!
What Causes GTA V Launcher has Stopped Working?
The list of things which can cause this app to crash is long but the common causes can be listed down and the error can often be solved by dealing with every entry properly. Let’s take a look at things which can cause this problem:
- The Social Club app needs to be updated and the automatic update service is not working properly. This means you will probably need to reinstall the app manually.
- Some game files might be missing or corrupt or the game needs to be run as an administrator or in a compatibility mode.
- There might be problems with the Steam beta client.
- Your computer might not be able to handle GTA V using some versions of DirectX
- Your graphics or sound drivers might be too old to handle the game at high settings.
Reinstall the Social Club Application
Even though this app is not vital to the actual gameplay, the game might fail to launch and it may display the “Grand Theft Auto V Launcher has stopped working” error if it goes corrupt for any available reason. Sometimes the update for the app is not registered properly and the launcher requires the latest version which caused confusion.
Follow the steps below in order to reinstall this app properly.
- First of all, make sure you have logged in with an admin account as you won’t be able to uninstall programs using any other account privileges.
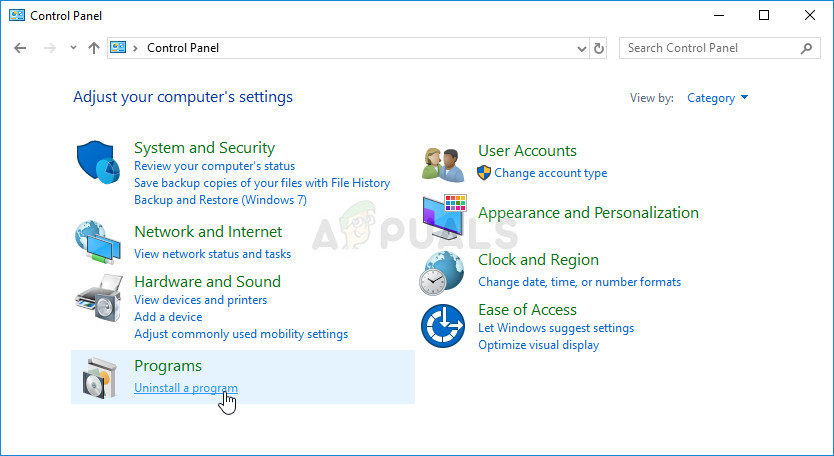
- Click on the Start menu and open your Control Panel by searching for it. Alternatively, you can click on the gear icon in order to open settings if you are using Windows 10.
- In Control Panel, select to View as Category at the top right corner and click on Uninstall a Program under the Programs section.
- If you are using the Settings app, clicking on Apps should immediately open a list of all installed programs on your PC.
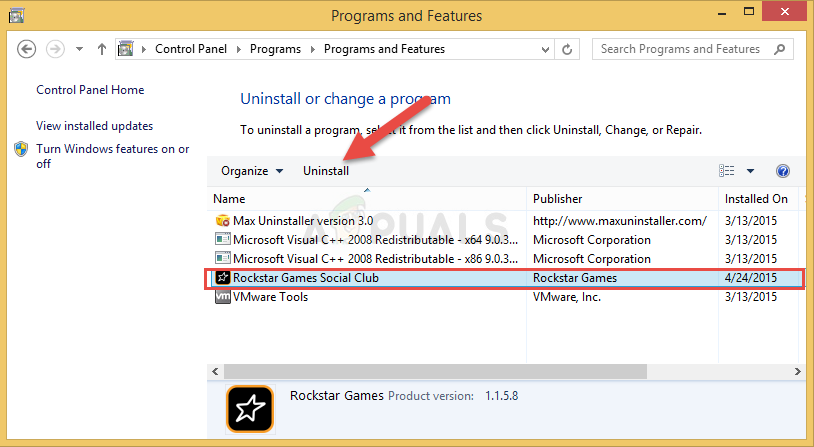
- Locate the Rockstar Games Social Club entry on the list and click on it once. Click on the Uninstall button above the list and confirm any dialog boxes which may appear. Follow the instructions on-screen in order to uninstall the Social Club.
- After the uninstallation process is over, you should make sure to delete any remaining files and folders from the uninstallation. The correct paths to these folders depending on whether the game is on Steam or now and where you have chosen to uninstall it but you can always search for them.
- Look for a folder called Social Club in each one of the folders displayed below. Here are the default folders for the non-Steam installation:
C:\Users\USERNAMEDocuments\Rockstar Games
C:\Program Files (x86)\Rockstar Games
C:\Program Files\Rockstar Games
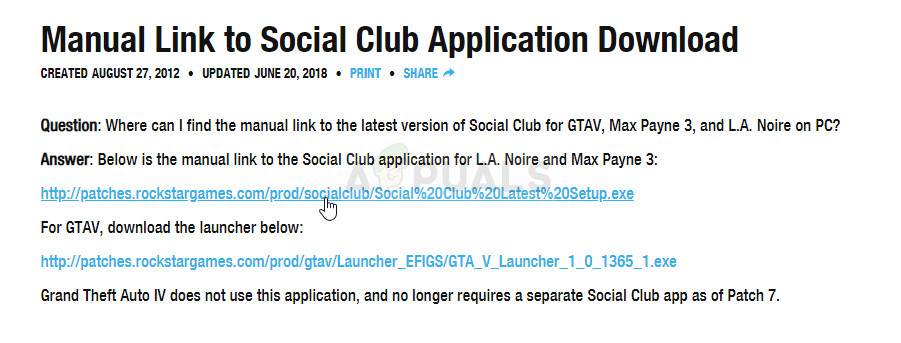
- The next step is to download the latest version of the Social Club app which can be done by navigating to this link and clicking the link for the L.A. Noire and Max Payne Social Club setup file. Don’t click the GTAV launcher link.
- Run the executable by double-clicking on it in the Downloads folder and follow the instructions which will appear on-screen in order to install it on your computer. Relaunch GTAV. You will need to log in again. Check to see if the problem still appears.
Run the Game in Compatibility Mode and with Administrator Privileges
This is yet another useful method for both Steam and non-Steam users who have to deal with the “Grand Theft Auto V Launcher has stopped working” error each time they launch the app. Running the game in compatibility mode for Windows 7 is confirmed to work for plenty of users but feel free to experiment with other versions of Windows.
- Start Steam by double-clicking its icon on the Desktop or by searching for it in the Start menu. Head over to the Library tab in the Steam window by locating the Library tab at the top of the window, and locate GTA V in the list of games you own in your library.
- Right-click on its entry and choose Properties. Navigate to the Local Files tab and choose Browse Local Files.

- If you have the disk version of GTA V, you can still locate the game’s installation folder manually. The easiest way would be to right-click the game’s shortcut on Desktop or anywhere else and choose Open file location from the menu.
- Anyway, once inside the folder, right-click the GTAV.exe file and choose Properties. Navigate to the Compatibility tab in the Properties window and check the box next to the “Run this program in compatibility mode for” option. Choose Windows 7 (recommended by us) from the menu which will appear.
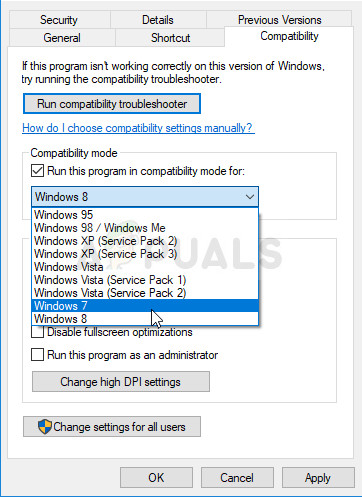
- Under the Settings section in the same window, check the box next to the “Run this program as an administrator” entry.
- Apply the changes you have made and try restarting the game to see if the “Grand Theft Auto V Launcher has stopped working” has stopped appearing.
Verify Integrity of Game Files (Steam users)
If you have purchased and installed the game via Steam, you have access to a great option which enabled you to check the game’s installation for missing or corrupt files and the utility will enable you to re-download and replace these files which can indeed solve many problems regarding the game. Make sure you try this out!
- Start Steam by double-clicking its icon on the Desktop or by searching for it in the Start menu. Head over to the Library tab in the Steam window by locating the Library tab at the top of the window, and locate GTA V in the list of games you own in your library.
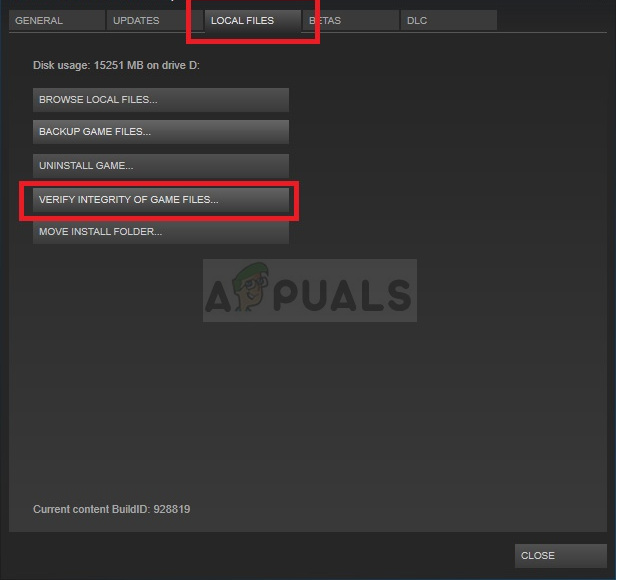
- Right-click on its entry and choose Properties. Navigate to the Local Files tab and click the Verify Integrity of Game Files button.
- Wait for the tool to finish doing its thing and you should probably see that a couple of files may have been downloaded. Afterwards, relaunch the game and the launcher should run properly this time, without crashing.
Make the Game Run on an Older Version of DirectX
It might be entirely possible that a new game update has changed the version of DirectX the game uses or your PC might not be that suitable to use it. This setting is quite easy to change even by using in-game settings but the problem is that you can’t launch the game.
Luckily, you can edit a preference file located on your computer and edit a certain line by following the steps below!
- Open the File Explorer on your computer and navigate to Documents by clicking its entry at the left navigation pane.
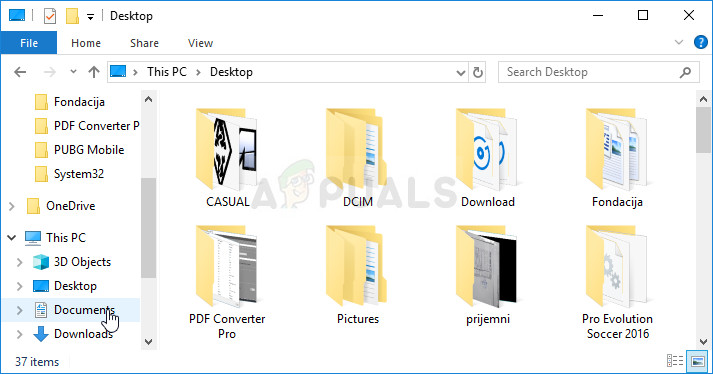
- Locate a folder named Rockstar Games and double-click to open it. Also, open the GTA V folder inside and locate a file named “settings.xml”. Right-click the file and choose Open with >> Notepad from the context menu in order to edit it.
- Use the Ctrl + F key combination or click Edit at the top menu and choose the Find option from the dropdown menu in order to open the Search box.
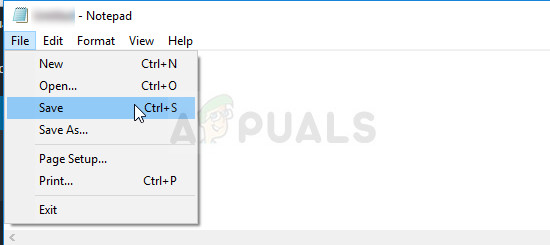
- Type “DX_Version value” in the search box and change the value next to it from 2 to 1. Use the Ctrl + S key combination in order to save the changes or click File >> Save and exit Notepad.
- Try running the game again in order to check “Grand Theft Auto V Launcher has stopped working” error keeps occurring after performing these steps. If it does, try typing “0” instead of “1” and try again!
Opt-out of Steam Beta
The Steam Beta program seems to bring more than good to users who want to receive the latest client and game updates before everyone else. Plenty of games struggle with problems when users opt into Steam beta program and we recommend you opt-out to see if the crashes still appear. This has helped plenty of GTA V players who have purchased the game via Steam.
- Make sure you start the Steam client by double-clicking it on the Desktop or by searching for it with your Start menu open and clicking on the first result.
- Click the Steam option from the menu at the top of the client’s screen and choose Settings. In the Settings window make sure you stay in the Account tab and click the Change button under the Beta participation section.
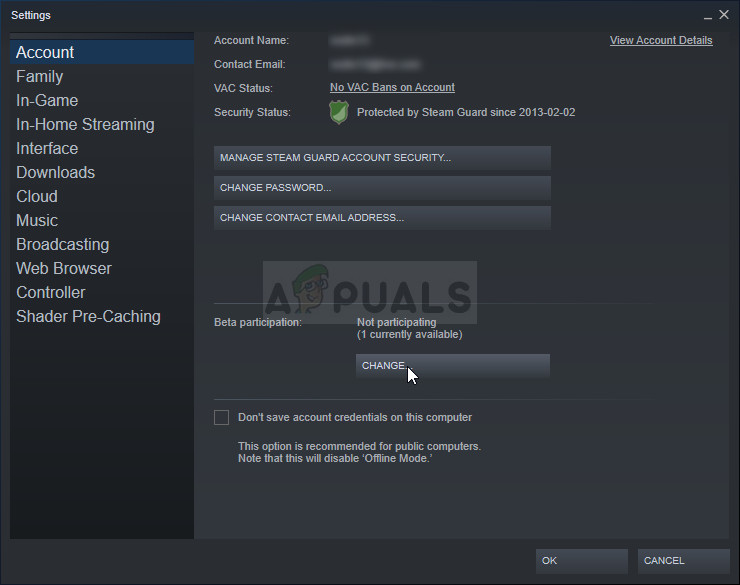
- A new window should open so look again under Beta participation and click to open the drop-down menu. Choose the “NOTE – Opt-out of all beta programs” setting and Apply the changes you have made.
- Click the Steam option at the top left part of the Steam client and choose Exit in order to exit Steam completely (don’t just click the x button at the top right corner). Reopen Steam, launch GTA V and check to see if the problem still appears.
Update Your Graphics and Sound Drivers
Having up-to-date drivers is a must if you wish to have the best gaming experience available. However, besides graphics drivers which are the obvious choice, people were able to solve the problem by updating their sound and audio codec drivers.
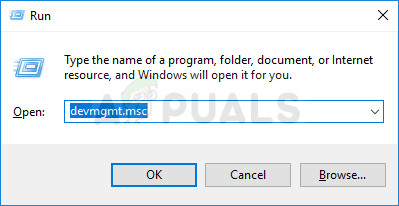
- Select the Start button, type Device Manager, and select it from the list of available results. If you are using an older version of Windows besides Windows 10, use the Windows Key + R key combination, type “devmgmt.msc” in the Run bar, and click OK.
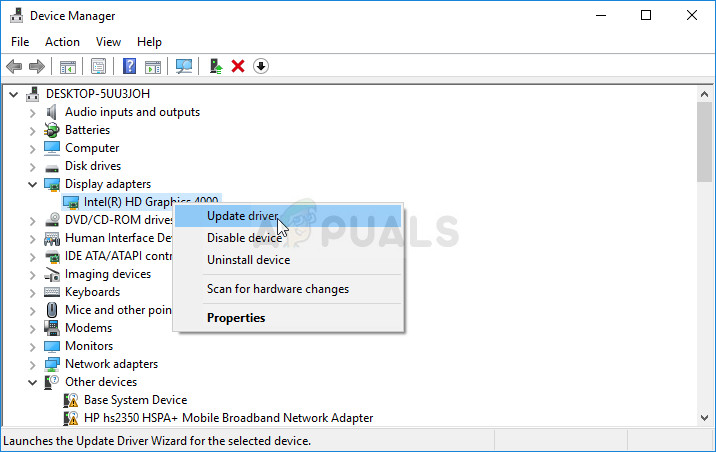
- Expand one of the two categories you should search through: Display adapters and Sound, video and game controllers. Right-click on your graphics card under Display adapters and anything sound-related under Sound controllers, then right-click it, and select Update Driver.
- Select the Search automatically for updated driver software option and wait for the update to install.
- If Windows doesn’t find a new driver and you are certain it exists, you can right-click the device and choose Uninstall device. Navigate to the manufacturer’s website and download the latest driver for the device you own and install it manually.
Note: If you are using Windows 10, latest drivers are often installed with other Windows updates so make sure you keep your OS up to date. Windows Update is run automatically on Windows 10 but you can check by following the instructions below for a new update.
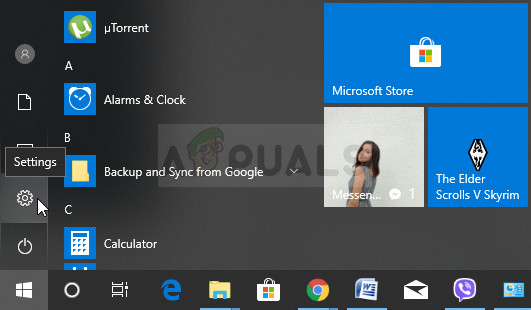
- Use the Windows Key + I key combination in order to open Settings on your Windows PC. Alternatively, you can click the settings icon just above the Start menu button after clicking it.
- Locate and open the “Update & security” section in the Settings app. Make sure you stay in the Windows Update tab and click on the Check for updates button under the Update status in order to check whether there is a new version of Windows available.
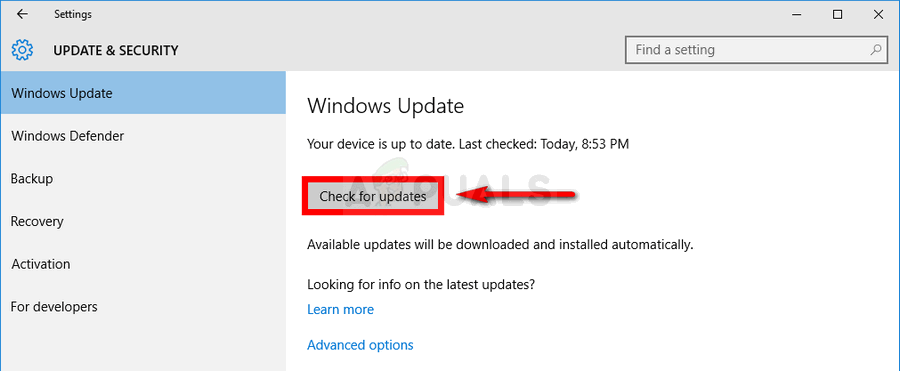
- If there is one, Windows should proceed with the installing process automatically.
Delete a System File
This file is related to the generic game controller driver which has lost compatibility in Windows 10. This problem can be observed in other games as well and the best method is to simply and easily delete this file from the location which will be presented below.
- You should open the File Explorer on your computer and navigate to the required folder. First of all, locate My Computer or This PC at the right navigation screen and click your Local Disk.
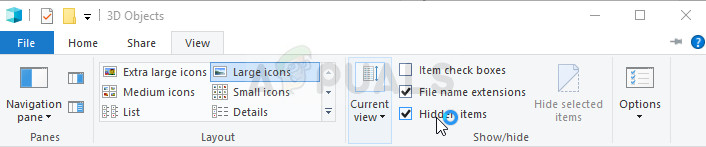
- Navigate to Windows >> USB Vibration. If you are unable to see the Windows folder, that is because the folder is hidden and you are unable to see it without changing a certain setting in File Explorer.
- Click on the “View” tab on File Explorer’s menu and click on the “Hidden items” checkbox in the Show/hide section. File Explorer will now be able to show the Windows folder so double-click to open it.
- Open USB Vibration >> 7906 and locate a file called EZFRD64.dll. Right-click on it and choose the Delete option from the context menu. Try reopening the game and check to see if the error has disappeared.
Stop MSI Afterburner from Affecting the Game
There has been a lot of hate towards this program on Windows and plenty of users simply uninstalled it because of the fact that it has caused GTA V to crash directly. Even though uninstalling the tool is a viable method to solve the problem, you can also follow the steps below to prevent it from affecting GTA V!
- Open the Afterburner user interface by double-clicking its icon on the Desktop or the system tray (lower right part of the screen). Open settings by clicking the cog icon below the fan speed slider.
- Navigate and open the On-Screen Display tab, and click the More button. In the bottom left corner click the “+” icon and navigate to your GTA V installation folder. The folder will depend on how and where you installed the game.
- You can find out by going to Steam >> Library >> Right-click GTA V >> Properties >> Local Files >> Browse Local Files. If you own the disc version, you can just right-click the game’s shortcut and click Open file location.
- Navigate to this address and select the “GTALauncher.exe” file. Under the “Application detection level” option, choose “None” and keep the changes. Reopen the game to see if the problem still occurs.
Reinstall the Game
Reinstalling the game is definitely the last resort but the method is good enough to be placed on our list as long as you have a stable Internet connection if you have purchased the game on Steam. Disk users will have no problems reinstalling the game and it should solve the problem for you as it did for other users who struggled with the “Grand Theft Auto V Launcher has stopped working” error.
- Click on the Start menu button in order to open the Control Panel by searching for it or by locating it in the Start menu. Otherwise, you can click on the Settings icon in order to open the Settings app. It can be located above the Start menu button after clicking it on Windows 10.
- In the Control Panel window, switch to View as Category at the top right part of the window and click on Uninstall a Program under the Programs section.

- If you are a Windows 10 user using the Settings app, clicking on Apps section from the Settings window should open the list of all installed programs on your computer.
- Locate the GTA V entry in the list either in Settings or Control Panel, click on it once and click the Uninstall button located in the Uninstall a program window. Confirm any dialogue choices to uninstall the game, and follow the instructions which will appear on the screen.
Alternative for Steam Users:
- If you have installed the game via Steam, start Steam by double-clicking its icon on the Desktop or by searching for it in Start menu. Head over to the Library tab in the Steam window by locating the Library tab at the top of the window, and locate GTA V in the list of games you own in your library.
- Right-click on its entry and choose Uninstall.
- Follow the instructions which will appear on the screen and confirm any dialogues prompting you to confirm your choice to uninstall the game.
If you have installed the game from a disk, make sure you insert it and wait for the installation wizard to open. Follow the instructions on-screen to install the game again and wait for the installation to finish.
If you purchased it on Steam, you will need to download it again from Steam by locating its entry Library and choose the Install button after right-cling on it. Check to see if the “Grand Theft Auto V Launcher has stopped working” error still appears when launching the game.


