4 Verified Solutions of ‘GeForce Experience Scanning Failed’ Error
The “Scanning failed” error which appears when GeForce Experience tries to scan your computer for installed games is quite an annoying error as the program is pretty much useless if it’s unable to detect the games you have installed.

It should be noted that GeForce experience doesn’t support all games. In order to check whether the game which can’t be found is actually supported, look for it on this list. If the game is supported, check out the methods we have prepared below in order to try to solve this problem!
What Causes the GeForce Experience Scanning to Fail on Windows?
Games which can’t be found by GeForce Experience scans can be unsupported and you should check the full list. However, other causes are also possible and we decided to make a list for you to check out and possibly recognize your own scenario!
- Old or faulty drivers – Installing the proper drivers for your graphics card is a confirmed and an easy way of resolving the problem, according to both NVIDIA and program users.
- Lacking ownership or administrator permissions – If the folder where the game is located can’t be accessed by an ordinary account or if the owner of the folder is some other account, you should act accordingly and make sure GeForce Experience has the proper access to each folder.
Solution 1: Perform a Clean Install of the NVIDIA Driver
This method was suggested by an NVIDIA employee when users confronted them regarding the error and the method actually worked for plenty of users. It’s quite easy to perform it and it will leave you with the newest available driver installed from scratch which should also prevent further graphics-related problems from occurring. Check out the steps below!
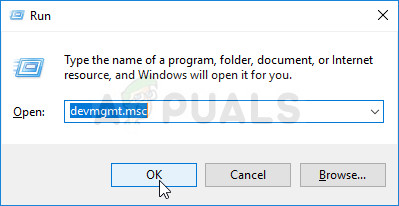
- Click the Start menu button, type in “Device Manager” afterwards, and select it from the list of available results by simply clicking the first one. You can also tap the Windows Key + R key combo in order to bring up the Run dialog box. Type in “devmgmt.msc” in the dialog box and click OK in order to run it.
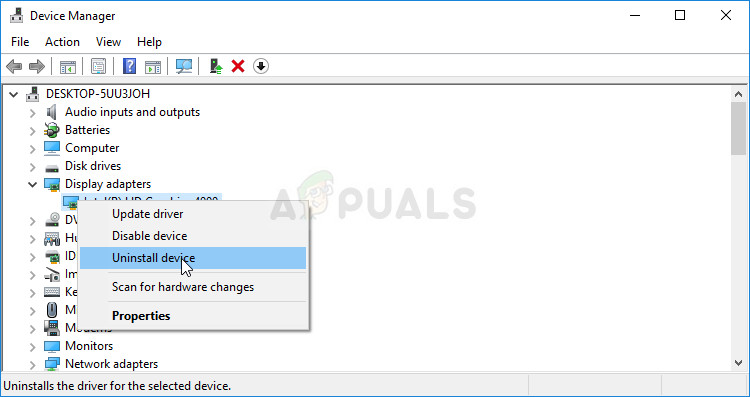
- Since it’s the video card driver you want to update on your computer, expand the Display adapters section, right click on your graphics card and choose the Uninstall Device.
- Confirm any dialogues or prompts which may ask you to confirm the uninstallation of the current graphics device driver and wait for the process to complete.
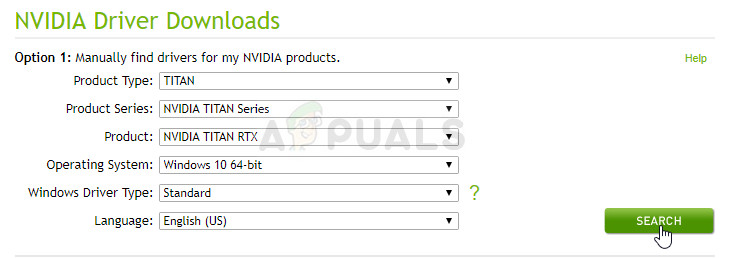
- Look for your graphics card driver on NVIDIA’s Input the required information about the card and your operating system and click on Search.
- A list of all available drivers should appear. Make sure you scroll down until you reach the required entry, click on its name and the Download button afterwards. Save it to your computer, open it, and follow the instructions on-screen.
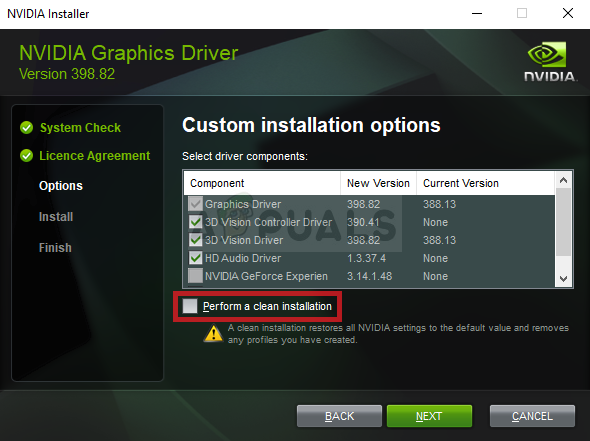
- When you reach the Installation options screen, choose the Custom (Advanced) option before clicking Next. You will be presented with a list of components which will be installed. Check the box next to the Perform a clean installation box and click Next and install the driver.
- Check to see if the problem has been resolved and if the GeForce Experience scanning problem still appears!
Solution 2: Run GeForce Experience as an Administrator
Running GeForce Experience with administrator permissions has always been able to resolve the problem for many users. The problem appears if games are installed in folders which can only be fully accessed with an administrator account. Granting the GeForce Experience executable admin permissions should get rid of the problem entirely!
- Locate the GeForce Experience shortcut or executable on your computer and open its properties it by right-clicking its entry either on the Desktop or the Start menu or the Search results window and choose Properties from the pop up context menu.
- Navigate to the Compatibility tab in the Properties window and check the box next to the Run this program as an administrator option before saving the changes by clicking OK or Apply.
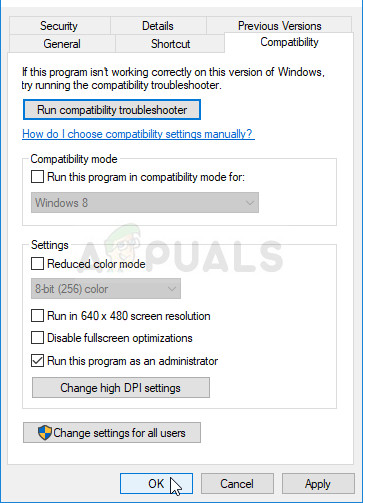
- Make sure you confirm any dialogs which may appear which should prompt you to confirm the choice with admin privileges and GeForce Experience should launch with admin privileges from the next startup.
Solution 3: Take Ownership of the Game Installation Folders
If this problem appears only with games installed in certain folders, you should try taking ownership of the folder where the games are installed. This will grant extra permissions to GeForce Experience and it should resolve the problem even if granting admin permissions have failed. Follow the steps below in order to take ownership of the folders.
- Open your Libraries entry on your PC or open any folder on your computer and click on This PC option from the left side menu.
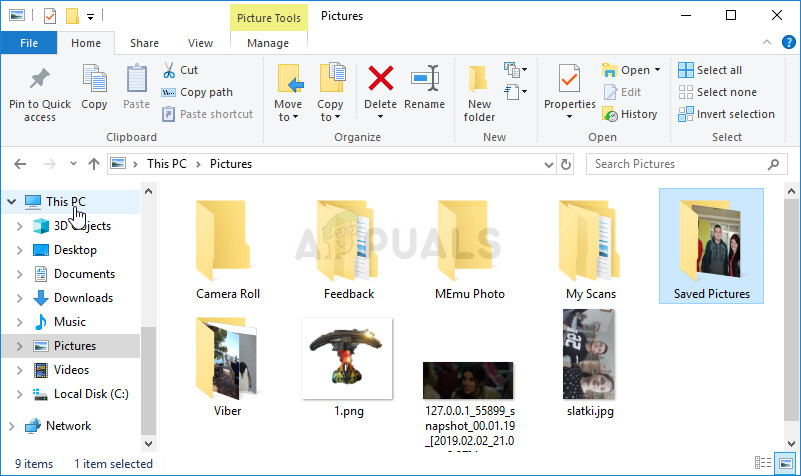
Opening This PC - Navigate to the folder where the games which can’t be scanned by GeForce Experience are located. Make sure you select a common parent folder.
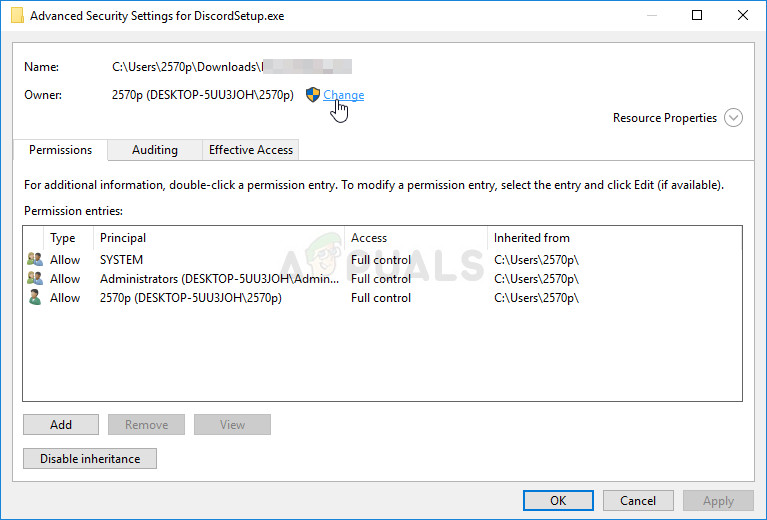
- You will need to take ownership of the folder. Right-click the folder, click Properties, and then click the Security Click the Advanced button. The “Advanced Security Settings” window will appear. Here you need to change the Owner of the key.
- Click the Change link next to the “Owner:” label The Select User or Group window will appear.
- Select the user account via the Advanced button or just type your user account in the area which says ‘Enter the object name to select’ and click OK. Add the Everyone
- Optionally, to change the owner of all subfolders and files inside the folder, select the check box “Replace owner on subcontainers and objects” in the “Advanced Security Settings” window. Click OK to change the ownership.
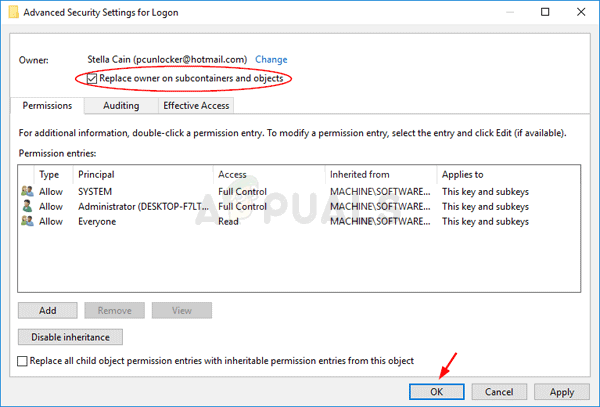
- Now that you have complete control over the folder, check to see if GeForce Experience can now scan the games located inside this folder!
Solution 4: Reinstall GeForce Experience
It appears that the problem is quite specific to the version of GeForce Experience installed on your computer. Performing the steps below will ensure you have the latest version installed and the problem should cease to appear if the methods above failed to help.
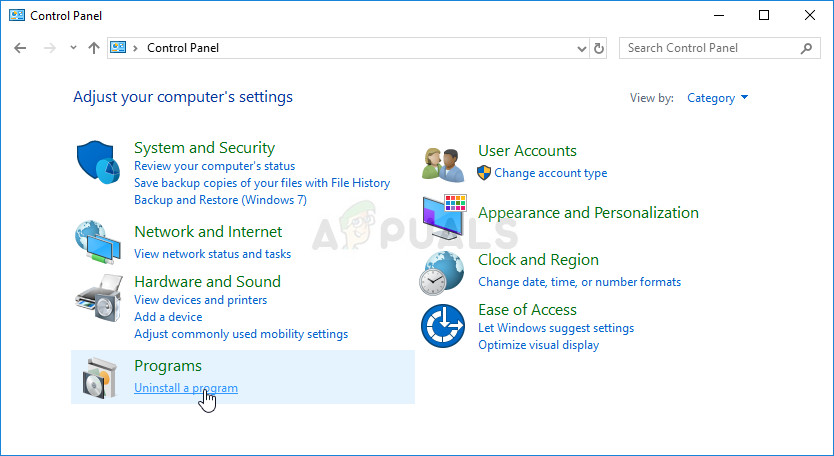
- Click on the Start menu and open Control Panel by searching for it. Alternatively, you can click on the gear icon in order to open Settings if you are using Windows 10.
- In Control Panel, select to View as – Category at the top right corner and click on Uninstall a Program under the Programs section.
- If you are using the Settings app, clicking on Apps should immediately open a list of all installed programs on your PC.
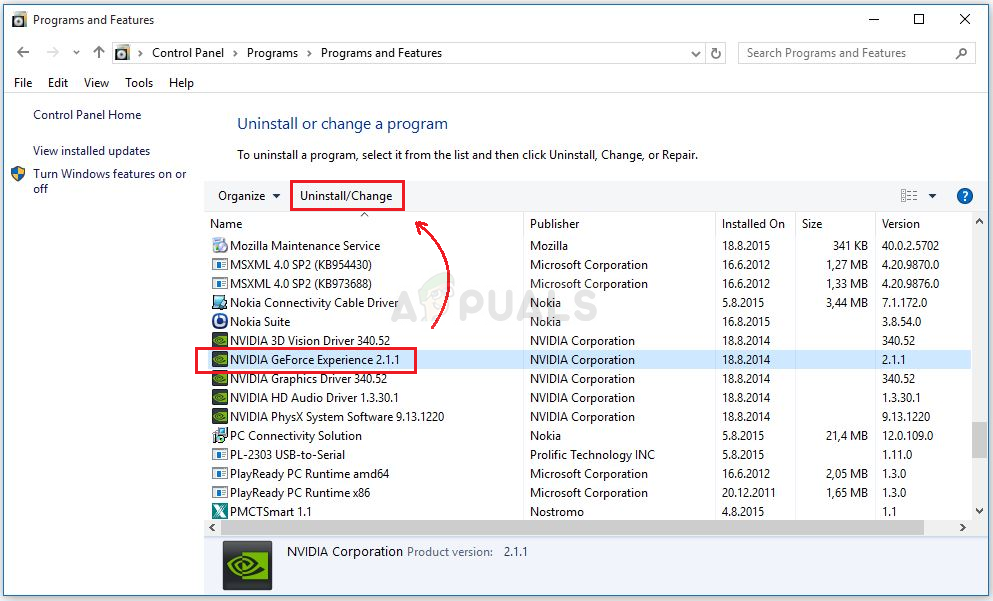
- Locate the GeForce Experience tool in Control Panel or Settings and click on Uninstall.
- Its uninstall wizard should open so follow the instructions to uninstall it.
- Click Finish when the uninstaller completes the process and restart your computer to see whether login issues will still appear. Make sure you download the latest version from this link. Run the executable and follow the instructions on-screen in order to install it.