4 Methods to Fix ‘Function address caused a protection fault’ Error
Several users have been reaching us with questions after being unable to print anything from within an Office program like Word, Excel, Publisher and so on. The error message that is reported to come up is ‘Function Address Caused a Protection Fault’. Most users that are struggling with this problem report that the error is not occurring if they try to print conventionally – the error is only appearing whenever they try to print from within an Office application. As it turns out, the issue is not specific to a certain Windows version since it’s confirmed to occur on Windows 7, Windows 8.1 and Windows 10.
What is causing the ‘Function Address Caused a Protection Fault’ error?
We investigated this particular issue by looking into various user reports and the repair strategies that are commonly being used to fix this particular issue. As it turns out, there are several different scenarios with the potential of triggering this error message. With this in mind, there’s a list with potential culprits:
- The correct printer is not set as the default – As it turns out, one of the most common causes why users see this error in situations where they try to print from a printer that is not configured to be the default printing solution on their Os. In this case, the issue can be resolved by accessing the Printer Properties screen and setting the correct printer as the default.
- Printer driver is severely outdated – Another possibility that will spawn this error is an instance where the printer driver is outdated or not compatible with the Windows version (this can happen after an OS migration). If this scenario is applicable, you should be able to fix the issue by updating the driver version either automatically (via Device Manager) or manually (from the manufacturer’s website).
- Corrupted printer subkeys – If the issue is encountered with all printers connected to a network, chances are you’re dealing with a set of corrupted printer subkeys. If this scenario is applicable, you should be able to fix the problem by removing the current driver, reinstalling the network instance and updating the driver to the latest version.
- System file corruption – System file corruption is a less likely but a possible culprit for this problem. Typically, it appears after a security scan ended up quarantining some items used by the printing service. In this case, you can restore your machine to a healthy state by using System Restore.
If you’re currently struggling to resolve the same error message, this article will provide you with a collection of troubleshooting guides that should help you identify the problem and apply the appropriate fix. Each of the potential fixes featured below is confirmed to be effective by at least one affected user.
If you want to be as efficient as possible, we advise you to follow the methods in the same order that we arranged them in. Eventually, you should stumble upon a fix that resolves the issue regardless of the culprit that’s causing the problem in your particular scenario.
Let’s begin!
Method 1: Changing the default printer
As it turns out, this particular issue can also occur in instances where the printer that you want to use is not set up as the default inside your WIndows settings. Several affected users have reported that they managed to resolve the issue by accessing their OS settings and setting the correct default printer.
Of course, the steps of doing so will be different depending on which Windows version you’re encountering the issue on. Please make sure to follow the appropriate steps according to your os version.
Changing the default printer on Windows 10
- Press Windows key + R to open up a Run dialog box. Next, type ‘ms-settings:printers‘ and hit Enter to open up the Printers & scanners window of the Settings app.
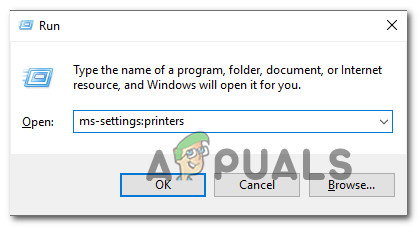
Opening the Printers & scanners tab - Once you’re inside the Printers & scanners tab, move over to the right-hand pane, select the printer that you want to use and click on Set as default from the newly appeared context menu.
Setting the Default Printer on Windows 10 - After you establish the correct printer as the default, restart your computer and see if the issue is no longer occurring at the next startup.
Changing the default printer on Windows 7, 8.1
- Press the Windows key to bring up the Startup menu, then click on Device and Printers from the right section of the newly appeared menu.
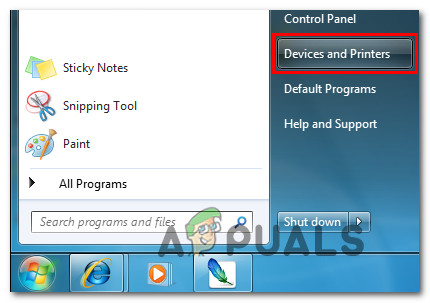
Accessing the Devices and Printers menu Note: Alternatively, you can open the Control Panel and navigate to the Device and Printers tab manually.
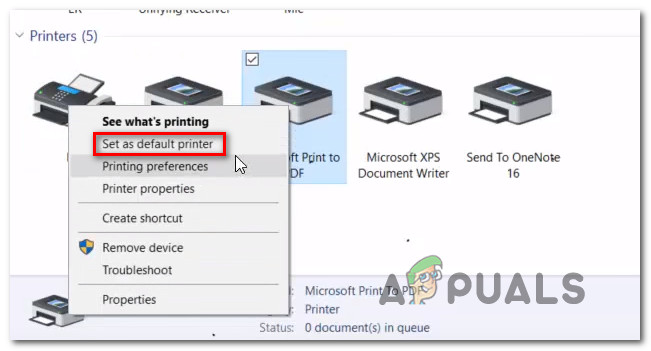
- Once you’re inside the Devices and Printers menu, right-click on the printer that you want to set as the default and choose Set as default printer from the newly appeared menu.
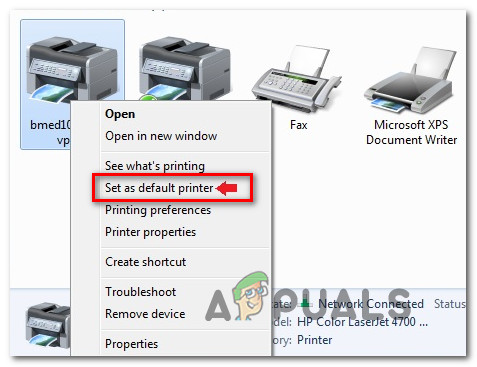
Set as the default printer - Restart your computer and see if the issue is resolved at the next system startup.
If the same issue is still occurring after the next booting sequence is complete, move down to the next method below.
Method 2: Update your printer driver to the latest version
Another possibility why you’d encounter this error message while trying to print from a 3rd party application is an outdated printer driver. Several affected users that were also struggling to resolve the error message have managed to fix the issue either by relying on Device Manager to update the driver version to the latest or updating it themselves manually.
Either way, here’s a quick guide on updating your printer driver version to the latest:
- Press Windows key + R to open up a Run dialog box. Next, inside the text box, press “devmgmt.msc” and hit Enter to open up Device Manager.
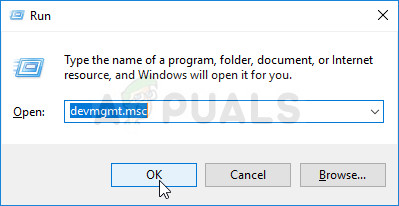
Running Device Manager - Once you’re inside Device Manager, scroll down through the list of installed devices and expand the drop-down menu associated with Print queues. Next, right-click on the printer that you’re having issues with and choose Update driver from the newly appeared context menu.
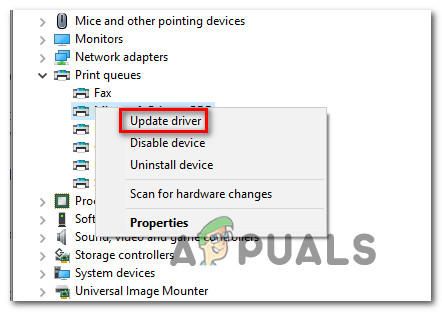
Updating the printer driver - At the next screen, click on Search automatically for updated driver software. Next, wait until the scan is complete. If a new driver version is found, follow the on-screen instructions to download & install it on your computer, then restart your machine.

Searching for updated driver signature automatically - Once the next system startup is complete, see if the issue has been resolved. If you still see the same error or Device Manager didn’t manage to find a newer version, you should try installing a new driver manually. To do this, visit your manufacturer’s website and download & install the latest driver version available.
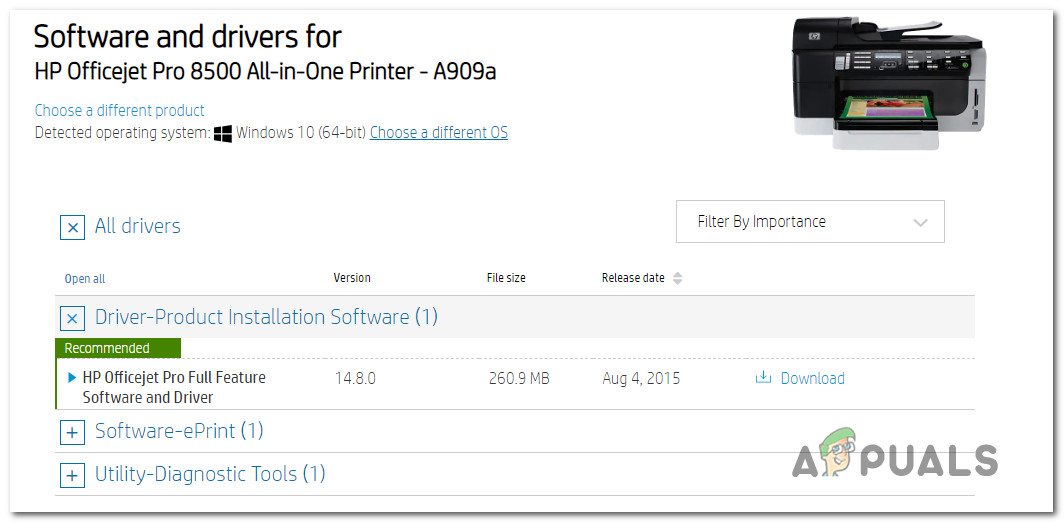
Downloading the latest printer driver - After the installation is complete, restart your computer and see if the problem has been taken care of at the next system startup.
If you’re still seeing the ‘Function Address Caused a Protection Fault’ error or the steps above weren’t applicable to your particular scenario, move down to the next method below.
Method 3: Removing driver & deleting printing subkeys (if applicable)
Another popular fix for the ‘Function Address Caused a Protection Fault’ error is to completely remove the current driver from each involved machine and then reinstall the whole network instance with the updated driver. Of course, this scenario is applicable only in instances where there’s a widespread issue that is happening on multiple machines.
Although the steps below can be replicated on Windows 8.1 and Windows 10, we have only been able to confirm that the steps are effective for Windows 7. If you want to try this fix, here’s a quick guide on completely removing the printer driver and reinstalling the updated driver:
- Log in to the affected computer.
- Press Windows key + R to open up a Run dialog box. Next, type “devmgmt.msc” and press Enter to open up Device Manager.
Running Device Manager - Once you’re inside Device Manager, navigate through the list of installed devices and expand the Print queues drop-down menu. Next, right-click on the printer driver that you want to remove and choose Uninstall Device. Then, click Uninstall once again to confirm the process.
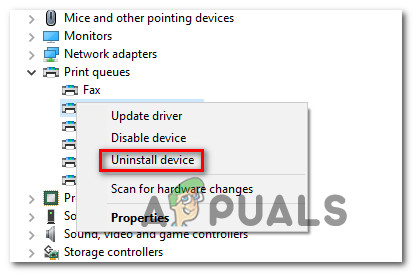
Uninstalling the Printer Driver Note: Once this step is complete, you can safely close Device Manager.
- Press Windows key + R to open up another Run dialog box. Next, type “printui.exe /s /t2” and hit Enter to open up the Printer Server Properties UI.

Opening the Printrui UI interface - Once you’re inside the Print Server Properties screen, go to the Drivers tab and select the driver that is causing the issue. With the driver selected, click the Remove button.
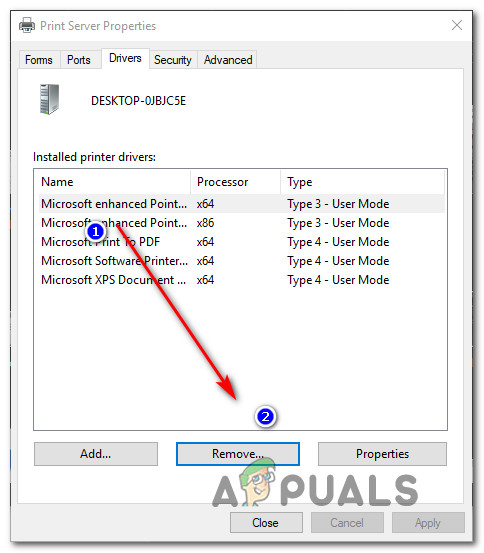
Removing the Network printer driver via the Print Server Properties driver - You’ll then be prompted by the Remove Driver And Package prompt. Once you see this window, select the toggle associated with Remove driver only and click on Ok.

Remove printer driver only - Once the process is complete, you can safely close the Print Server Properties screen.
- Press Windows key + R to open up another Run dialog box. This time, type ‘regedit’ inside the text box and press Enter to open up Registry Editor. If you’re prompted by the UAC (User Account Control) window, click Yes to grant administrative privileges.
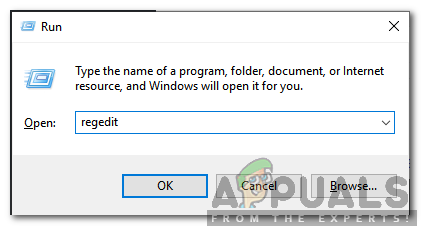
Typing in “Regedit” and pressing “Enter” - When you’re inside Registry Editor, use the left-hand menu to navigate to the following subkey:
HKEY_LOCAL_MACHINE\SYSTEM\CurrentControlSet\Control\Print\Environments\Windows x64\Print Processors\
Note: Alternatively, you can paste the exact location in the navigation bar and press Enter to get there instantly.
- Once you arrive in the correct location, proceed to rename any subkeys or keys with the .old extension. This will force Windows to disregard those keys and create new folders and values instead.

Renaming all subkeys with the old extension Note: In our case, we only had one subkey (winprint), so we renamed it to winprint.old.
- Once this step is complete, you can safely close Registry Editor.
- Press Windows key + R once again to open up yet another Run dialog box. This time, type “services.msc” inside the text box and press Enter to open up the Services window.
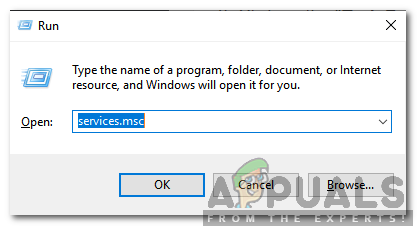
Typing in “Services.msc” and pressing “Enter” - Once you’re inside the Services screen, scroll down through the list of services and locate the Print Spooler service. When you manage to discover it, right-click on it and choose Restart from the newly appeared context menu.
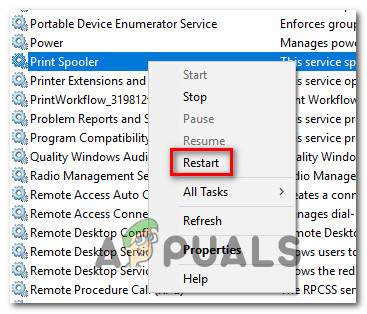
Restart the Printer Spooler service - Restart your computer once again and reinstall the necessary printer drivers at the next computer startup.
- See if the ‘Function Address Caused a Protection Fault’ error is still appearing when you try to print something from within an Office application.
If the same error is still persisting, move down to the next method below.
Method 4: Using a System Restore Point
If you noticed that this particular error only started to occur recently, it’s entirely possible that the issue was facilitated by a change that your system has gone through recently.
If you have no idea what changed might have ended up breaking the printing functionality of your Office applications, one ‘cure-all’ solution is to use System restore to wind back the clock to a date where you’re certain that the printer was working properly. This method has been confirmed to work by a lot of users that we’re struggling to resolve the ‘Function Address Caused a Protection Fault’ error.
IMPORTANT: This process will revert your machine to the exact state it was in when the restore point was created. This means that any changes like application installs, user preferences and anything else made during that time will be lost.
Here’s a quick guide on using System Restore to return your machine to a point where all printing tasks were working properly:
- Press Windows key + R to open up a Run dialog box. Next, type “rstrui’ and hit Enter to open up the System Restore Wizard.
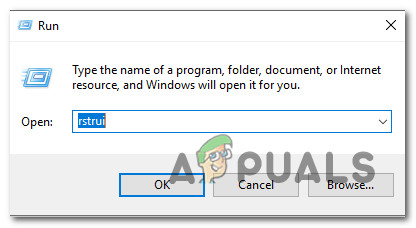
Opening the System Restore wizard via Run box - Once you arrive at the initial screen of System Restore, click Next to advance to the next window.
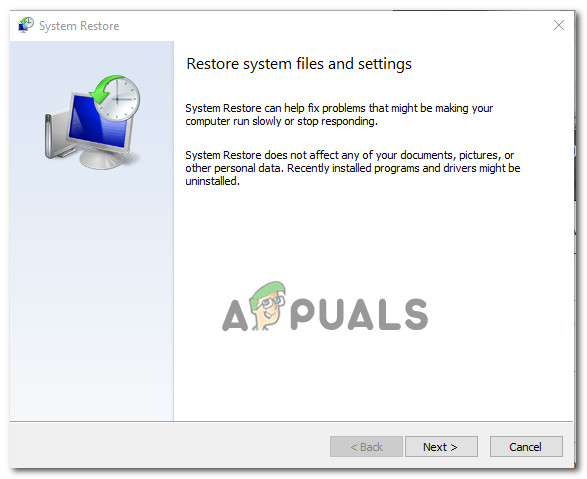
Using System Restore - At the next screen, start by checking the box associated with Show more restore points. After you’ve done this, select a point which has an older date than the one in which you first started to notice the error, then click Next to advance to the next menu.
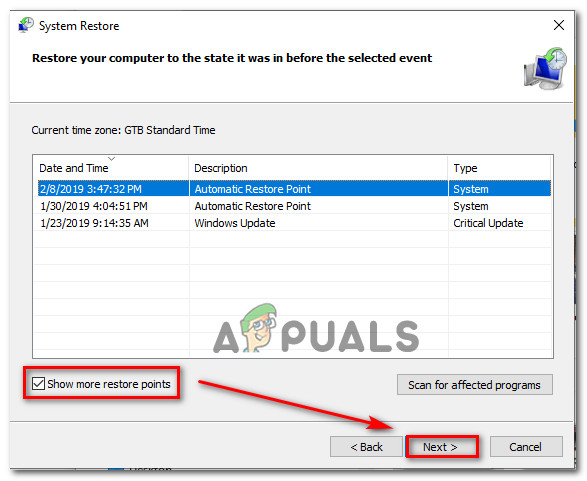
Restoring your system to a previous point in time - Once you get this far, the utility is ready to get started. To initiate the process, simply click Finish and confirm at the final prompt.
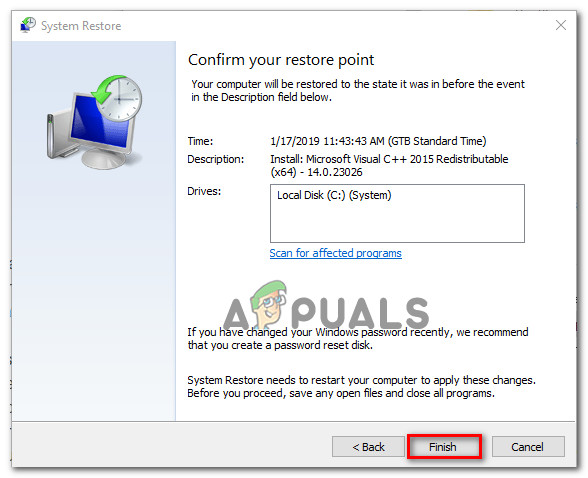
Starting the System Restore process - At the next system startup, your olde computer state will be enforced. Once the boot process is complete, repeat the action that was previously throwing the ‘Function Address Caused a Protection Fault’ error and see if the issue was dealt with.


