How to Fix File System Error 2147219196 When Opening Windows Apps
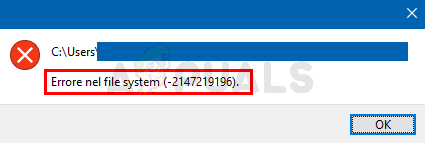
When you try to open Windows apps like Photos or Calculator, they may not launch and might show the File System Error (-2147219196) without more information. This error usually means there’s a problem with the system files or registry.
It’s often caused by corrupted or missing files, especially after a failed Windows update or software conflict. Other causes can be outdated hardware drivers or permissions issues.
In this article, we will discuss different ways to solve this error.
1. Uninstall and Reinstall the Windows Photo App
Removing and reinstalling the Windows Photos app fixes problems like corrupted files or settings that can cause File System Error (-2147219196). This process resets the app, replacing faulty parts with new ones, to make sure it works correctly.
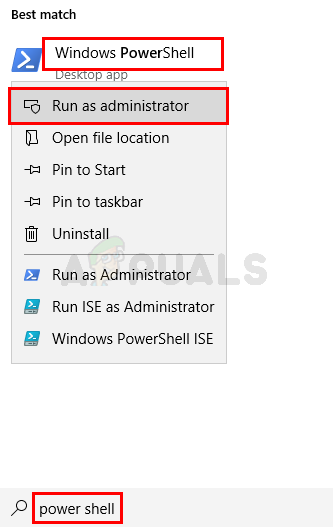
- Press the Windows key and type PowerShell in the search bar.
- Right-click on Windows PowerShell and select Run as administrator.
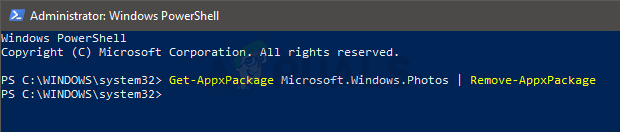
- Enter Get-AppxPackage Microsoft.Windows.Photos | Remove-AppxPackage and press Enter.

- Click here to download the PsTools package. Click the Download PsTools link on the webpage.
- Right-click the downloaded zip file and select Extract files…. Choose an appropriate location and extract the files.
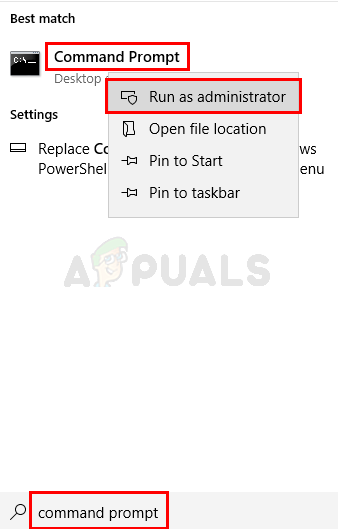
- Press the Windows key again, type Command Prompt, and right-click it to select Run as administrator.
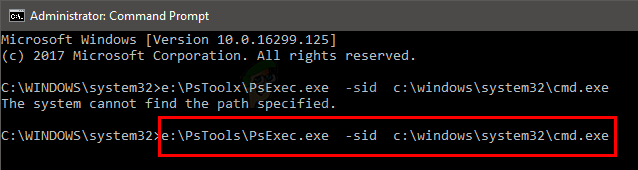
- Type <PsExec location address>PsExec.exe -sid c:\windows\system32\cmd.exe and press Enter. Note: Replace <PsExec location address> with the path where you extracted PsTools, e.g., E:\PsTools\PsExec.exe -sid c:\windows\system32\cmd.exe.
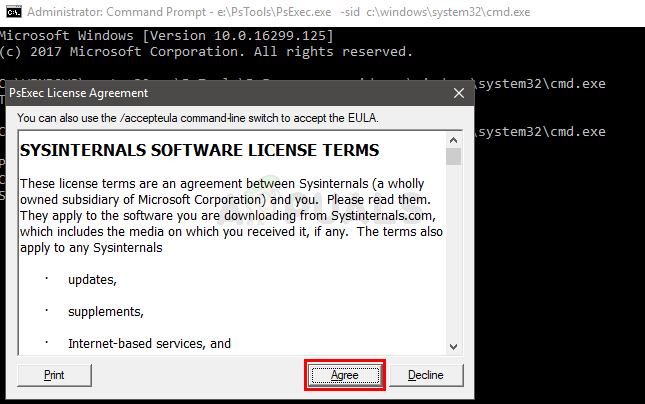
- Click Agree when prompted.
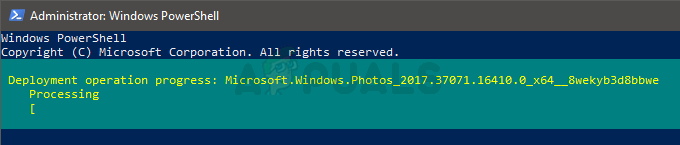
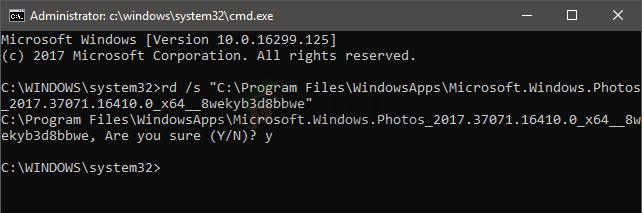
- A new Command Prompt will open. Type rd /s ‘C:\Program Files\WindowsApps\Microsoft.Windows.Photos_2017.37071.16410.0_x64__8wekyb3d8bbwe’ and press Enter. Note: The version number for the Photos App may vary, check for the exact folder name as follows:
- Press Windows key + R to open the Run dialog.
- Type the folder path and let it auto-complete to the correct version number.
- Copy the completed path from the Run dialog and paste it into Command Prompt.
- Note: Refer to the folder name in step 4 above for guidance.
- Press Y when the system asks for confirmation.
After completing these steps, you should be all set. Download the Photos App from the Microsoft Store and see if the issue has been resolved.
2. Boot in Clean Boot
Eliminating software conflicts is crucial to fixing File System Error (-2147219196). A clean boot helps determine if third-party apps or services are causing problems by starting Windows with only essential services and drivers. This setup can pinpoint the issue and guide further troubleshooting.
- Log in to the computer with an Administrator account.
- Press ‘Windows + R’ to open the ‘RUN’ prompt.
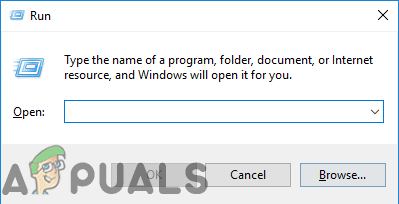
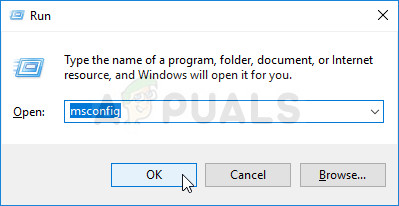
Opening the Run Prompt - Type ‘msconfig’ and press ‘Enter’.
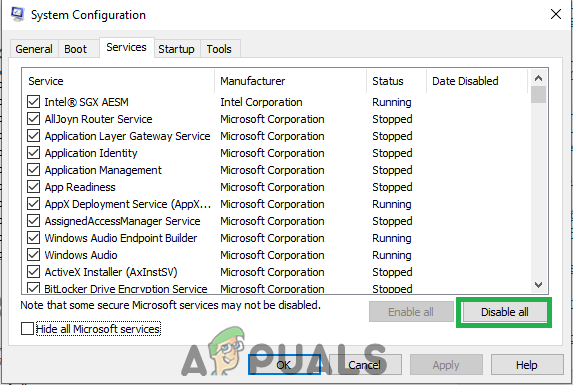
Running MSCONFIG - Click on the ‘Services’ tab and uncheck the ‘Hide all Microsoft Services’ checkbox.
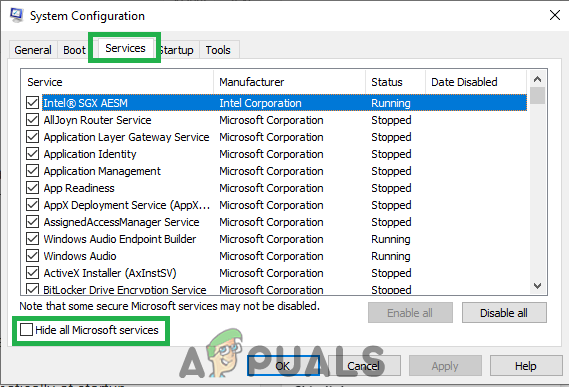
Clicking on the ‘Services’ tab and unchecking the ‘Hide all Microsoft Services’ option - Select ‘Disable All’ and then click ‘OK’.
Selecting the ‘Disable All’ option - Click on the ‘Startup’ tab and select ‘Open Task Manager’.
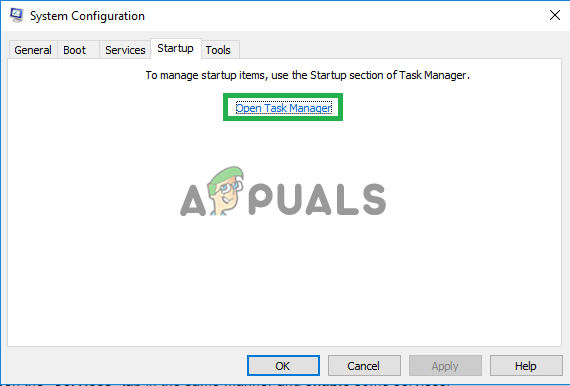
Opening Task Manager from the ‘Startup’ tab - In Task Manager, go to the ‘Startup’ tab.
- For each application with ‘Enabled’ status, select it and choose the ‘Disable’ option.
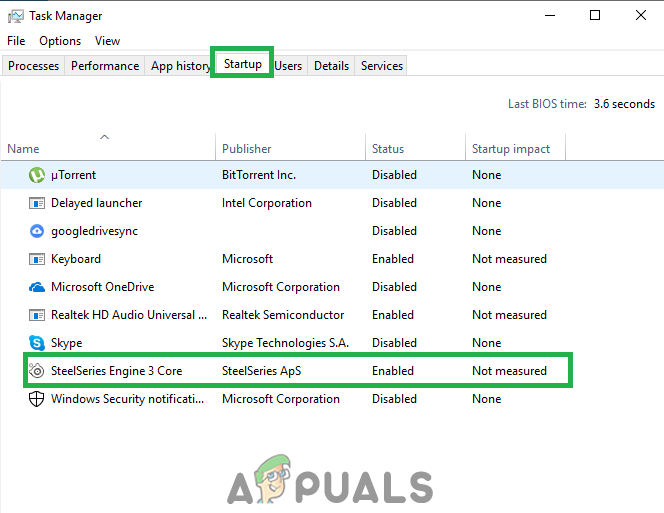
Disabling startup applications - Repeat this for all listed applications and restart your computer.
- With your computer now in a ‘Clean Boot’ state, open the Windows Photo Viewer App and check for the issue.
- If the issue is resolved, re-enable each service one by one to identify the culprit, then keep that particular service disabled.
3. Run the Troubleshooter
Windows’ built-in troubleshooting tool can quickly find and fix issues causing the error. It scans for app problems, finds configuration errors, permission conflicts, or service disruptions, and applies fixes automatically, restoring app functionality without needing manual steps.
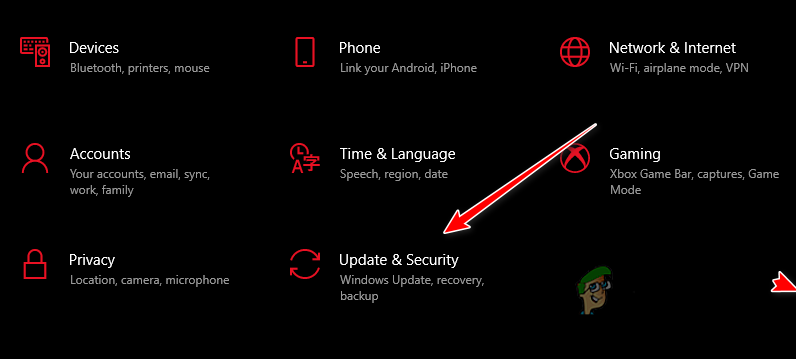
- Press Windows + I at the same time.
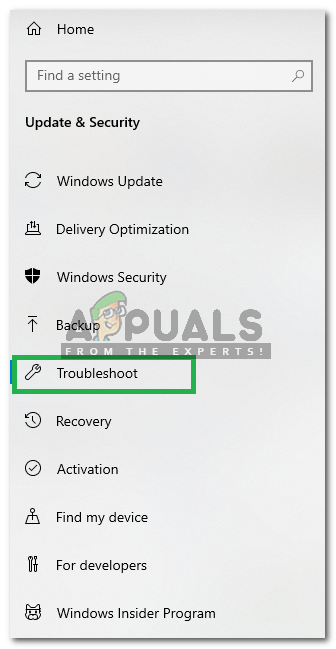
- Select Update & Security.
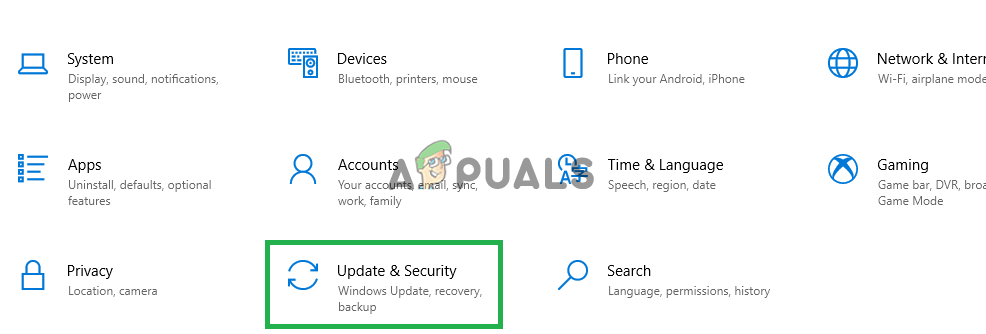
Accessing ‘Update & Security’ - Choose Troubleshoot from the left pane.
Selecting ‘Troubleshoot’ from the menu - Scroll down and select Windows Store Apps.
- Click Run the troubleshooter.
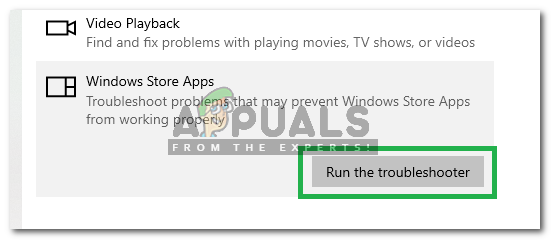
Running the Windows Store Apps troubleshooter - The troubleshooter will automatically attempt to identify and solve the issue.
4. Fix the Permissions of the Photo App Folder
Fixing the permissions of the Photos app folder ensures the app can access the files it needs to work properly. If the permissions are wrong, the app might be blocked from essential files, causing errors like File System Error (-2147219196). Adjusting these settings restores access and resolves the issue.
- Click the search button, search for ‘Command Prompt,’ and run it as an administrator.
- Enter this command to take ownership of the ‘WindowsApps’ folder:
TAKEOWN /F 'C:\Program Files\WindowsApps' /R /D Y
- Open the ‘WindowsApps’ folder located at ‘C:\Program Files\WindowsApps’ after gaining ownership.
- If you cannot find the folder, ensure the ‘show hidden files’ option is enabled.

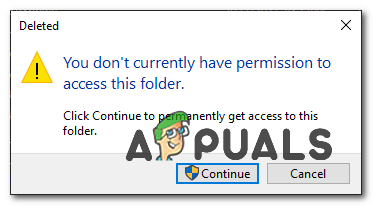
Showing Hidden Files - If prompted with ‘Permission Required,’ click ‘Continue.’
Granting permission to continue - Right-click the Photos App folder (e.g., ‘Microsoft.Windows.Photos_2017.37071.16410.0_x64__8wekyb3d8bbwe’) and select Properties.
- Go to the ‘Security’ tab and select ‘Advanced.’
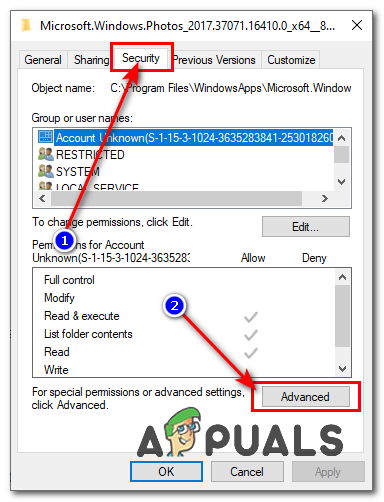
Changing permissions for the folder - In the Advanced permissions section, click ‘Change’ next to ‘Owner.’
- Enter ‘NT SERVICE\TrustedInstaller’ into the text box and press ‘OK.’
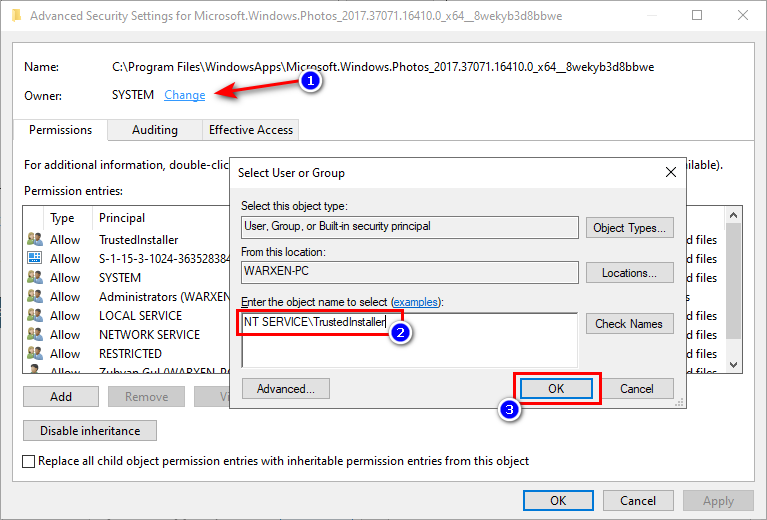
Assigning ownership to TrustedInstaller - Ensure ‘Replace Owner on subcontainers and objects’ is checked.
- Click ‘Apply,’ then ‘OK.’
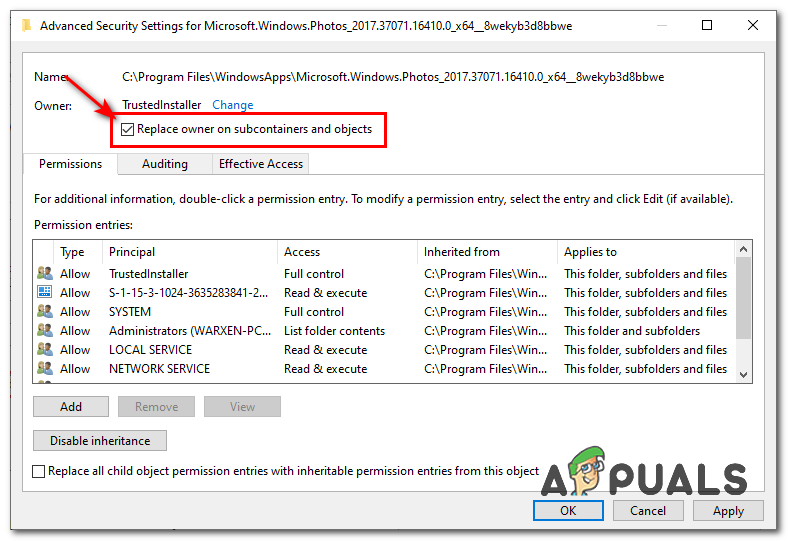
Finalizing permission changes - Click OK to confirm the changes.
- Search for PowerShell, run it as an administrator, and execute this command:
get-appxpackage *Microsoft.Windows.Photos* | remove-appxpackage
- Restart Windows after the command is completed.
- Launch PowerShell as an administrator again and enter this command to reinstall the Windows Photos App:
Get-AppxPackage -allusers Microsoft.Windows.Photos | Foreach {Add-AppxPackage -DisableDevelopmentMode -Register '$($_.InstallLocation)\AppXManifest.xml'} - After completion, check if the issue persists.
5. Windows Update
Keeping your system updated is crucial because Windows updates often include fixes for bugs and security issues. Installing the latest updates can fix corrupted files, resolve compatibility problems, and restore normal function to affected apps.
- Press Windows + I simultaneously.
- Go to Update & Security.
- Click Check for Updates and wait for Windows to find new updates.

- Updates will download and install automatically.
- Restart your computer to complete the updates.


