Top 7 Solutions of ‘Failed to initialize smartaudio’ Error
Dealing with Windows issues on a regular basis is a stressful experience for any Windows users and that is probably a reason why plenty of people switch to Mac OS X. This means that they are ready to sacrifice certain freedom in a sense of being able to change just about any option for its simplicity and its lack of various errors.
The amount of errors you are able to receive with each copy of Windows increases exponentially with the number of programs you have installed and know that each program can cause some issues, no matter who developed it and how. Let’s check out this audio-related problem.
This particular error message is related to the Conexant Audio Filter Agent, which is an integral component of Conexant High Definition Audio program. Some computers arrive with this program built-in which makes the issue even more complicated because users are not sure whether they should remove it or not.
A simple Google search will reveal that this is not a deed made by some malicious application but getting rid of this message would certainly make anyone’s day much better. Let’s find out how to achieve this.
Solution 1: Disable All Other Sound Drivers
If this program came preinstalled with your computer, this may be your best choice for a sound driver. However, having multiple sound drivers installed may lead to issues where you won’t be able to configure sound properly and you will always receive this error message. This can be fixed by uninstalling all other sound drivers.
- Start Control Panel by searching for it in the Search bar located at the left part of your taskbar, click Hardware and Sound, and then click Device Manager.

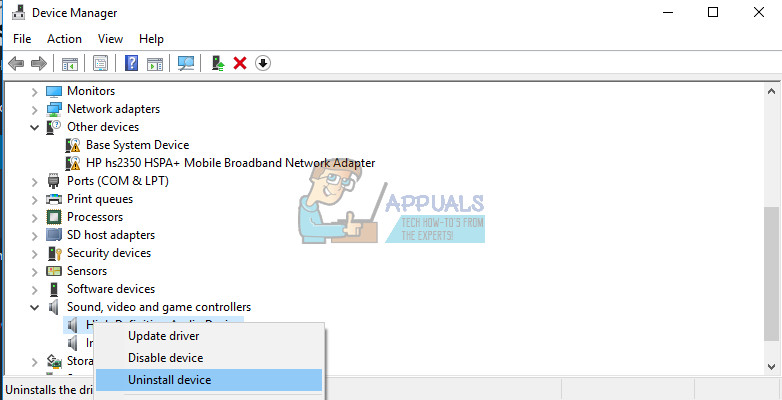
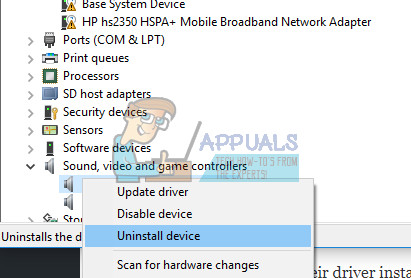
- Expand the node next to Sound, video and game controllers, right-click the on each entry except for the Conexant SmartAudioHD, and click Uninstall device.
- On the Confirm Device Removal dialog box, click OK to start the uninstall process.
- When the uninstall process is complete, restart your computer and check to see if the issue appears again.
Solution 2: Check to See If the Issue Appears in Clean Boot
If the issue appears in clean boot, it may be time to disable the Conexant SmartAudioHD completely, especially if you are not using as your default audio driver and manager. If it came preinstalled on your computer and you decided to use another audio driver without uninstalling the Conexant one, this issue may appear. Follow the instructions below in order to perform a clean boot.
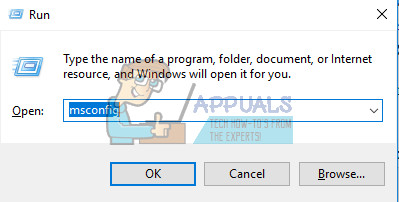
- Press the ‘Windows + R’ key on the keyboard.
- In the ‘Run’ windows type ’MSCONFIG’ and click ‘Ok’.
- Click the ‘Boot’ tab and uncheck ‘Safe Boot’ option (if checked).
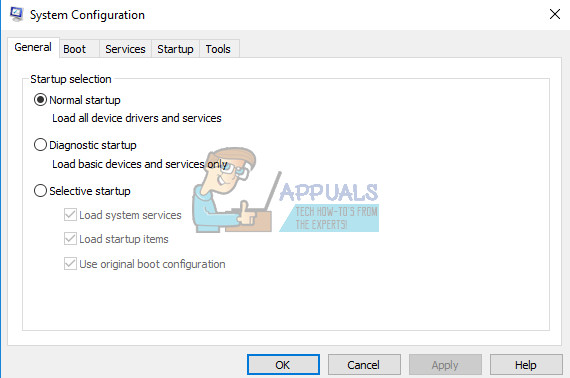
- Under the General tab, click to select the option Selective startup, and then click to clear the option Load startup items check box.
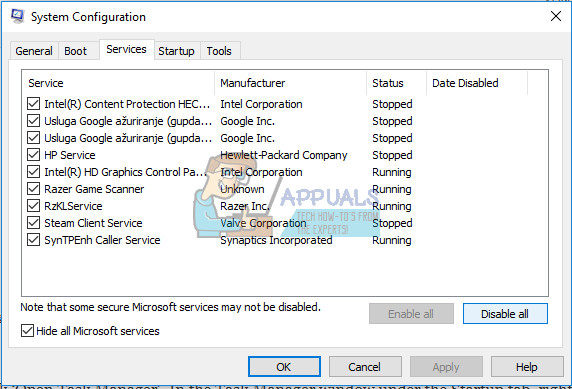
- Under the Services tab, click to select the Hide all Microsoft services check box, and then click ‘Disable all’.
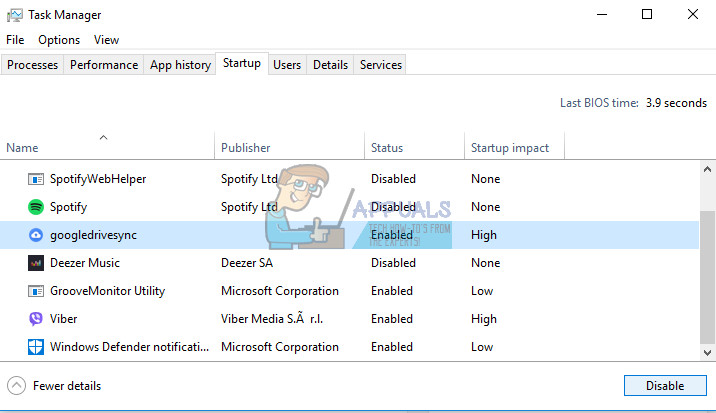
- On the Startup tab, click ‘Open Task Manager’. In the Task Manager window under the Startup tab, right click on each startup item which are enabled and select ‘Disable’.
- Click OK, and then click Restart.
If the issue persists it’s time to remove the audio manager from starting up at all. This can be done easily while returning to Normal Startup.
- Press the ‘Windows + R’ key on the keyboard.
- In the ‘Run’ windows type ’MSCONFIG’ and click ‘Ok’.
- On the ‘General’ tab, click the ‘Normal Startup’ option, and then click ‘OK’.
- Under the Startup tab, click ‘Open Task Manager’. In the Task Manager window under the Startup tab, right click on Conexant SmartAudioHD which is enabled and select ‘Disable’.
- When you are prompted to restart the computer, click ‘Restart’.
Solution 3: Run the Program in Compatibility Mode for Your Operating System
Sometimes the Conexant audio manager simply works using the wrong operating system as its guide. This means that it’s running for a version other than the operating system you have installed. You can change this easily by following the instructions below.
- First identify the OS version running in your system (eg. Windows XP SP2, Windows 7 etc.)
- Locate smartAudio.exe file (e.g. C:\Program Files\CONEXANT\SAII\smartAudio.exe)
- Click right mouse button on it and select properties.
- Select Compatibility tab in properties and go to Compatibility mode.
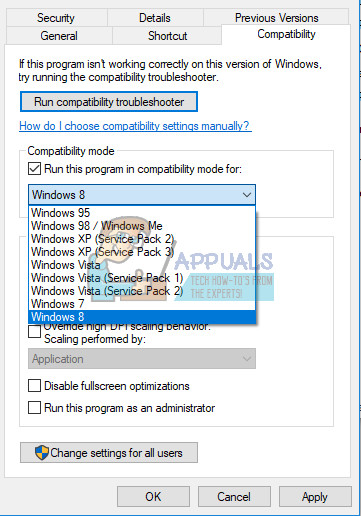
- Check ‘Run this program in compatibility mode for:’ and select the OS (that you found in step 1) from the dropdown box and click OK button.
- Restart you computer in order to apply these changes.
Solution 4: Use the Built-In Audio Troubleshooter
You can easily troubleshoot audio-related issues by using the troubleshooter for sound in the Settings app.
Windows definitely comes prepared when it comes to troubleshooting because the Settings app holds a place for plenty of troubleshooters for various things which can go wrong on your device. Troubleshooting Windows 10 issues can be quite useful because it can show you just where the problem is or it can even fix the problem for you automatically.
- Search for Settings in the Start menu and click on the first result.
- Locate the Update & security section and open it.
- Navigate to the Troubleshoot tab and check under the Get up and running.
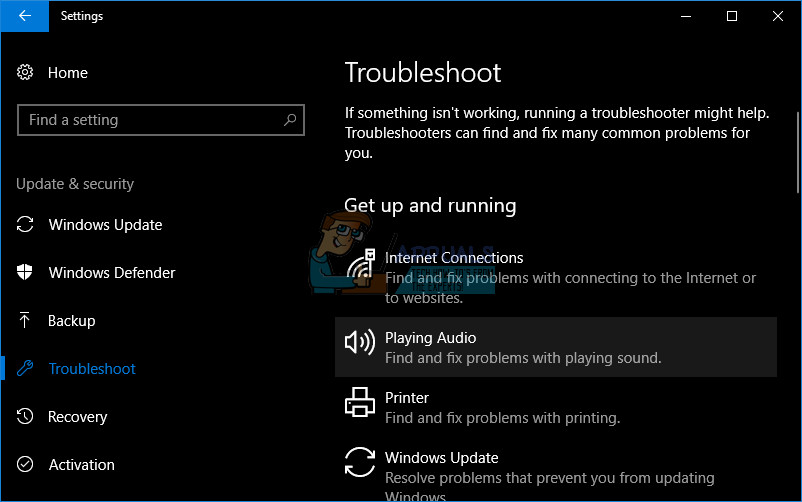
- Playing Audio should be located at the second place so make sure you click on it and follow the instructions on screen.
- Restart your computer after the troubleshooter finishes and check to see if the issue is resolved.
Solution 5: Updating or Uninstalling the Conexant Audio Driver
If you are not using the Conexant audio driver, you can uninstall it easily and use the other one you have installed. Even if you are using it, if it displays this issue after you have gone through the steps above, it may be time to replace it with a new one.
Uninstalling the Conexant Driver
- Click Start and type Run. Select Run, A Run dialog box will appear.
- Type “devmgmt.msc” in the run box and click OK button. This is to open Device Manager Window.
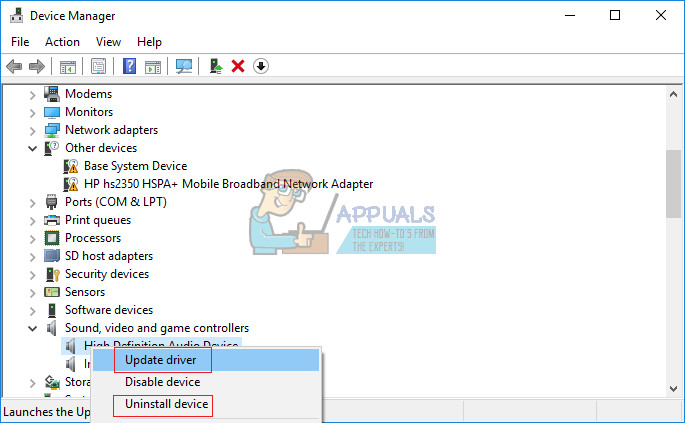
- In Device Manager, expand category “Sound, video and game controllers“. Under this category, right-click on anything related to Conexant. A context menu will pop up. Then select Uninstall device.
- You may be required to confirm the uninstallation. Check the box next to “Delete the driver software for this device” and click OK button.
- Restart your PC for the change to take effect. After restarting, Windows will attempt to reinstall the driver and replacing it with the manufacturer’s driver.
Updating the Conexant Driver
If you really want to keep their driver installed on your computer, your driver may simply be outdated and that is a possible reason for why the error message keeps on appearing. Follow the instructions below to update it.
- In Device Manager, right-click on the Conexant audio driver. Select Update Driver Software.
- Click Search automatically for updated driver software. Then Windows will search and install the new driver for you.
- Restart your PC for the change to take effect.
Solution 6: A Solution by Lenovo
Since Lenovo computers and laptops come with these drivers preinstalled, they have provided these solutions as possible fixes for some of the Conexant-related issues, including the one we are dealing with right now. Make sure you check this out.
Disabling All Enhancements
- Right-click the sound icon in the taskbar located at the bottom right of the screen and select Playback Devices
- Right click on the CONEXANT audio device and click Properties.
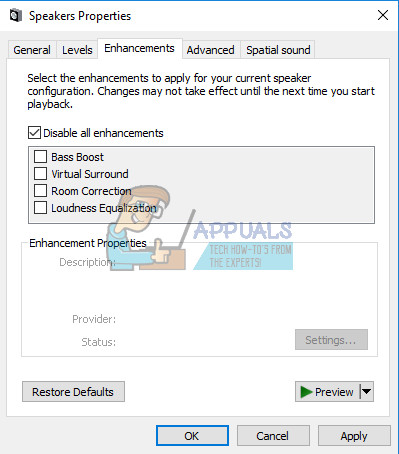
- Click on the Enhancement tab above and check the box labeled Disable all enhancements, and Apply.
Restart Audio Services
- Click Start and search for services.msc. Click on services
- Scroll down to Windows Audio and double click to open menu
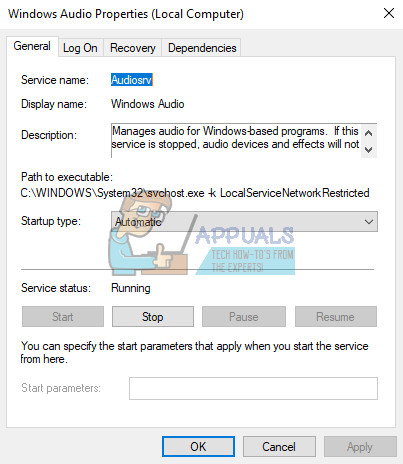
- If the service has been stopped for any reason, your system audio will not function correctly. Restart it by double-clicking and selecting Start.
- Double-check the service start-up type. Audio services should be set to Automatic by default.
- Click Apply.
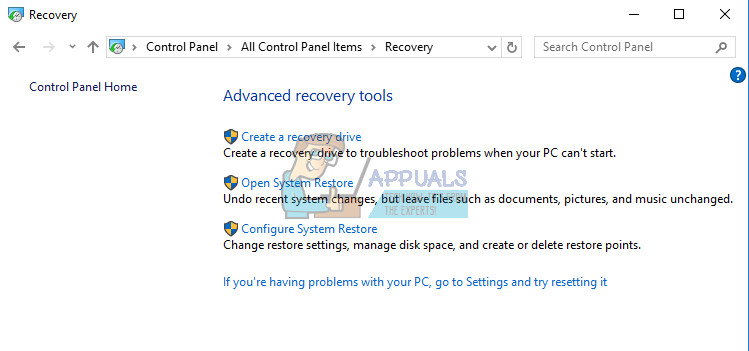
Solution 7: Use System Restore
This particular solution should only be used if all of the methods above have failed. Reverting your system to a previous state is a particularly useful solution but make sure you back everything up before proceeding.
- Open Control Panel by searching for it.
- Switch the View as option to Large Icons and open Security & Maintenance.
- Navigate to the Recovery menu and select the “Open System Restore” option. Note that you will need to have administrator privileges in order to open this. Be ready to lose everything you installed before the restore point of your choice.
- Follow the instructions on screen and choose a restore point back when you didn’t experience the SmartAudio-related issue.
- Be patient until the process finishes and reboot your computer.
- Check to see is the issue still persists.