How to Fix ESO ‘Elder Scrolls’ Error 307
Booted from Server
The ESO Error 307 appears along the “Booted from the server” message and it will disconnect you mid-game when it appears. It’s such a shame for an MMORPG which offers so much and which has become quite popular without offering subscription to play the game.
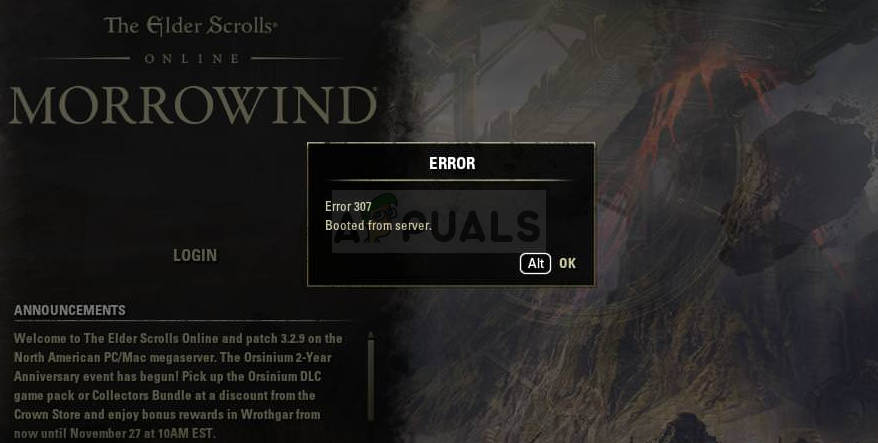
Still, this error appearing out of nowhere pretty much bugs users who have good Internet connections and they manager to run everything but the game simply kicks them from the game too often. If you Internet connection is experienced any problems, you can blame the problem on it. Otherwise, follow the steps below in order to try and solve the problem for the PC version as well as the consoles!
What Causes ESO Error 307?
The ESO error 307 is often caused by faulty game add-ons which can be downloaded or purchased. You should running the game without any add-ons to see if the error still appears and then checking to see which one is problematic.
Also, some users have researched that the problem may be with the dynamic IP consoles use. Setting your console’s IP to static should solve the problem!
Solution for PC Users: Try the Game without Add-ons
Launching the game without any add-ons installed may be the only way to solve the problem if one of the add-ons is causing game instability and further problems. Most of the add-ons are not that core to the gameplay and you can add them one by one to see which one causes the ESO error 307.
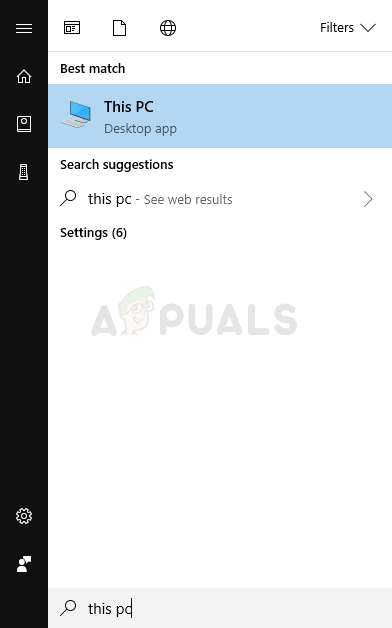
- Navigate to the game’s data folder location in the File Explorer simply by opening a folder and clicking This PC or My Computer from the left navigation pane or by searching for this entry in the Start menu.
- Anyway, in This PC or My Computer, double-click to open your Local Disk and navigate to Users >> Your Account’s Name >> Documents. Windows 10 users can simply switch to Documents after opening File Explorer from the right-side navigation menu.
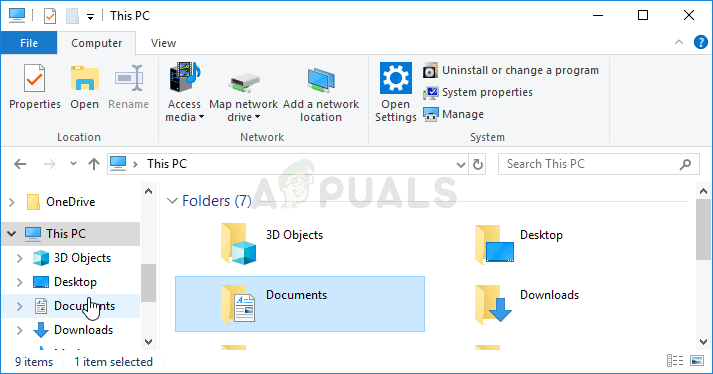
- Open the Elder Scrolls Online folder in my Documents and navigate to the “live” folder if you are using the North American server or the “liveeu” folder if you are using the European megaserver.
- Open the AddOns folder, select all files by using the Ctrl + A key combination, right-click, and choose Cut. Paste the files somewhere else to keep them save.
- Open the game afterwards by launching Steam and double-clicking the game from the Library tab: Alternatively, you can locate the game’s client’s shortcut on Desktop and run it if you haven’t bought the game via Steam. Check to see if the game crashes again.
- Return the AddOns files one by one until you see which one caused the problem and get rid of it immediately.
Solution for Console Users: Assign a Static IP to Your Console
It was reported by the ESO community that the game sometimes struggles to keep a steady connection to its servers if the console’s IP address is not static. The console’s address will be dynamic until you assign it a static IP which won’t change. The steps below are separated for Xbox and PlayStation users so make sure you follow them accordingly.
First up is finding out the IP of your respective consoles:
PlayStation 4 Users:
- You should firstly try to permanently assign your PS4 to the IP address that it is currently using. To find out the current IP address, power up your PS4 console.
- In the PlayStation 4 home menu select Settings >> Network >> View Connection Status.
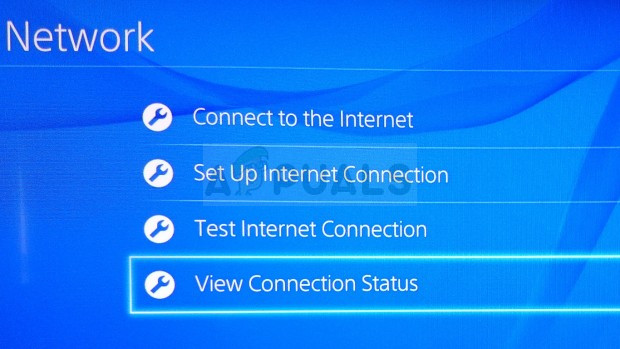
- Locate the IP address in the screen which opens up and make sure you take not of it since you will need it to enable port forwarding later on. Make sure you also write down the MAC address of your PS4 before exiting.
Xbox One Users:
- Navigate to the home screen of your Xbox One and press the menu button on the controller of your Xbox one.
- Navigate to Settings >> Network >> Advanced Settings.
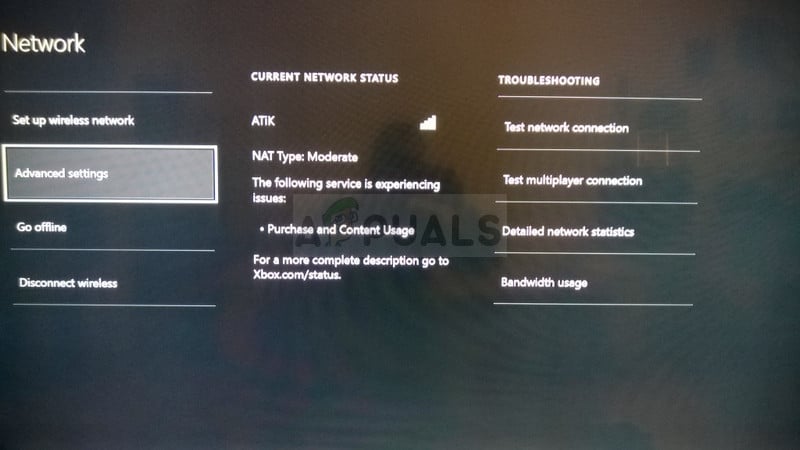
- In the IP settings section in Advanced Settings you should see the IP address presented. Write down this number because you will need to assign the IP address later.
- You should see Wired MAC address or Wireless MAC address right there under IP settings as well. Write down the 12-digit address for the connection that you are using.
That was the first step where we collected information about the respective consoles you are using. Now we will need to assign static IP addresses to the said consoles by following the steps below:
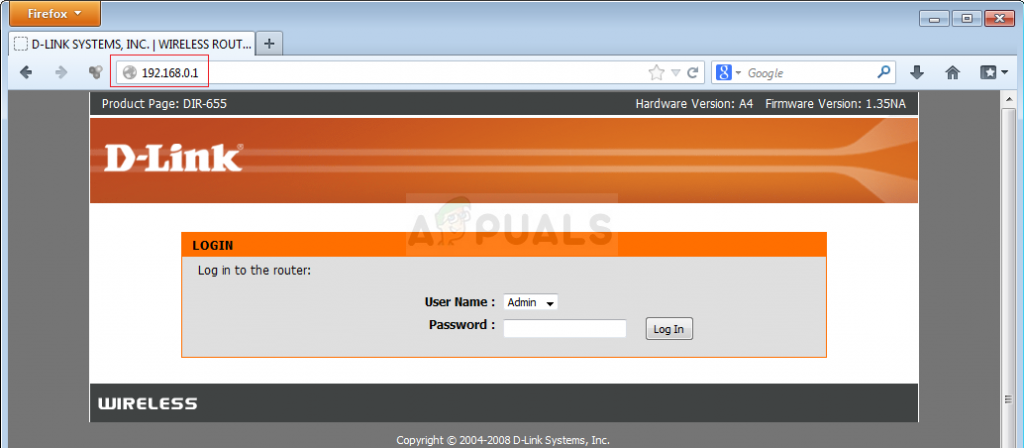
- Open your preferred Web browser, type your Default Gateway number (IP address) into the address bar, and press Enter.
- Enter your username and password to access your router’s interface. The default username and password should be listed in your router’s documentation, on a sticker on the side of your router, or on the Port Forward website.
- First of all, locate the Enable Manual Assignment option and select the radio button next to Yes. The name of the option may be different or the option may not be present at all.
- Locate the window which allows you to type in the MAC address and the IP address of your choice so type in the addresses which you have collected in the previous steps for your respective console.
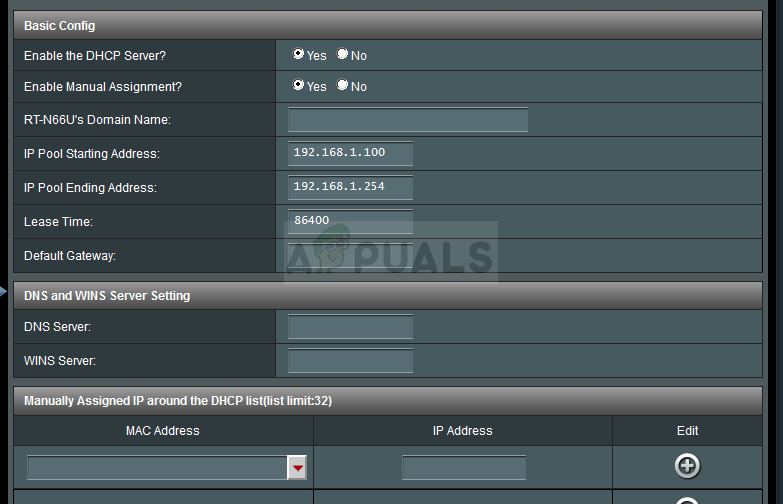
- After you have done that, click on the Add option and you have now added your console’s IP address to your router. Check to see if the ESO Error 307 appears after resetting your router and your console.


