Fix: “Error! Reference Source Not Found” in Office
Some Microsoft Word users report that when printing a document, all reference fields change to “Error Reference Source Not Found.” Instead of showing the referenced text or section, Word displays this error message in the printed document.
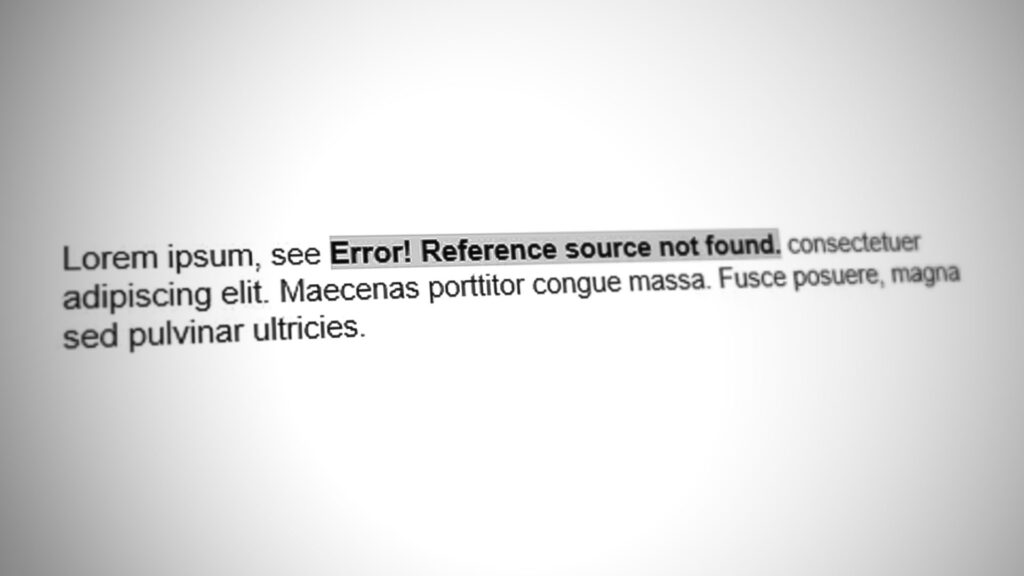
This issue typically appears when the document contains cross-references linked to bookmarks that Word can no longer locate.
The methods below focus on restoring broken references or repairing Word so it can process reference fields correctly.
Method 1: Lock Reference Fields Before Printing
If you need to print the document quickly, you can lock the reference fields before printing. This prevents Word from updating the references during printing, which stops the error from appearing.
Note: This is only a temporary workaround. It does not repair the broken references.
- Open the document in Microsoft Word.
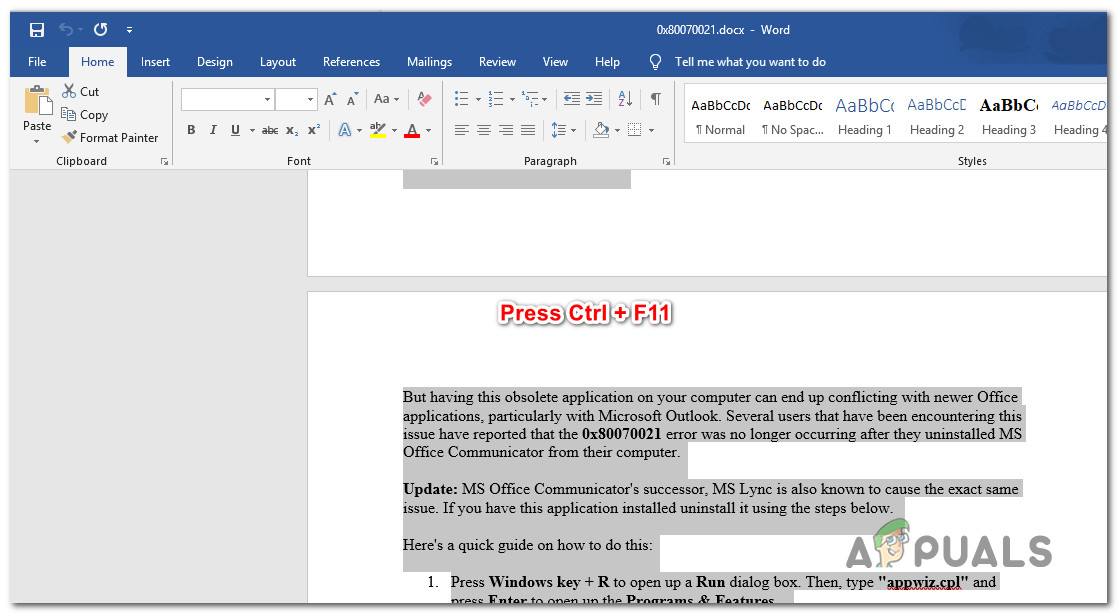
- Select the entire document by pressing Ctrl + A.
- Press Ctrl + F11 to lock all REF fields.
- Go to File and select Print.
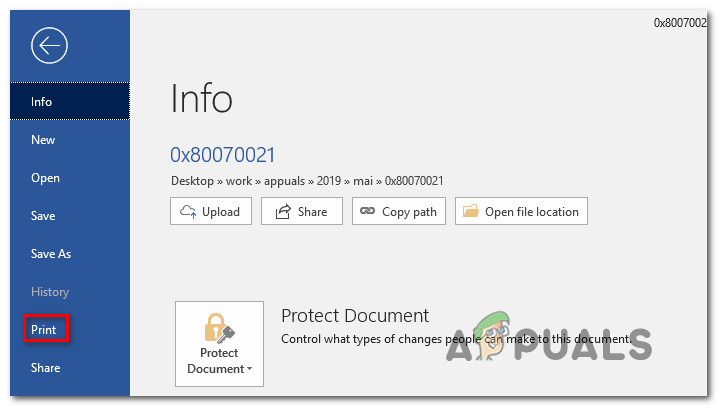
- Print the document and check whether the error still appears.
If the error continues or you want a permanent fix, try the next method.
Method 2: Manually Remove Broken References
This problem most often occurs when the bookmark used by a cross-reference has been removed. Updating the document fields allows Word to refresh all references and identify broken ones.
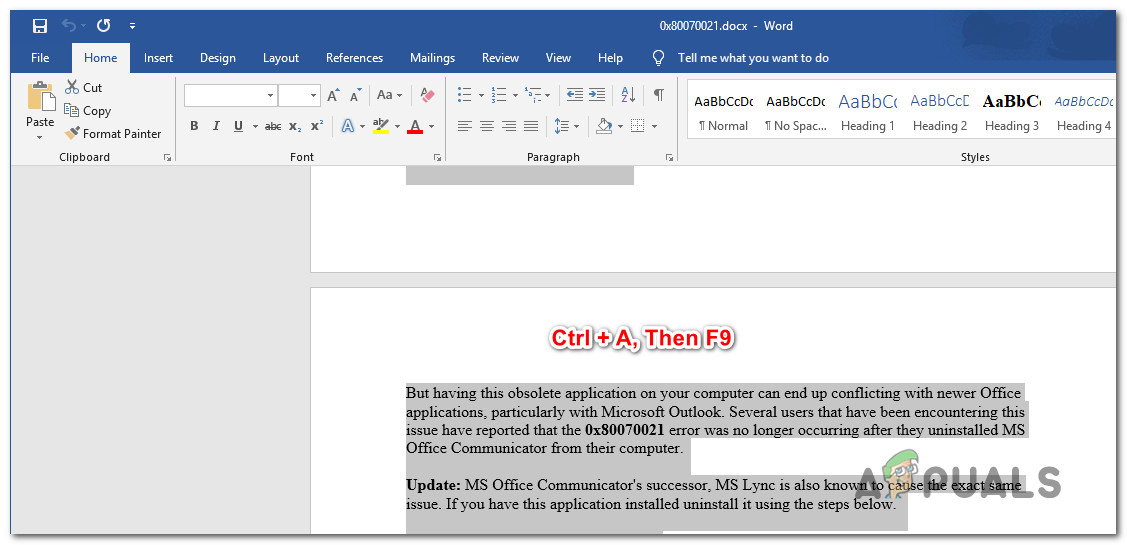
- Press Ctrl + A to select the entire document.
- Press F9 to update all fields in the document.
- Locate any text showing Error Reference Source Not Found.
- Edit or recreate the missing reference if necessary.
- Save the document and print again.
If the issue remains, you may have multiple broken references that are difficult to find manually.
Method 3: Fix Broken References Using Kutools for Word
If your document contains many broken cross-references, a Word add-in such as Kutools for Word can locate and remove them automatically.
This tool scans the document and identifies all invalid cross-reference fields, which makes cleanup much faster than manually searching the entire document.
- Download the tool from the official site Kutools for Word.
- Install the add-in and restart Word.
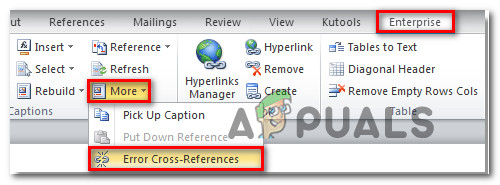
- Open your document and go to Enterprise → More → Error Cross-References.
- The tool will scan the document and display how many broken references were found.
- Choose whether to delete or correct the references and click OK.

- After processing completes, all invalid references should be resolved.
Method 4: Repair the Office Installation
If the error occurs even in documents with valid references, the Word installation may be corrupted. Running the built-in Office repair tool restores damaged program files.
- Press Windows + R, type appwiz.cpl, then press Enter.

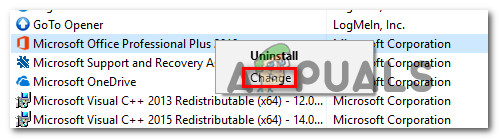
- Find Microsoft Office in the program list.
- Right-click it and select Change.
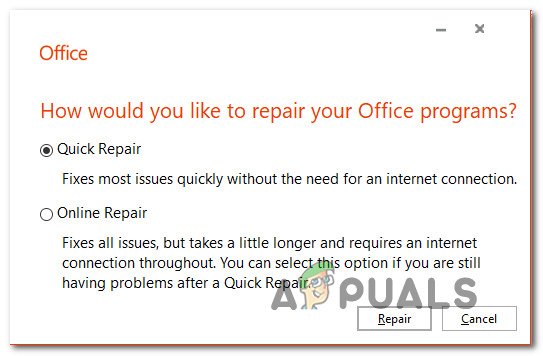
- Select Quick Repair and click Repair.
- Restart your computer after the repair completes.
- If the issue persists, repeat the process and use Online Repair.


